


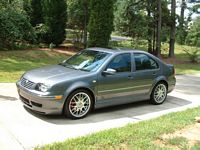
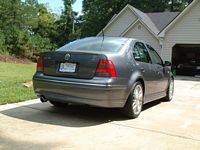
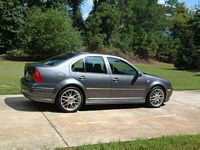
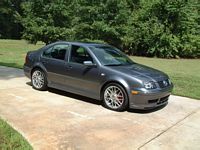
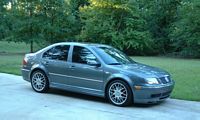
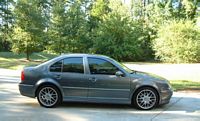
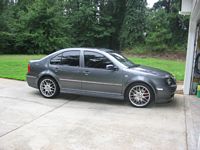
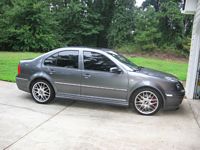
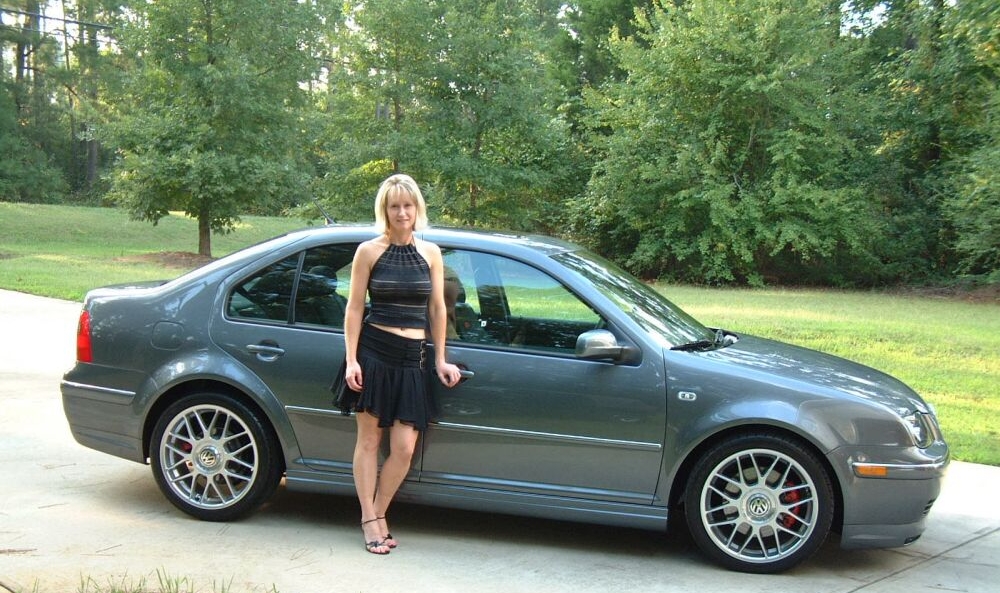
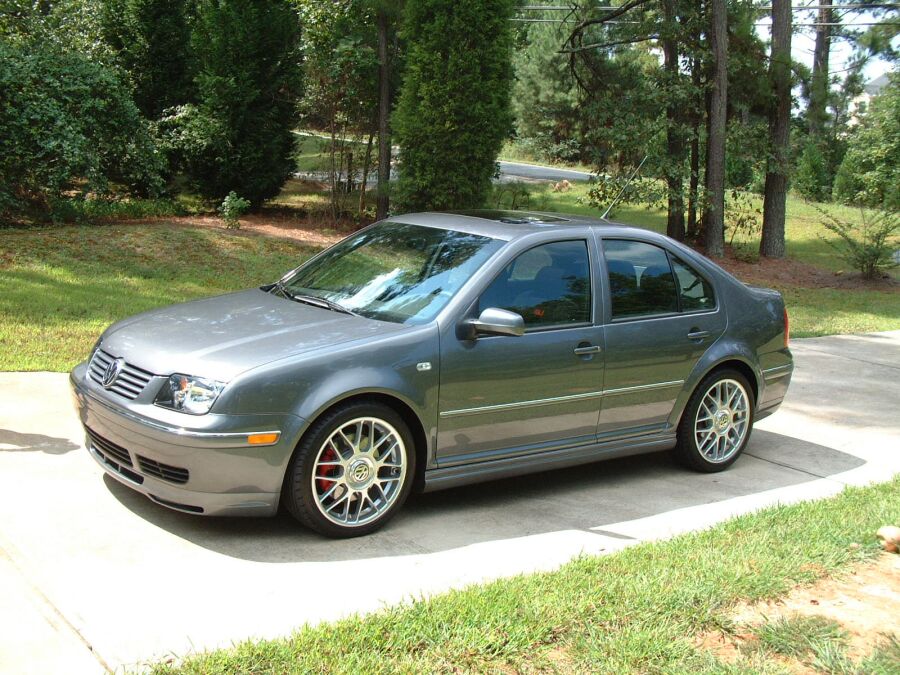
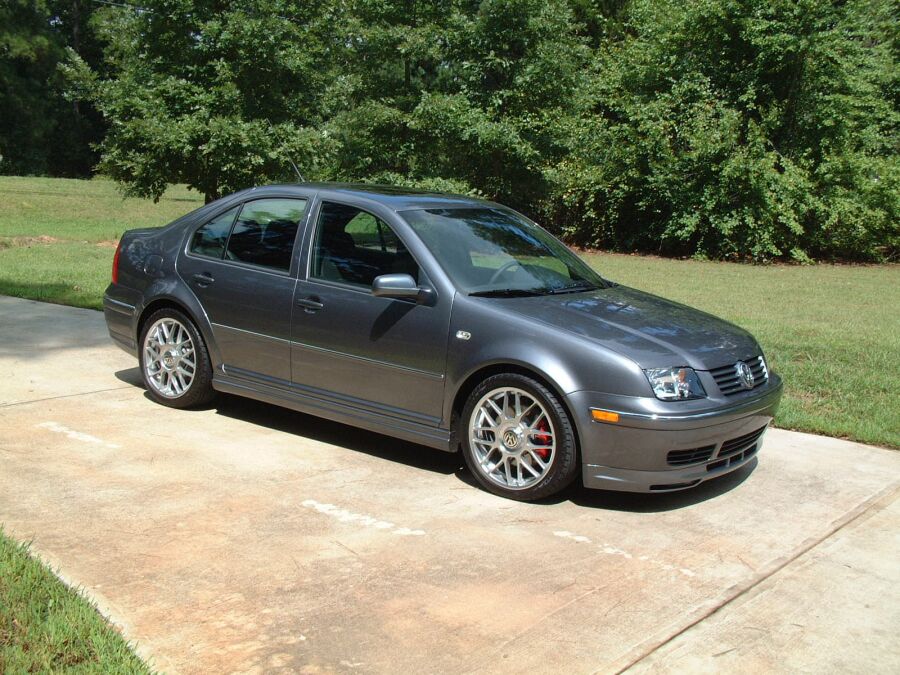
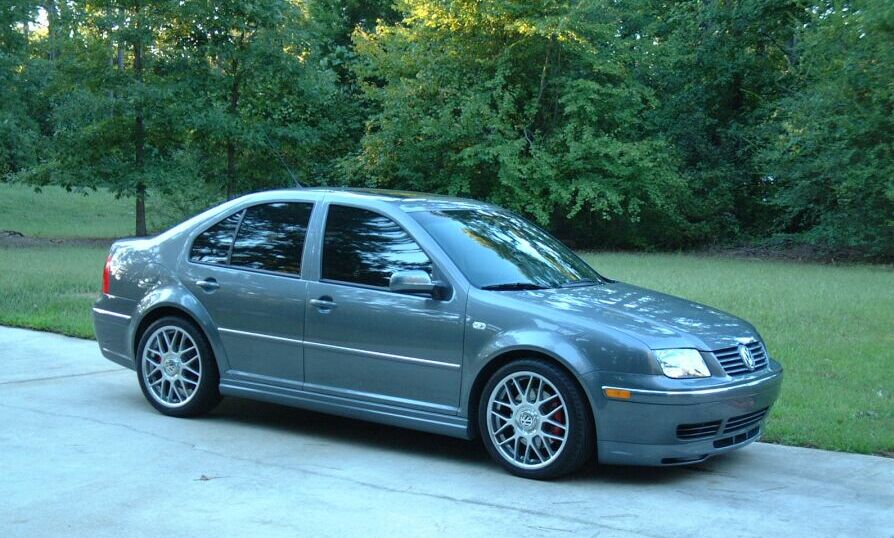
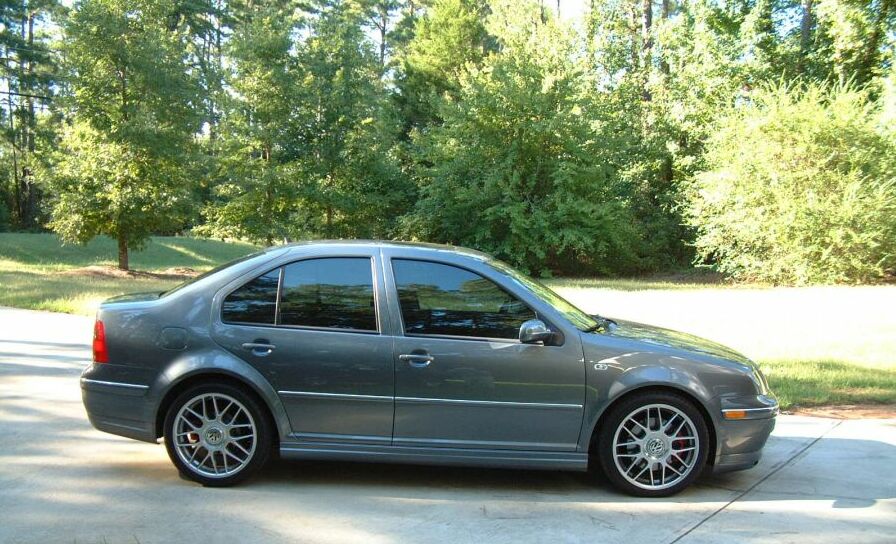
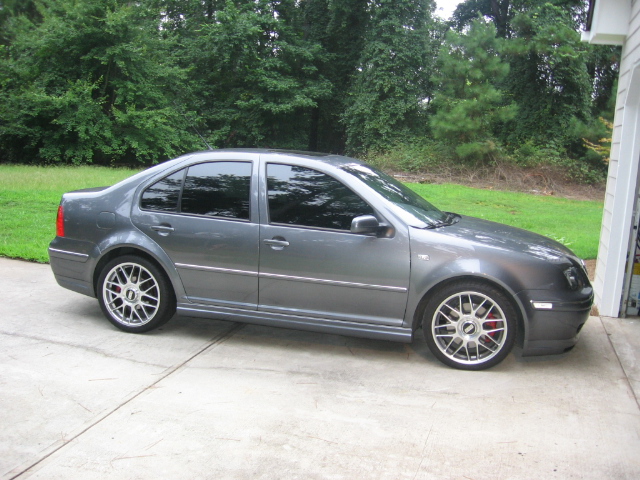
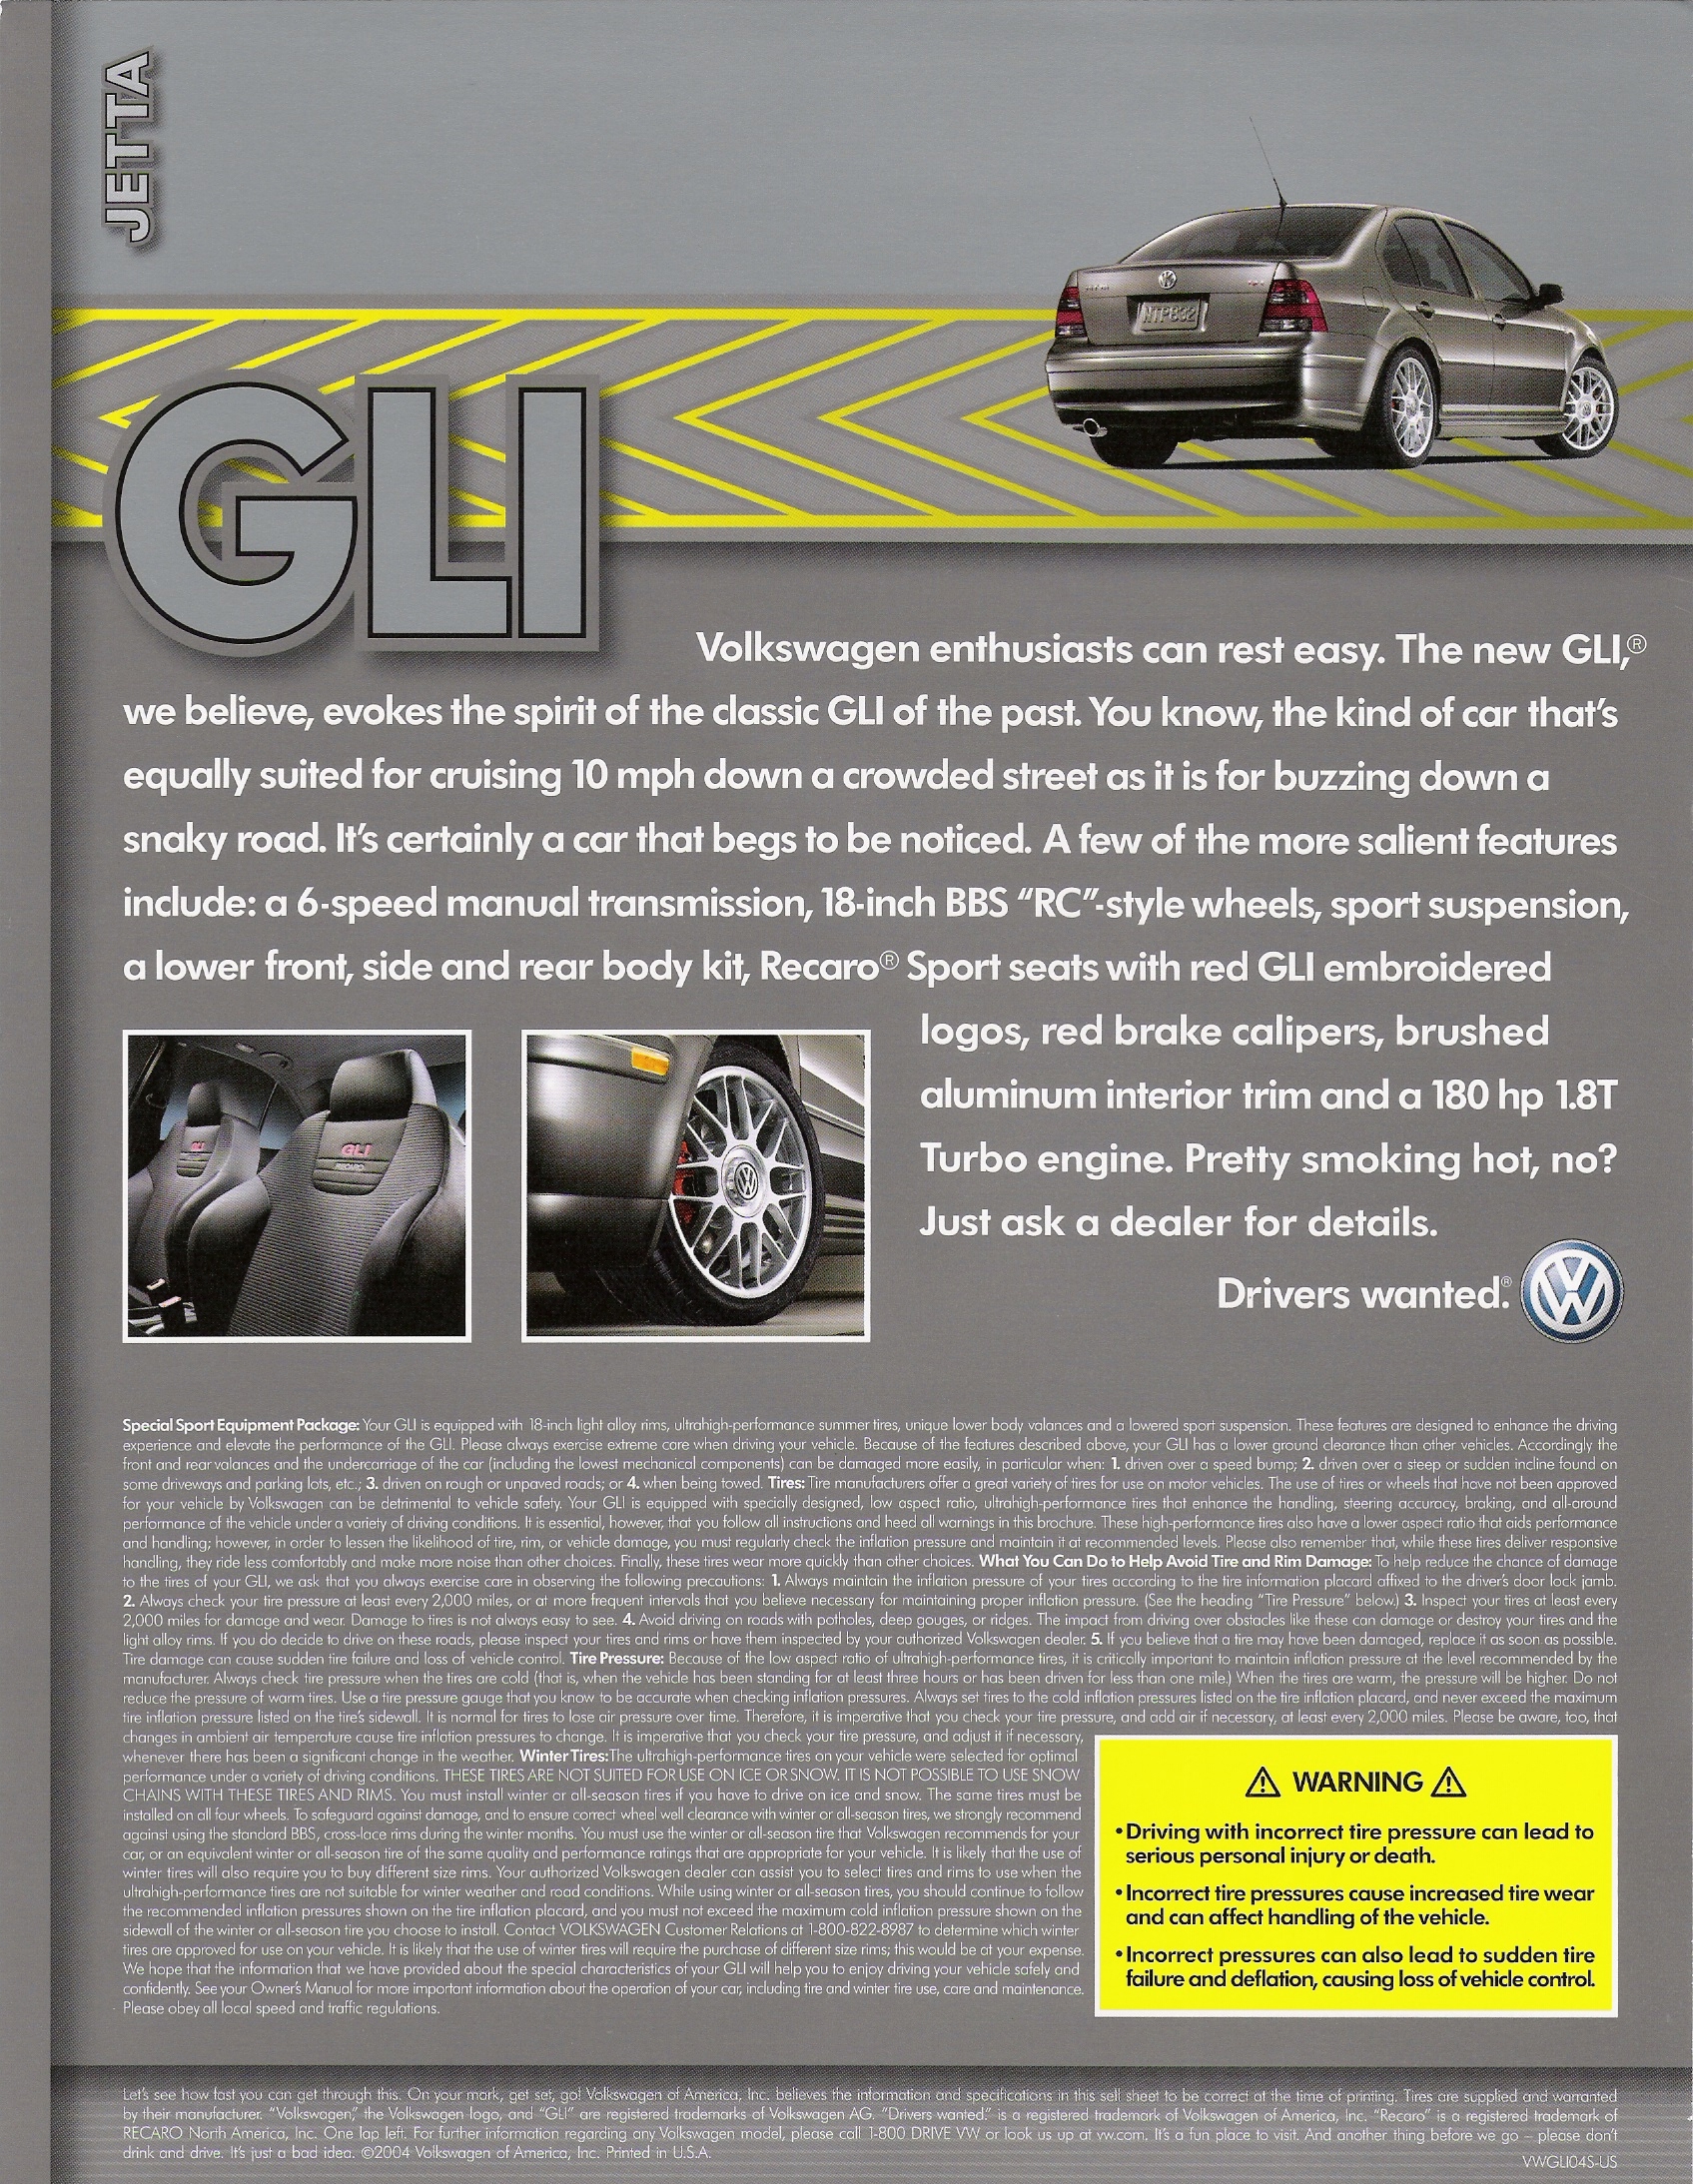
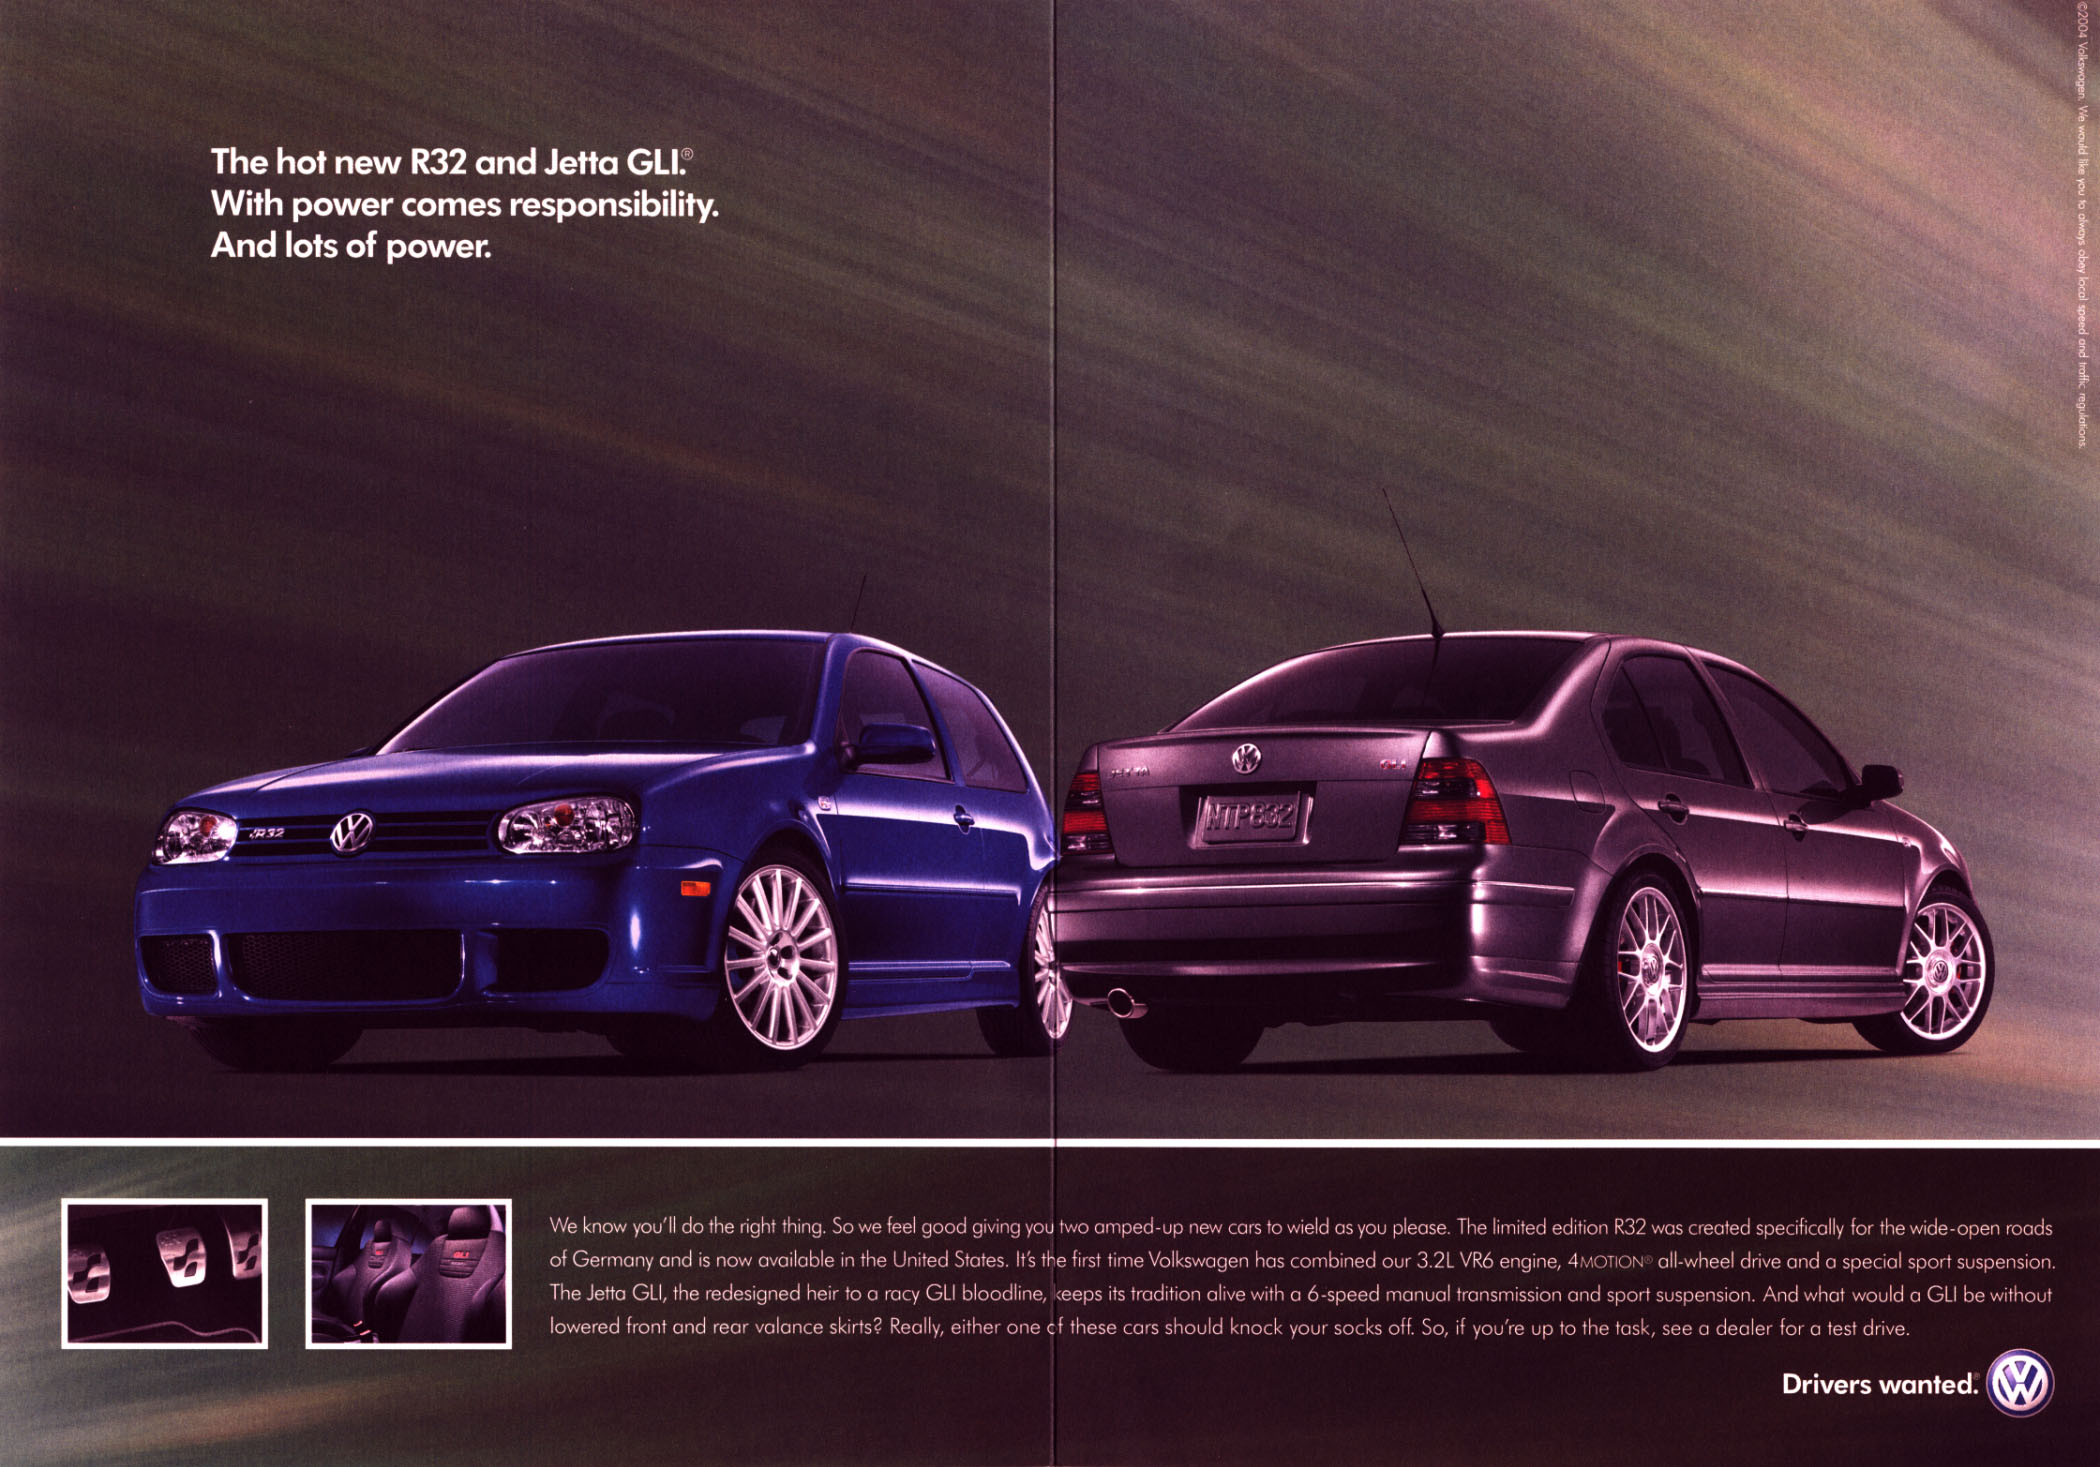
2004.5 Volkswagen Jetta GLi
Click on thumbnails below for larger pics....

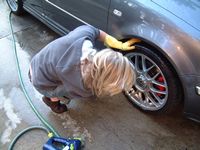
New Car with wife :-) Our sales consultant was off when we went to test drive the car, they had a hard time believing my wife wanted the 6-speed.... This was purchased from Dwight Harrison VW, our sales consultant Tom Board also sold us the Beetle Turbo S she had prior, great buying experience AND after the sale assistance. If you are in the market for a car or need parts/service in the metro Atlanta area, the guys at Dwight Harrison are great...

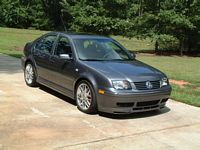
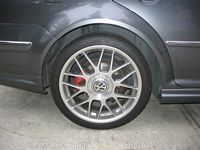
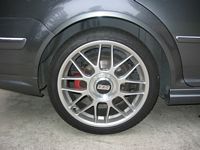
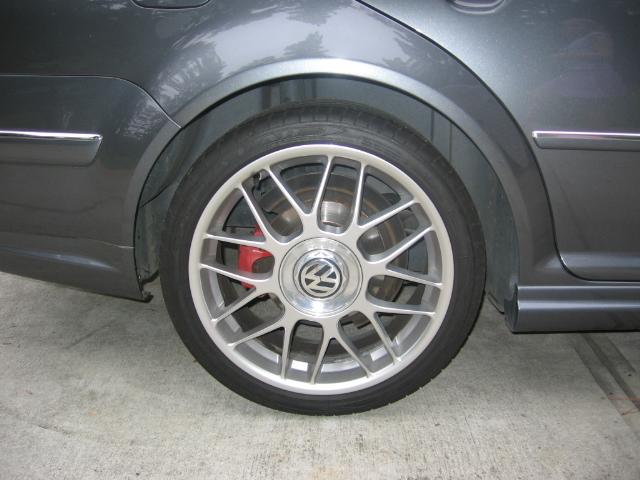
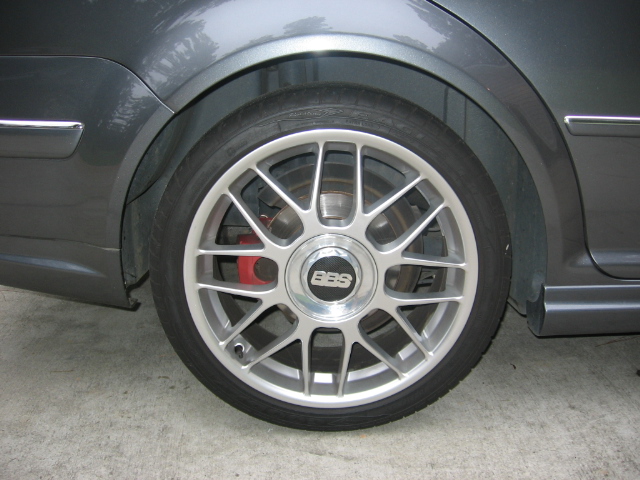
Exterior: OEM BBS RC 18" wheels, red brake calipers...

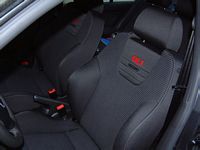
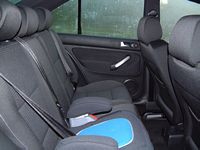
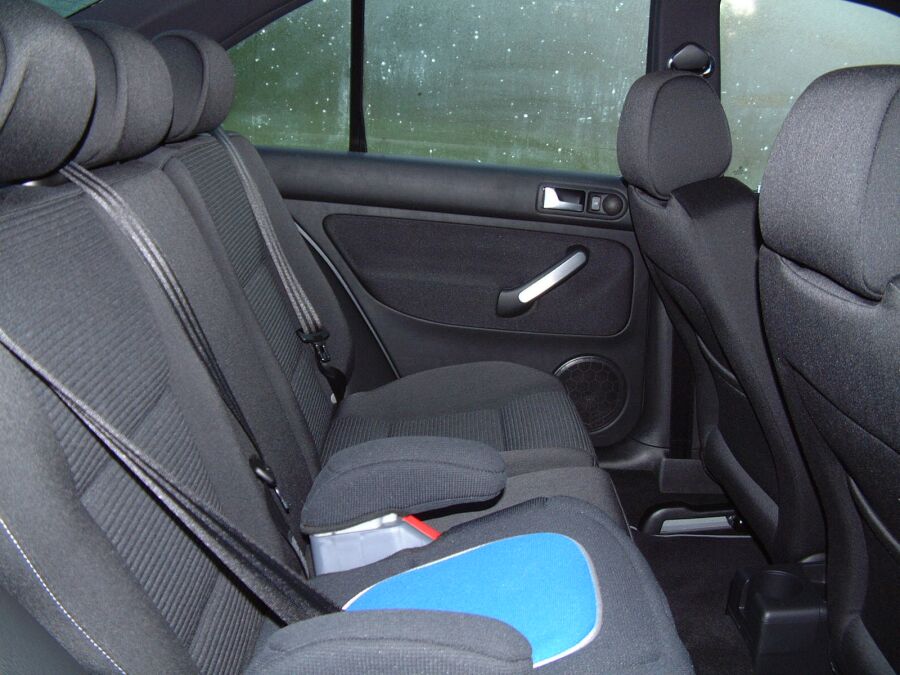
Interior-
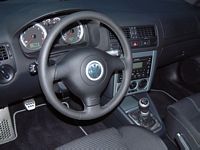
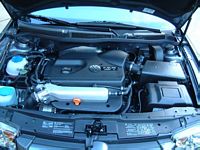
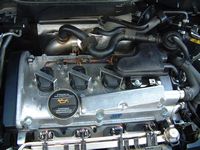
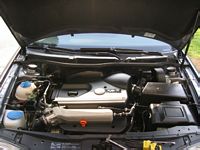
Motor: 1.8L , 20 valve Turbo 4
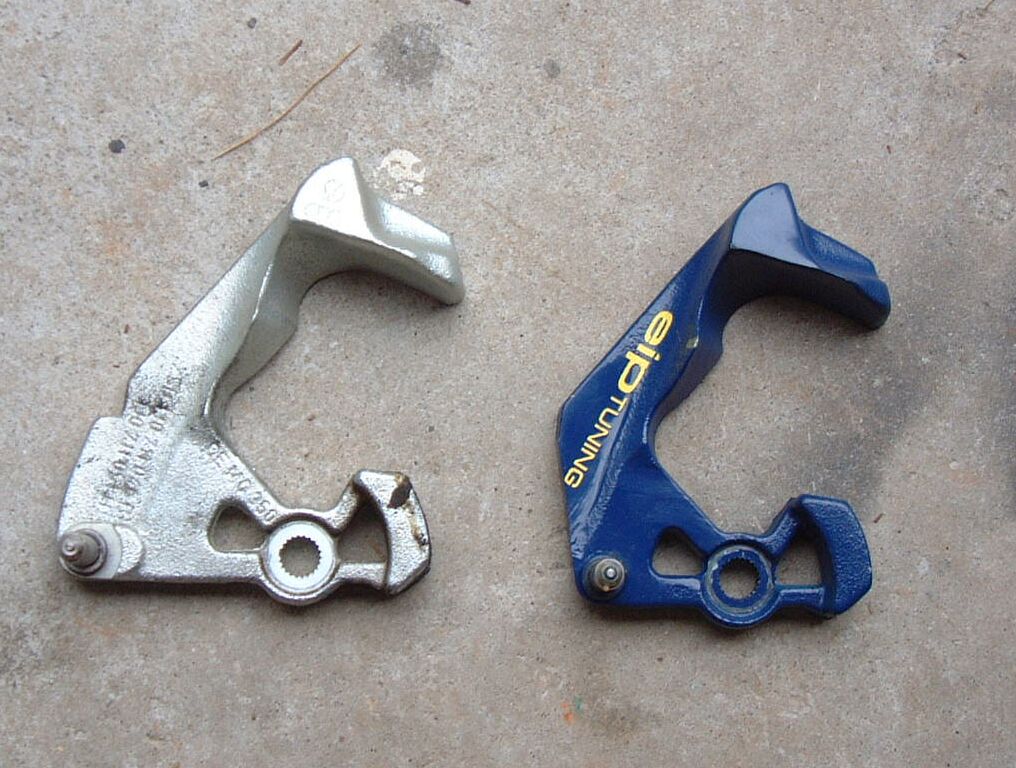
EIP Short shifter installed (Street series, 31% reduction)
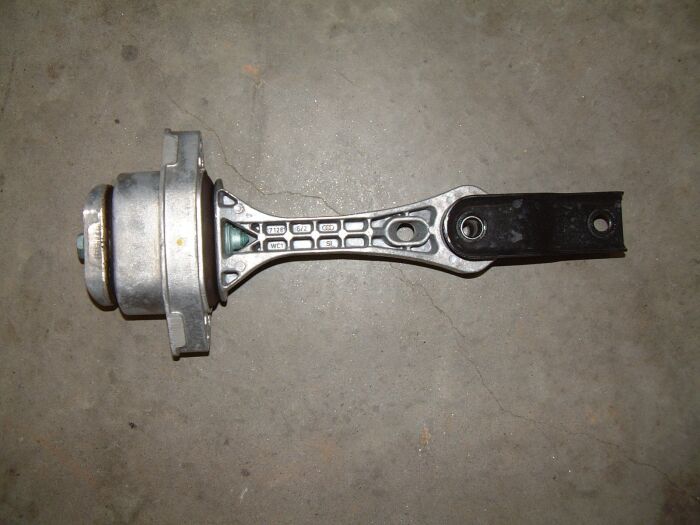
EIP Rear Mount takes the factory slop out without vibration

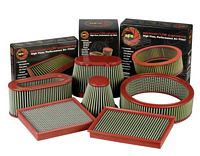
aFe air filter from AMS installed- This is a reusable drop in filter that works with the factory airbox. Click HERE for Testand air filter test results.
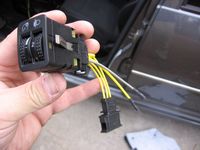
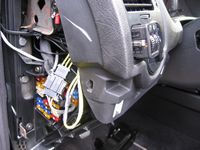
Alientech AlienWindow window and sunroof controller installed. Door panel removal is required to tap into wires (no cutting, easily reversed), click HERE for VW Vortex VgVr6's Door Panel Removal DIY. Similar controller is available from AutoWindow. Another new option is a flashloader that changes VAG settings via the OBDII port to allow this functionality- click HERE for the Vortex thread.
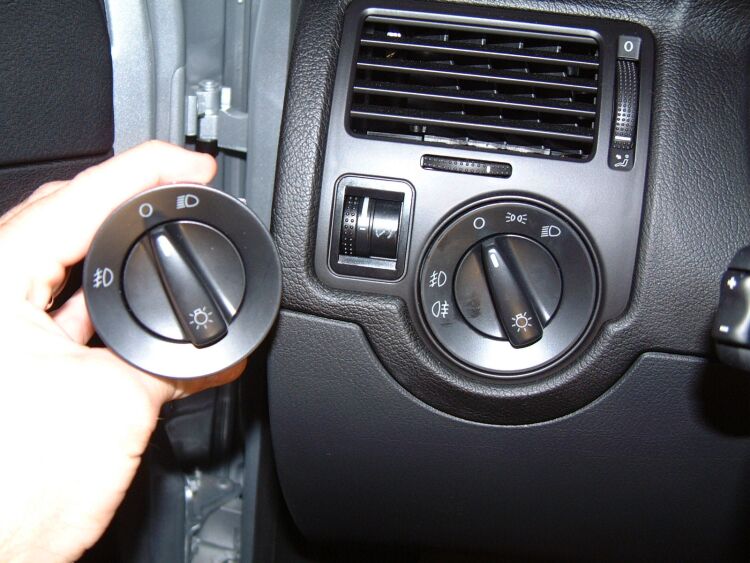
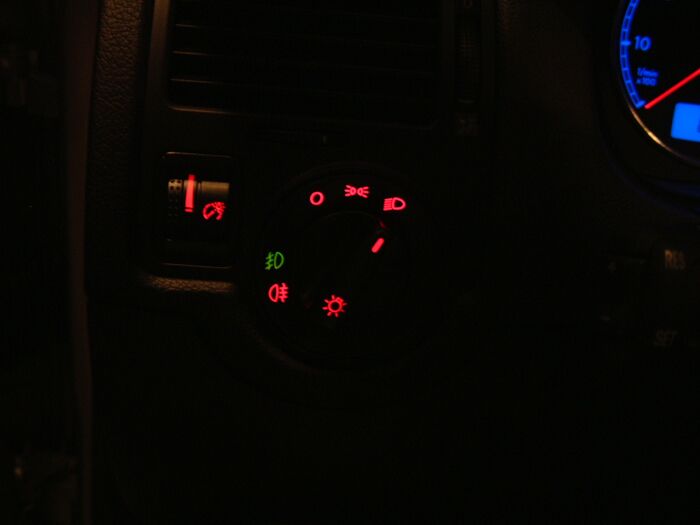
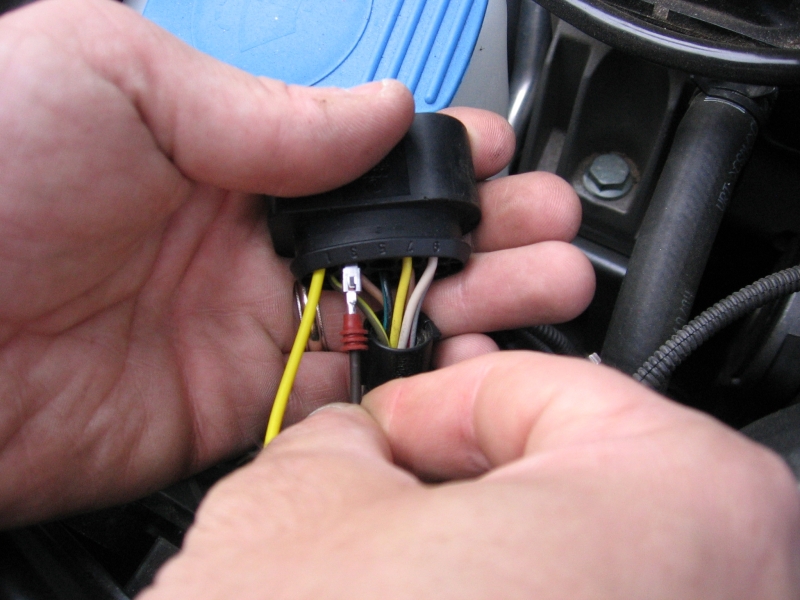
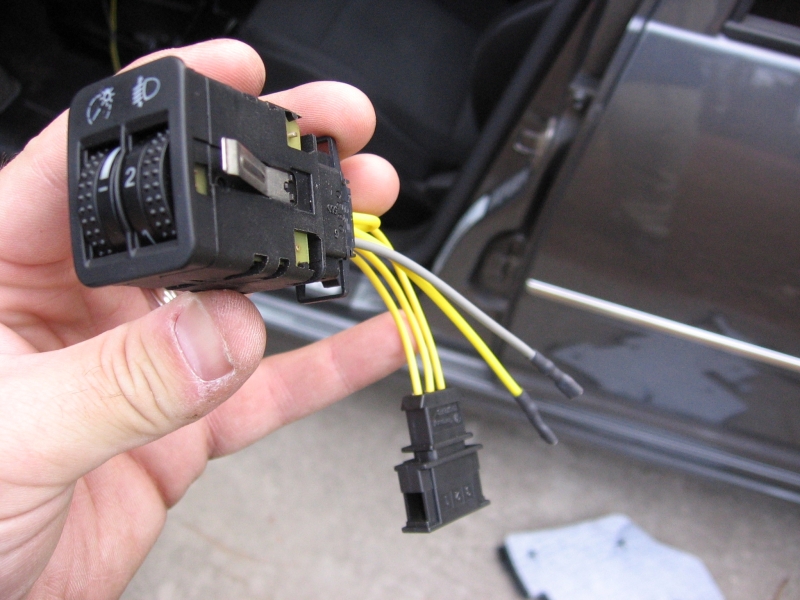
Euro Light switch installed (and no more DRLs)


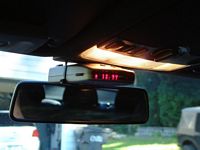
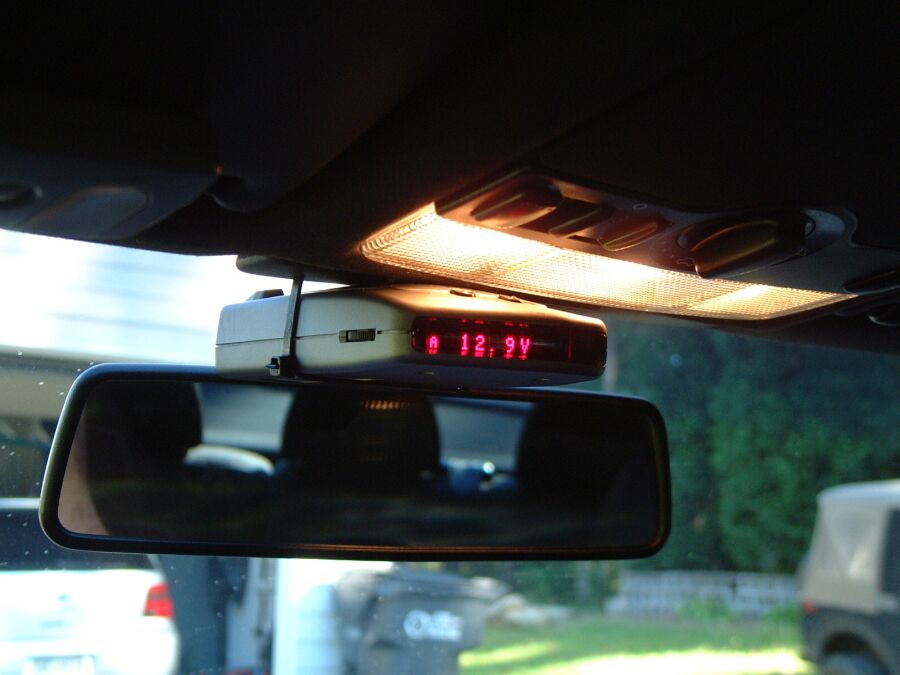
Passport 8500 X50 hard wired, functions as voltage guage between alerts, not easily noticed looking in from outside (manual here). Uniden Beartracker scanner also hard wired and mounted,alerts for transponder signals within 3-mile radius (manual here). Eclipse CD3434 for tunes, tilts up when on so the display is easily seen, also plays MP3s (specs here). VW Radio Wire Harness Reference HERE


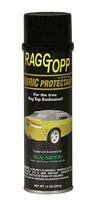
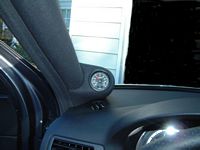
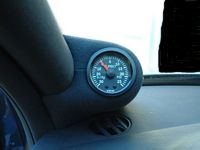
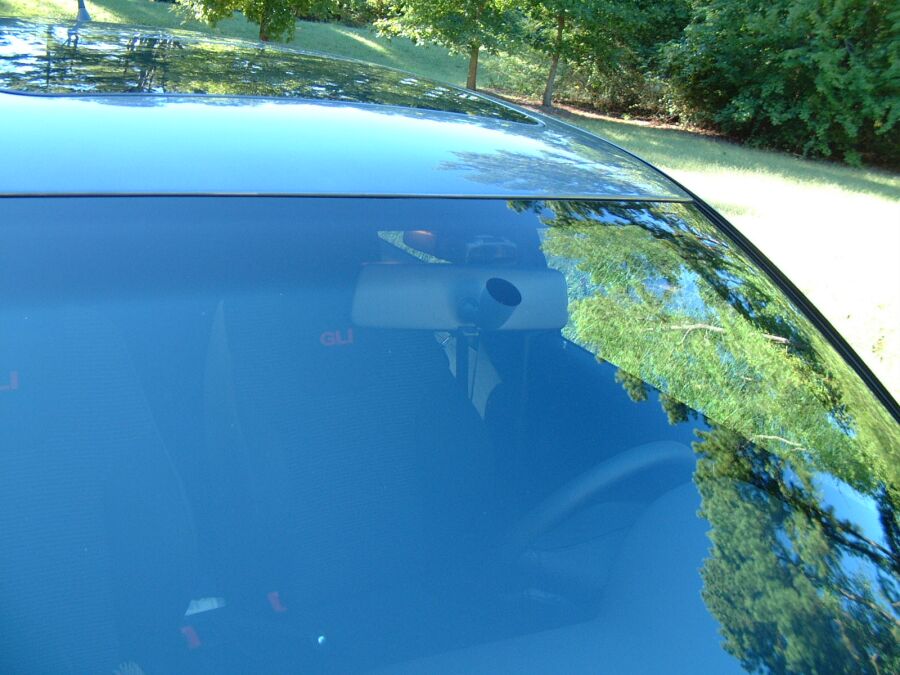
42 Draft Designs Pillar Pod with VDO Vision Boost/Vacuum guage (Blue LED), THANKS for the great customer service Evan and staff. For more information on the B*TCH CLIP that needs to be removed on airbag equipped vehicles to get the A-pillar out, click HERE for VW Vortex Veedubgli's pics or HERE for the VW removal instructions and a pic of the tool you can make yourself. For those concerned about the airbag in the A-pillar, please take a look at this PIC and decide for yourself. A suggestion is to use a UV Protectant spray so the headliner material on the pod does not fade, I found RaggTopp fabric protectant made for convertible tops that has UV protectant with UV stabilizers.

Windows tinted 20% by Mr. Tint (aka Barry Wood, H:(770)963-7924 C:(404)392-8007)
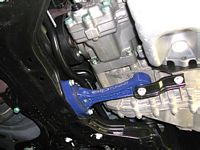
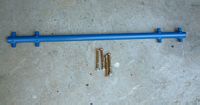
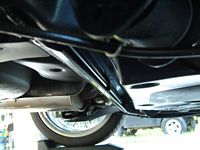
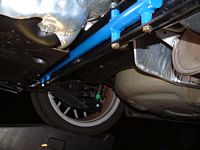
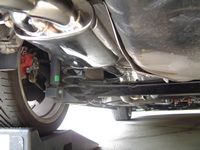
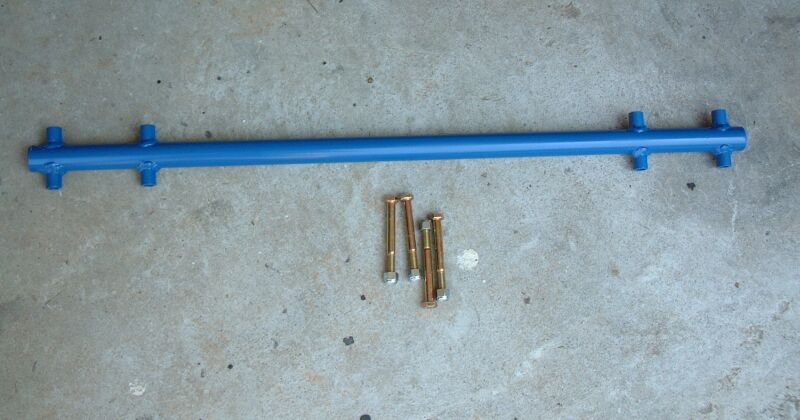
Rear Anti Sway O-Bar by Matt Oberer installed. This thing eliminates ALL body roll and for the price is the best deal out there....plus it does not create clearance issues like conventional sway bars that mount below the axle. Be sure to grease the ends of the bar that contact the axle (the part the 4 bolts go through). I did not follow this part of the instructions and had some sqeaking noise, took it off and used some NAPA Synthetic Brake Caliper Grease and no more noise. Installation instructions HERE.
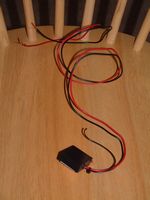
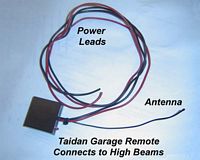
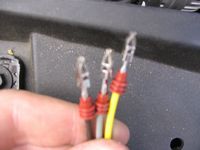
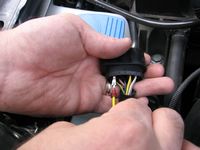
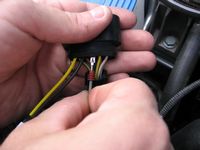
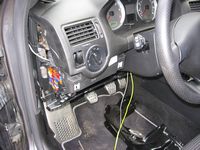
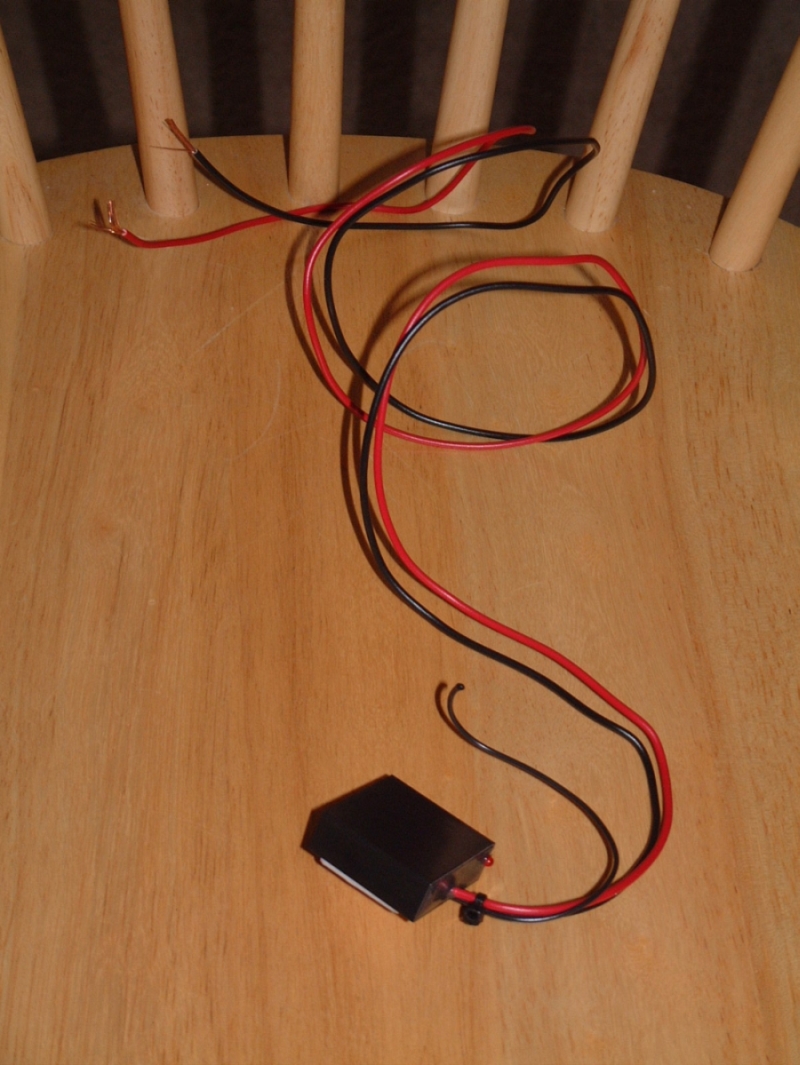
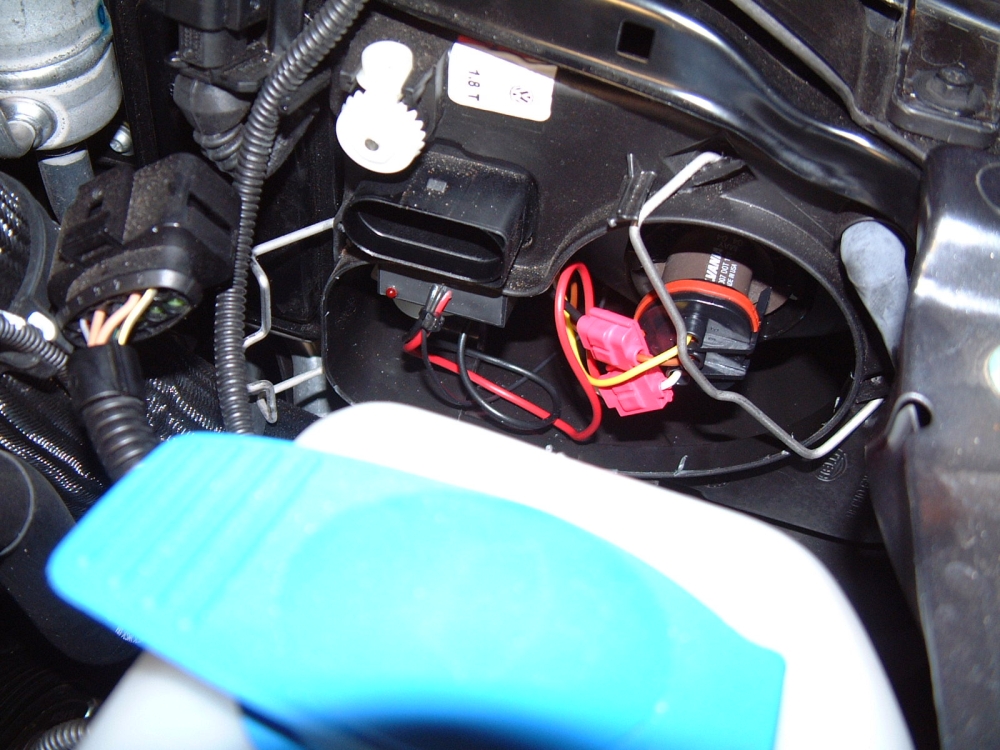
Taidan Garage Door Opener- Uses high beam switch to open and close garage door. Instructions are here in MS Word format. These can be purchased from Ben Moulding for $37 +shipping. Pretty cool for those who don't have Homelink, found this on the Audi boards.....FWIW, white is high beam positive, brown is shared ground, transmitter tucked away in headlight housing. If you don't have a newer Liftmaster/Sears or Genie Intellicode garage door opener you can buy a Liftmaster Security+ universal receiver or Genie Intellicode universal receiver that will work with any garage door opener for about $50...

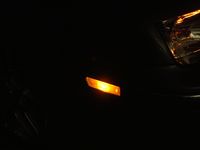
Clear Bumper Side Markers with Orange LEDs

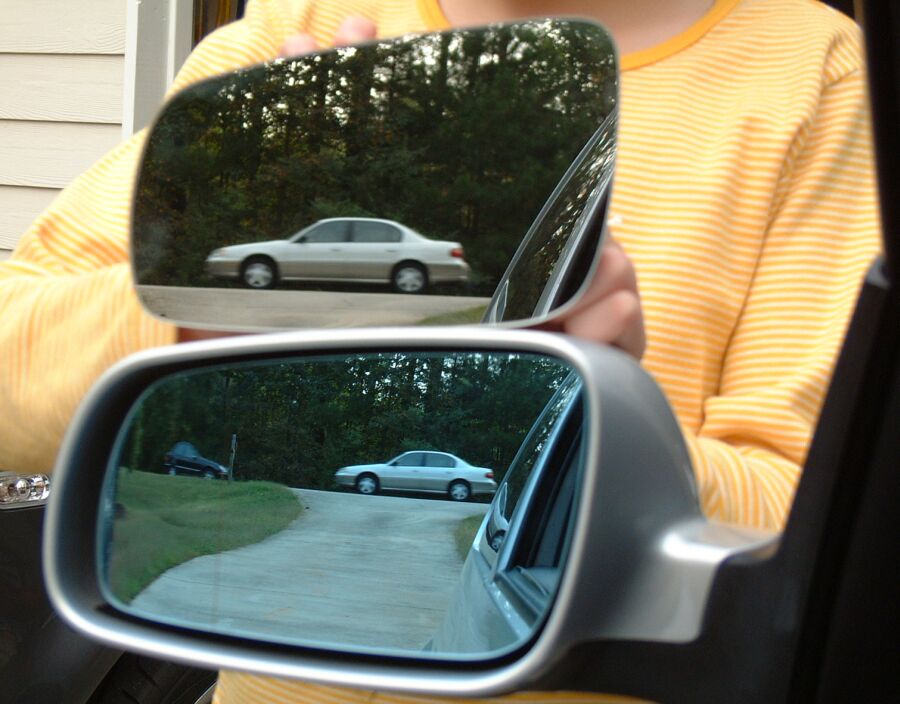
OEM euro spec side mirrors, blue to reduce glare and aspherical to eliminate blind spots.

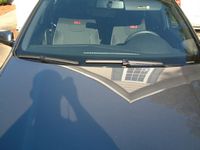
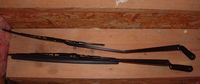
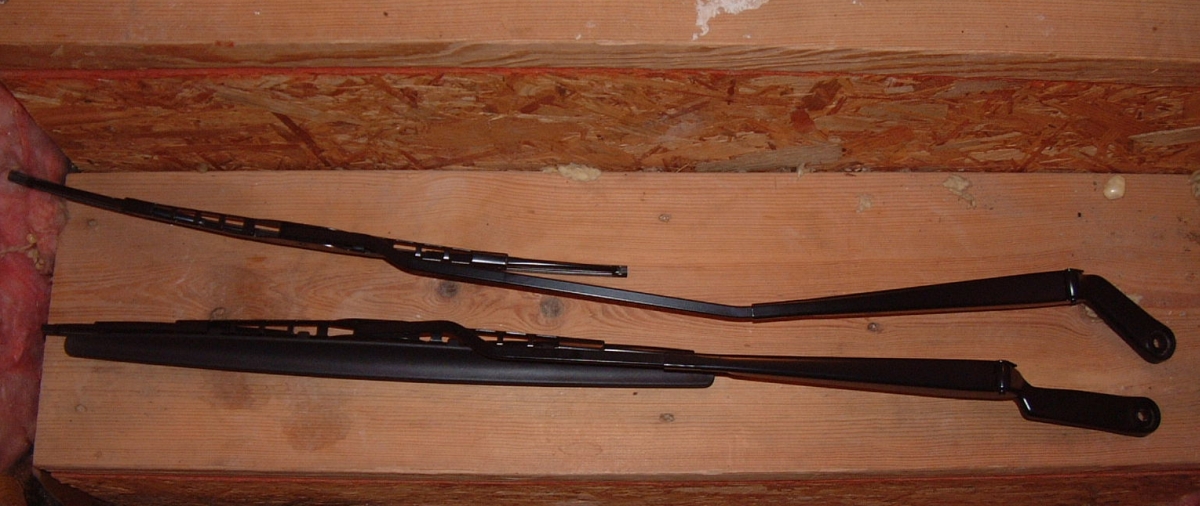
Aero Front Wipers- Out with the old klunky wipers and on with the new aero wipers.....best removed with a battery terminal puller...

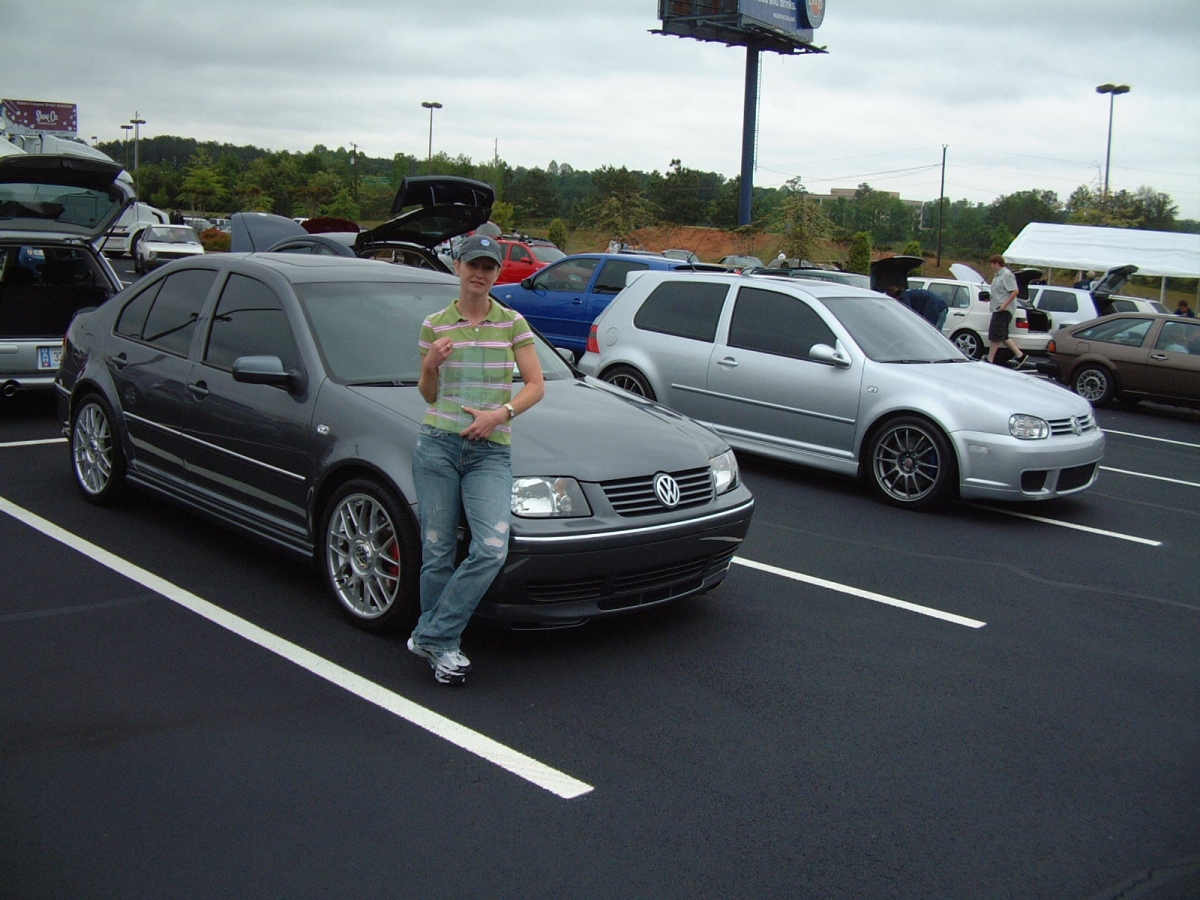
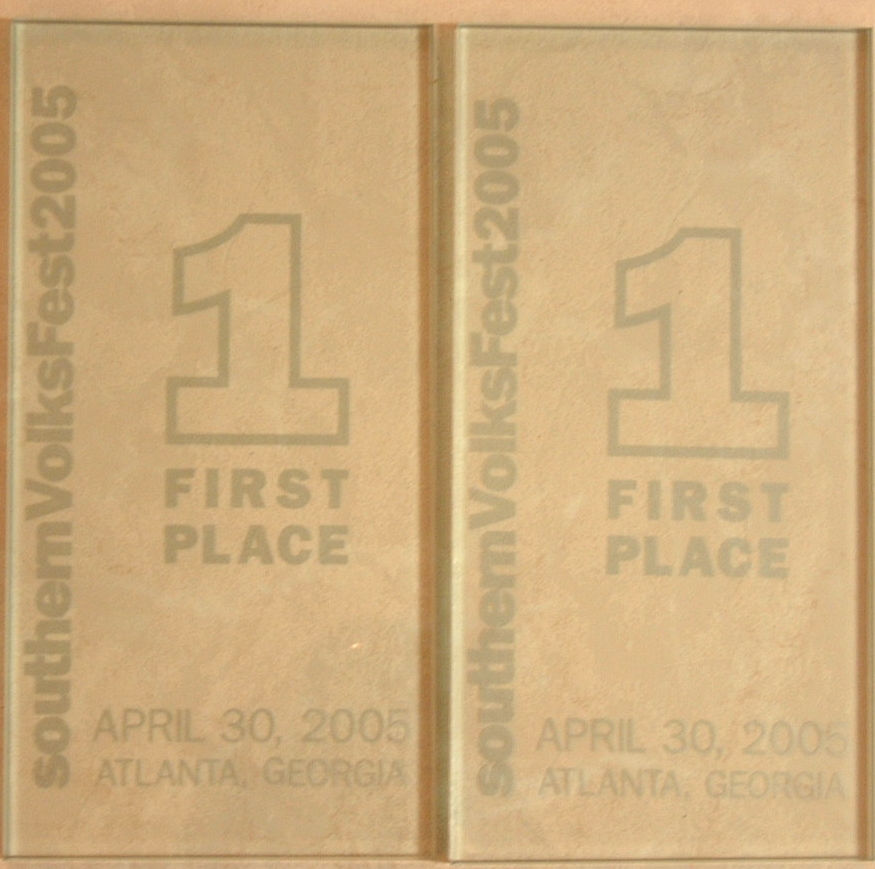
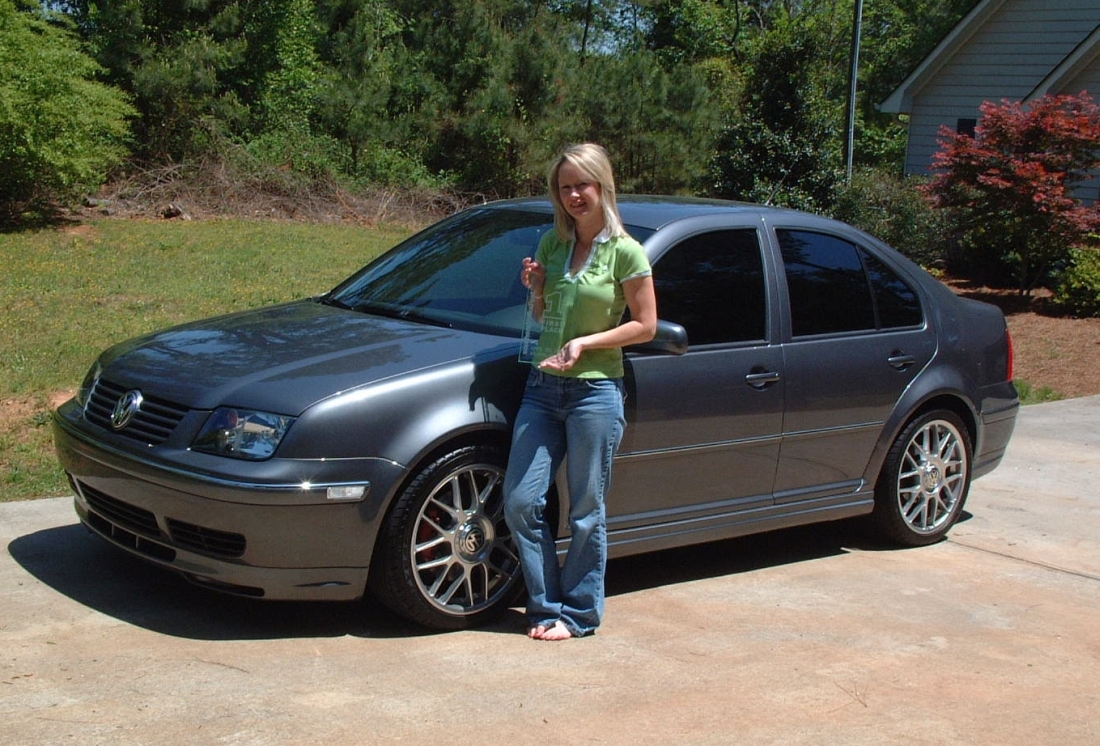
Southern Volksfest 2005: Two first Place Trophies

BIG Thanks to the SVF staff and to the judges (MKIV judges were the_journalist (Chad Patterson) and Jetta Nooch (Andrew Fitzpatrick)) for the time and effort that went into putting this year's show together AND keeping it together despite the weather.....you can't keep a true VW enthusiast down


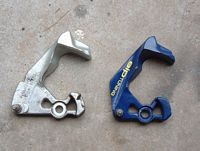
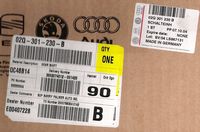
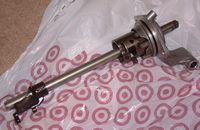
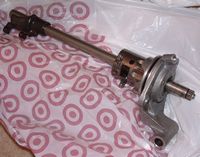
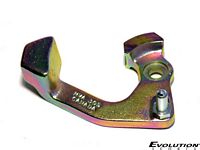
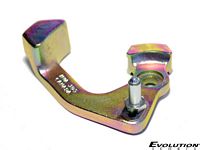
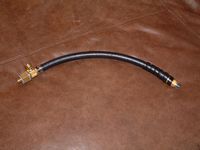
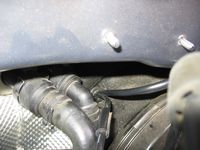
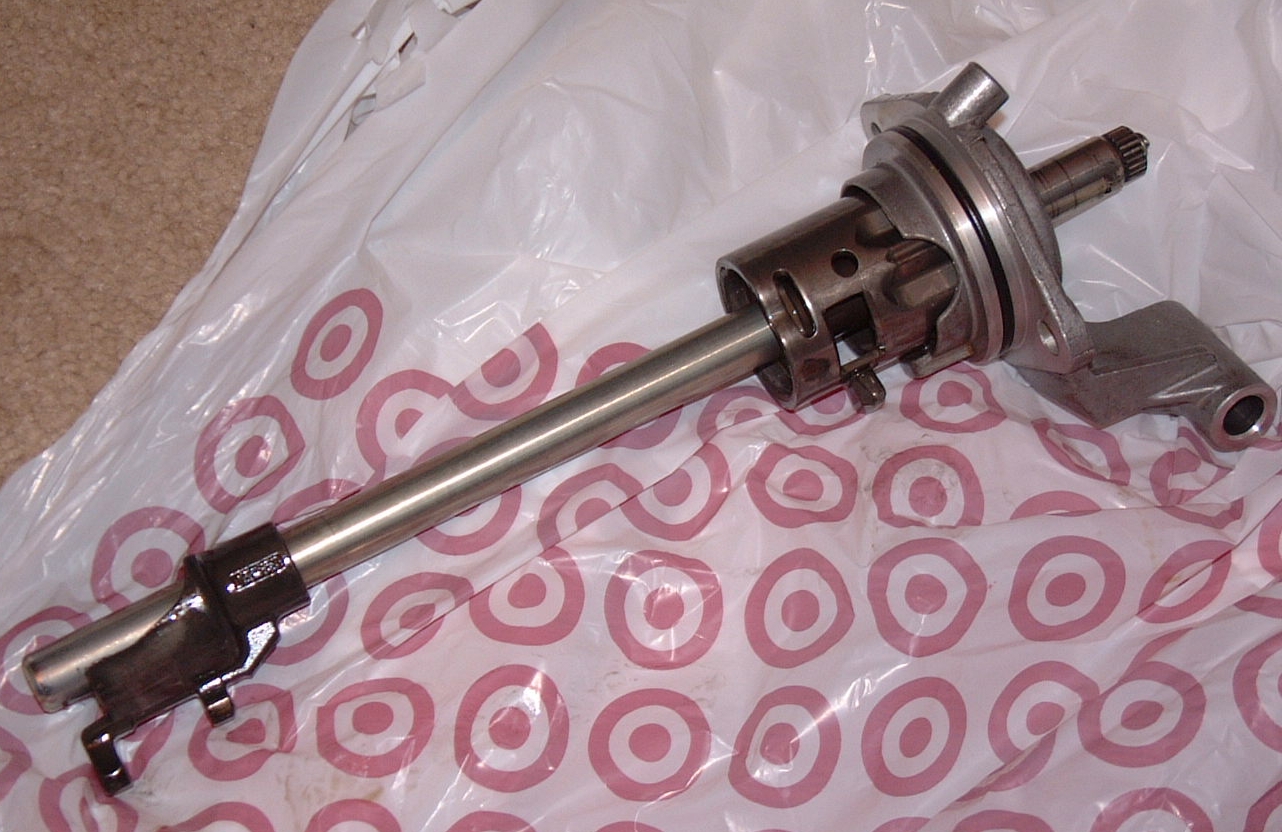
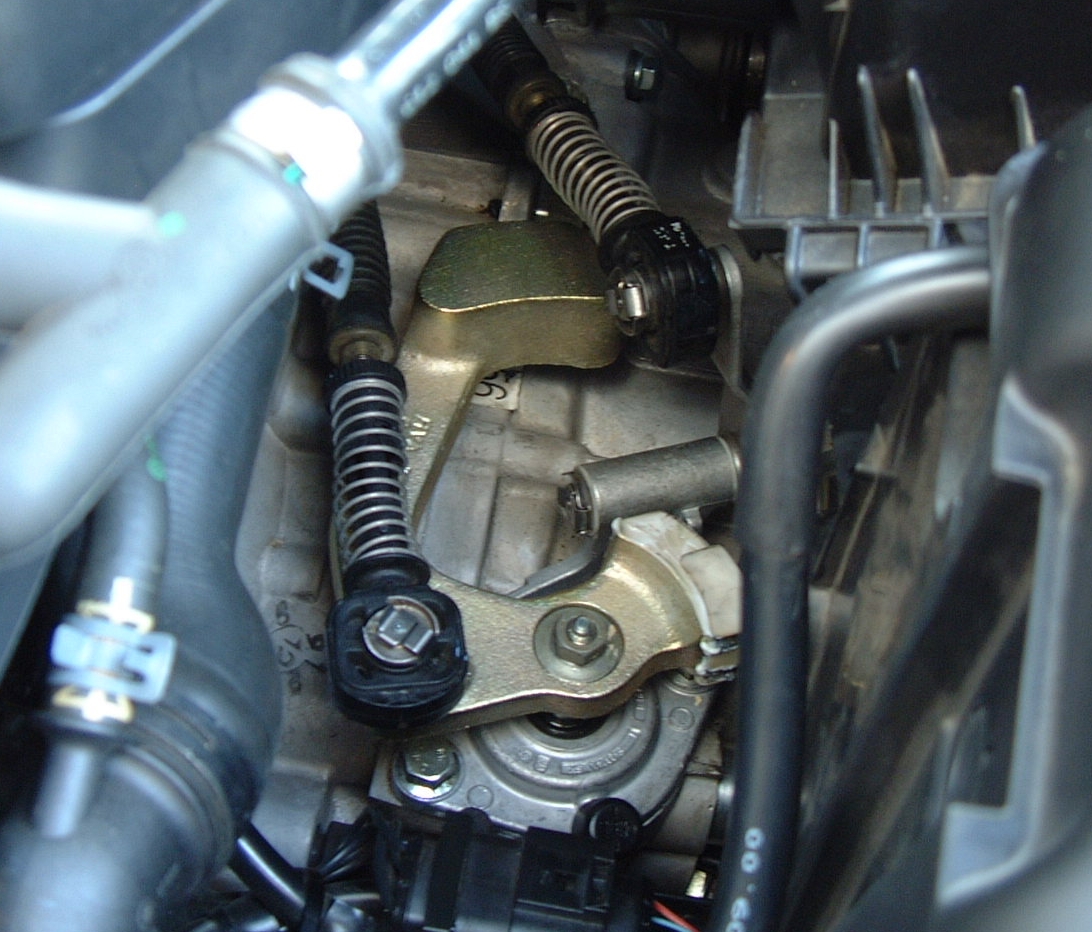
Shift rod bolt found broken
- It had been a few months since the SS was installed so either I overtorqued the bolt and heat cycles caused it to finally snap or the rod was defective, either way it was not warrantied and I was traveling so Barry Palmer Auto
ordered the new part and installed it. The part number is pictured for reference....
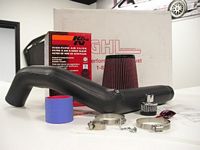
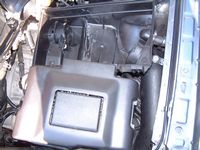
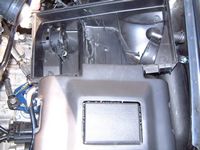
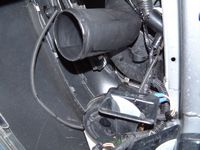
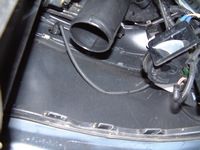
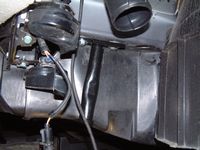
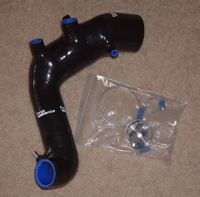
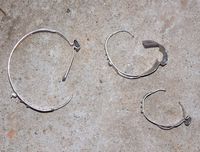
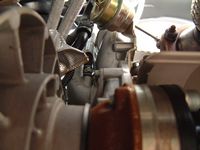
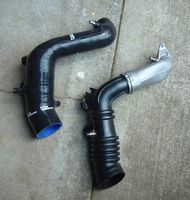
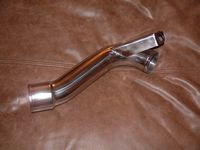
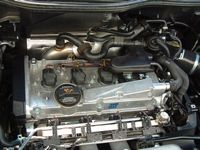
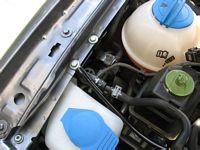
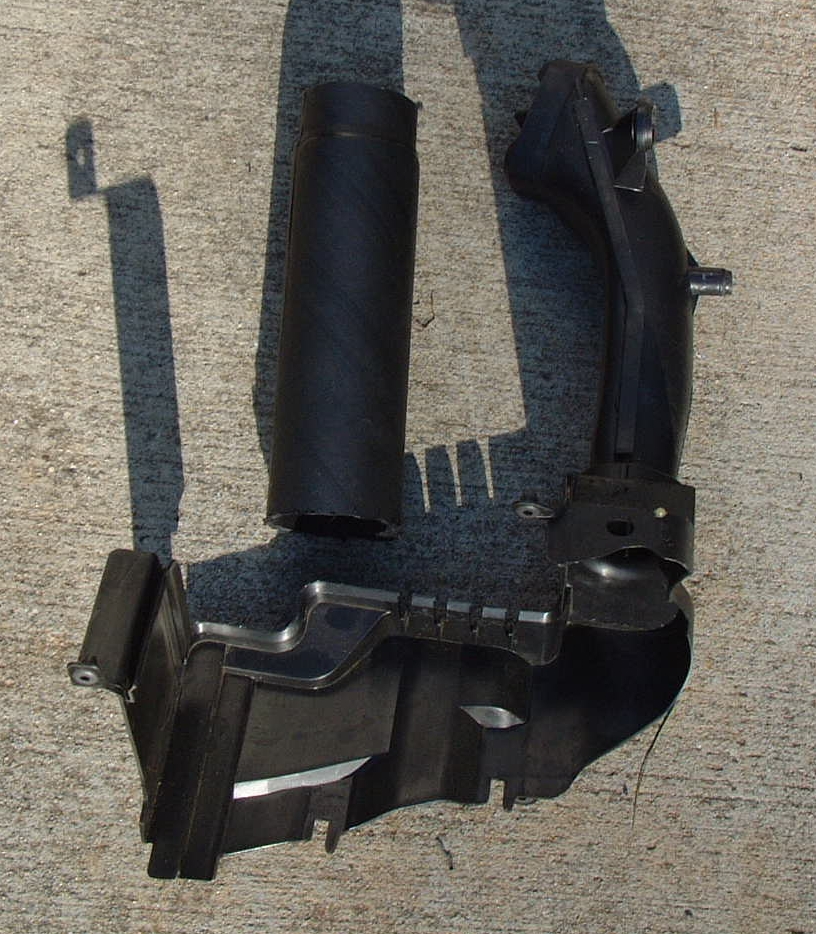
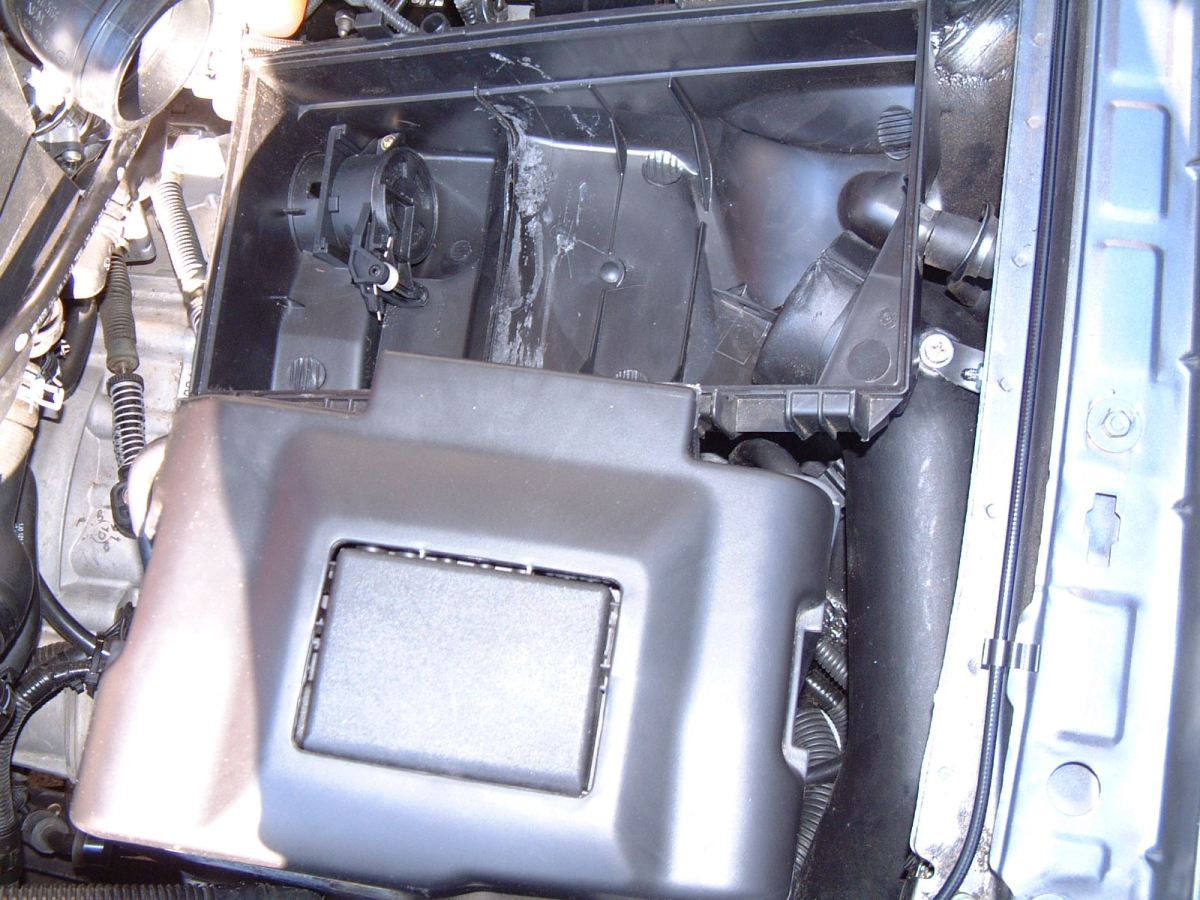
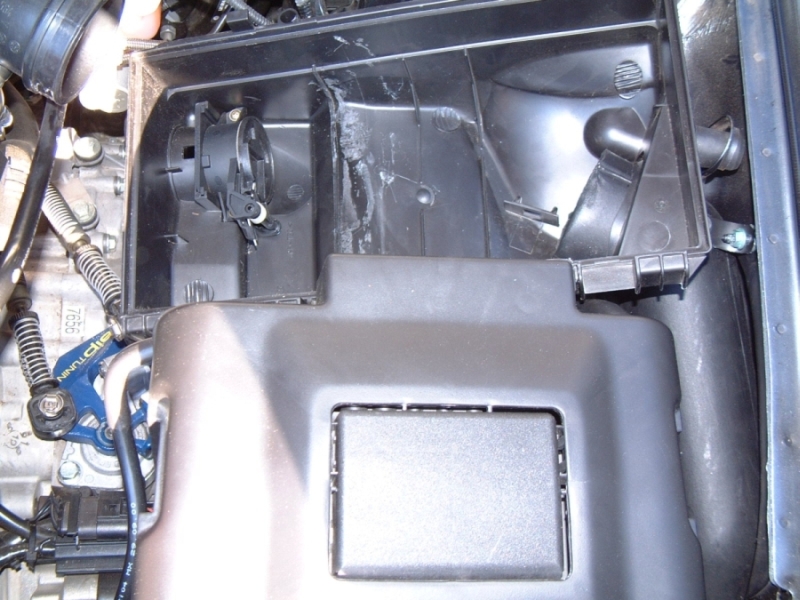
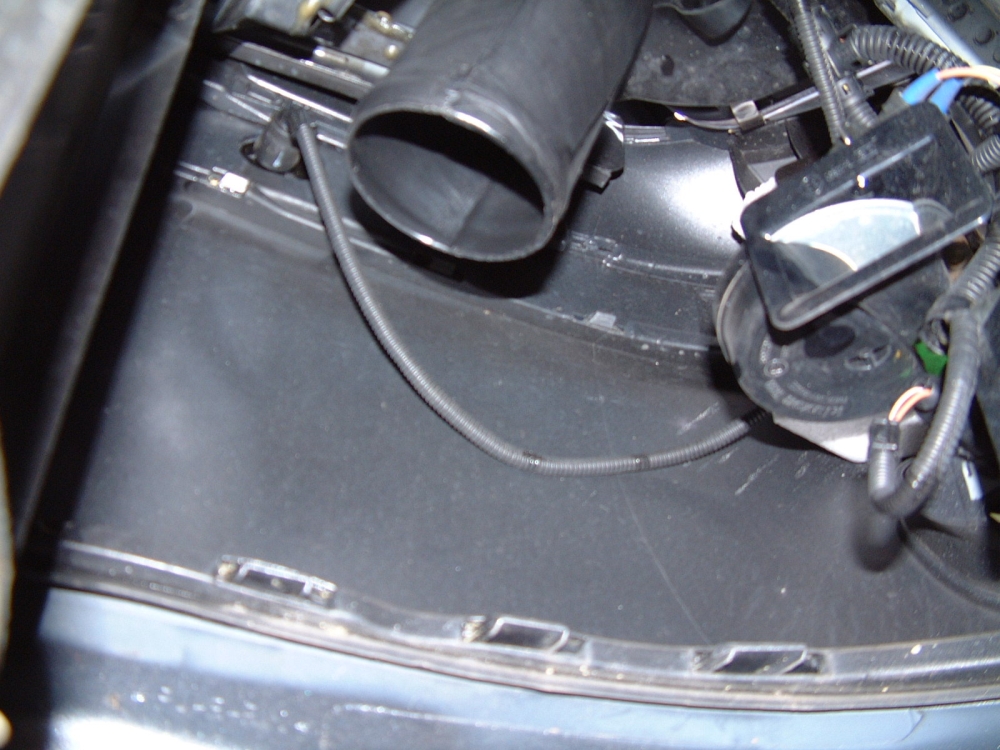
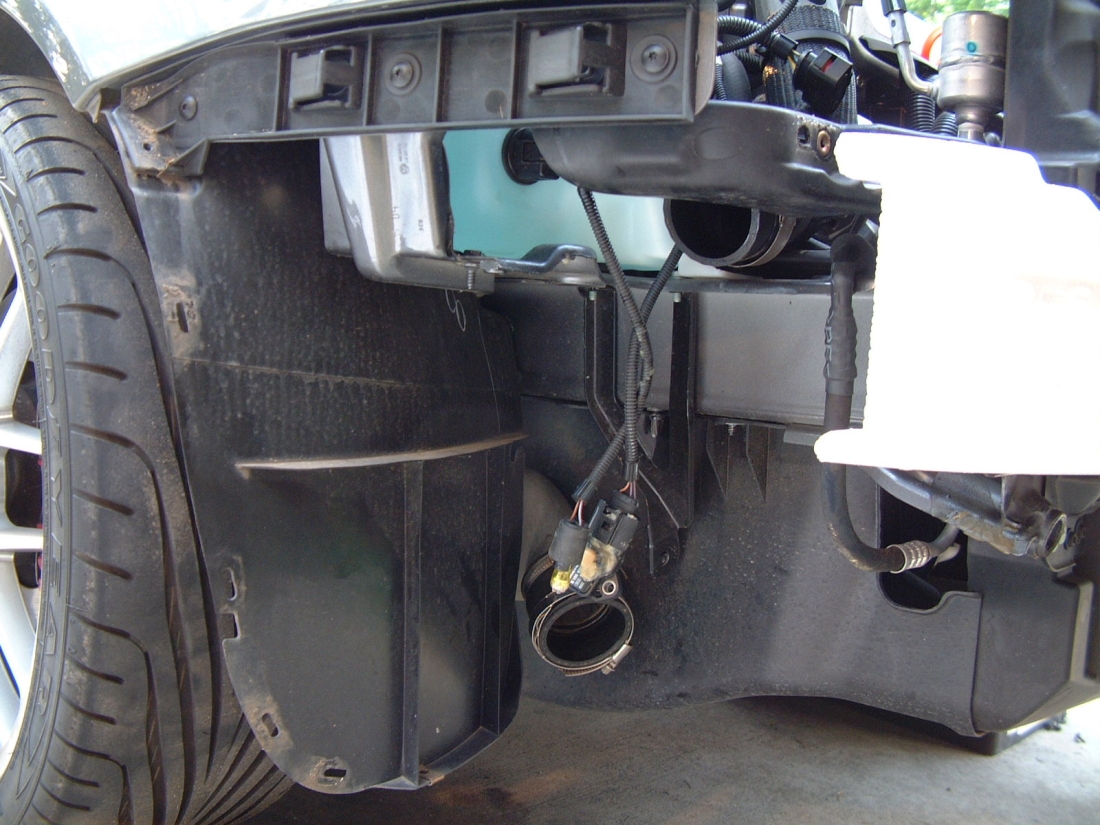
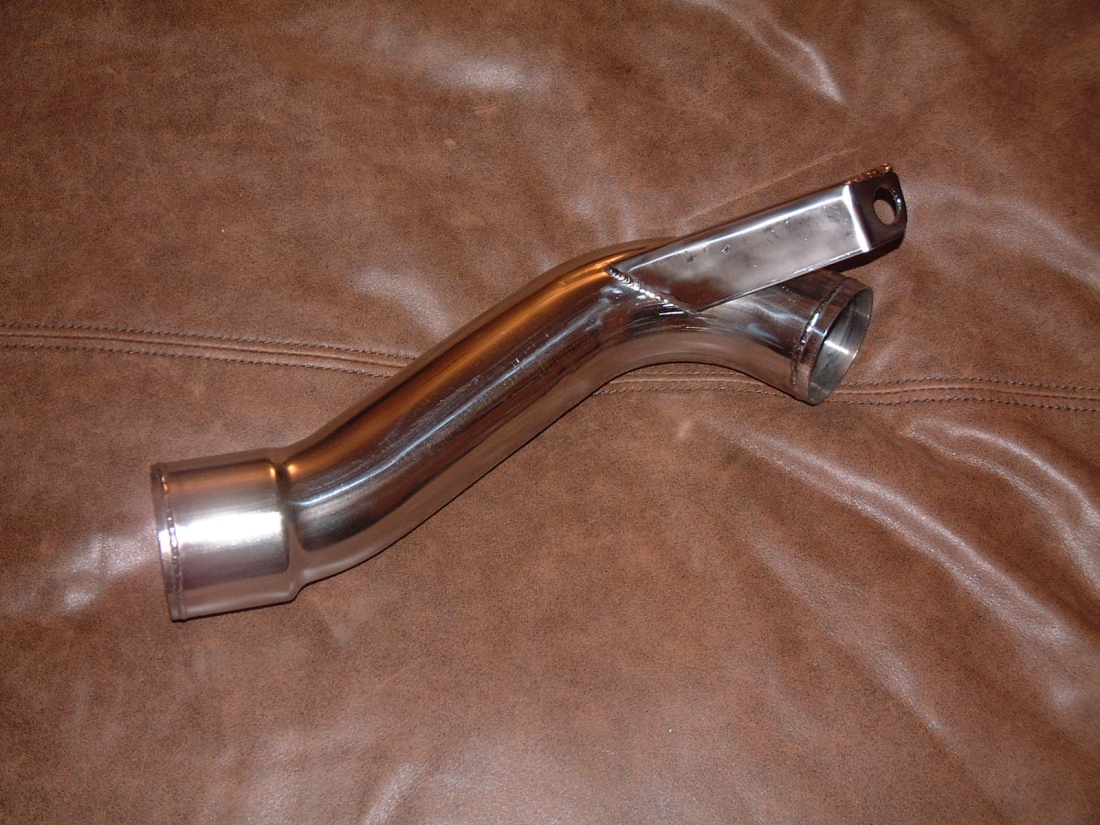
New intake pipe from GHL ..... this is the pipe that comes packaged with their CAI but if you want to do something custom to retain your factory airbox, these can be purchased direct from GHL for $25 plus shipping. First step is to remove the factory airbox and headlight intake ring, held on to core support by three plastic "rivet" fasteners, I used the Neuspeed instructions HERE. The next thing I did was cut off the portion of plastic tubing we would not need and then used a heat gun and leather work gloves to work the circular termination into an oval shape. I also removed the divider in the airbox and then used a small piece of that plastic to make a mounting tab for the pipe. Pics L to R: GHL CAI-you get the pipe pictured with NO hardware for $25, pieces no longer needed including pipe section cutoff from GHL pipe, different angles of finished installation-note bracket made from leftover plastic divider that has been removed, two pics of pipe intake.

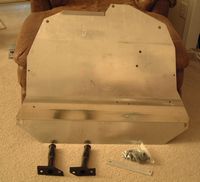
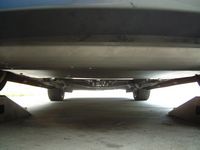
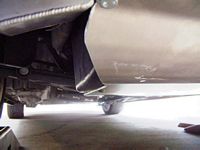
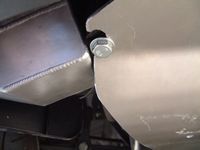
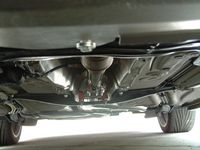
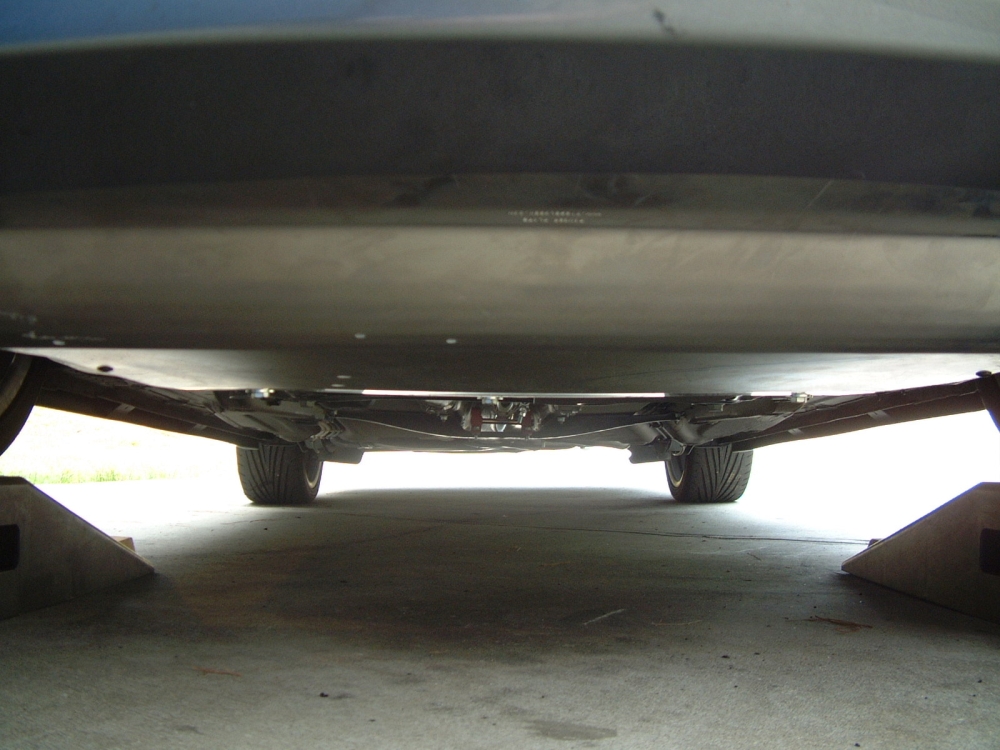
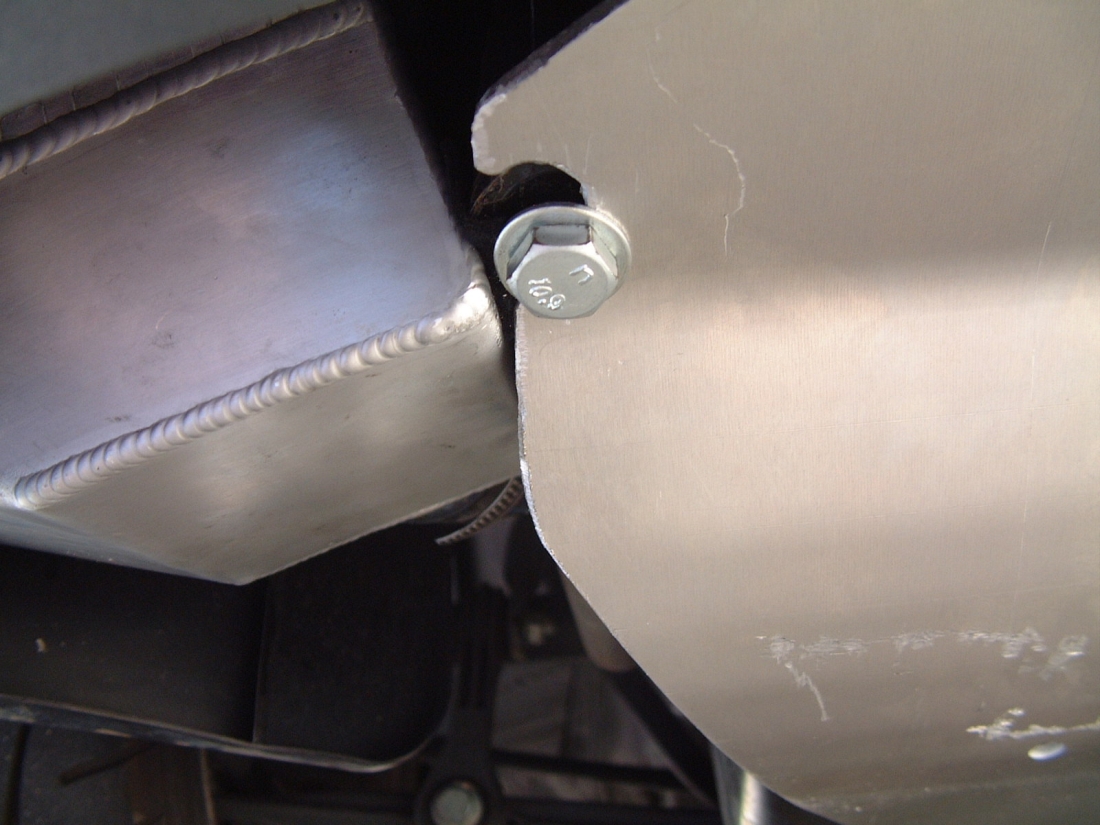
DieselGeek Panzer Skid Plate (Thanks to Jim for listening to the VW community and coming up with a superior design) - (L to R) Arrived a little scratched up from FedEx (to be expected), front mounting posts installed, front underside, front side view, plate had to be modified a little to work with new SMIC. GREAT for piece of mind.....
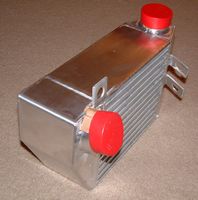
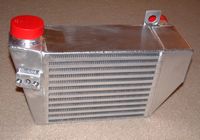
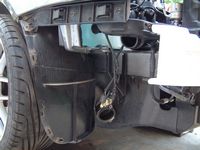
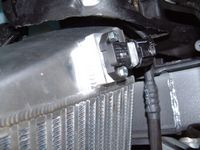
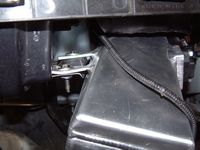
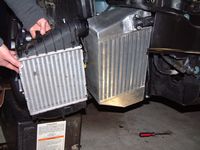
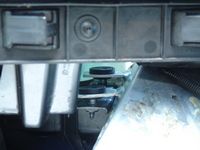
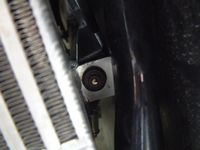
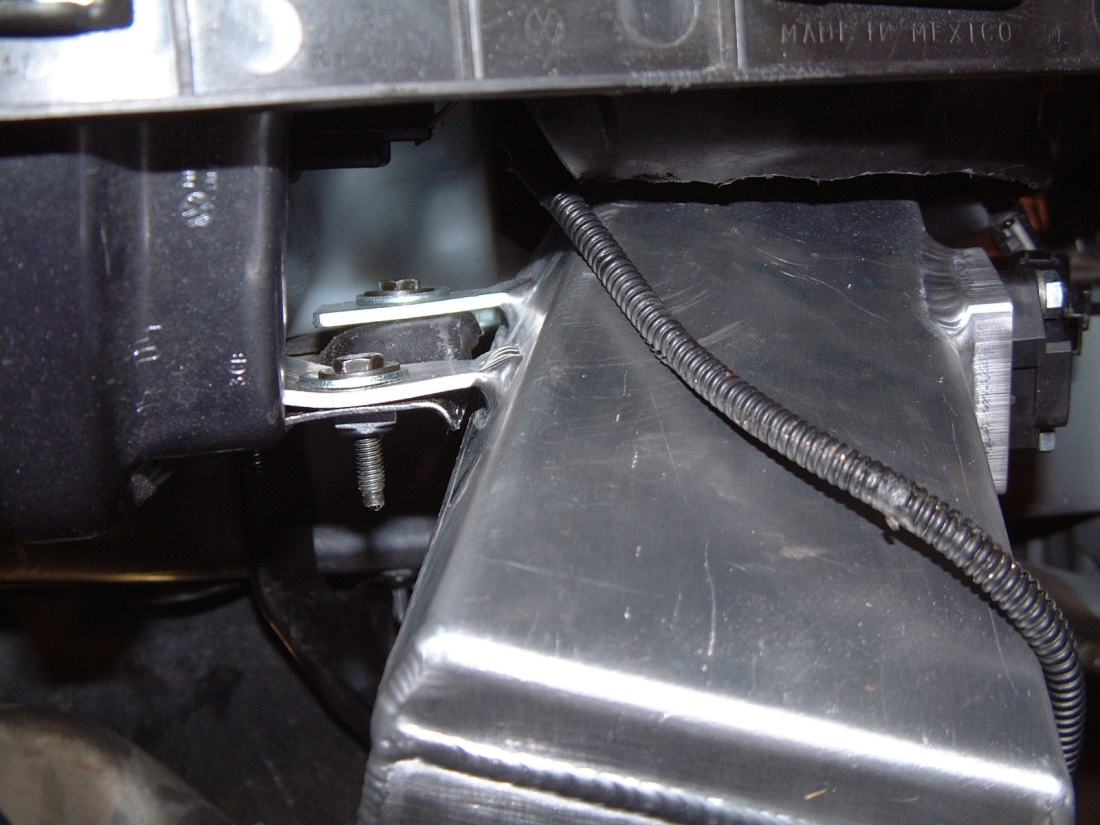
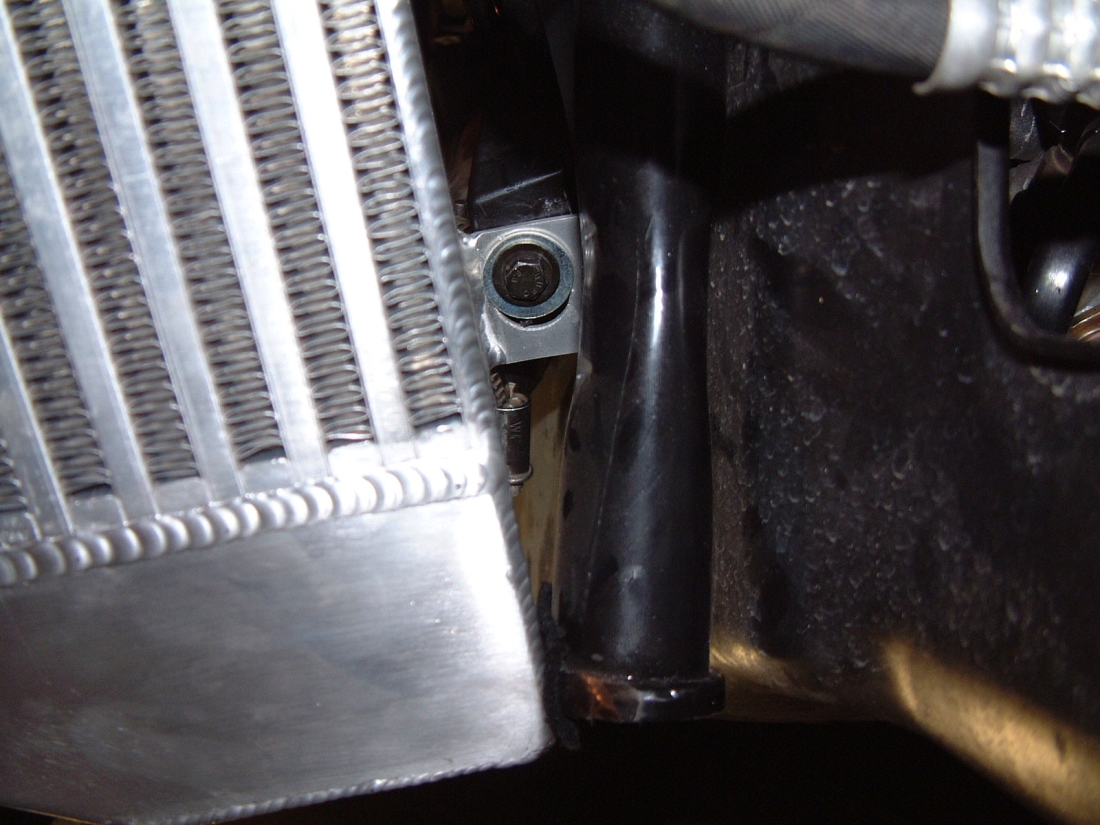
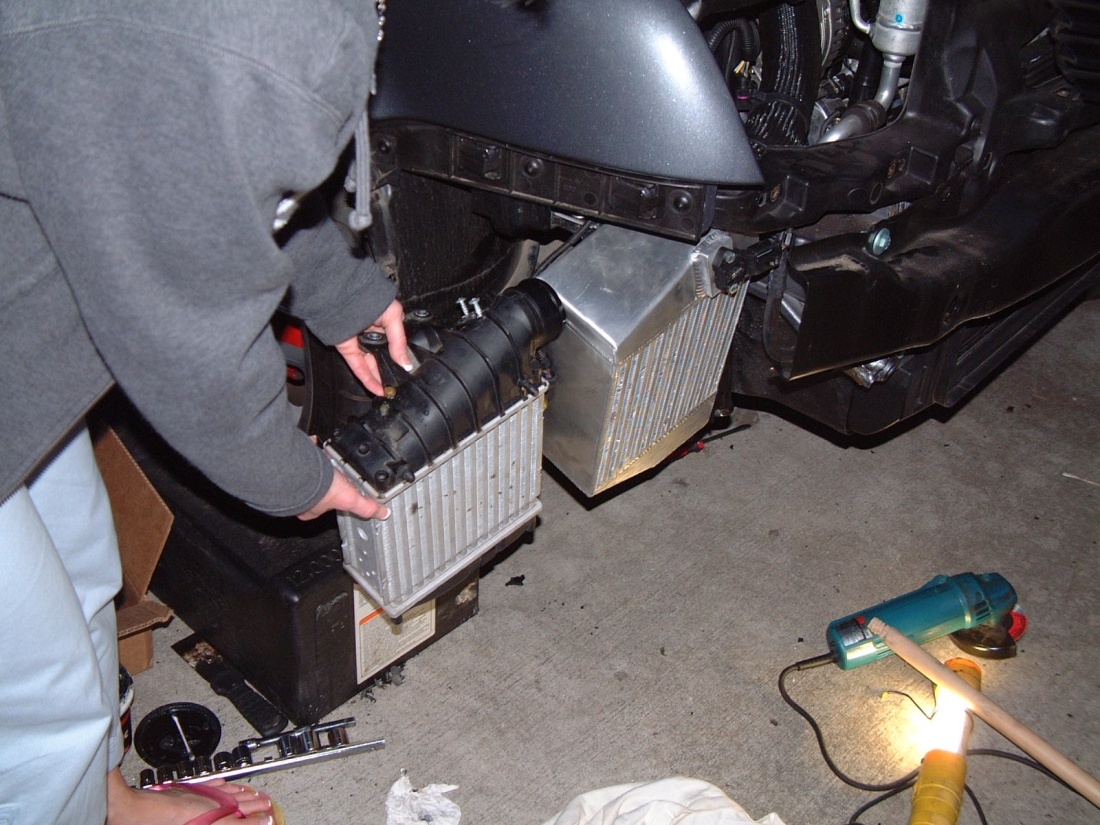
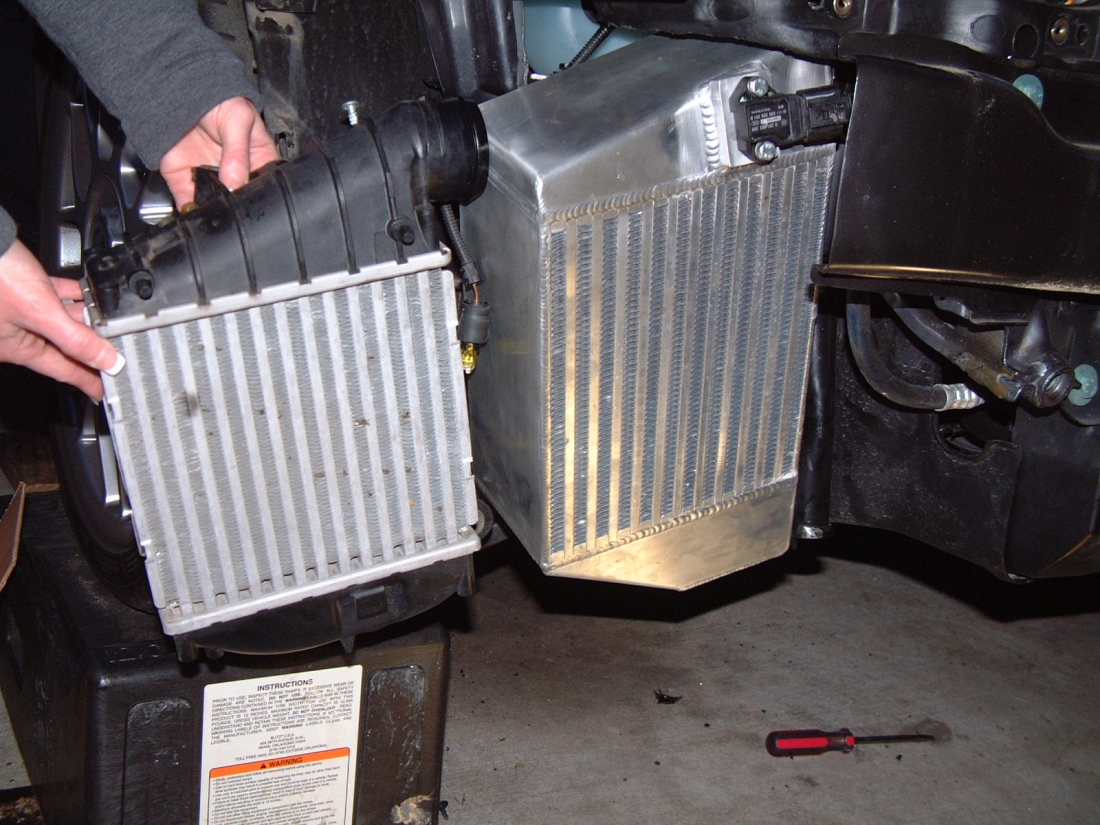
Tyrolsport SMIC (Thanks for the great service Michael!) - Replaces the OEM with a high quality bar and plate design, tests show it to be as efficient as a FMIC and retains the stealth appearance, click HERE for test results or HERE for installation instructions. (L to R) Two pics of new intercooler on arrival, Bumper and OEM intercooler removed, Headlight removed and top of core support cut for clearance, bottom of core support cut for clearance, top mounting points, lower mounting point (notice that the leg for my DG Panzer plate was ground down to allow a little more clearance and felt pad placed between it an intercooler to prevent rubbing), two comparison pics, returned to OEM rubber mounts top and bottom (originally hard mounted due to clearance issues with other mods). This intercooler ROCKs, no boost pressure lost, completely stealth, and car feels stronger and more consistent
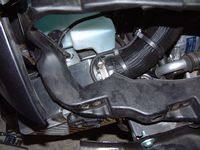


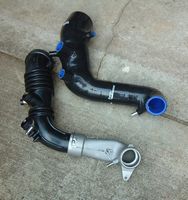
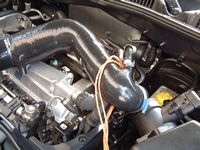
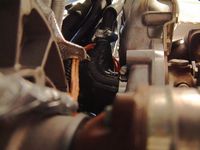
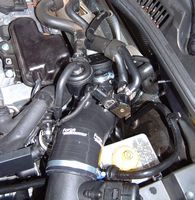
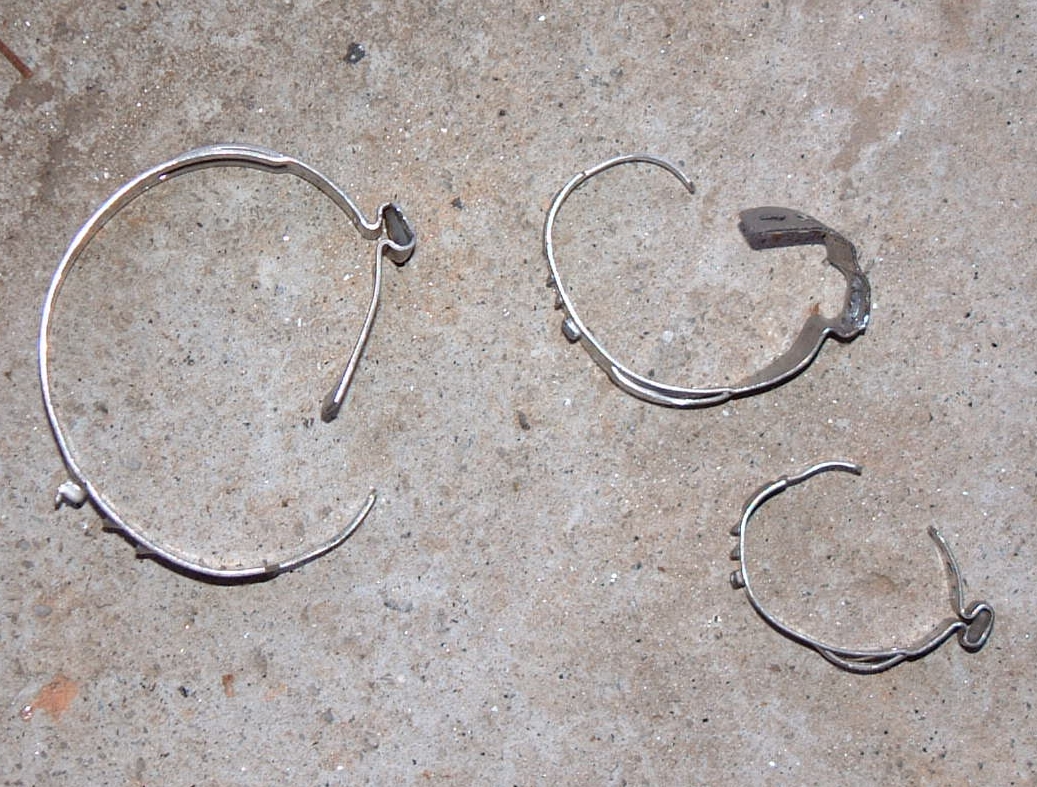
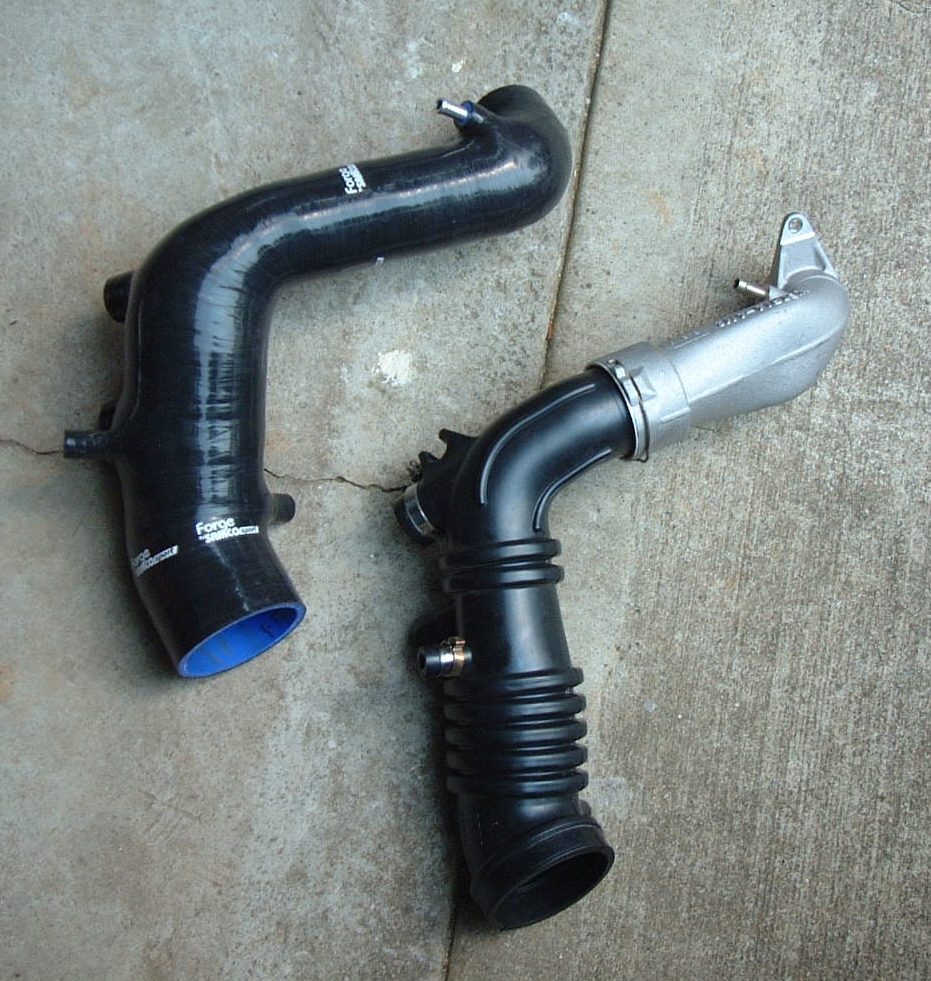
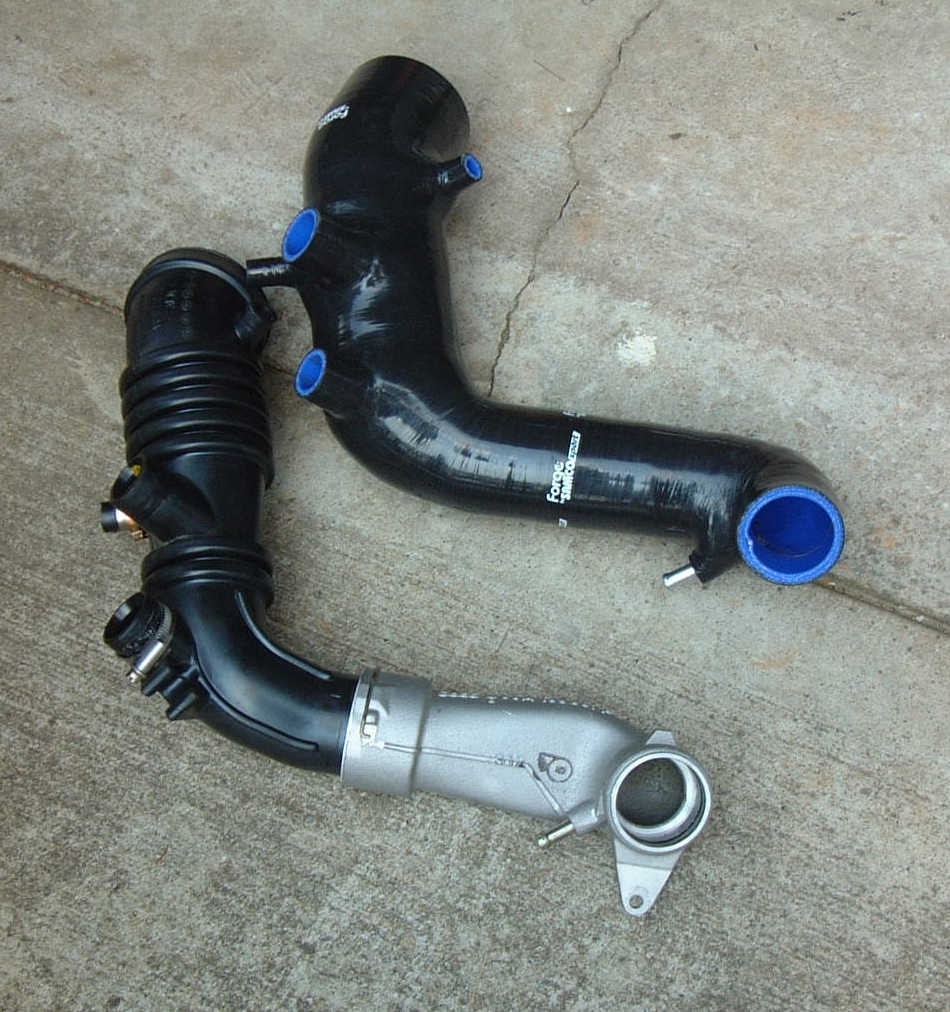
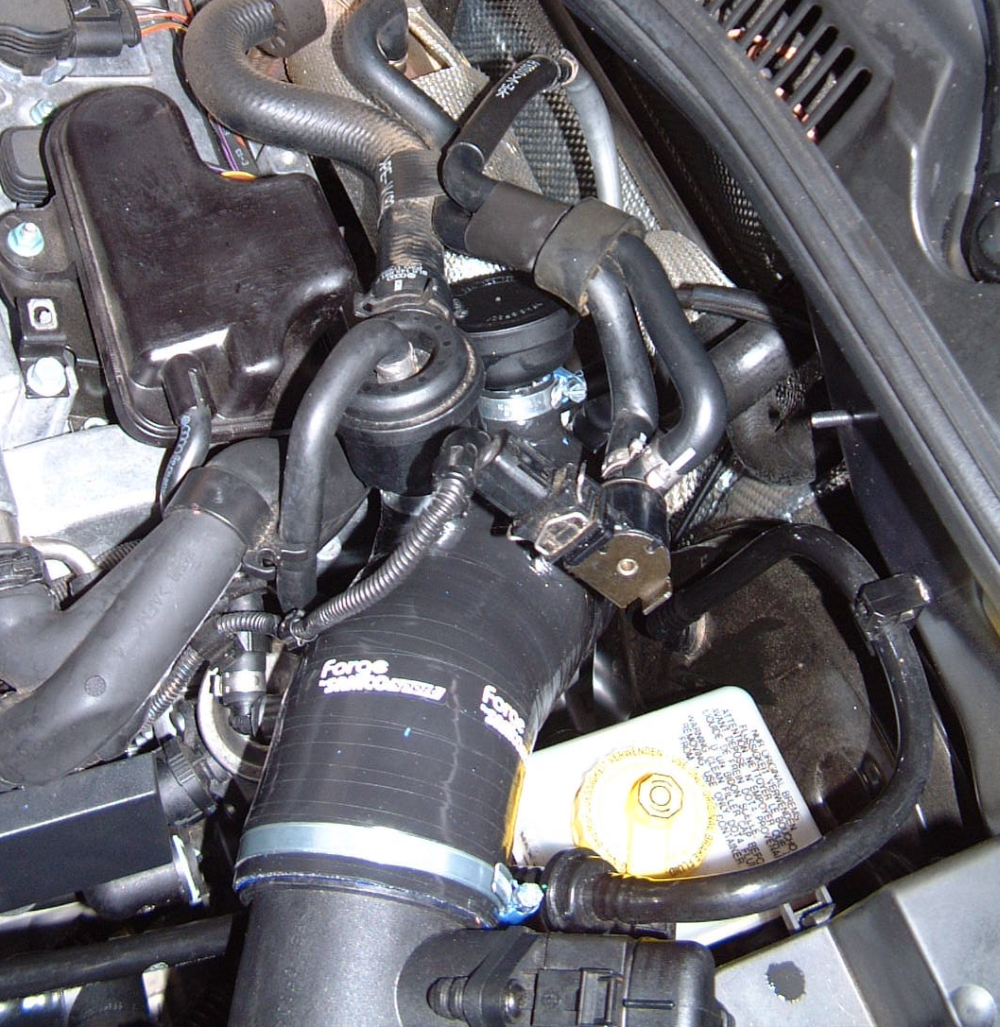
Forge Motorsport Samco TIP (Turbo Intake Pipe) from ECS Tuning- OEM tip is weak/restrictive, click HERE to see the OEM rubber collapsing under load. This Samco TIP is reinforced silicone and is more rigid and flows better than OEM. (L to R) TIP with clamps as shipped from ECS, first step is to remove the VW hose clamps by prying them apart with a screwdriver, bottom view of OEM-single bolt removed with 5mm hex (some wiggling required to get it off the turbo and up/out-the lower hose removed once up top), two comparison pics (Notice one nipple is smaller than OEM, this will be a pain when reinstalling the pressure regulating valve for the breather), twine around TIP will help pull it into place (that and a little car soap applied liberally to TIP and everything it comes in contact with), TIP installed on turbo and clamp tightened (lower hose should be installed and clamp placed on hose prior to pushing TIP down from top), everything up top reinstalled after fighting for a while to get the breather pressure regulator into the small hole (you will be cursing Forge before it's all over). Very worthwhile mod, helped smooth the power delivery and lets you hear the turbo a little better
I found this DIY after I did my install and thought it may help someone out, it is HERE
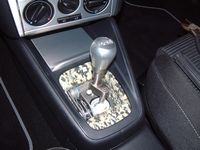
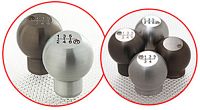
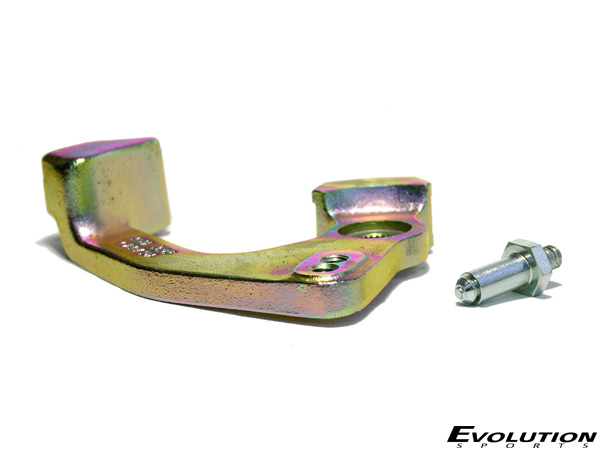
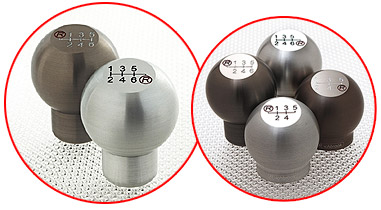
Hyperformance Tuning short shifter from Evolution Sports (Thanks for the great service Matt!)- EIP was removed and sold, I needed the adjustability this shifter offered as I plan to install a B&M shifter also, can't be too short for the wife
Adjustable to 30% or 45% reduction, the additional counterweight makes the shift very positive and solid.


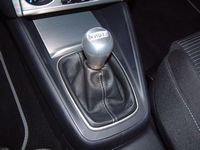
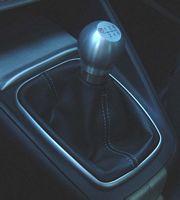
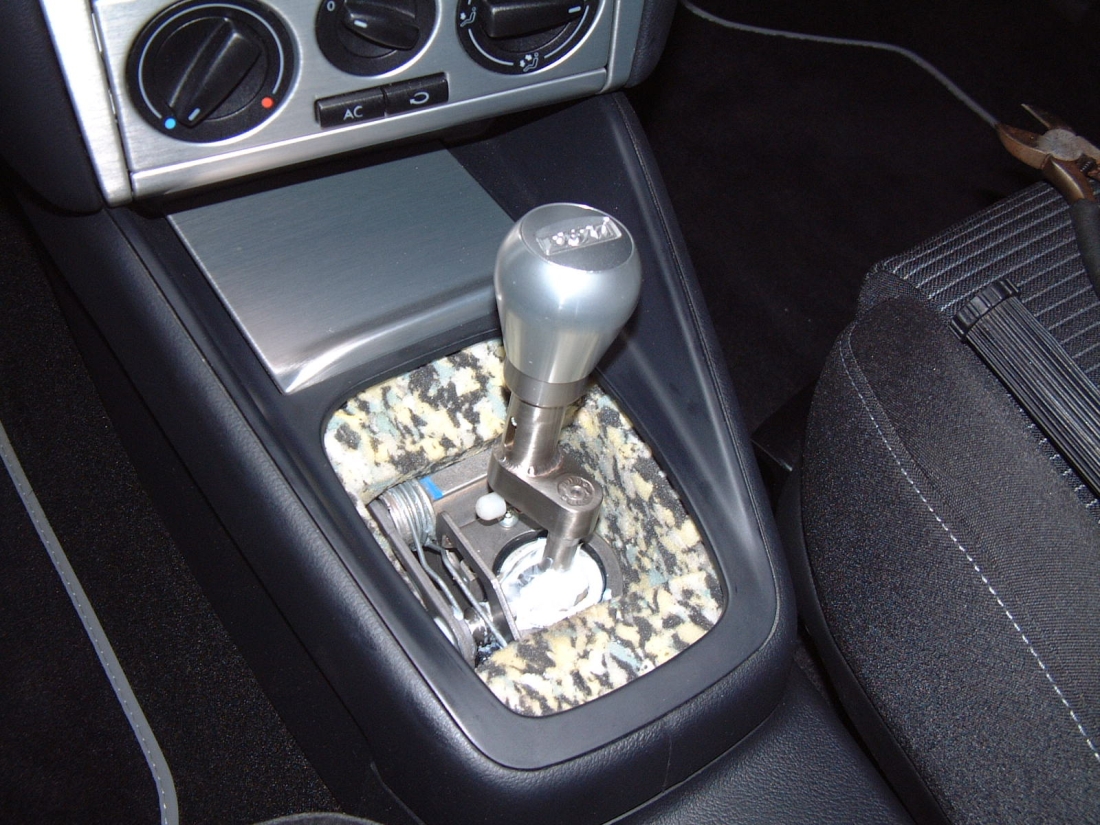
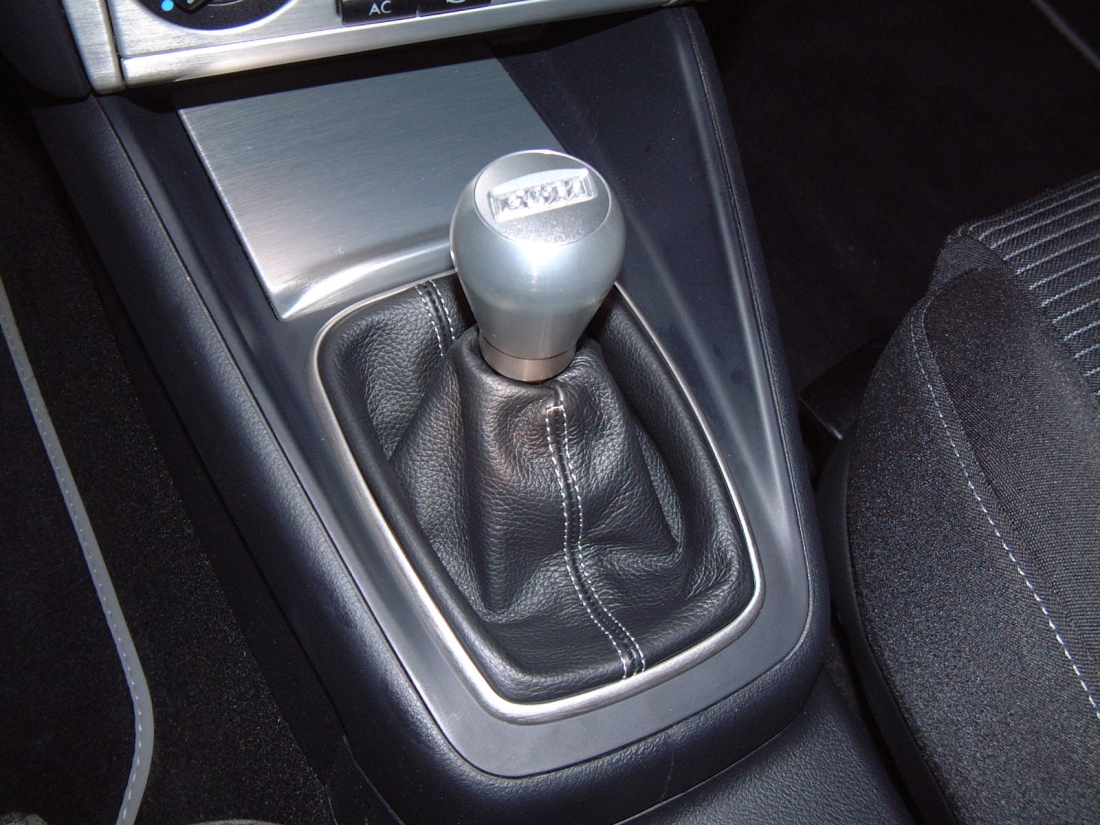
B&M Shifter from Car Customs installed (Thanks for the great deal Karo!)- I elected to install the TT shifter (PN 45146) instead of the VW shifter (PN 45114). I did not like the VW lift for reverse so I chose the Audi TT shifter to retain the push down for reverse feature. Unfortunately, the first generation B&M TT shifter only works with a knob that is recessed on the bottom to allow the shifter to be pushed down. It seems that the only knobs that are "lift-for-reverse" style are in the UK so a Richbrook knob was sourced from Speeding Co UK , I am stuck using the B&M knob until it arrives. PDF installation instructions for both shifters here: Audi TT Installation and VW Installation. This installation was easy to do while I was swapping the exhaust system but is a little bit of work. The downpipe must be removed, then the heatshield, and then the shifter box can be accessed from below to remove cables and reinstall. Sounds like a pain (and it is) but it is worth it, The B&M is solid and precise and is fantastic when used with a trans SS. The B&M comes with a new retainer plate with the reverse lockout functionality. A small bolt is supplied with a 3mm hex on one side and a nylon stopper on the other, this is used to adjust the reverse lockout position (can be seen in first picture below). The boot was replaced with a custom boot from Redline Goods, higher quality leather than OEM and fits the shorter height of the new shifter. The factory boot trim ring was re-used by carefully removing staples from the OEM boot, stretching the new boot over the frame, stapeling the boot to the frame, and snapping it back into the trim piece.
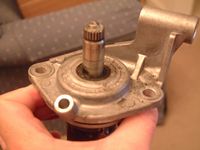
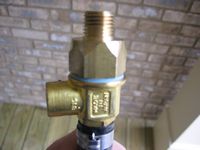
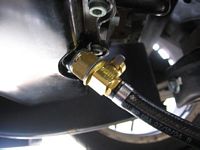
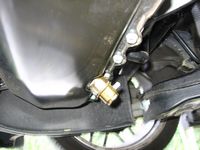
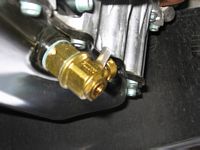
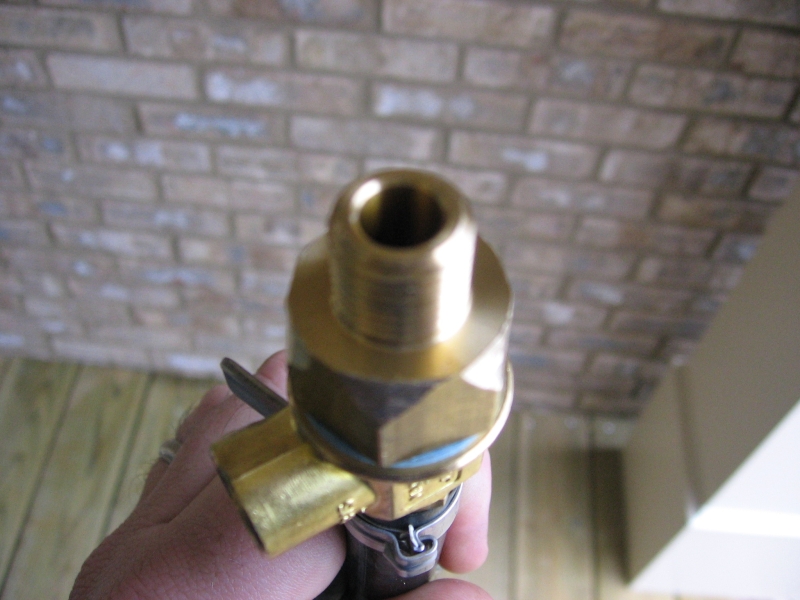
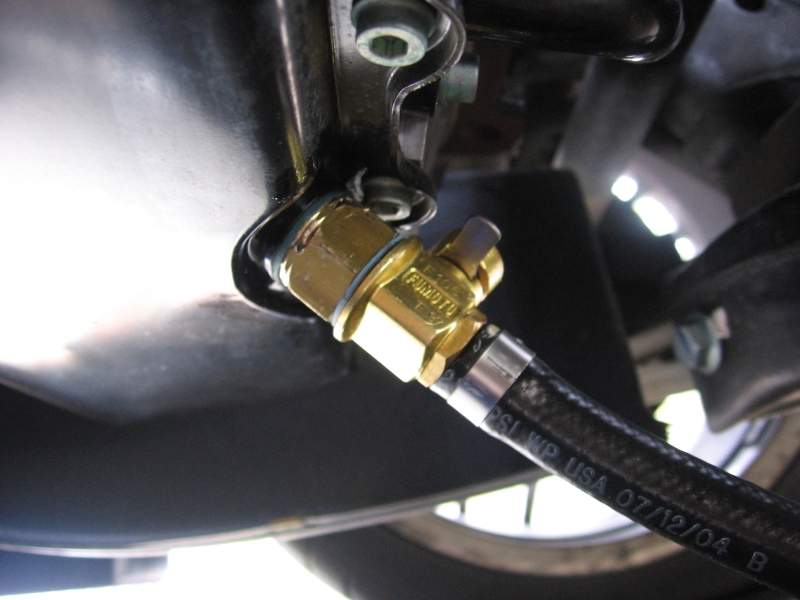
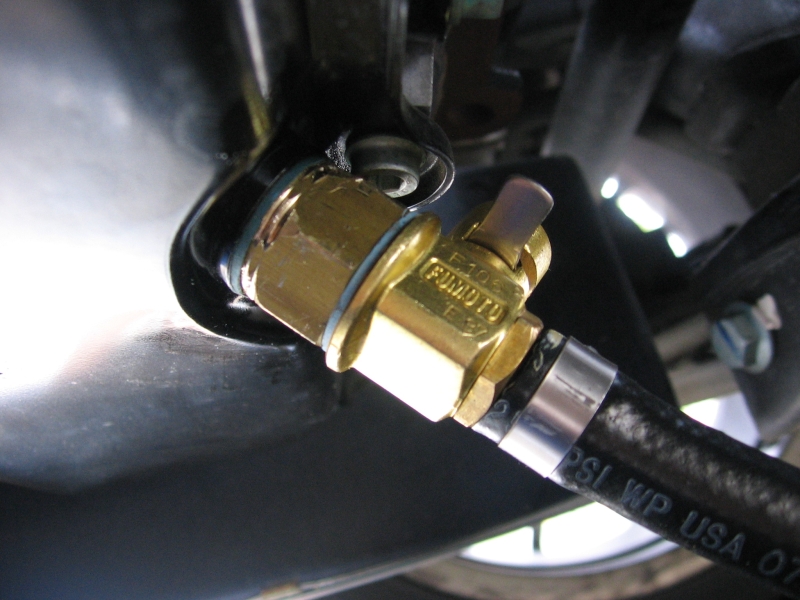
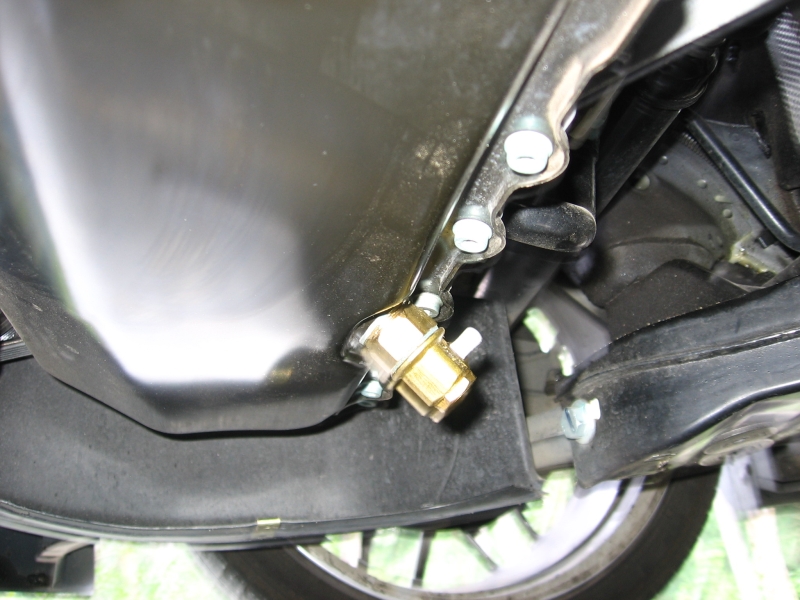
Fumoto Oil Drain Valve from DieselGeek - This valve allows you to quickly drain your oil without worrying about stripping the threads on the aluminum oil pan....DG has packaged this with the adpaters and hose for quick install, all you have to do is remove the oil drain bolt and replace with this assembly

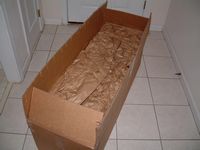
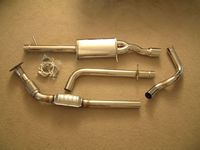
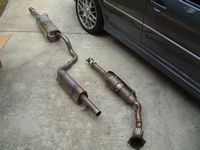
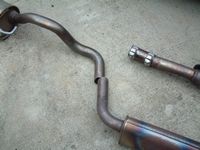
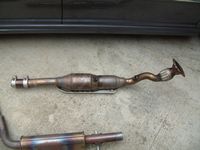
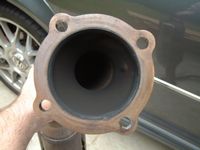
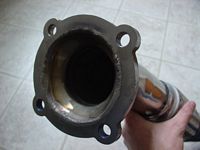
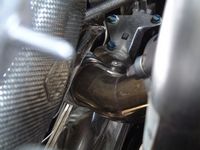
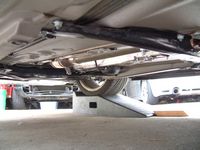
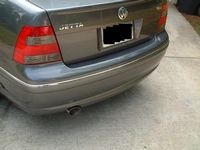
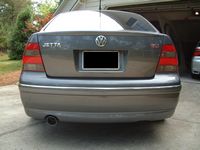
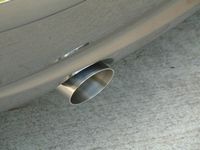
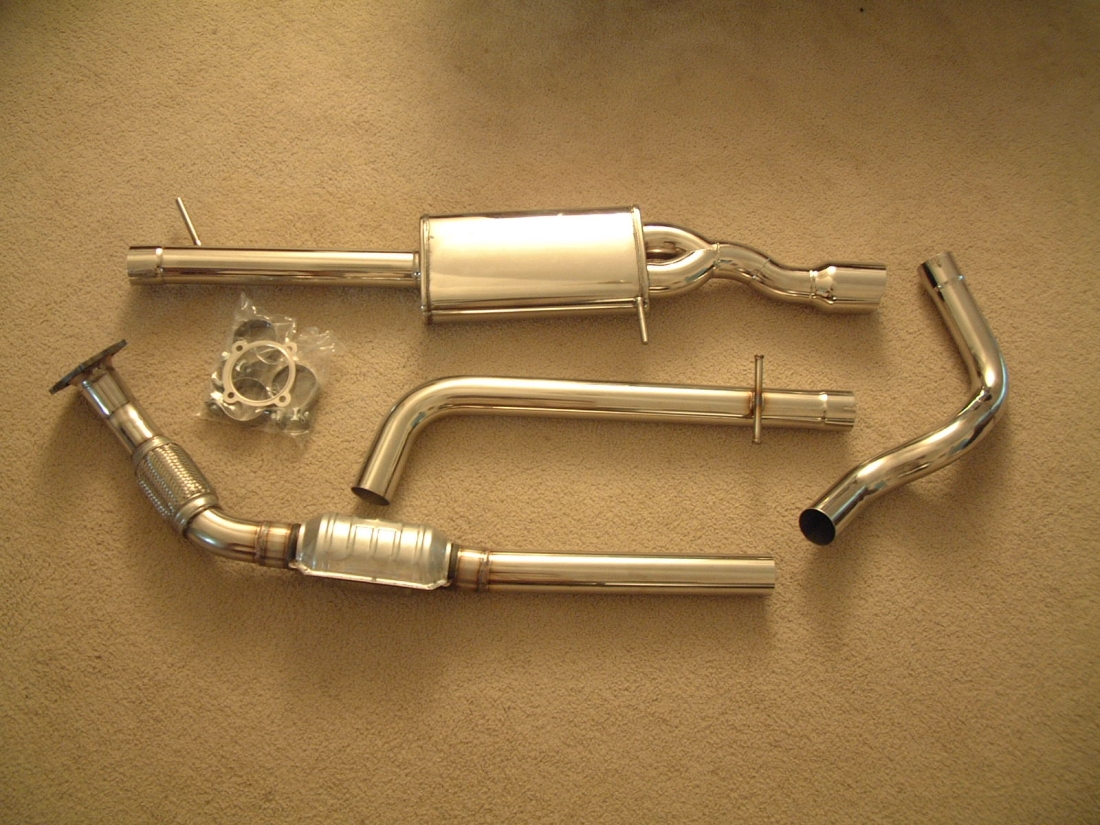
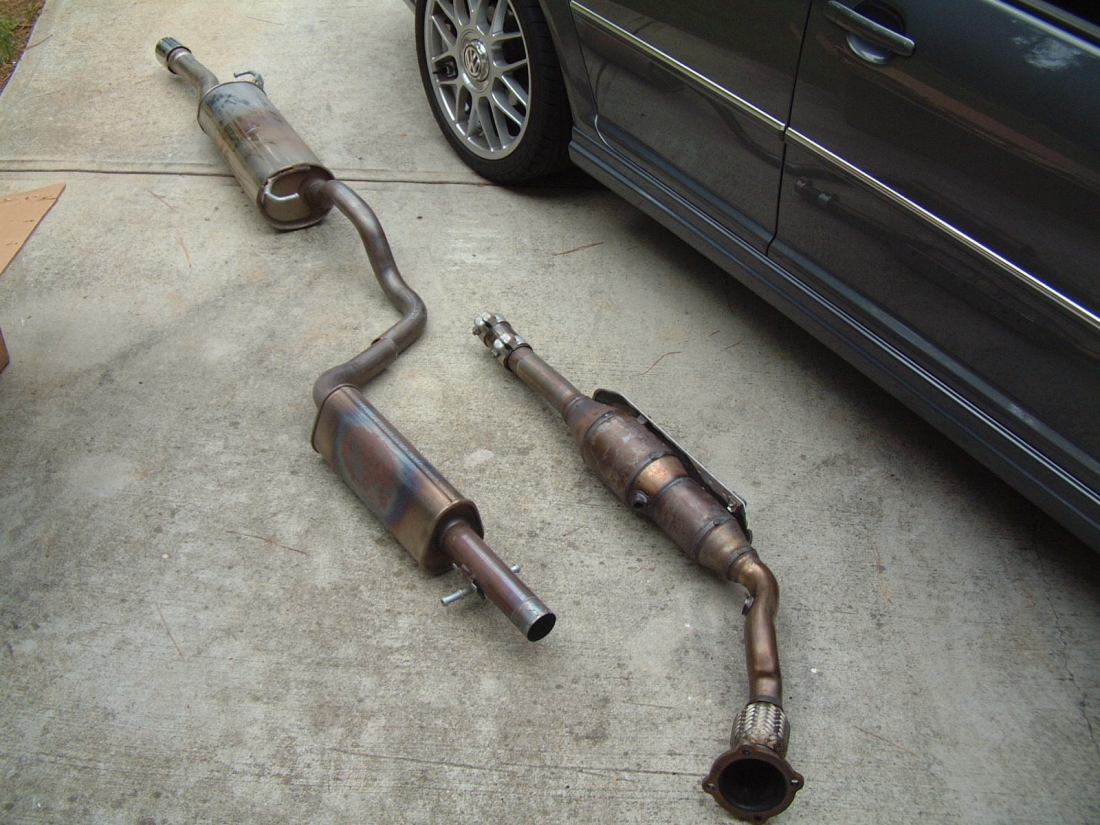
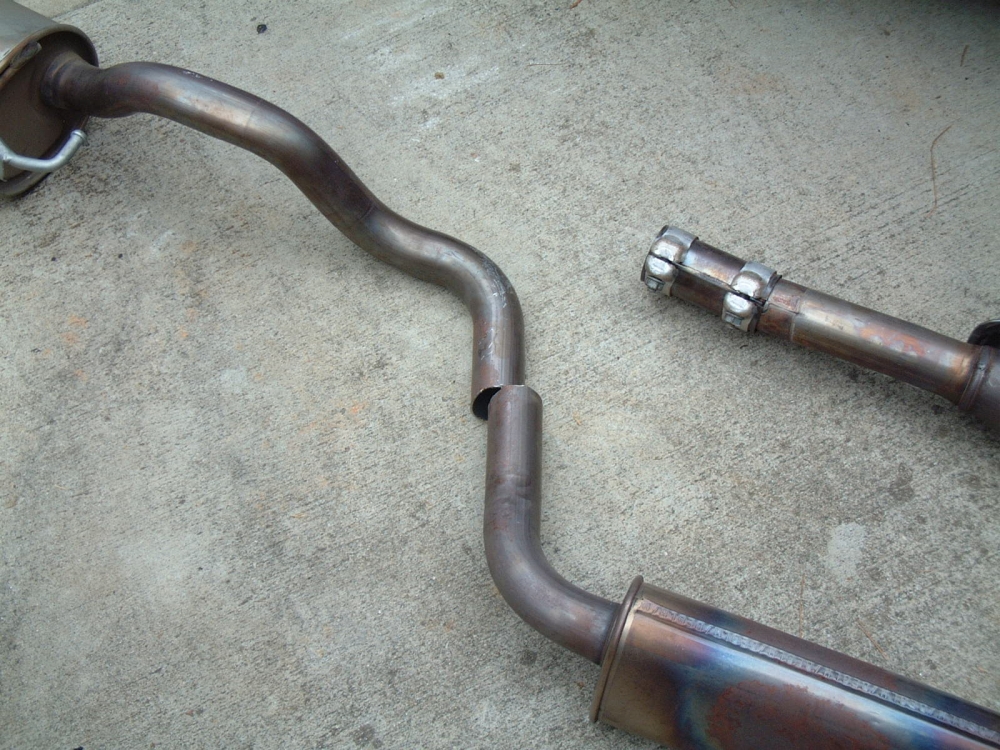
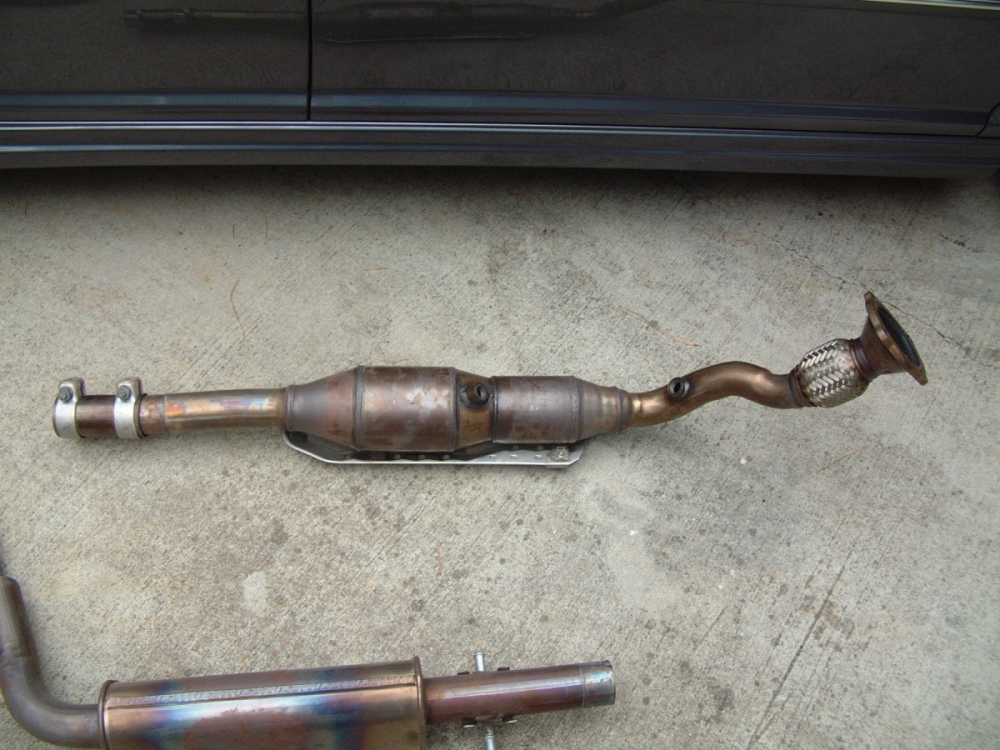
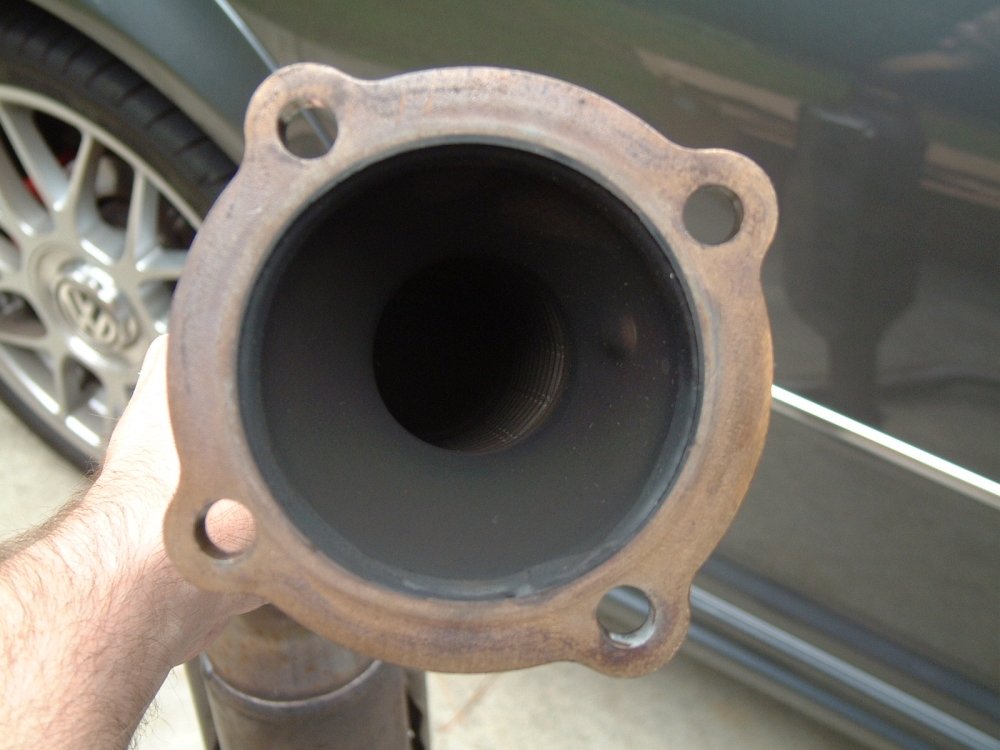
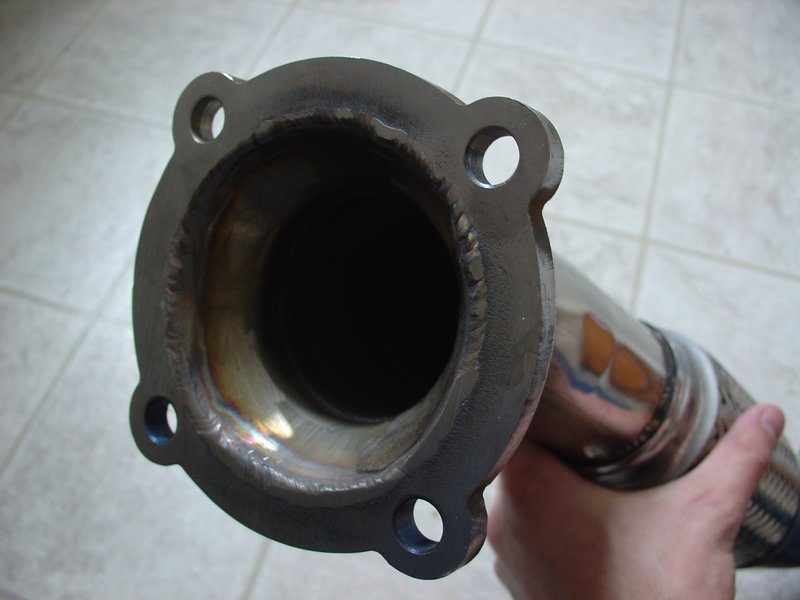
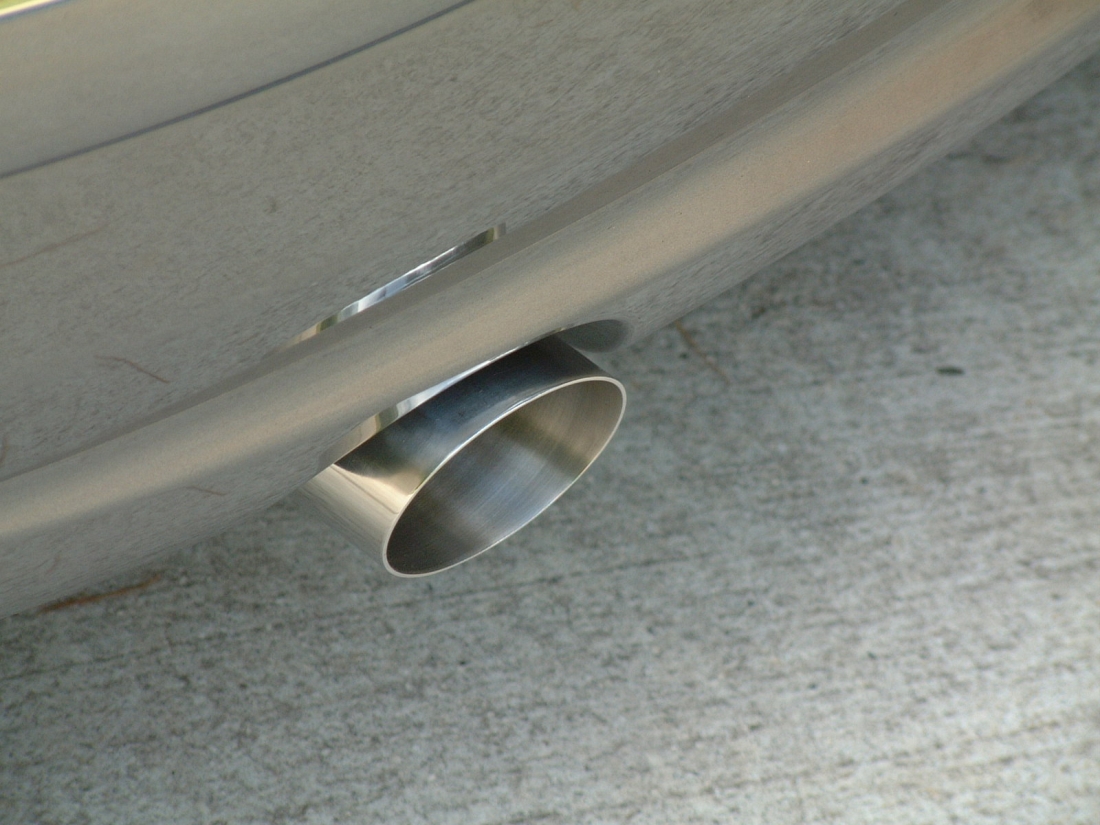
GHL Motorsports 2.5" Turbo Back Exhaust from SE Tuning (Thanks for the great service Eric !!)- Perfect exhaust for sound and performance. (L to R) Box arrives from GHL UPS-proofed, all pieces included in turbo back with clamps and downpipe gasket, OEM Exhaust removed, spot to cut OEM exhaust for removal- allows for re-installation with clamps, OEM downpipe (best to soak DP>Turbo bolts with PB Blaster BEFORE attempting to remove), see how restrictive it is compared to GHL DP on the right, heatshield may require gentle massaging to avoid contact with the GHL downpipe, GHL viewed from front of car, middle of car (notice crossmember/mount that will have to be removed with OEM exhaust and re-installed with new), rear of car, 3 pics of the tip. This exhaust allows the turbo to spool much quicker and after install did not require any adjustments- no noises at all other than the nice purr of a non-resonated 1.8t exhaust
Sound clips made with less than audiophile phone video here: Video 1 and Video 2 (Open with Quicktime).
GHL Motorsports LIP (Lower Intercooler Pipe) from Fixx Tuning- Replacement pipe for lower intercooler pancake pipe, free flowing and less restrictive than OEM (L to R) Pipe arrives, ***more pics soon***
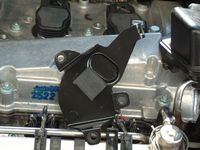
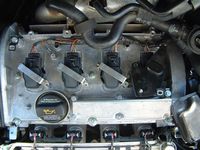
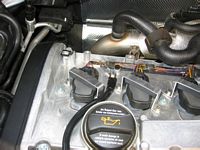
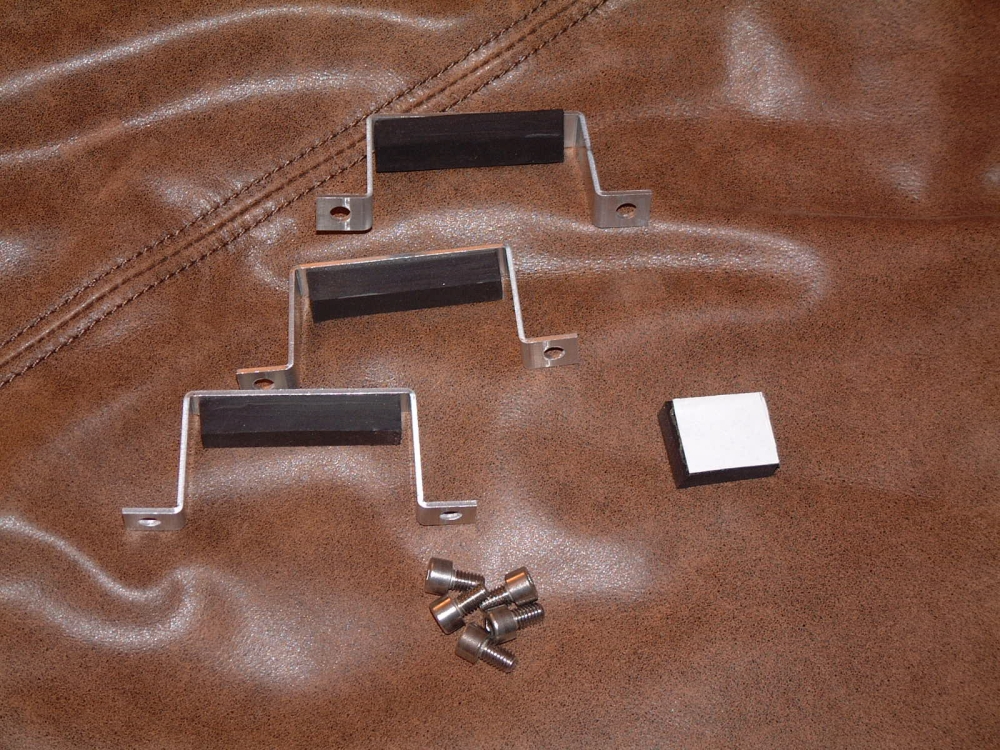
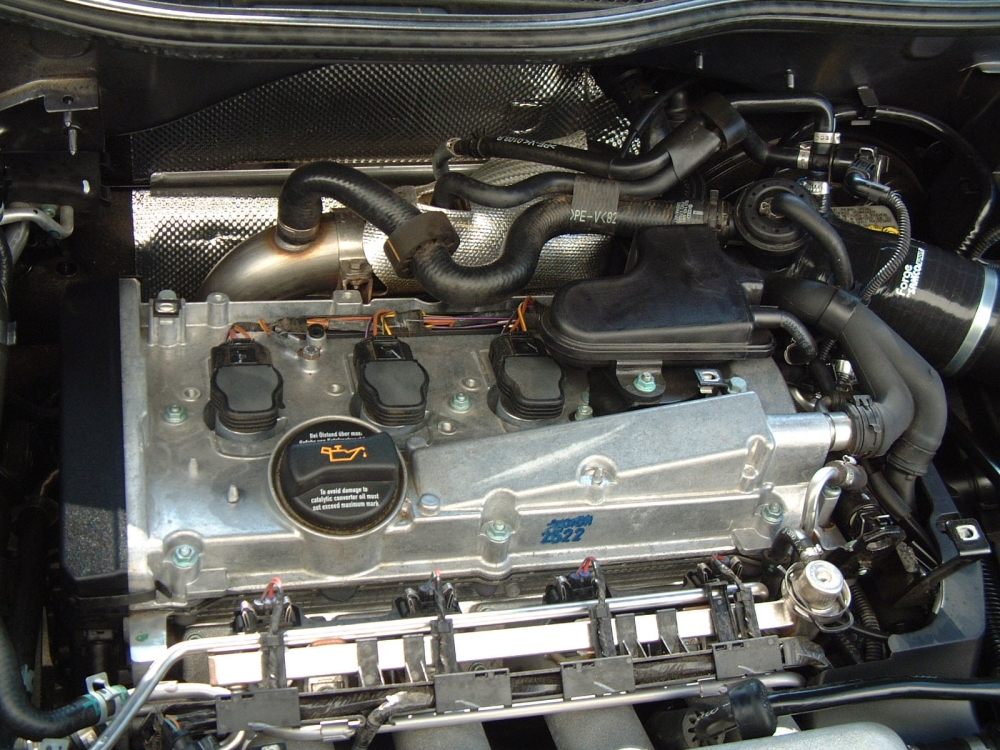
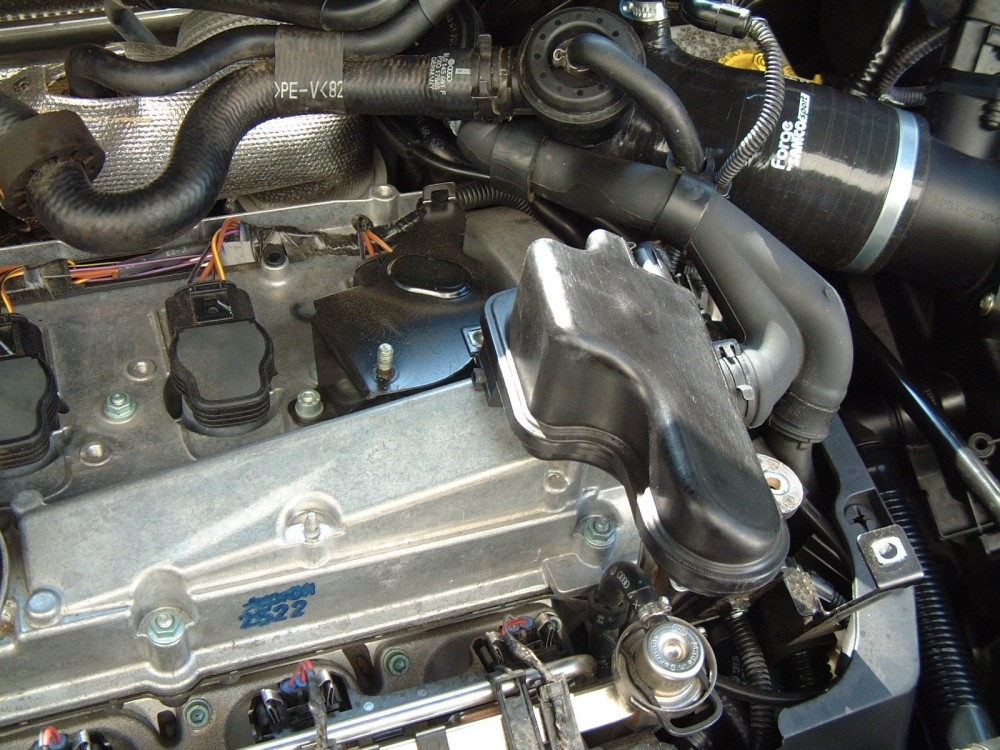
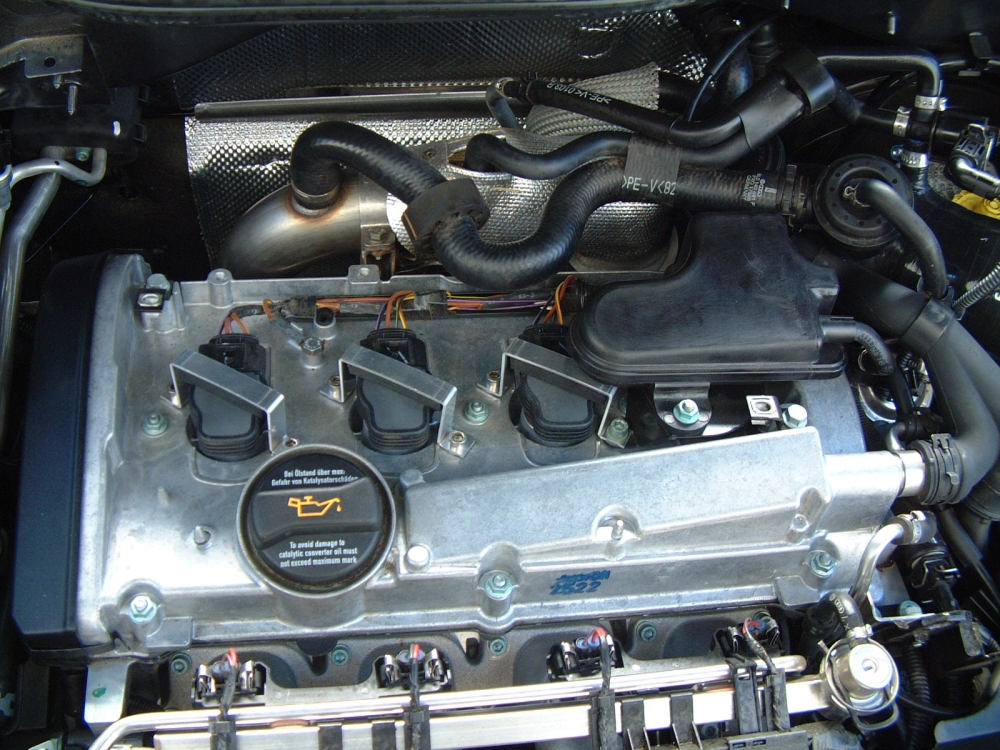
Coilpack retainers by VW Vortex's enginerd aka Justin Baltrucki- Easily installed with existing holes and supplied hardware, these retainers keep you coilpacks from popping up


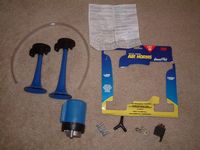
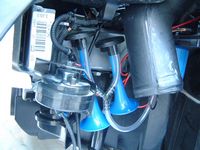
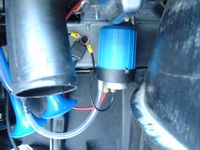
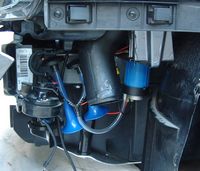
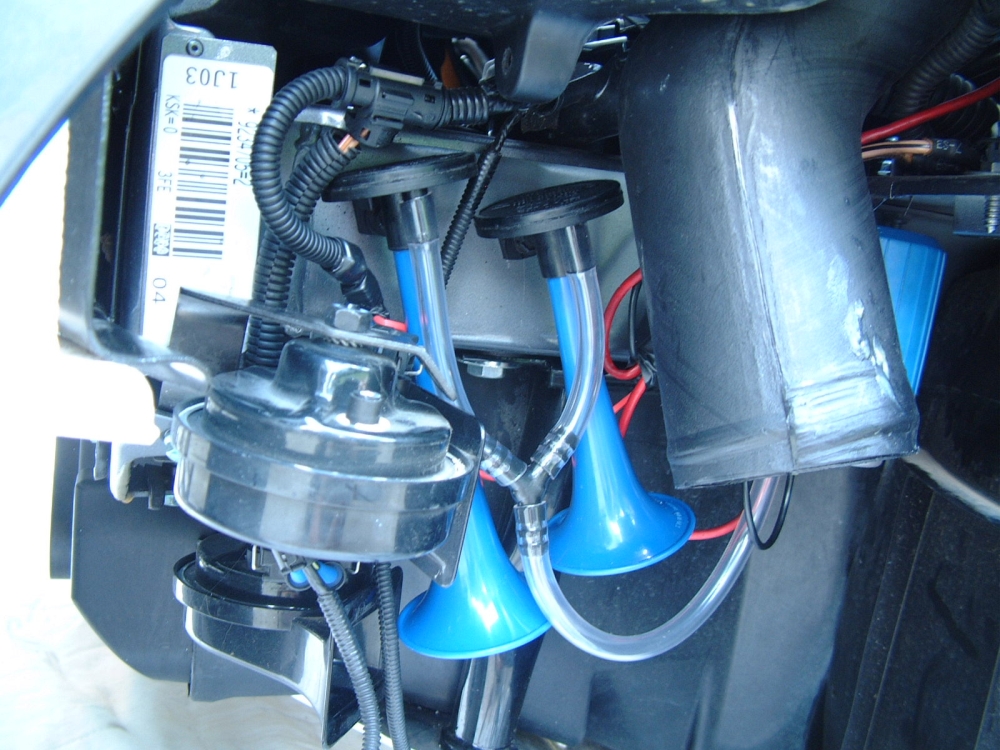
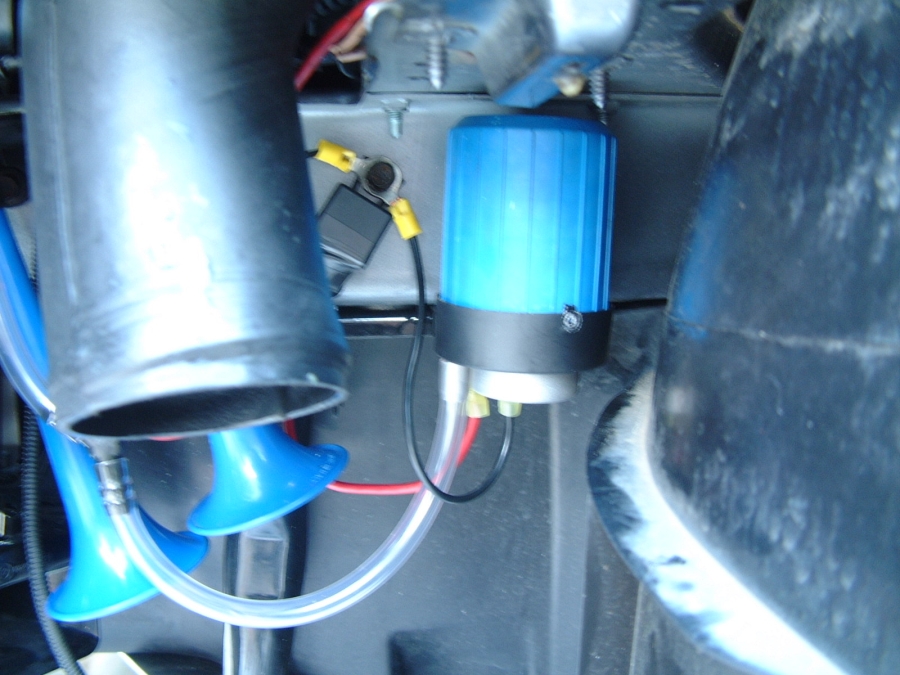
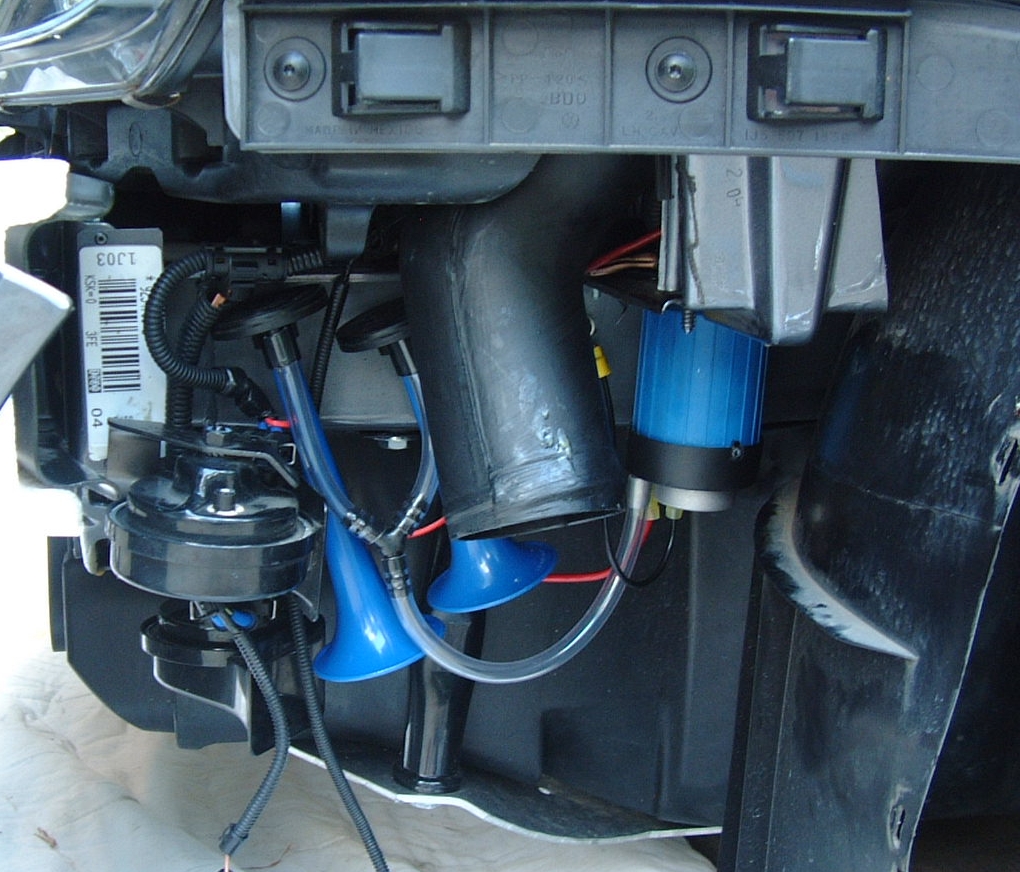
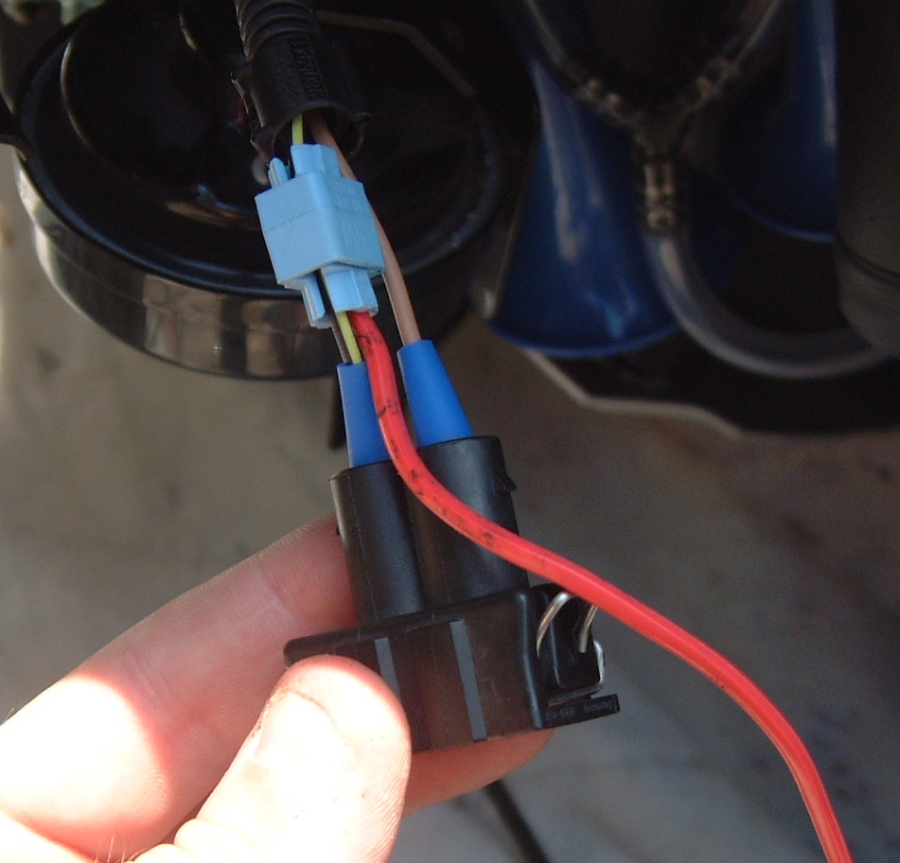
Fiamm air horns installed- These horns are wired in parallel with existing horns using a relay so that they are HEARD
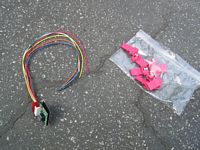
Installation instructions and wiring diagram HERE (L to R) Horns and hardware, horns mounted, air compressor and relay mounted, all fits in place with no problem, trigger wire to relay is 12v black/yellow stripe and scotch splice allows for easy removal in the future (no cut wires).

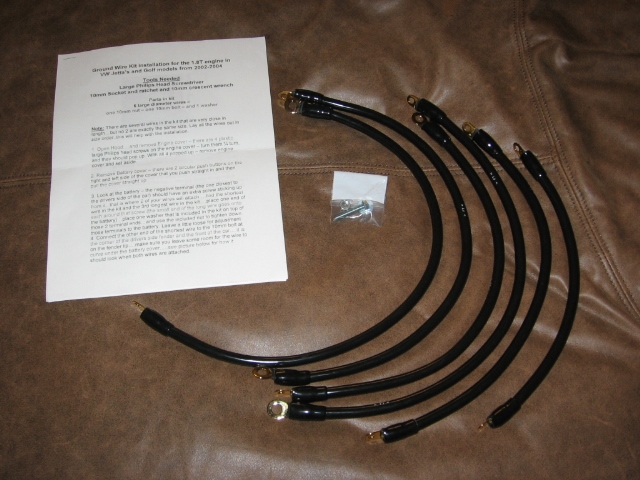
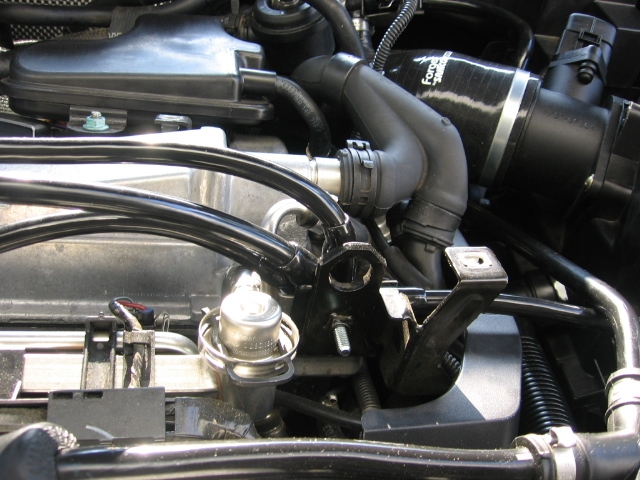
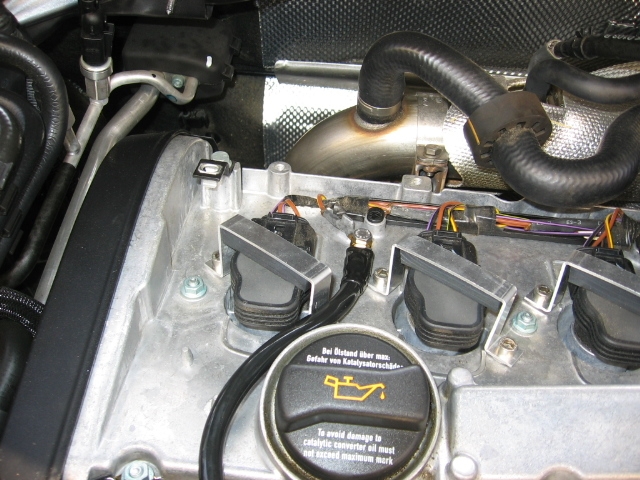
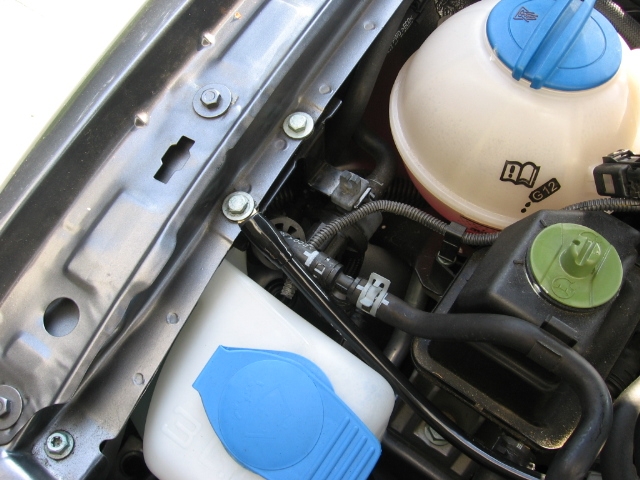
4Grounding ground wire kit installed. The price was right and it seemed to improve the issue of headlight dimming at idle, definitely can't hurt performance to have the engine sensors getting a strong reference ground signal.....
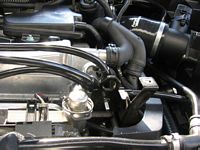
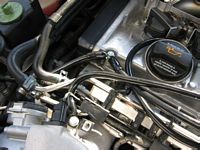
Grounding Kit Installation Instructions: HERE. (L to R) Kit includes 6- 4AWG wire with gold plated ring terminals, two wires connect the negative ground terminal to the motor and driver's side fender, central grounding point at motor, one wire to front right side of valve cover and one to throttle body, one wire to the coil pack ground, one wire to the passenger side fender, all back together with almost no visibility

Carbon Fiber BBS center caps from The TireRack (P/N 0924292, $13 each). Subtle mod but nice for the price, people already know it's a VW and the VW center caps on the OEM BBS RCs are almost overkill
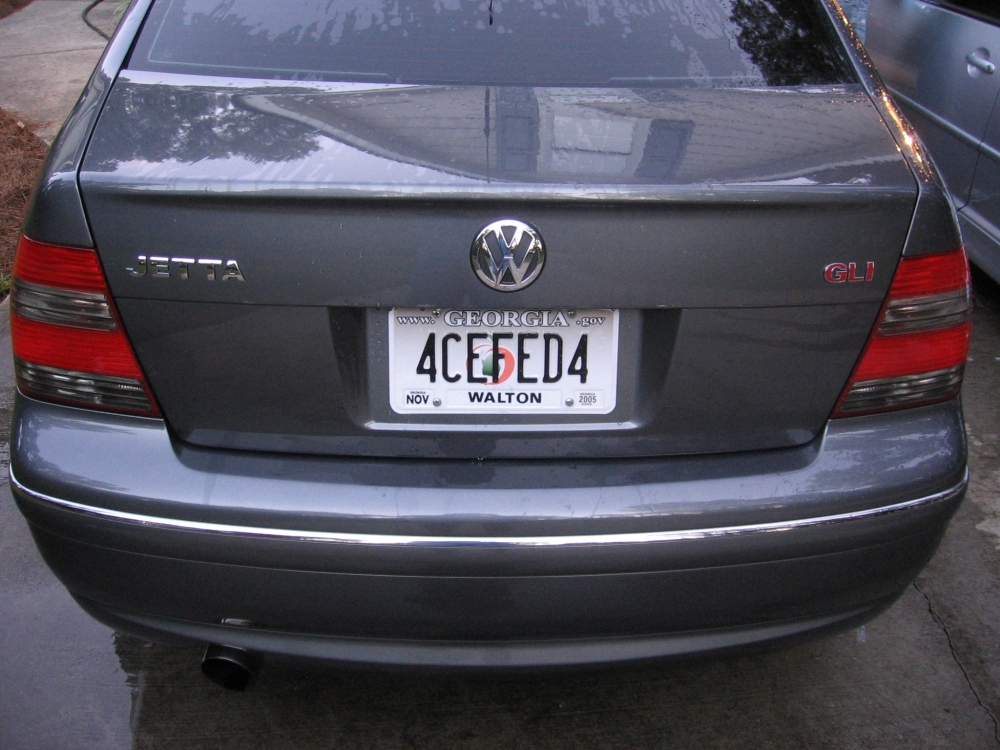
New Tag:

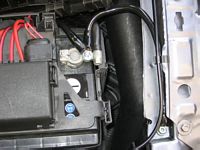
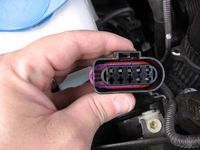
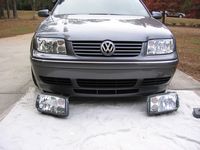
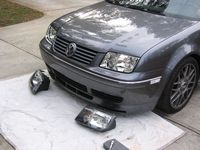
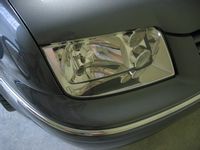
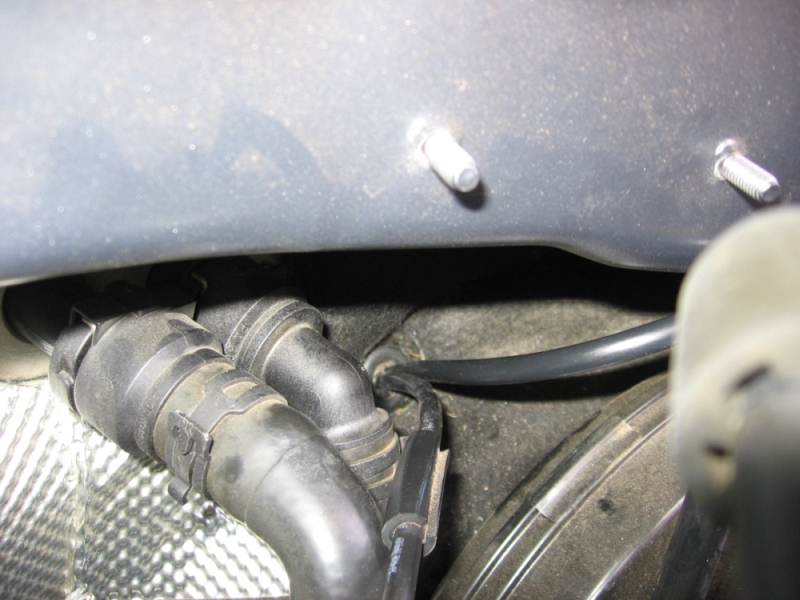
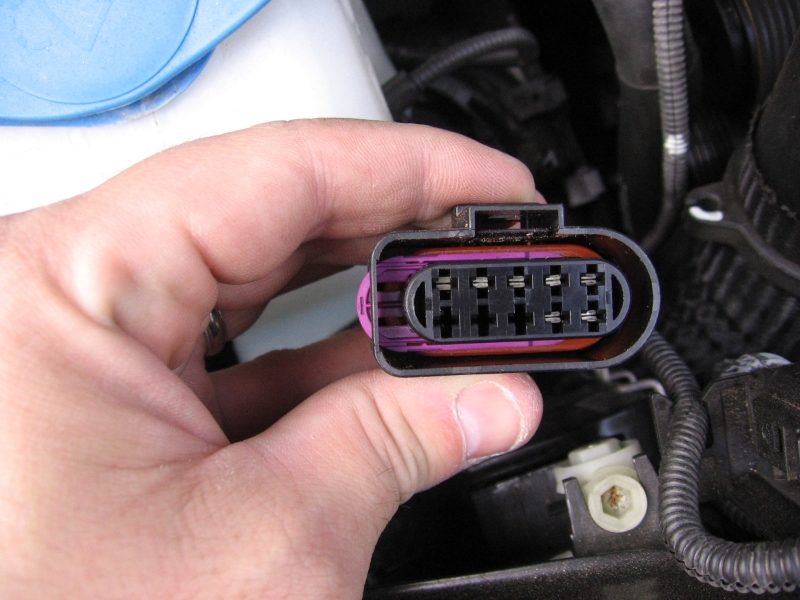
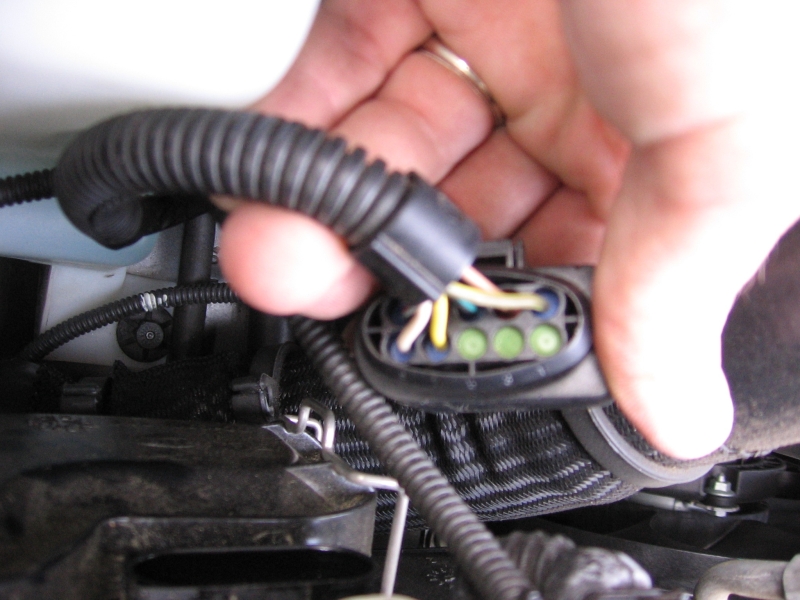
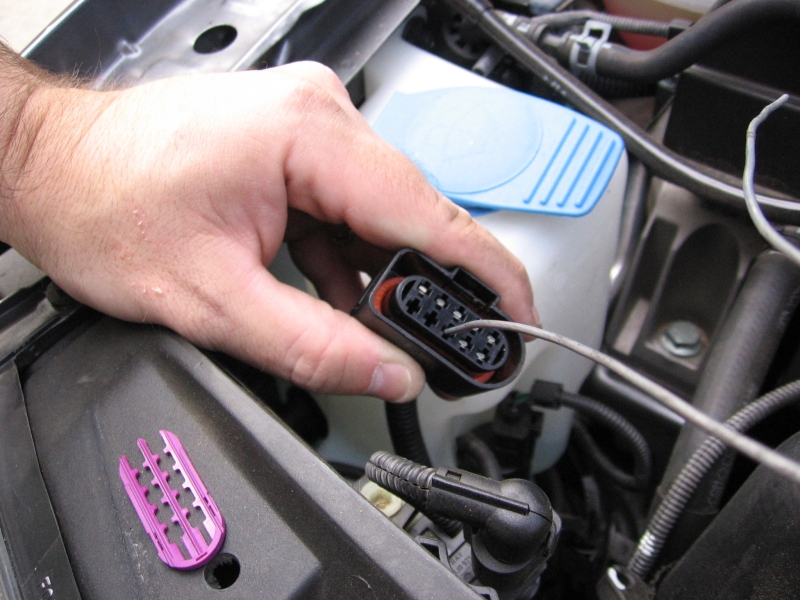
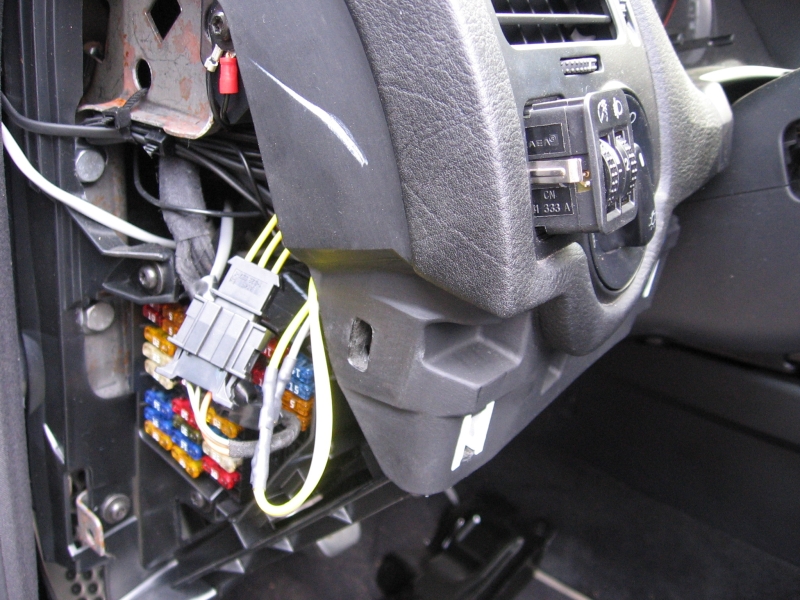
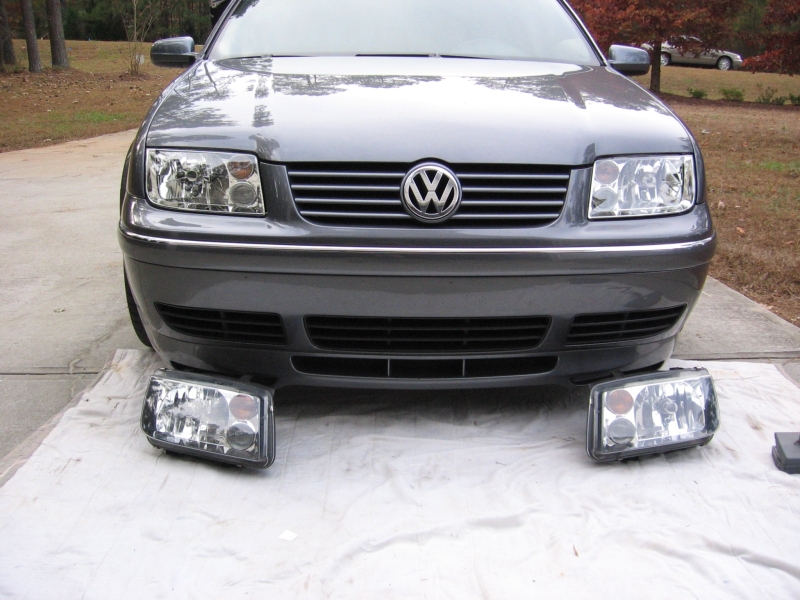
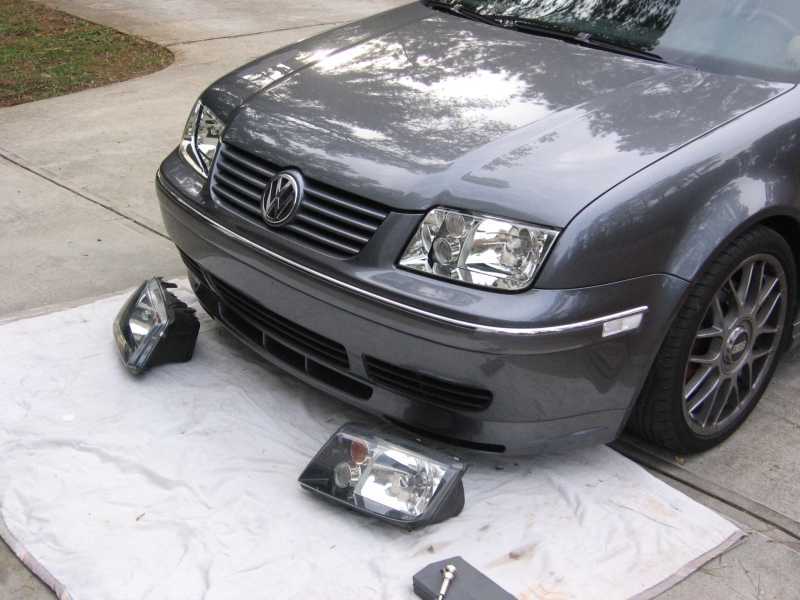
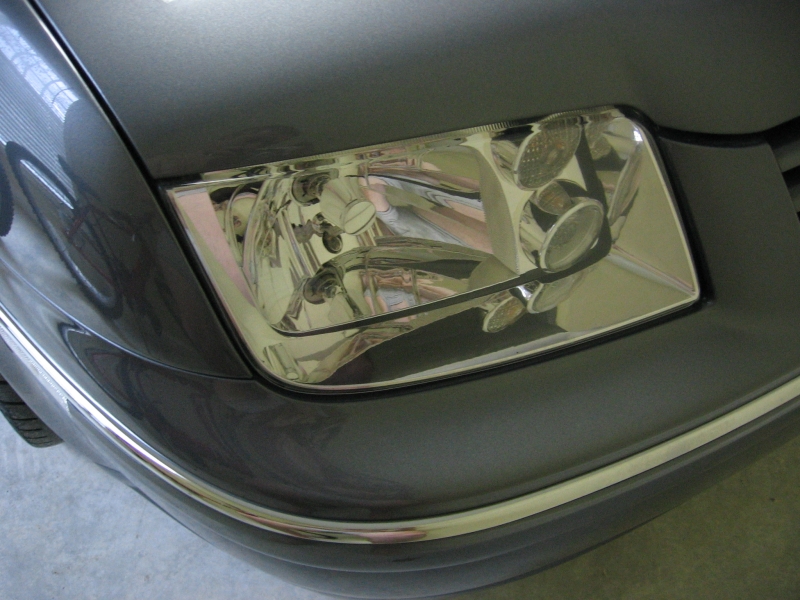
Hella E-Code Headlights with headlight level control from Eurocullen. Used the Eurocullen wiring harness which made things really easy, plug and play (Click HERE for installation instructions). First step is to lay harness out under the hood and then run the two control wires in through the grommet above the brake vacuum booster. At each headlight plug the purple pin retainer can be removed with a small screwdriver and slid out the side of the plug. A piece of wire can be used to push out the plug blanks and the pins are then inserted and snapped into the plug and the purple pin retainer replaced. The ground wire can be placed under the existing ground wire on the driver's side fender. By removing the under dash pieces, the control wires can be routed up to the level control switch/rheostat. The existing rheostat plug goes to the new harness adapter as do the two control wires. The harness then plugs into the new rheostat/level control. Headlight R&R involves front bumper R&R and then headlights can be adjusted, I found that by marking the old headlights beams on the garage with masking tape prior to removal, getting the new headlight adjustment close the first time was possible. E-codes are a good compromise between the horrible US DOT spec halogens and HIDs, MUCH easier to drive at night:


Chiprotect protective headlight film installed. 30 mil thick to repel rock and other road projectile fractures.....click HERE for installation instructions. Small air bubbbles disappear after a few days and a heat gun makes installation easier, having a helper to apply heat while film is applied makes the installation a little smoother with better results.

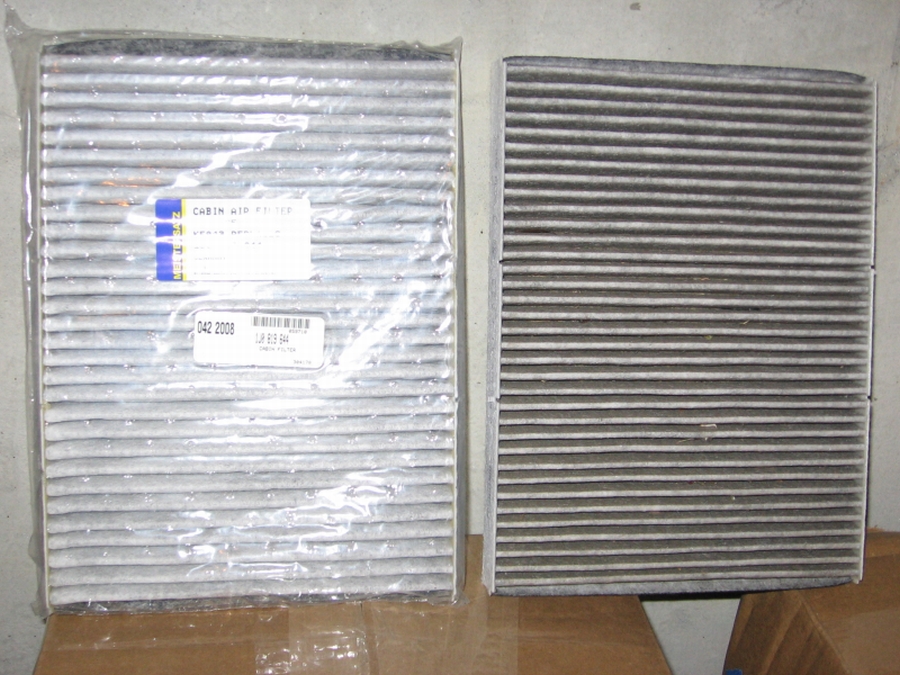
Time for a new cabin filter (aka Pollen Filter) at 22k miles. Hard to tell it is dirty until you start looking down in the pleats and see dirt,leaves, straw,etc. VW P/N 1J0-819-644, should be the same for all MKIV cars.
Click HERE for an excellent write-up that I used from VW Vortex's VgRt6.

Purchased Mio C310x to share between my cars for navigation utilizing the included suction cup mount. One of the cheaper portable Nav units on the market and has lots of features: Mio C310x Data Sheet, Mio Map Manual, and Mio C310 Manual
Looking for a forum dedicated to GPS hacks/tips/tricks for the Mio? www.gpspassion.com

[UPDATE] The GLi was a car I had built for my wife to drive and she REALLY loved this car. But with the kids growing older (BIGGER), the GLi saw less use and it didn't make sense to have the extra car payment. Stripping all of the above mods took nearly two days and the car felt SLOWWWW driving it to the dealership to turn it in. My wife almost cried the last time she drove it but is enjoying the new Touareg that this car and the old Touareg were traded for........and she is holding out for an Audi TT when the kids start driving themselves in the next few years
Gone but not forgotten......
Oil Analysis performed by Blackstone Laboratories
Oil Analysis at 9933 miles- Mobil1 0w40
Oil Analysis at 14945 miles- Amsoil 5w40
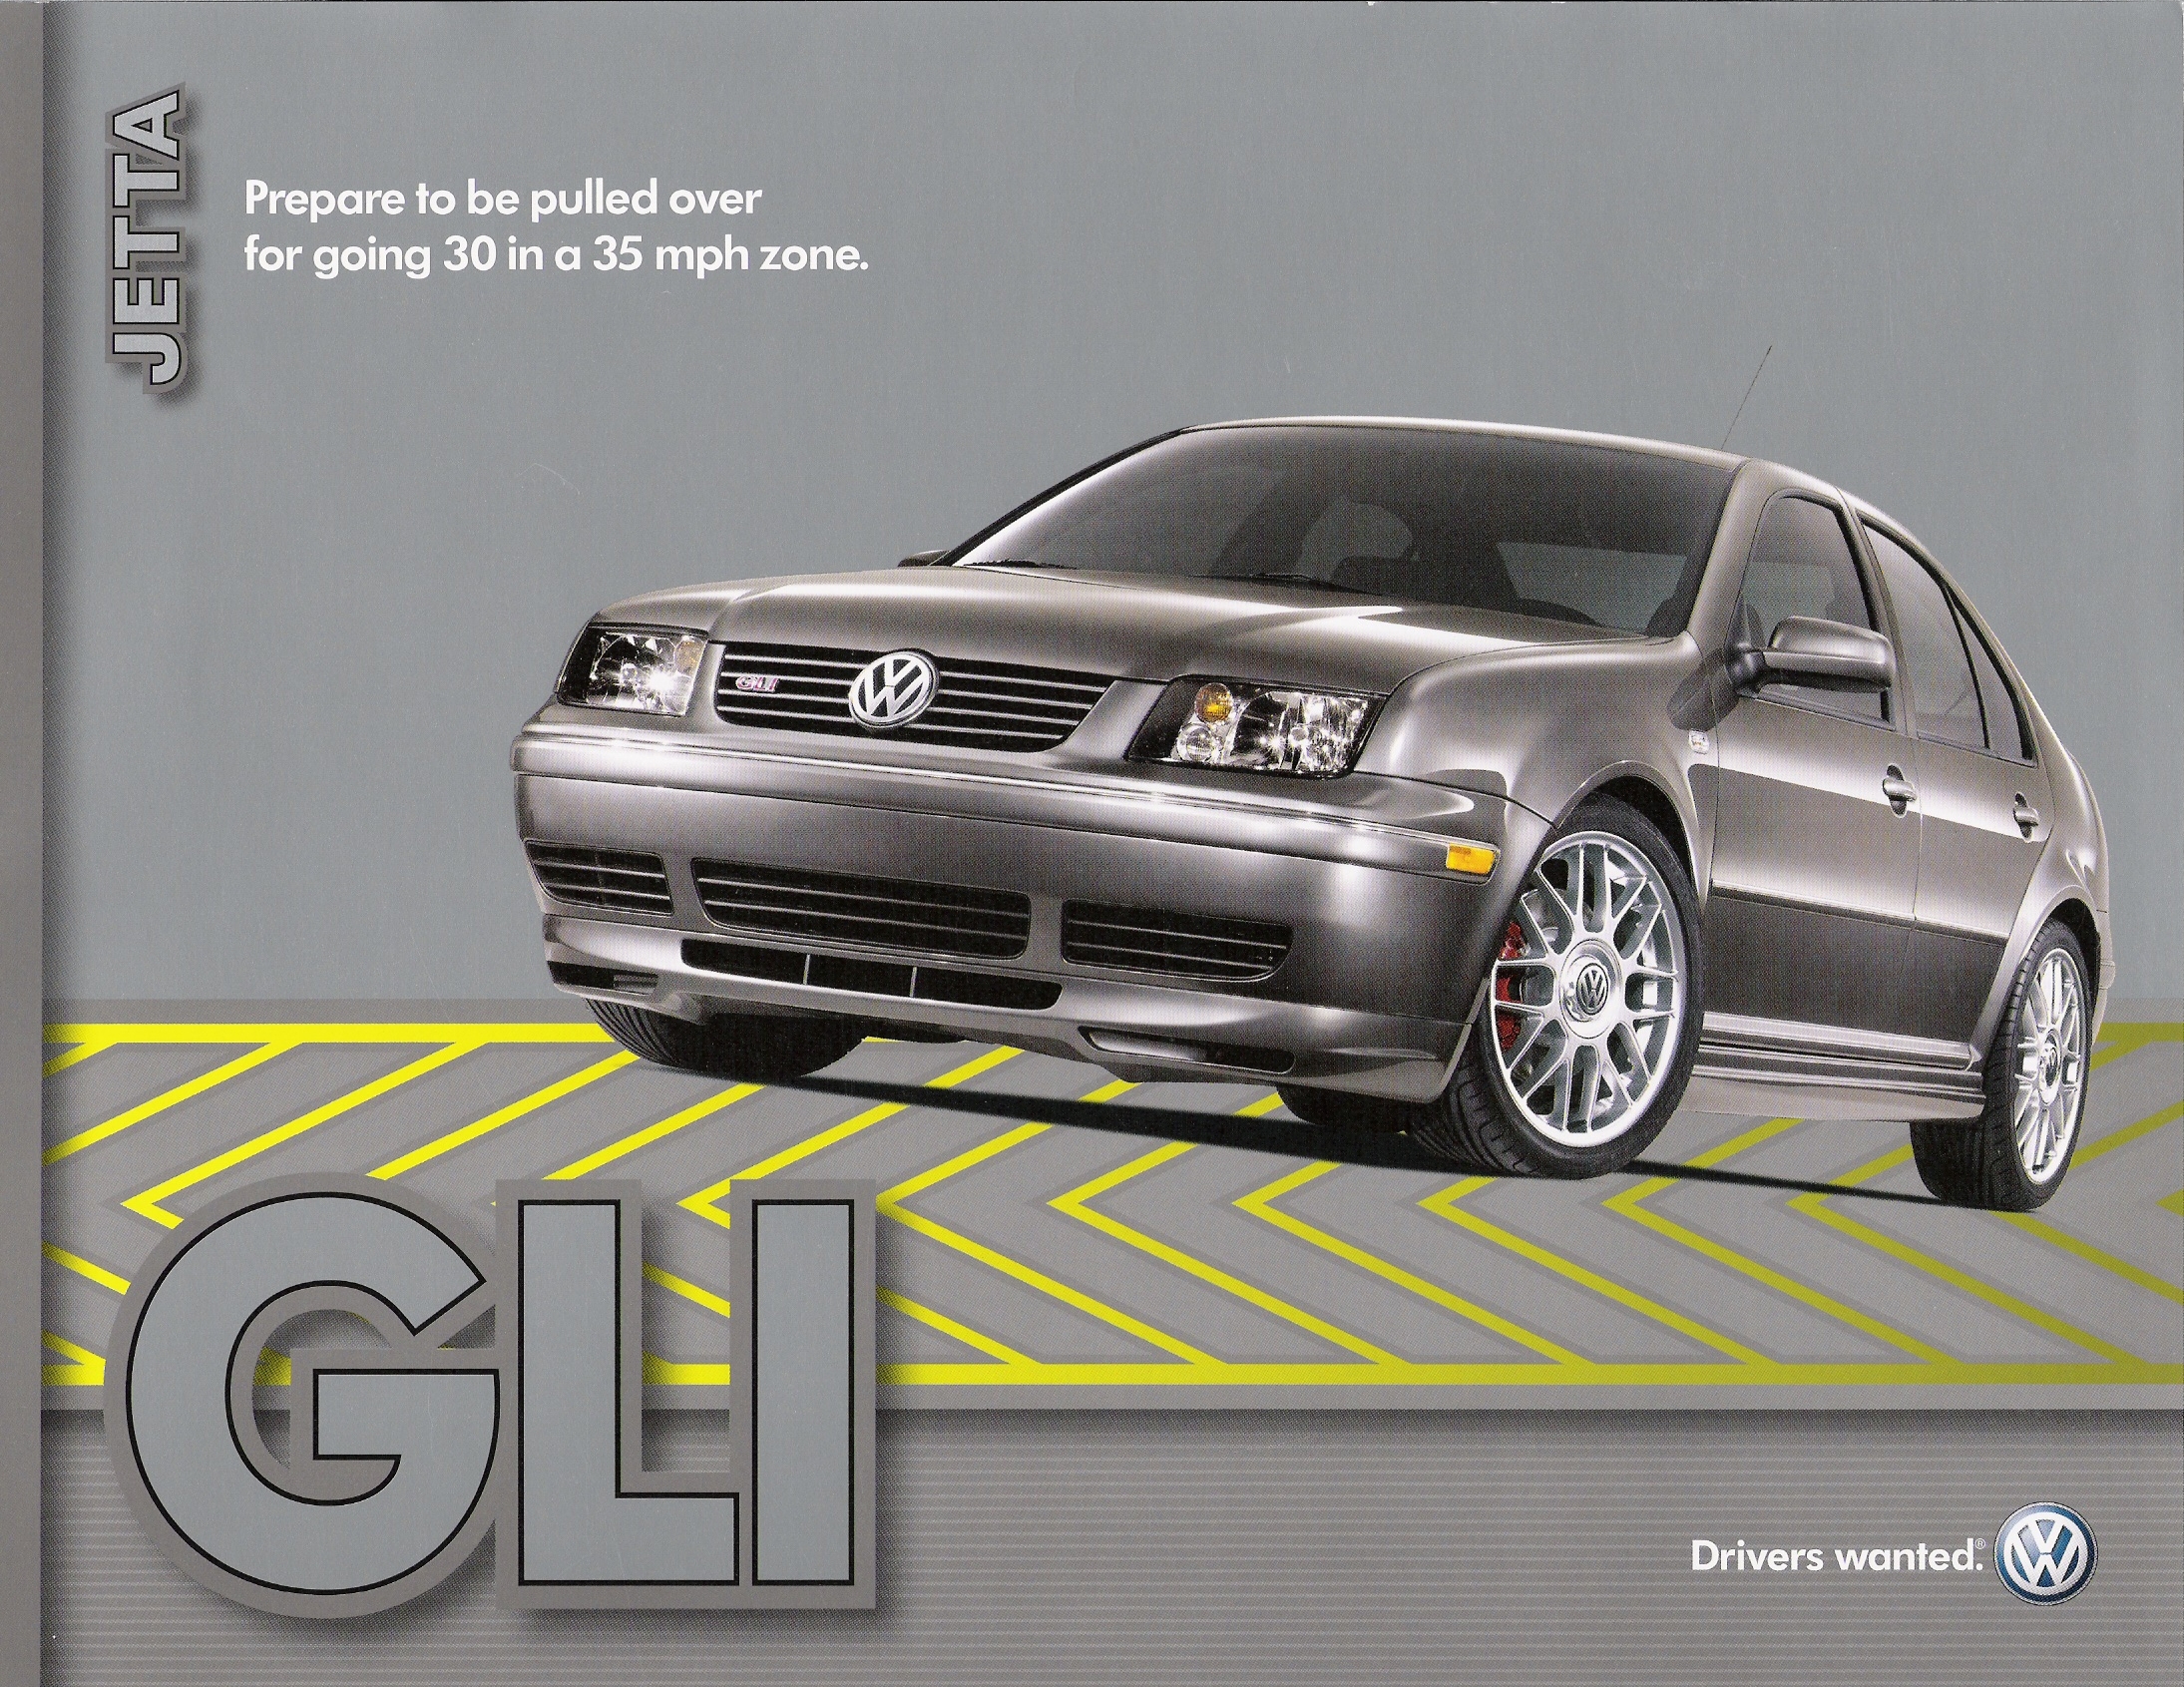
2004.5 GLi Click on thumbnail for fullsize print:
Low Resolution:


High Resolution:
1.8T Video: *High Speed Connection Recommended*
ByeBye SS- 300HP GTi takes out a Camaro SS, 1.8l vs 5.7l (11MB)
"Red Devil" MKIII Golf takes out many formidable competitors
20th Anniversary Commercial- Kid in the Car
MK IV Jetta Commercial- "Autobahn" (1.3MB)
MK IV Jetta Commercial- "Cornering" (1.3MB)
MKIV Jetta Commercial- "Big Day" (2.4MB)
MK V Jetta Commercial- "Safe Happens- Side Impact" (1.3MB)
MK V Jetta Commercial- "Safe Happens- Front Impact" (1.3MB)
VW Maintenance Schedule:
VW Related DIYs/Documents/Files/Links:
Online VW Parts Catalog (ETKA)
Your VW and Aftermarket Parts- From VWOA (.pdf)
VWOA Approved Engine Oil 502.00 (.jpg)
2004 Fluid Capacity Chart (.pdf)
APR EMCS Owner's Manual (.pdf)
AFE Air Filter Cleaning and Oiling Procedure (.pdf)
MKIV Sunroof Drain Maintenance by VW Vortex's VgRt6 (.pdf)
Brake Light Switch Replacement DIY by VW Vortex's VgRt6 (.pdf)
VW Aero Wiper Insert Replacement by Ian (VW Vortex's Daemon42) (.pdf)
Extending the MKIV Key Fob Transmitter Range by VW Vortex's bootymac
European Turn Signal Part Numbers and Wiring Diagram (.pdf)
VW Golf-Jetta Vent Removal and Lighted Vent Wiring by VW Vortex's London Dub
Wheel Paint and Light Scratch Repair by AudiWorld.com's NASAracer
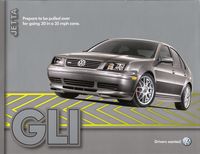
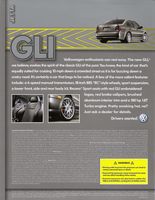
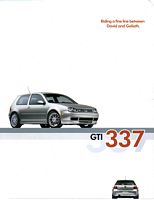
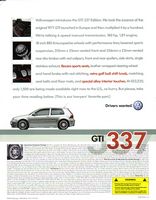
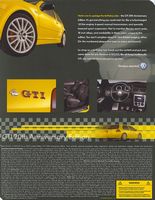
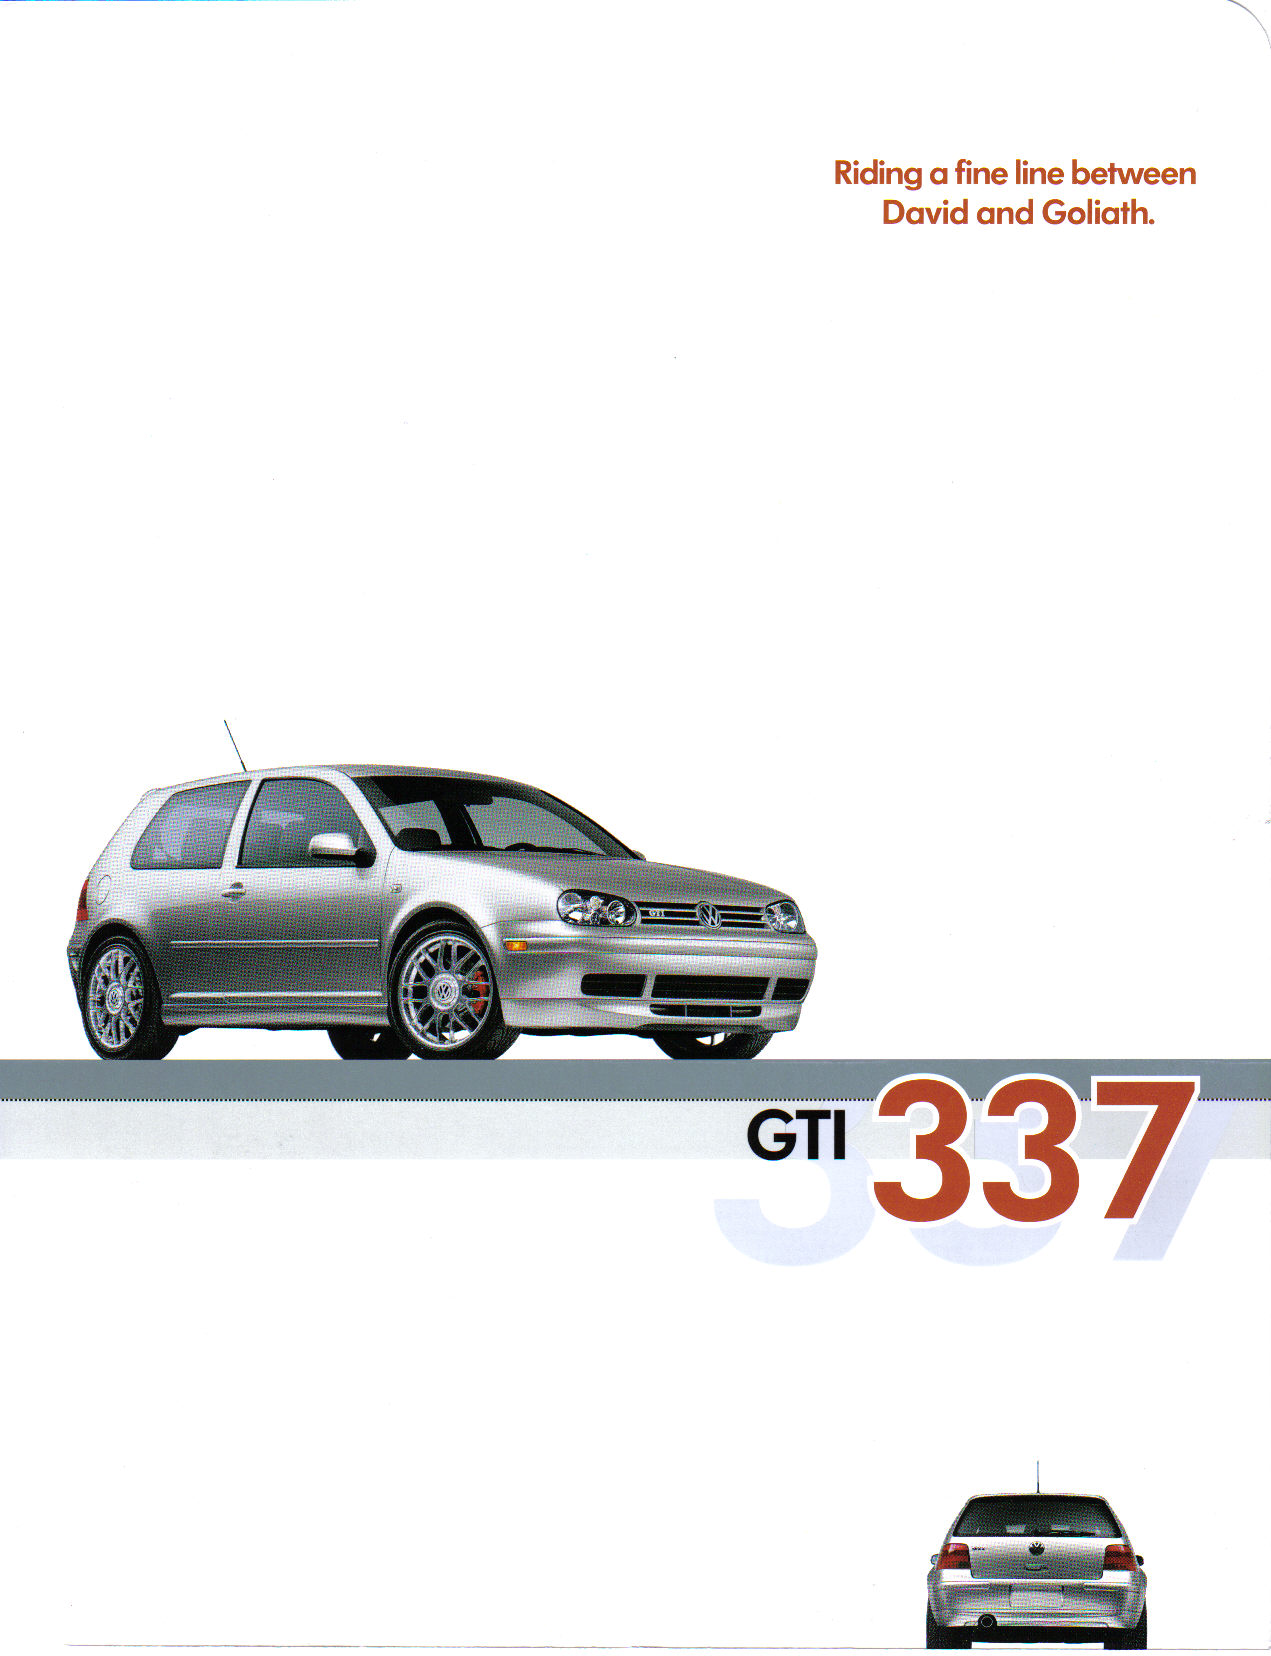
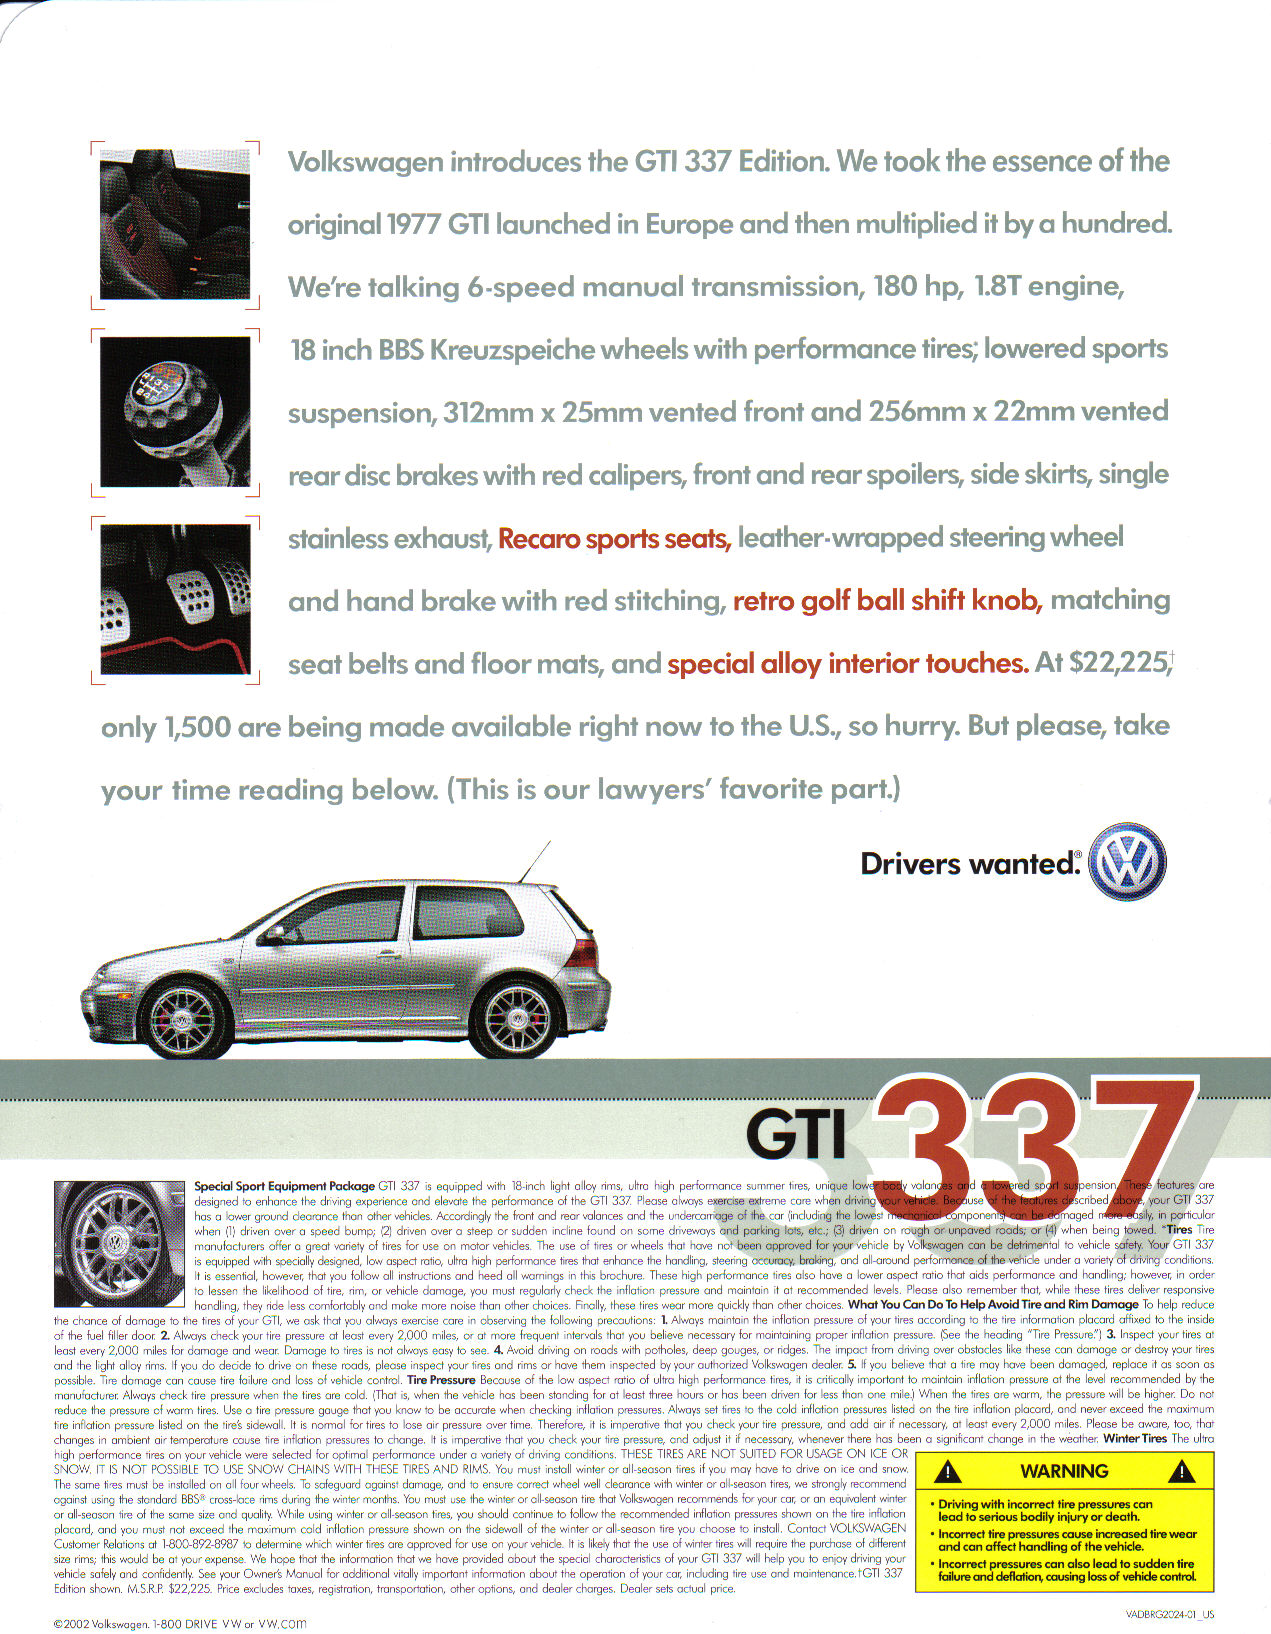
337 Brochure (Click on thumbnail for fullsize print)::
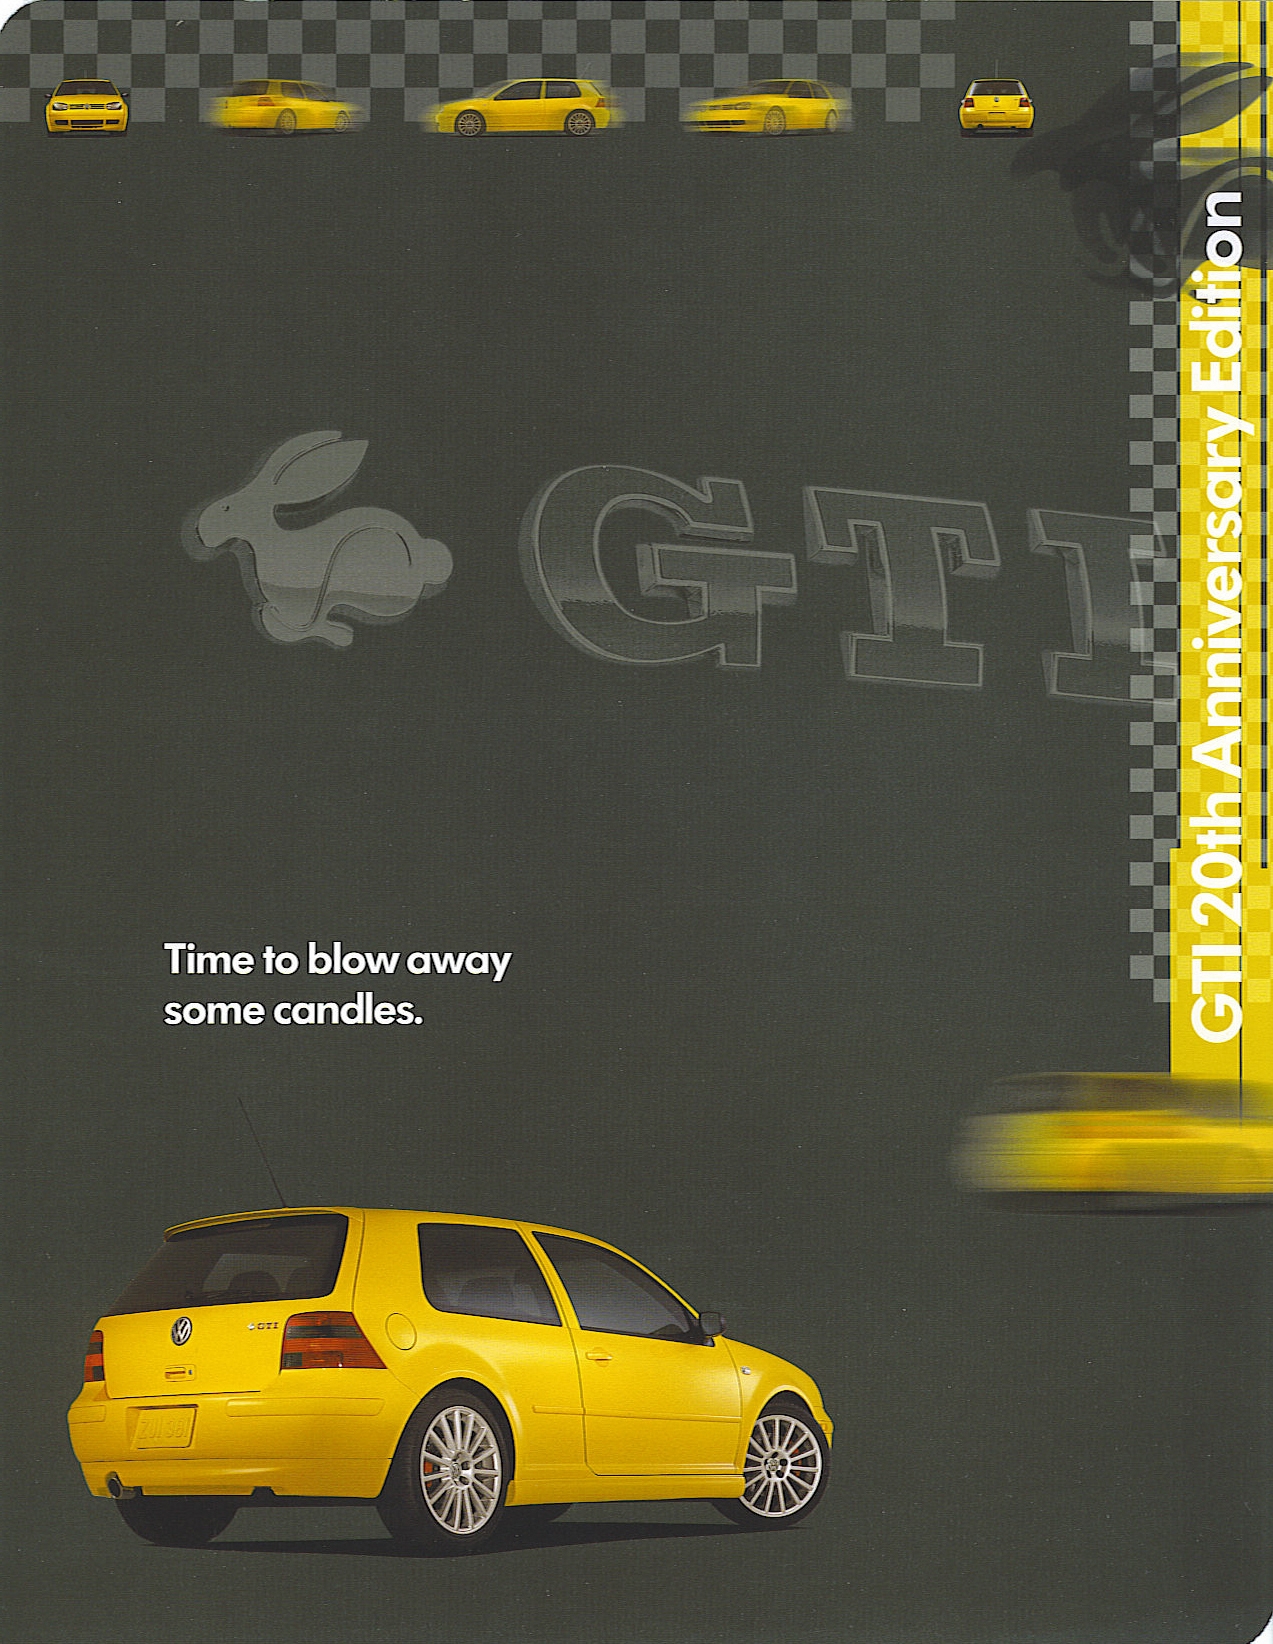
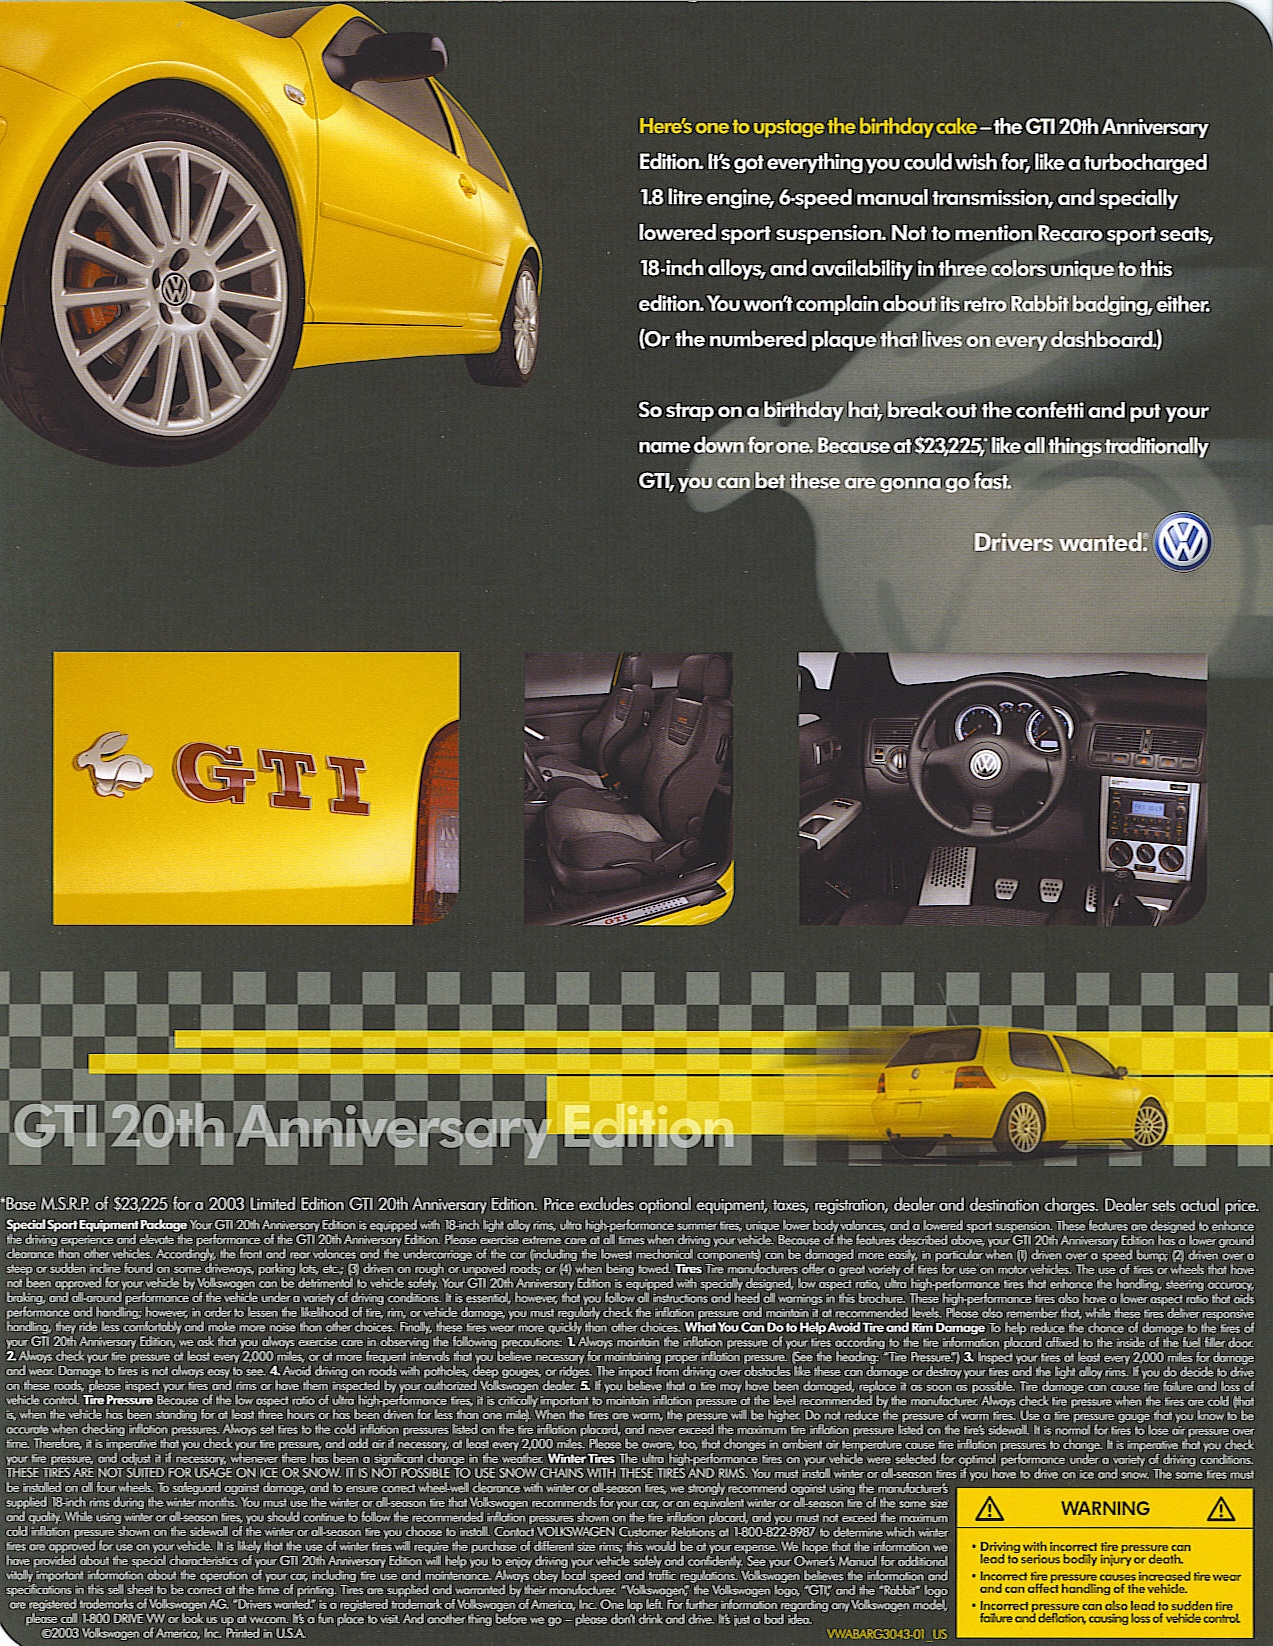
20th AE Brochure (Click on thumbnail for fullsize print)::


