

Click on thumbnails below for larger pics....
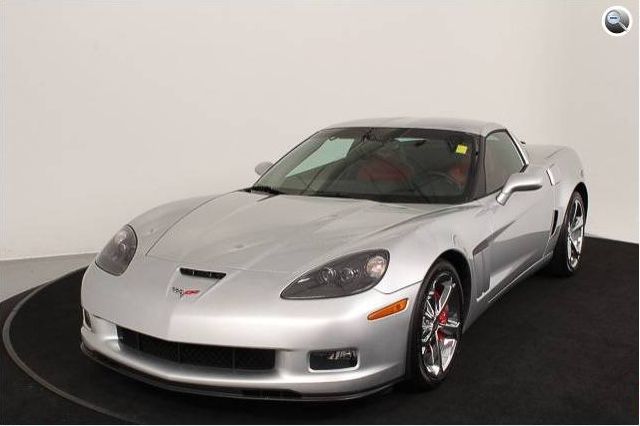
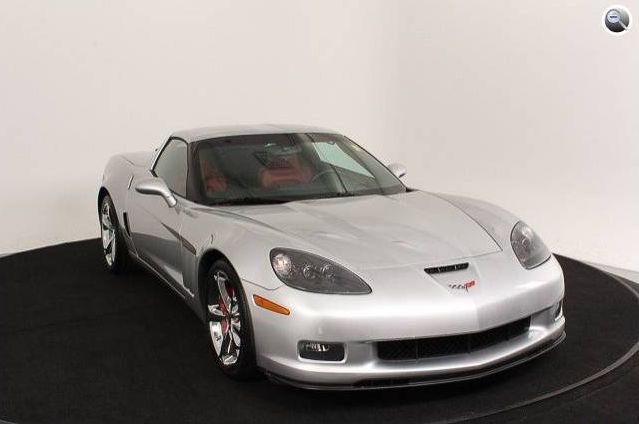
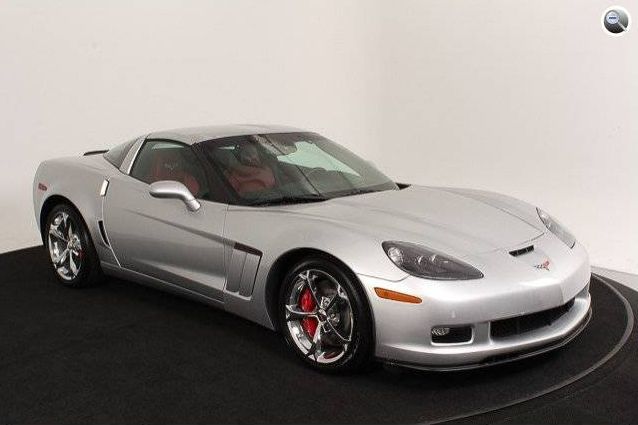
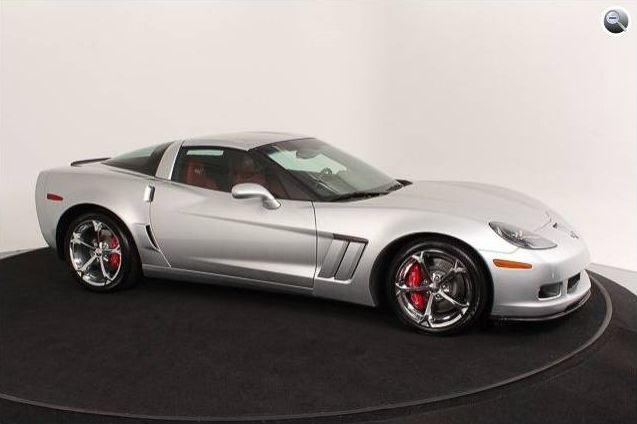
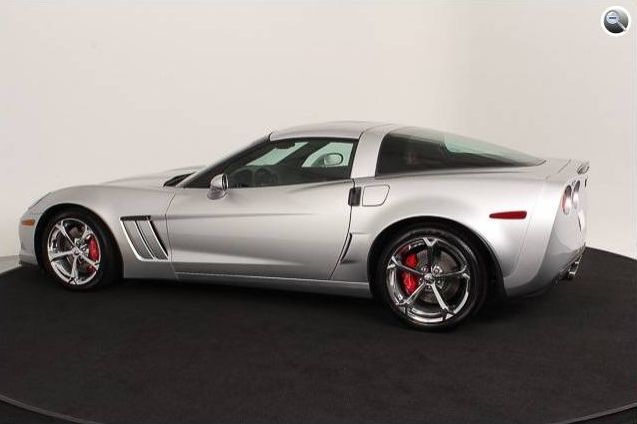
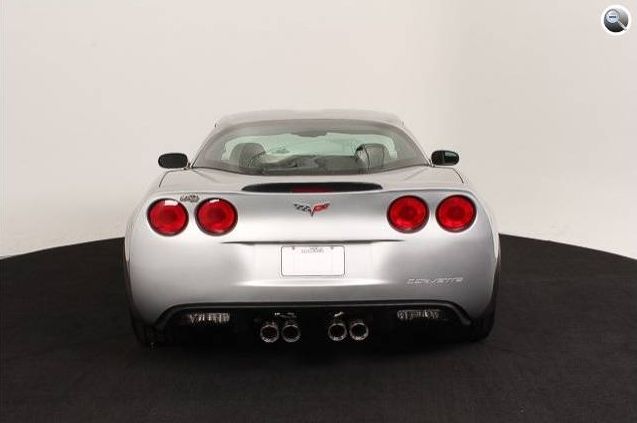
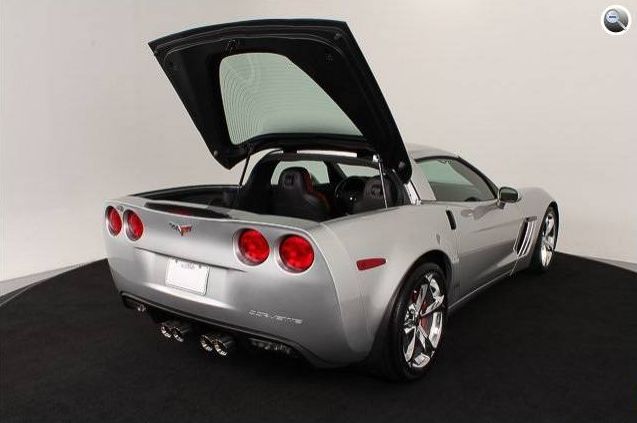
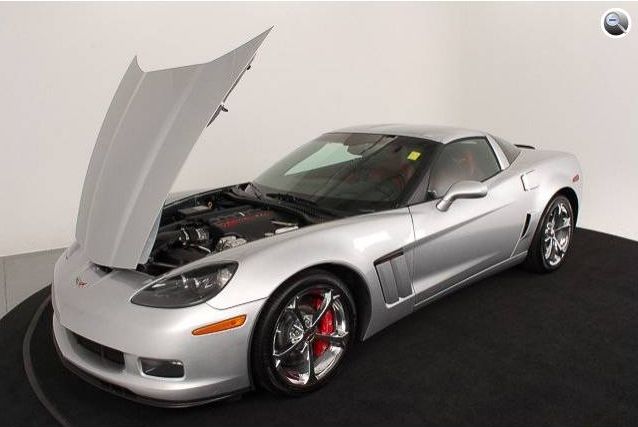
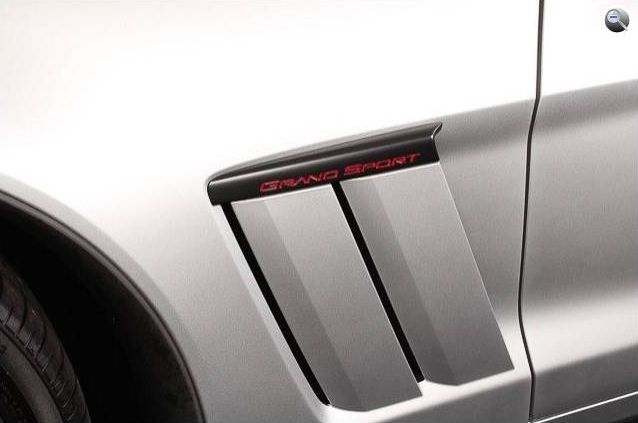
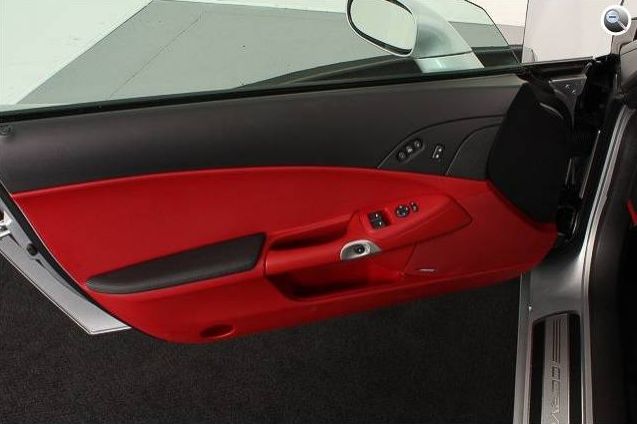
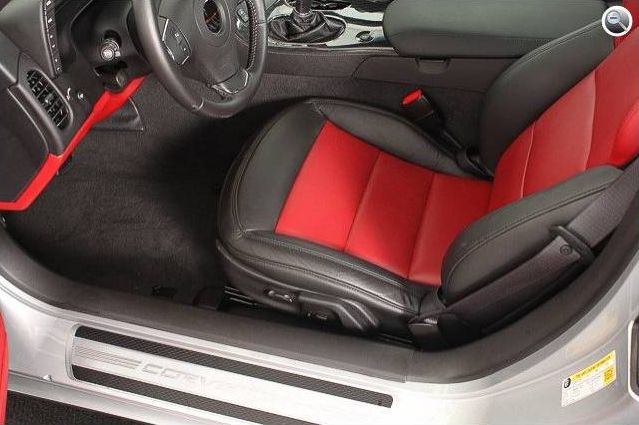
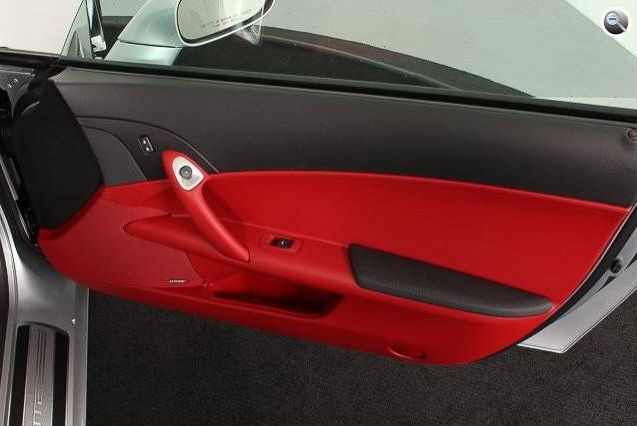
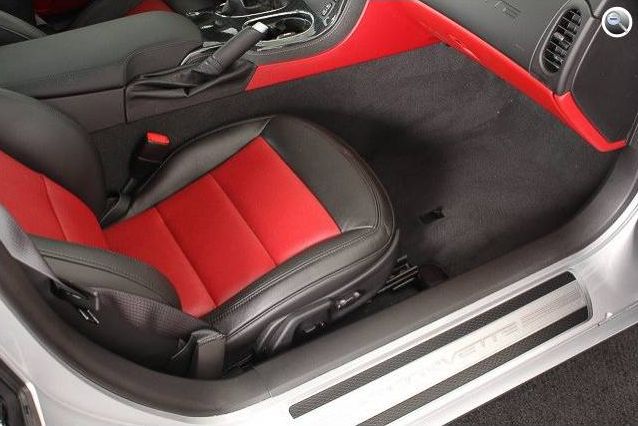
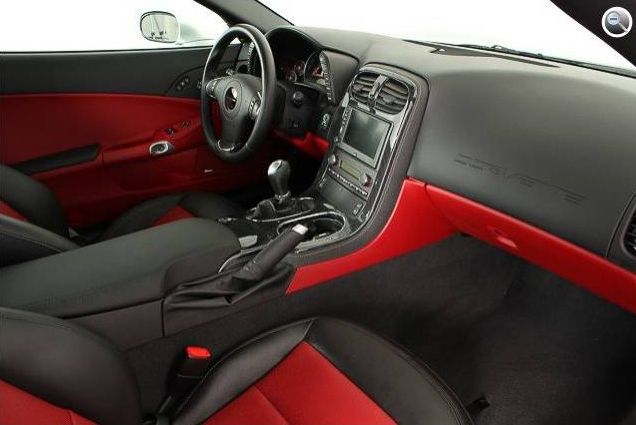
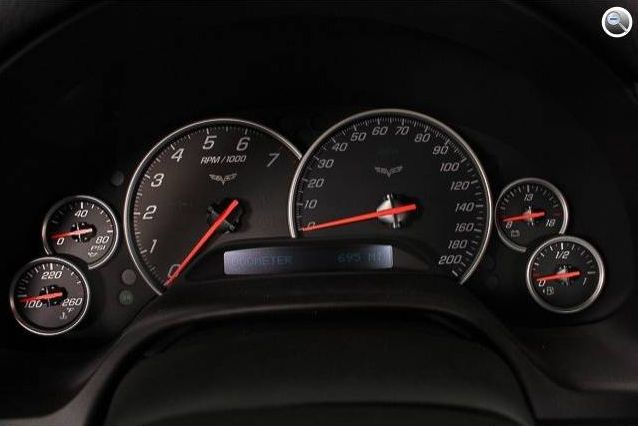
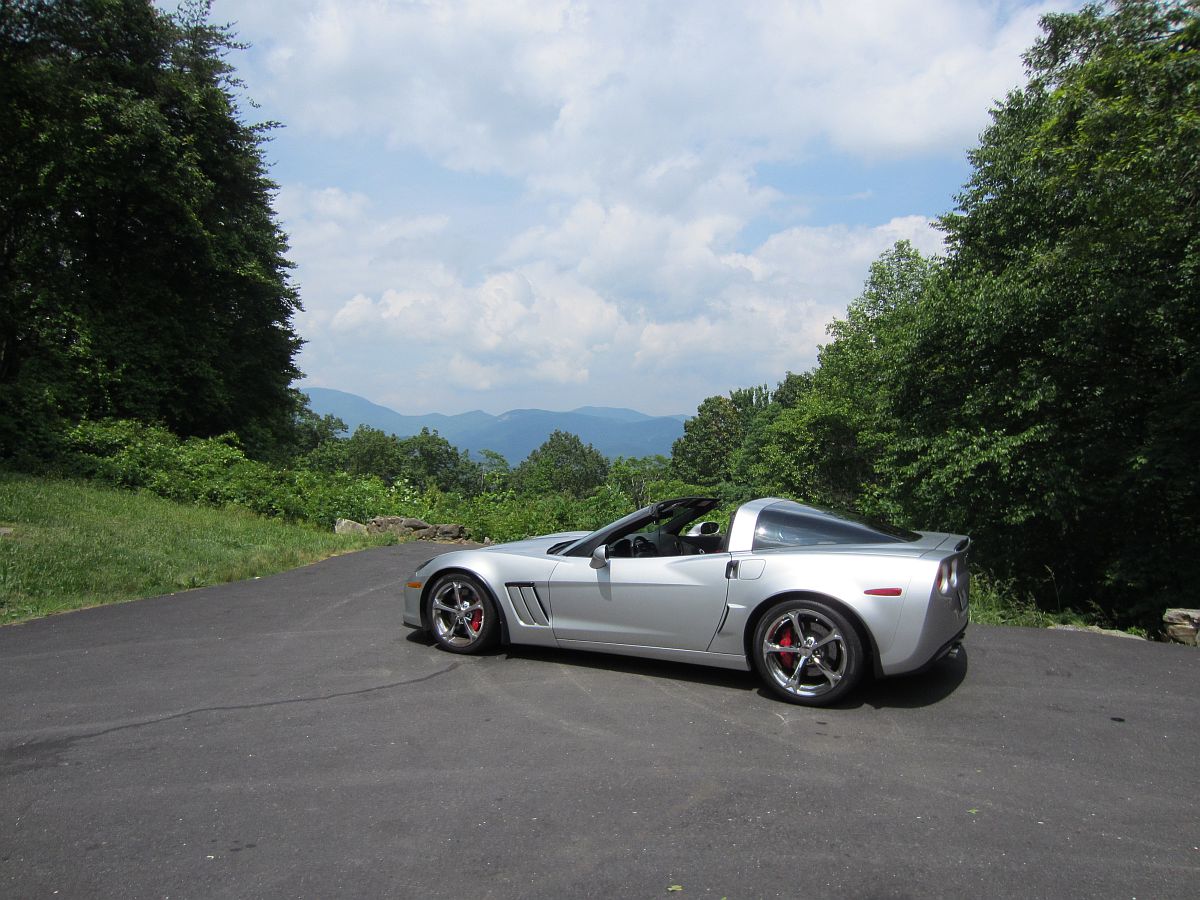
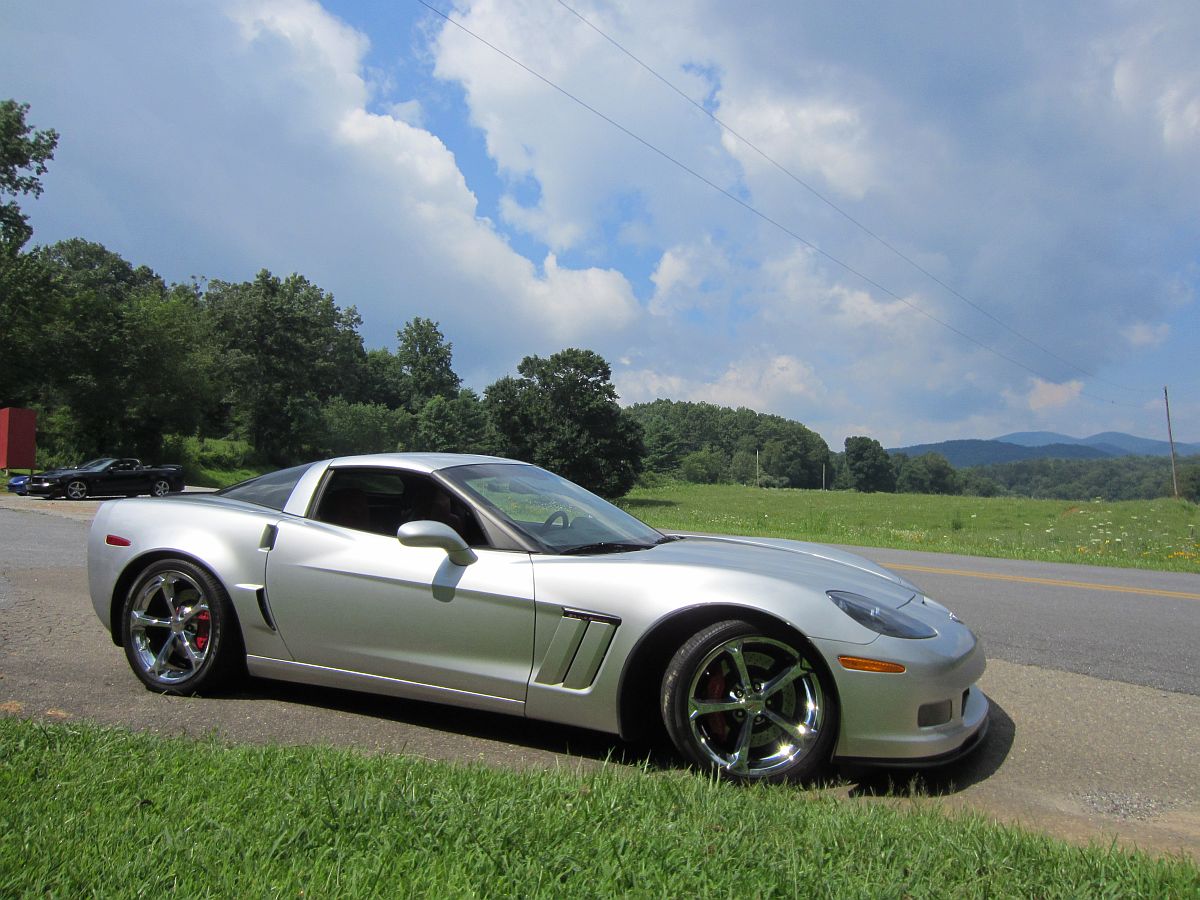
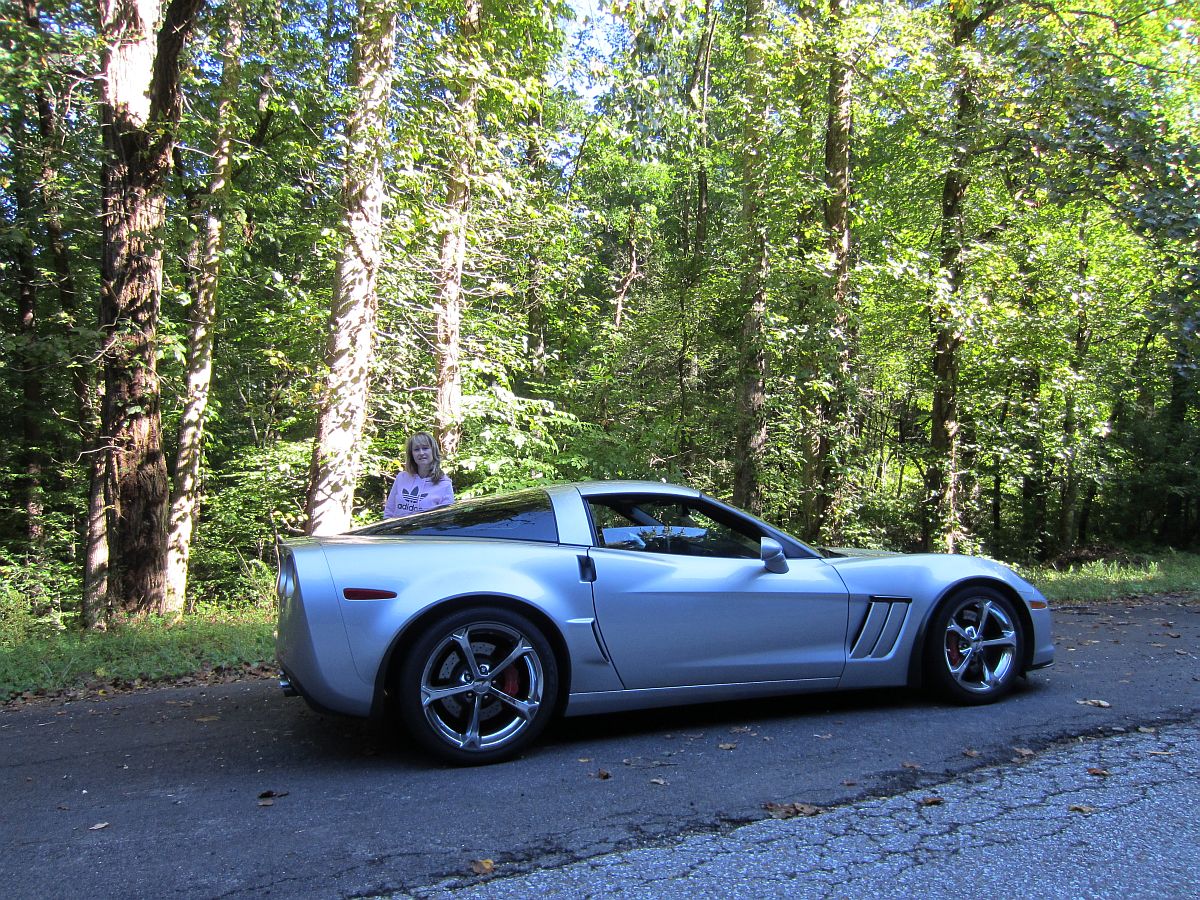
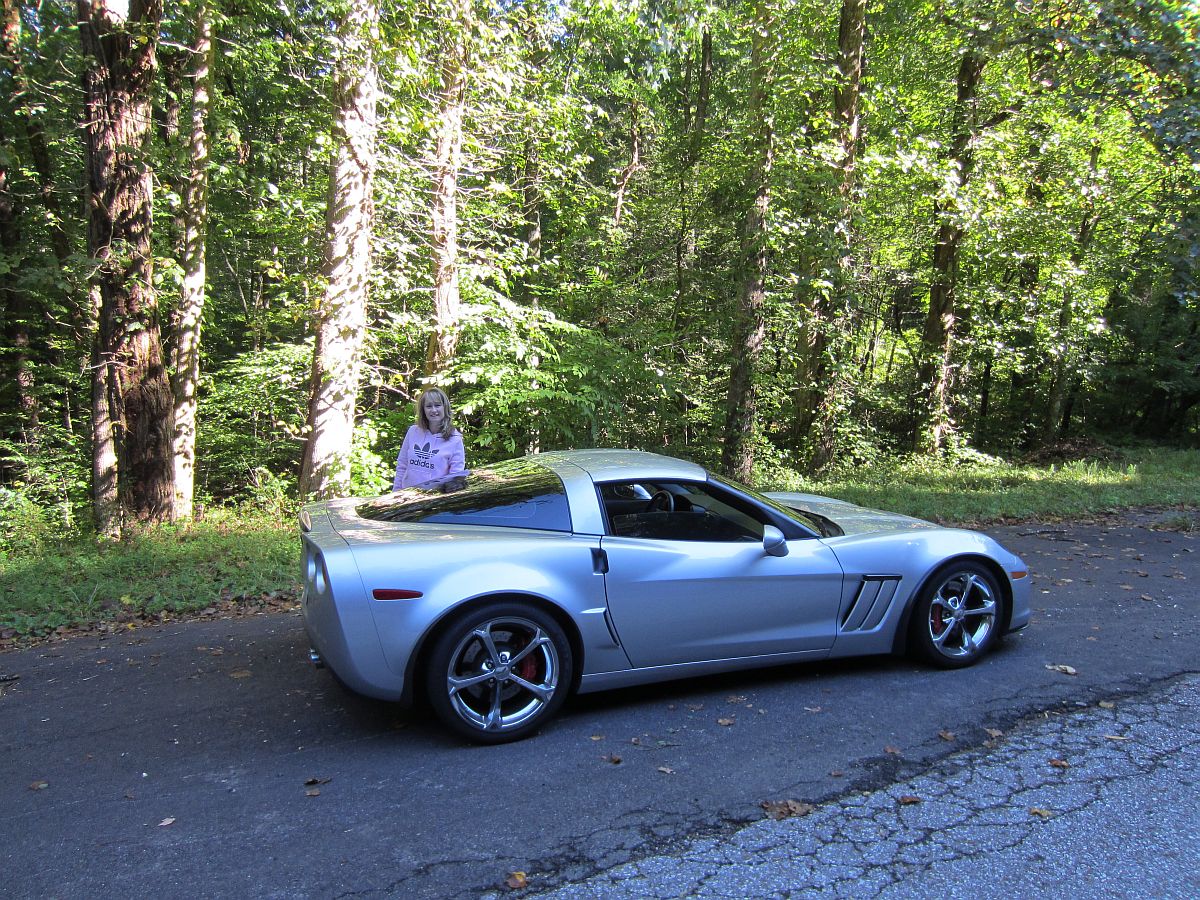
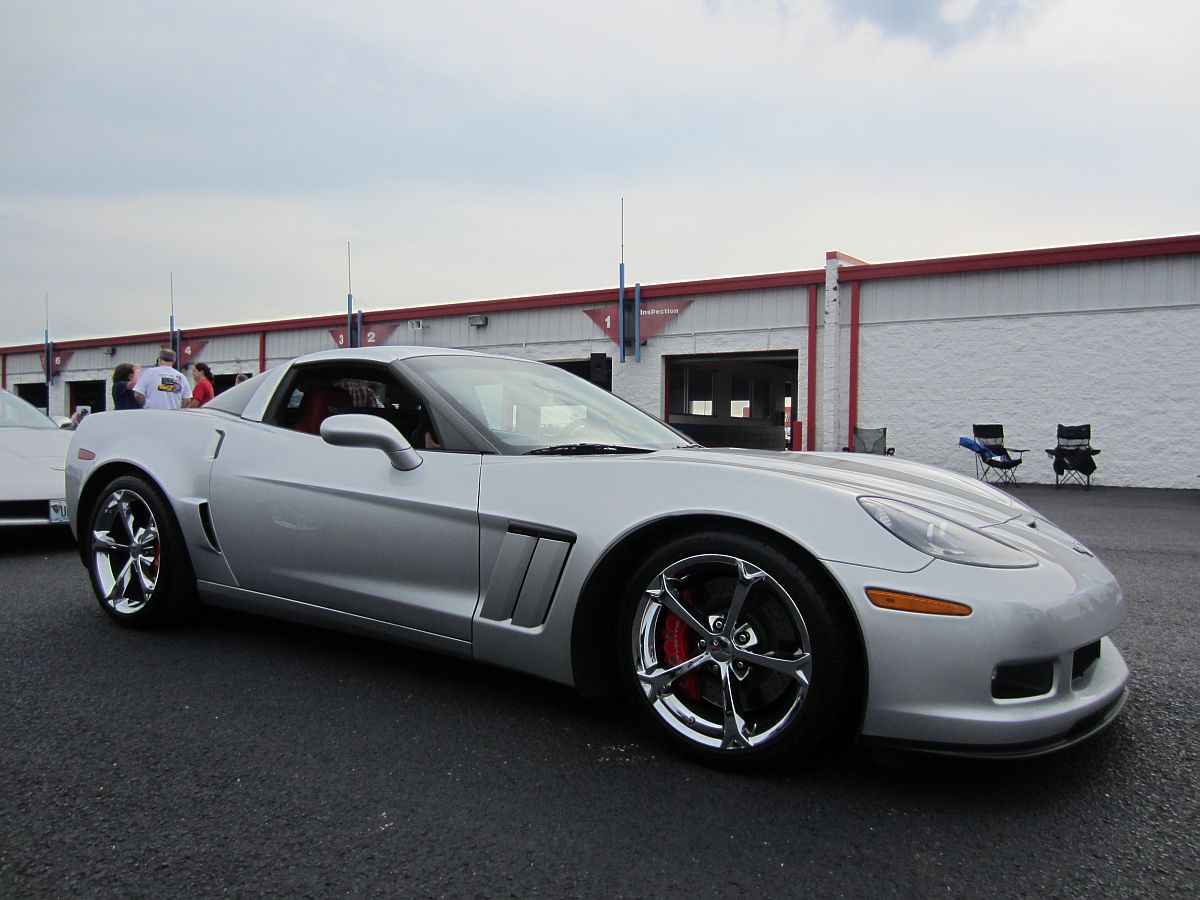
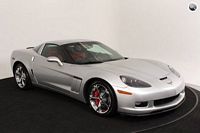
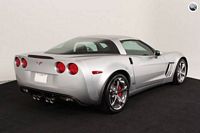
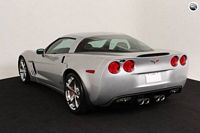
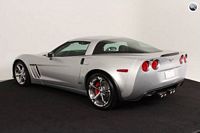
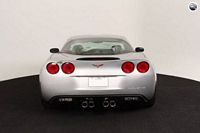
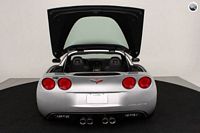
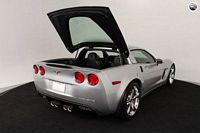
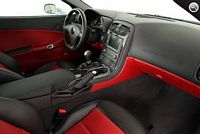
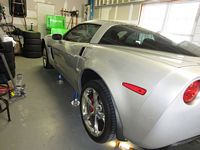
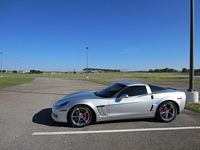
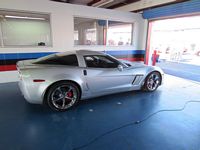
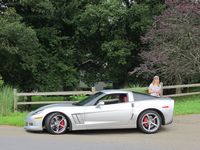
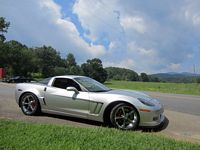
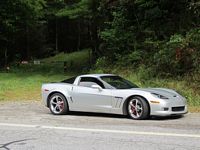
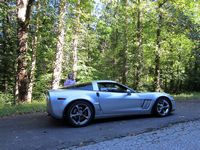
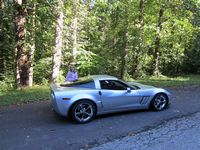
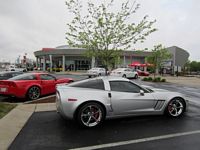
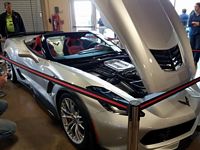
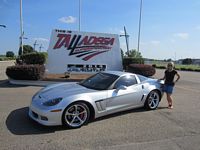
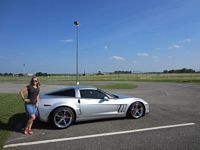
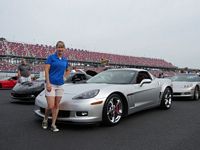
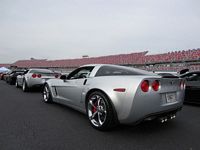
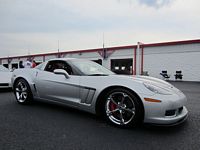
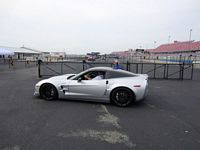
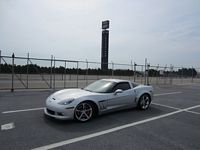
This 2012 Corvette Grand Sport (3LT) was purchased from Fred Gamble at Jim Ellis Chevrolet. This car was initially purchased by the dealership to use for dealership promotions and was sold to me as a pre-owned car with ~700 miles on the odometer with the remaining factory warranty plus the CPO warranty/service plan. Fred and the Jim Ellis sales staff were great to work with and I would not hesitate to recommend them to anyone looking for a Corvette.
Dealer Ad is HERE that attracted my attention, window sticker is HERE.
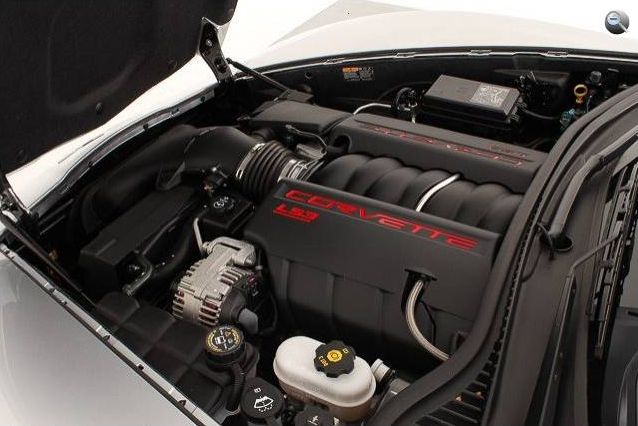
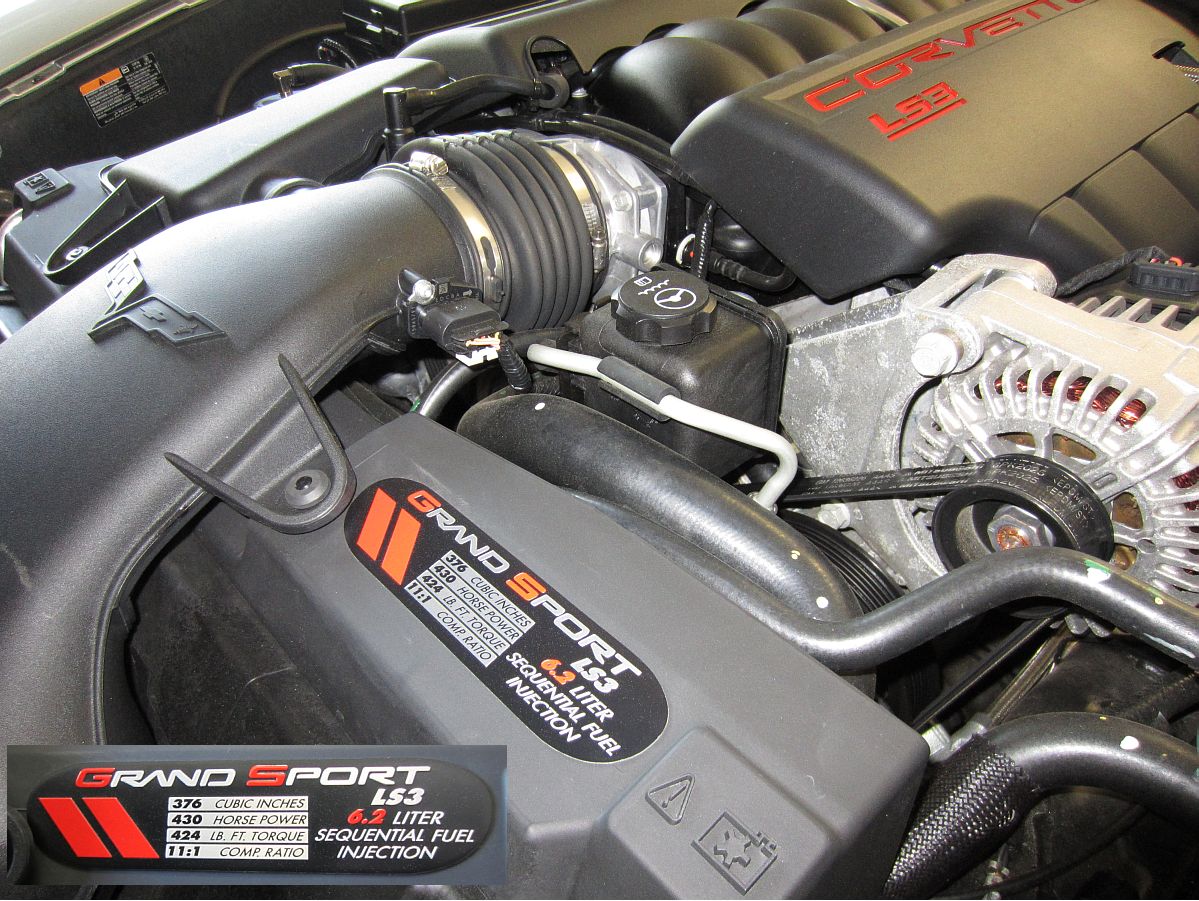
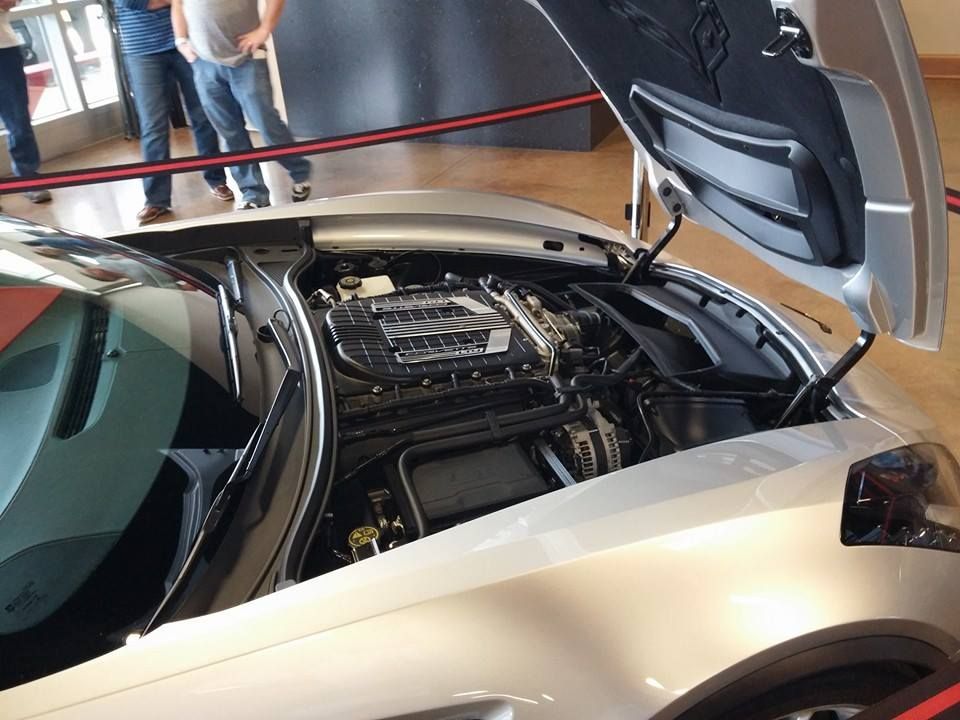
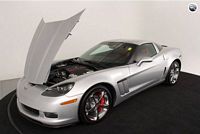
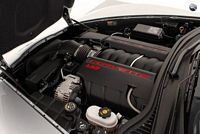
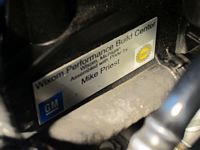
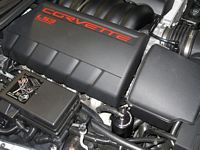
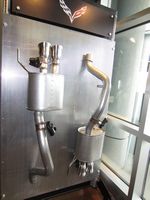
The nice thing about the Grand Sport Coupes with M6 transmissions is that the LS3 motors are hand assembled beside the Z06 and ZR1 motors and get a dry sump oil systemMy Motor was built by Mike Priest.
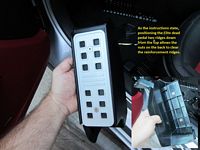
The Lear Car2U remote has replaced Homelink and it can be painful to program- I had to buy another receiver from Liftmaster for my Genie opener to work. Programming instructions are HERE.
First item up was correcting the water leak into the driver side rear storage bin, problem detailed in this CF thread. First service visit to local dealer, service advisor Mark Wilson at Maxie Price was quick to get me in for an appointment with one of their Corvette techs and get the issue fixed in a few days. Great service experience, don't miss the Germans at all


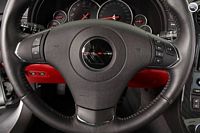

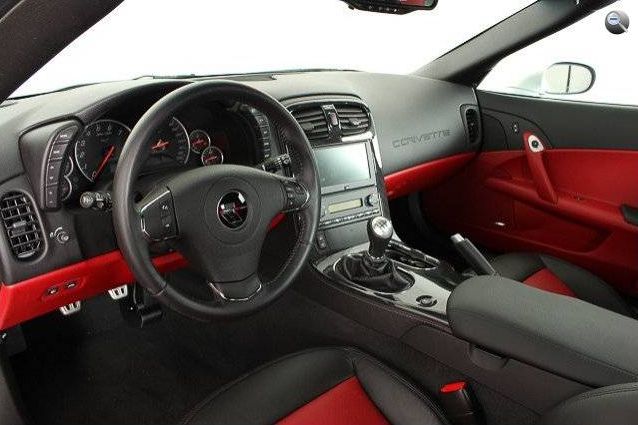
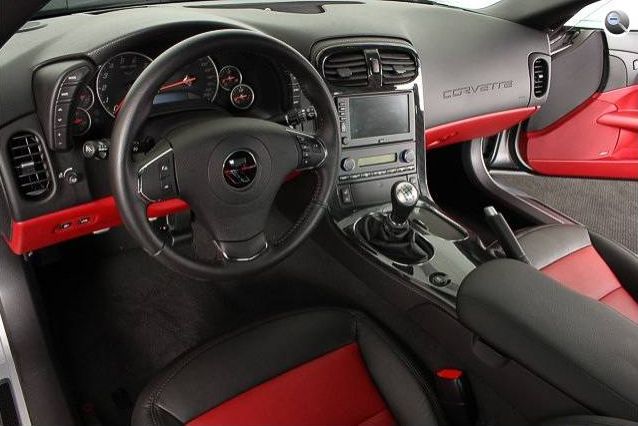
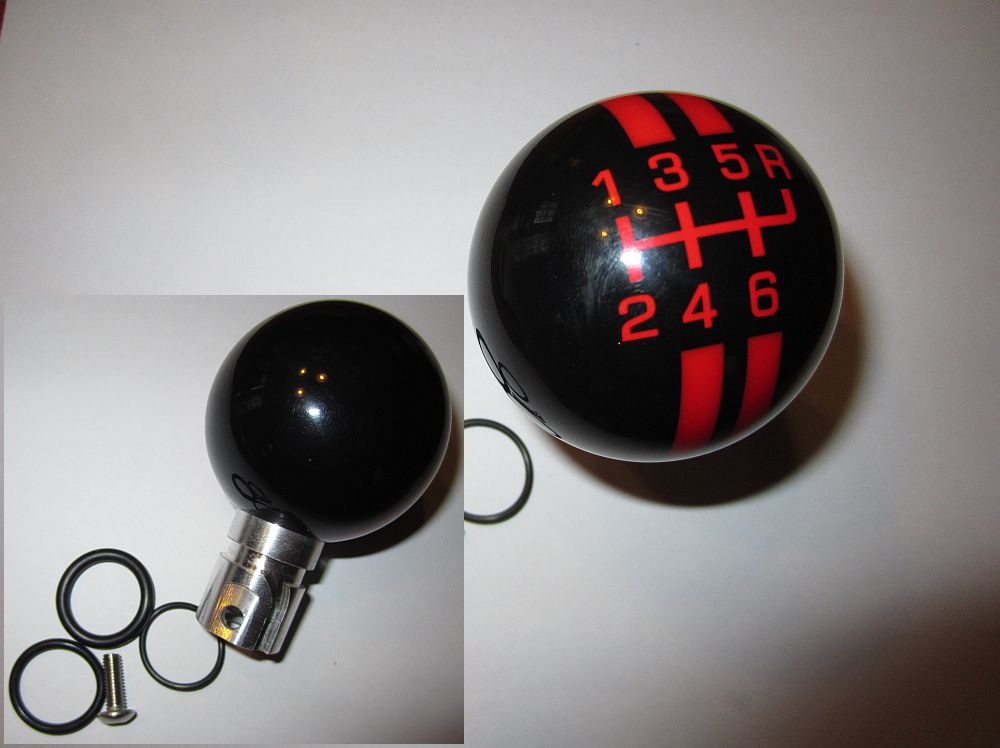
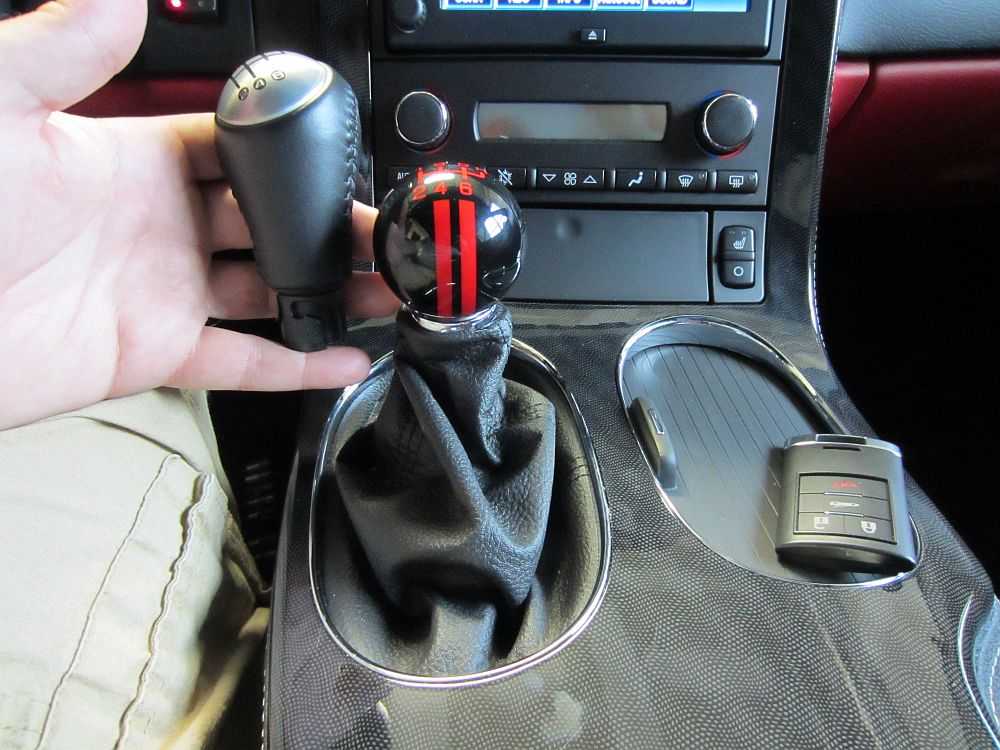
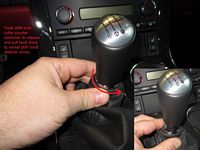
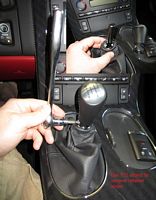
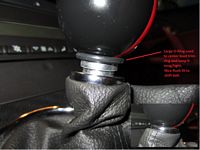
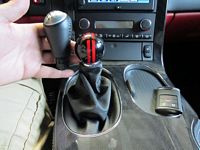
As soon as I drove the car I knew the OE shift knob would be the first thing replaced- it had a weird angle and just didn't seem very functional. I found the perfect replacement at Southern Car Parts with their round GS style shift knob.
Simple R&R to install, looks and feels much better to me and is a bit shorter than OE. No instructions were provided so I was a little lost on what to do with the o-rings until I found instructions HERE at Mid America Motorworks that explained it- I ended up using just the single large o-ring to get the collar tight and snug. I'll have to give MAM some business now since they helped out

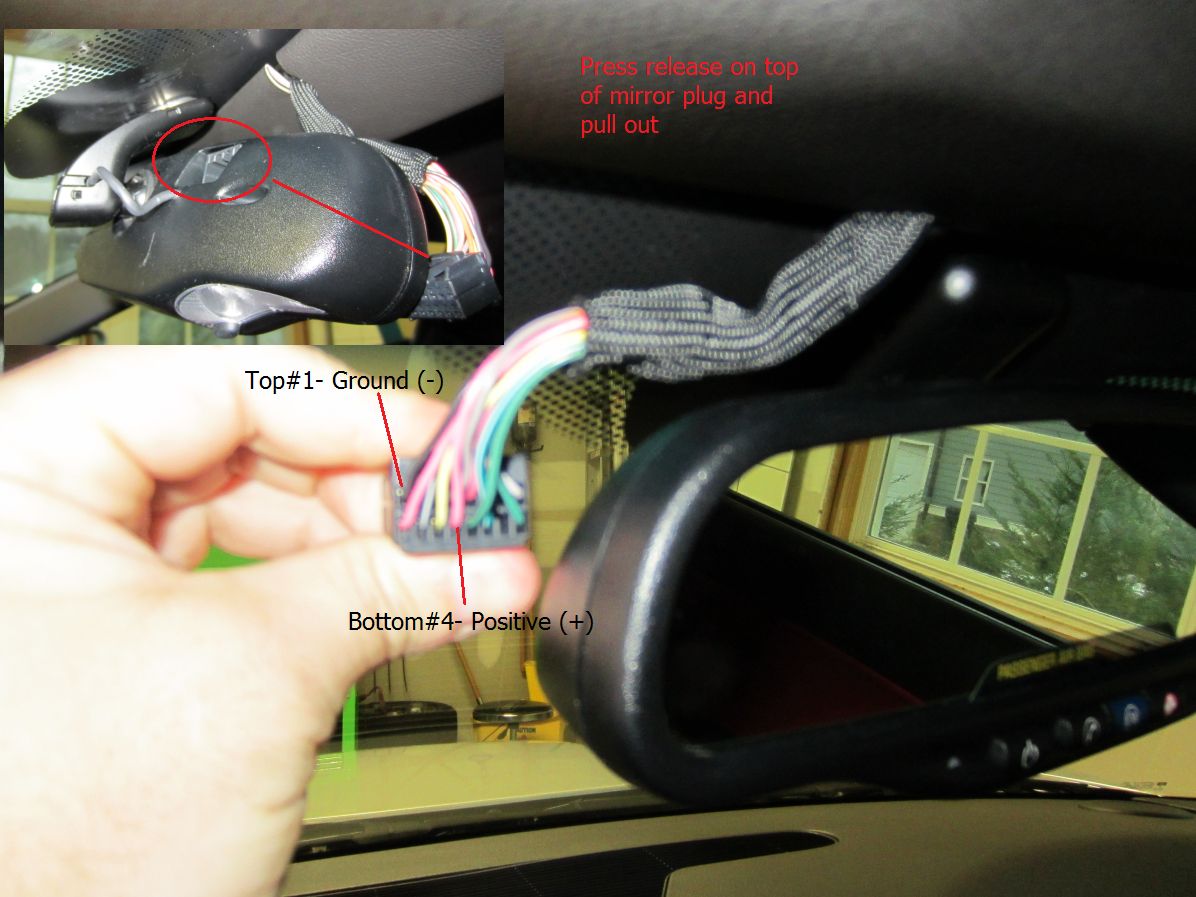
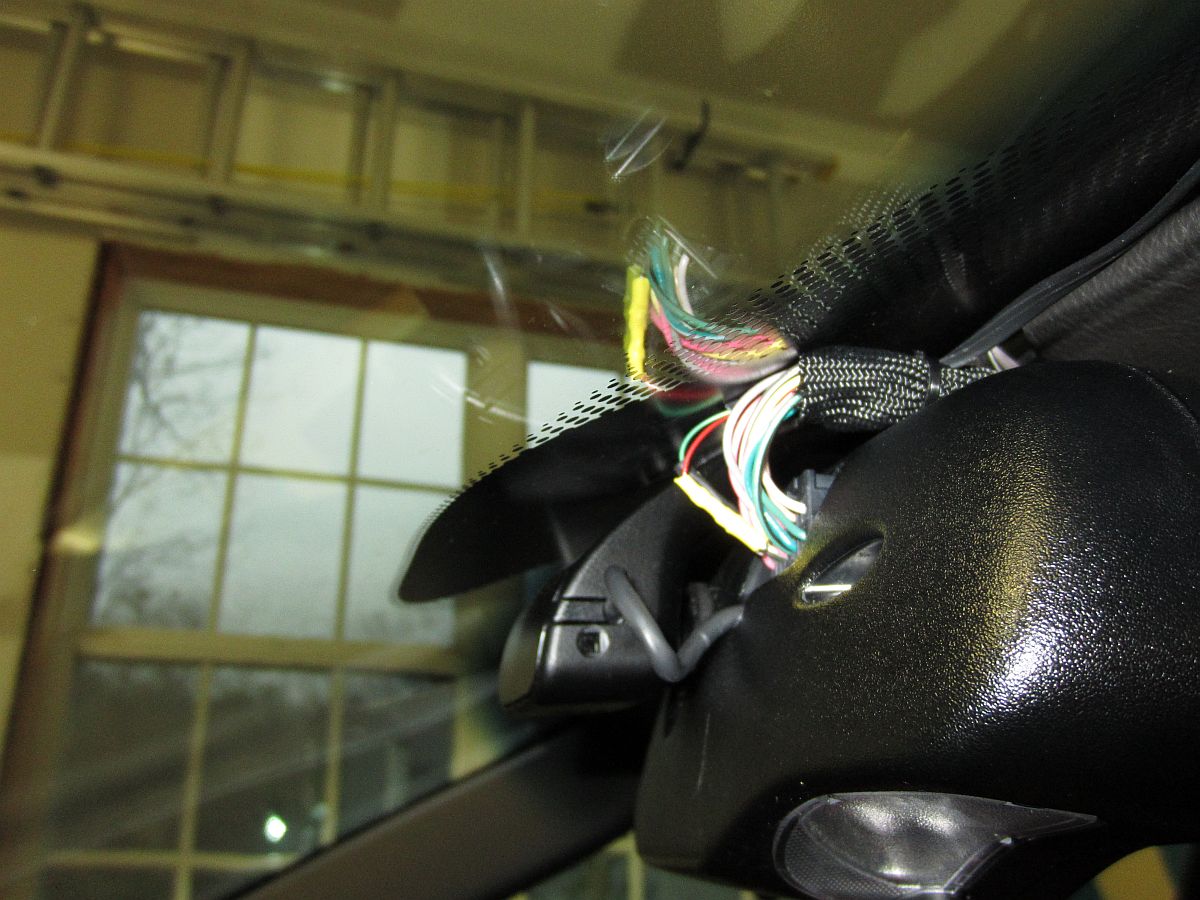
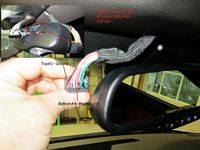
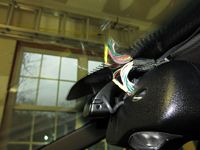
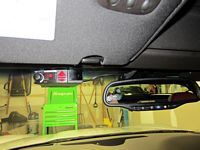
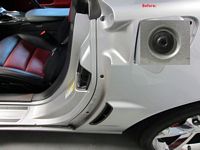
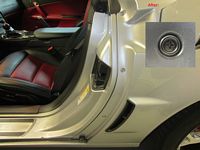
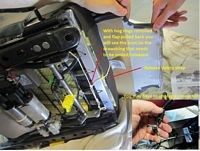
Valentine 1 (V1) radar detector installed beside rearview mirror and direct wired - (manual here). The mirror plug was tapped for power and ground using Invisicord. A good write-up I found online was Bugman's page HERE.
A good radar detector/speed detection counter measure forum: www.radardetector.net
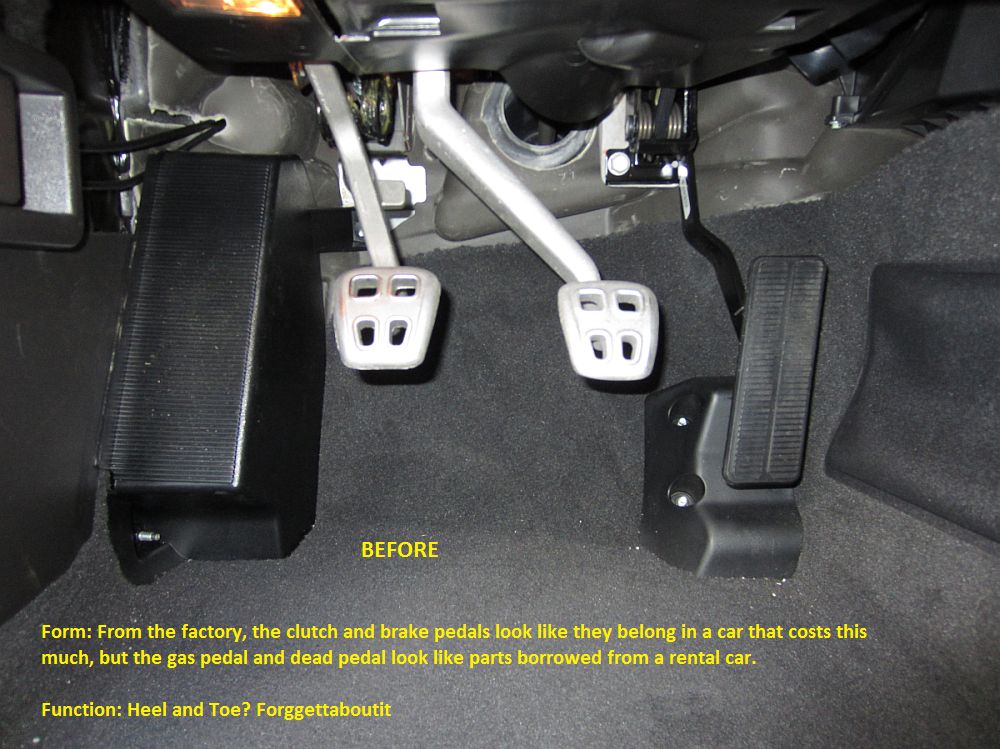
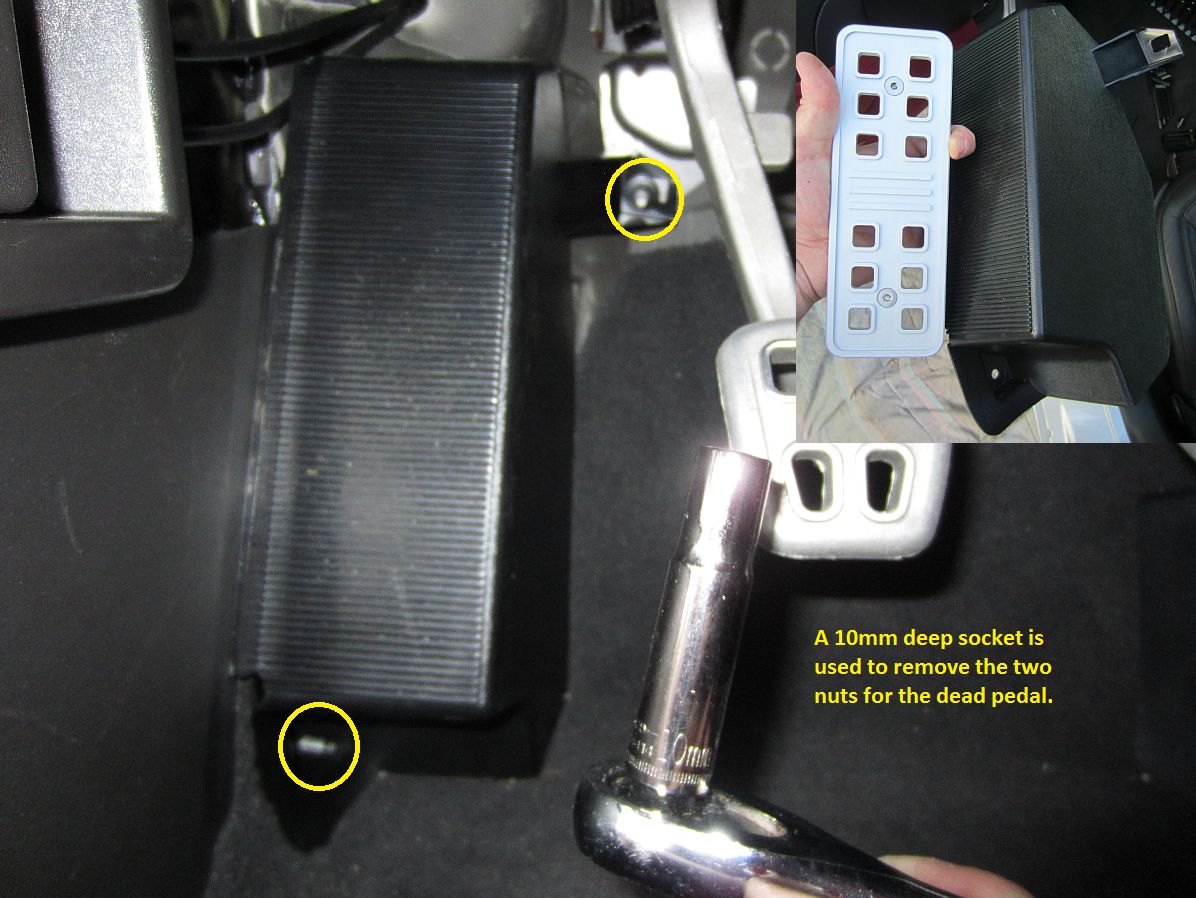
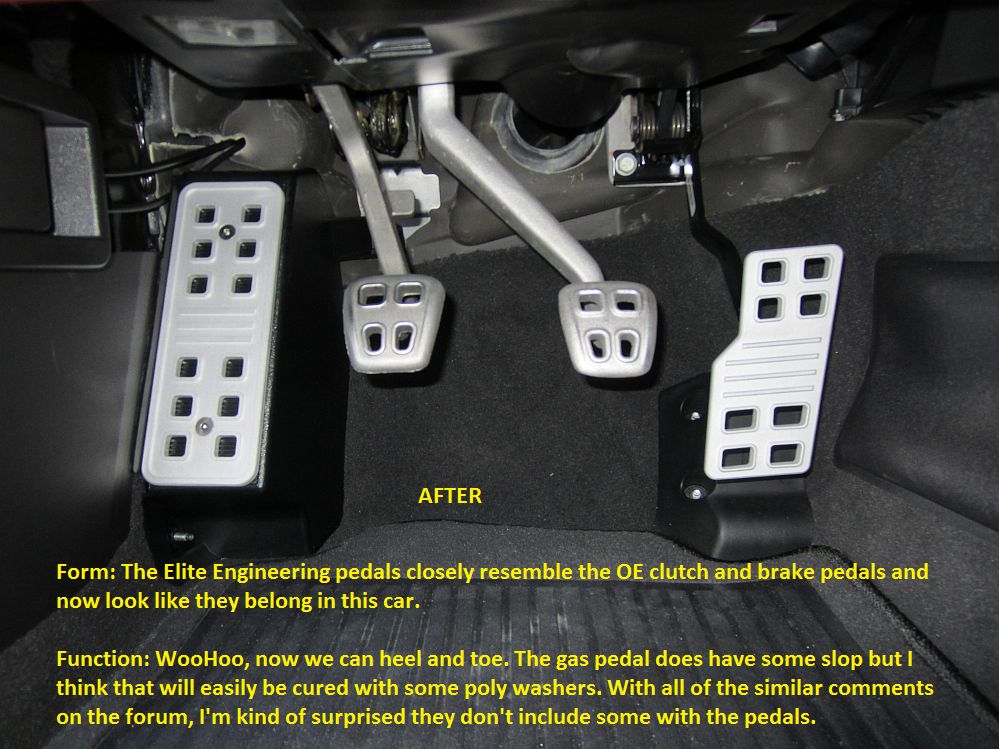
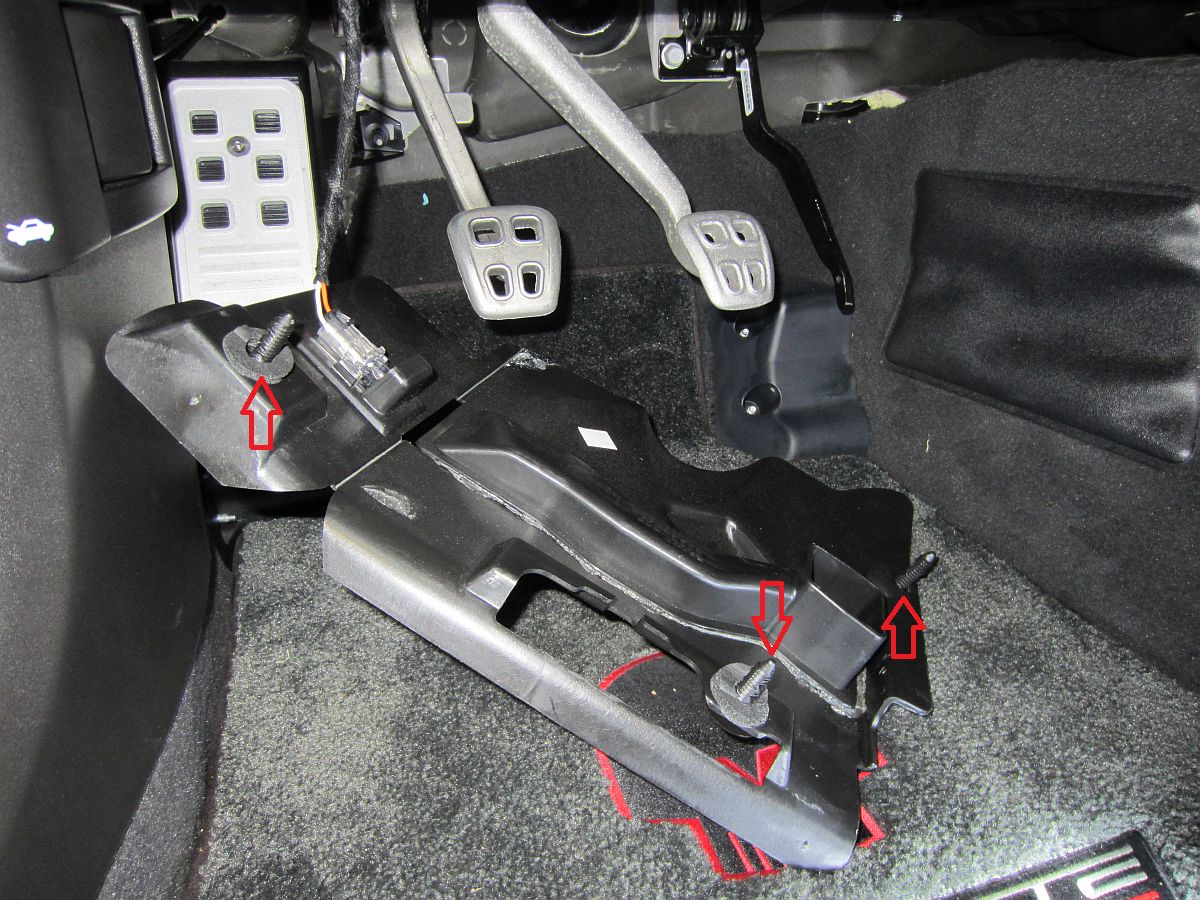
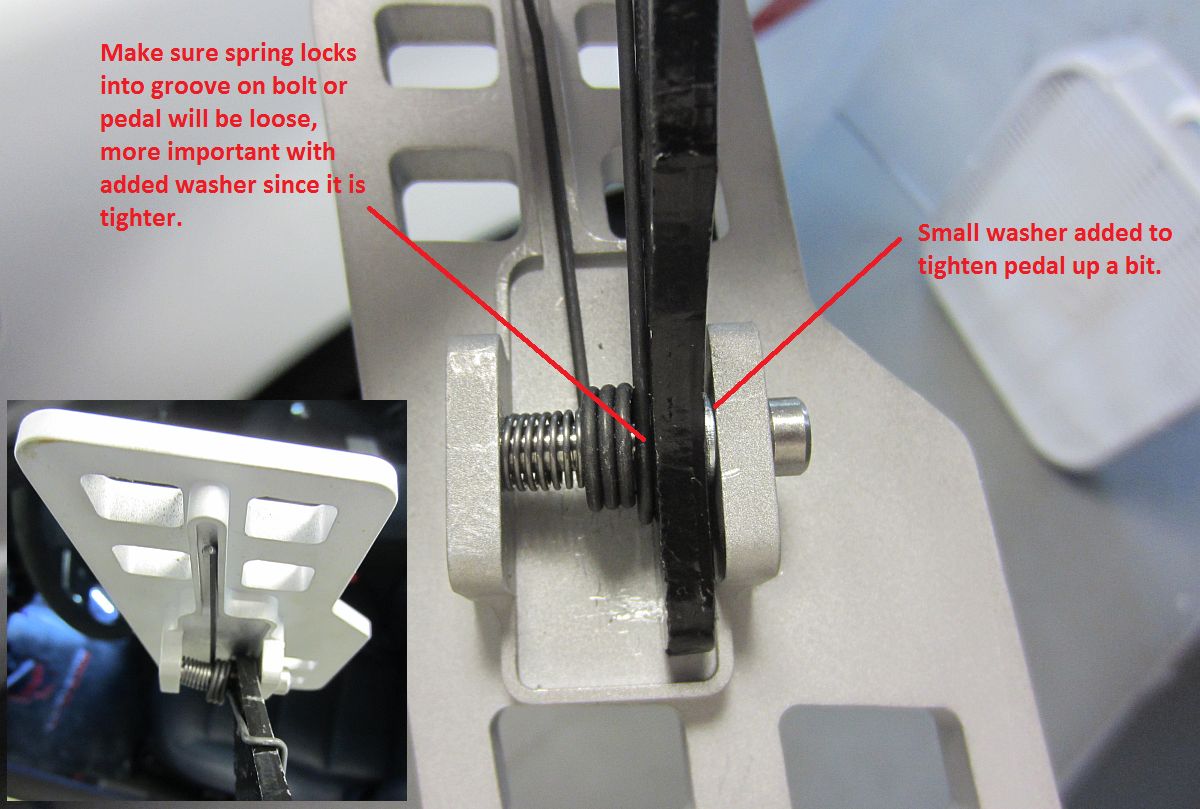
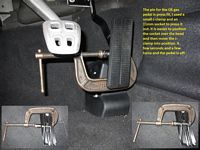
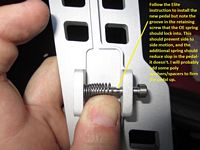
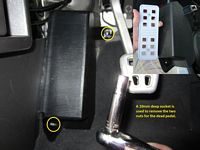
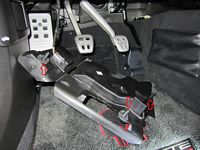
Elite Engineering Pedal Set (Heel/Toe Gas Pedal and Dead Pedal) installed -
Gas Pedal Installation Instructions HERE (video HERE)and Dead Pedal Installation Instructions HERE.
Using the C-Clamp method to remove the OE gas pedal pin took a minute or two and the new gas pedal was installed by feel in a few more minutes- I think it will need some poly washers/spacers to remove all slop but it's not horrible, just a bit worse than OE. The dead pedal was pretty quick too, mark holes and drill them out with 1/4" bit, assemble and reinstall. I think both pedals took 30 minutes start to finish to install and now they are aesthetically pleasing AND functional.
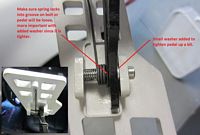
Additional information from my subsequent transplant/installation in the 427 can be found HERE- details removing the gas pedal assembly and adding a washer to remove some of the inherent slop/wiggle, last set of pictures below.

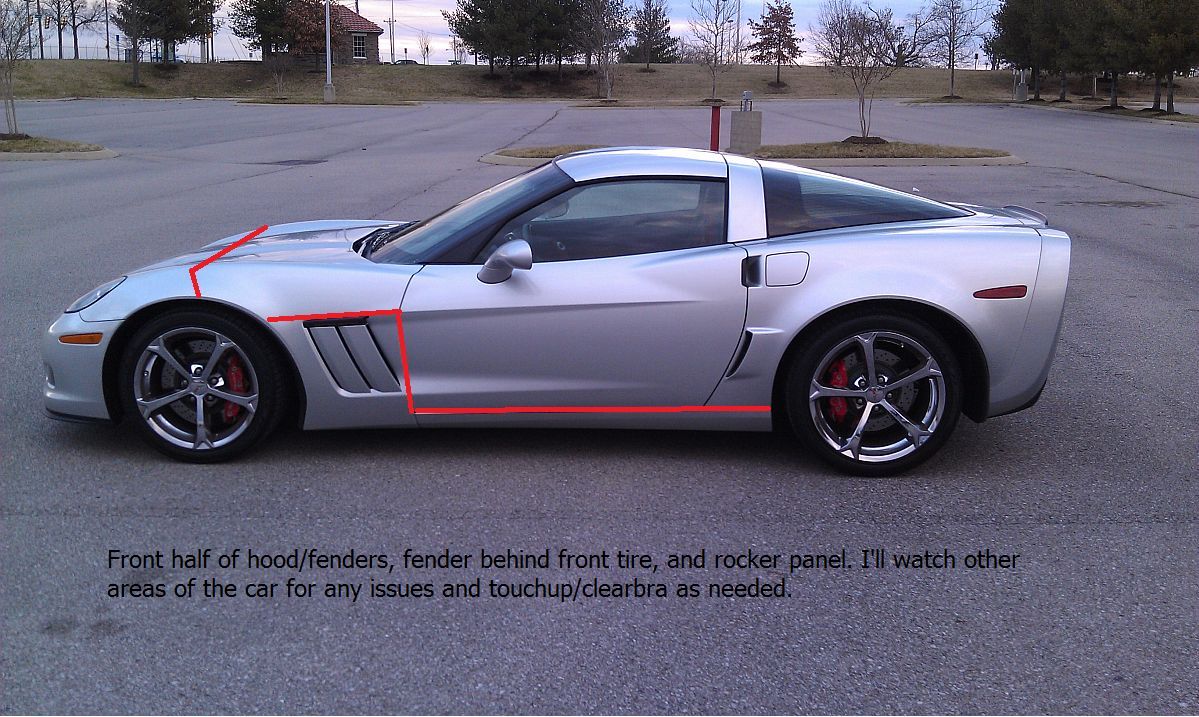
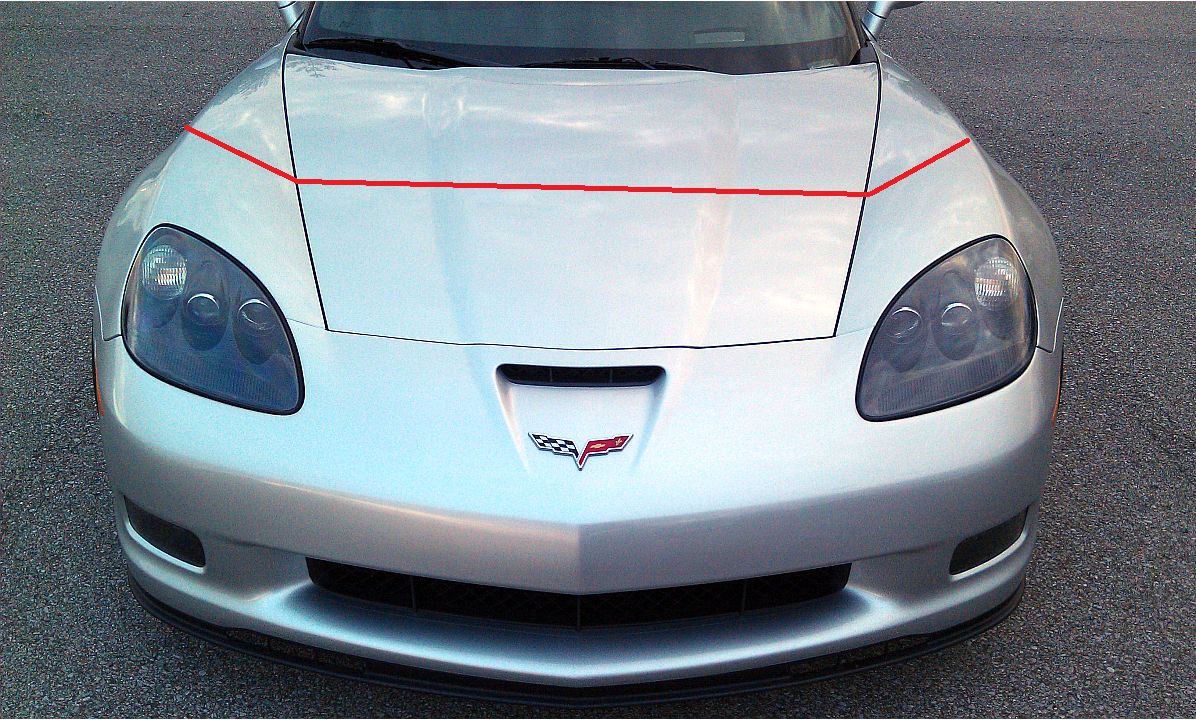
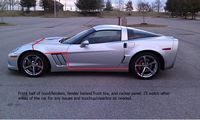
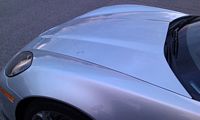
3M Color Stable 35 Window Tint (reviews HERE) and 3M Paint Protection Film installed by Sun and Shield Automotive Films. A one stop shop for all of the things I needed and was able to get my car in right away so I could take it out of town, Mike was great explaining the options available and the service and value were outstanding
I got the bumper, headlights, half hood, half fender, mirrors, door handles, and rocker panels paint protected and then had the windows tinted later. Looks great and should keep the paint in great shape and the car cool. Lines can only be seen in certain light from certain angles, silver is a good color to clear bra.

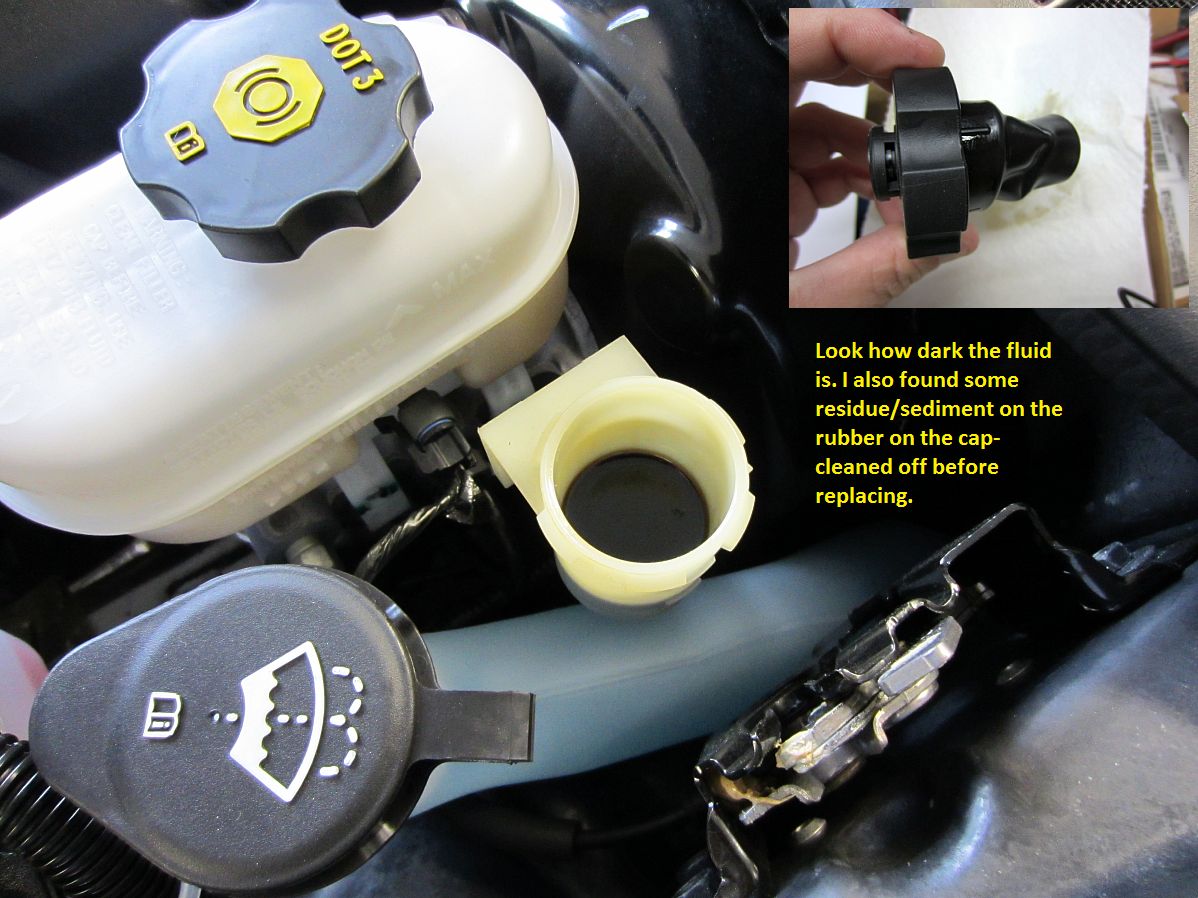
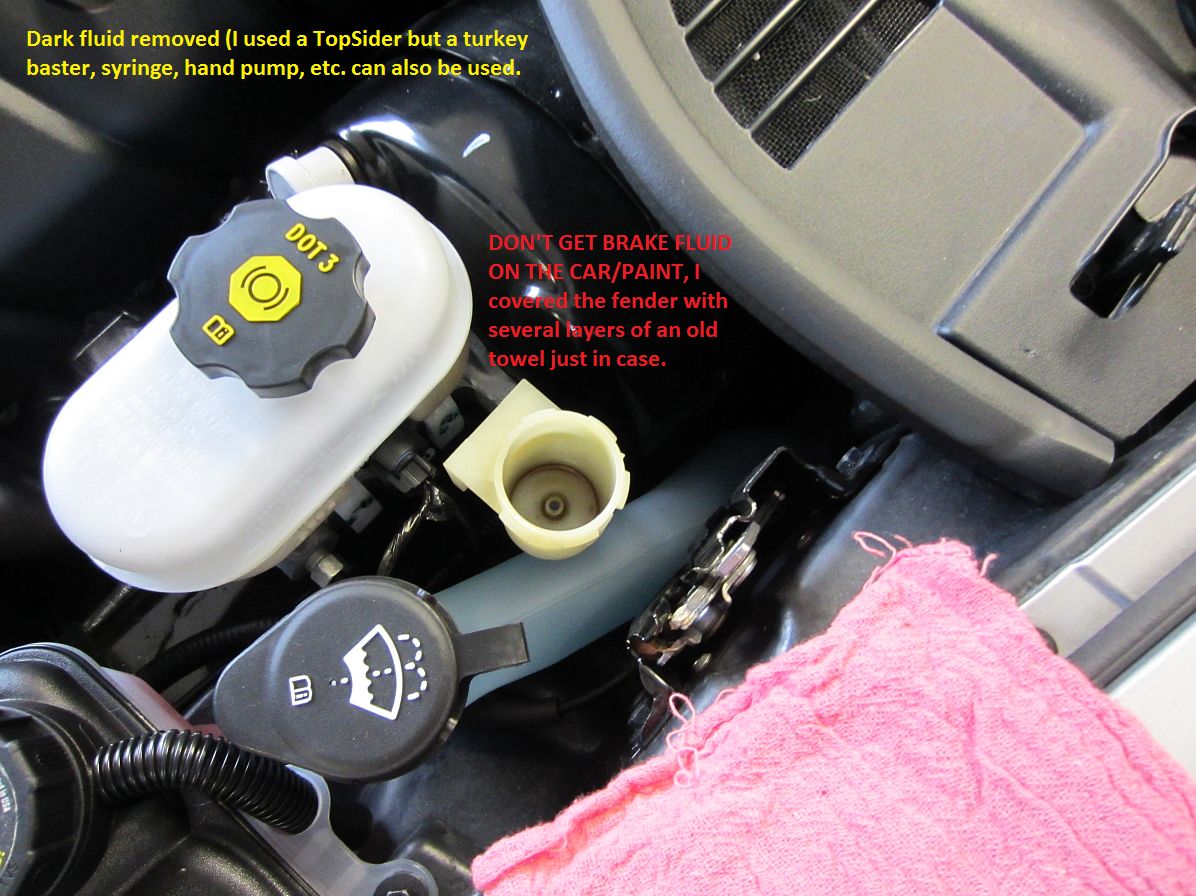
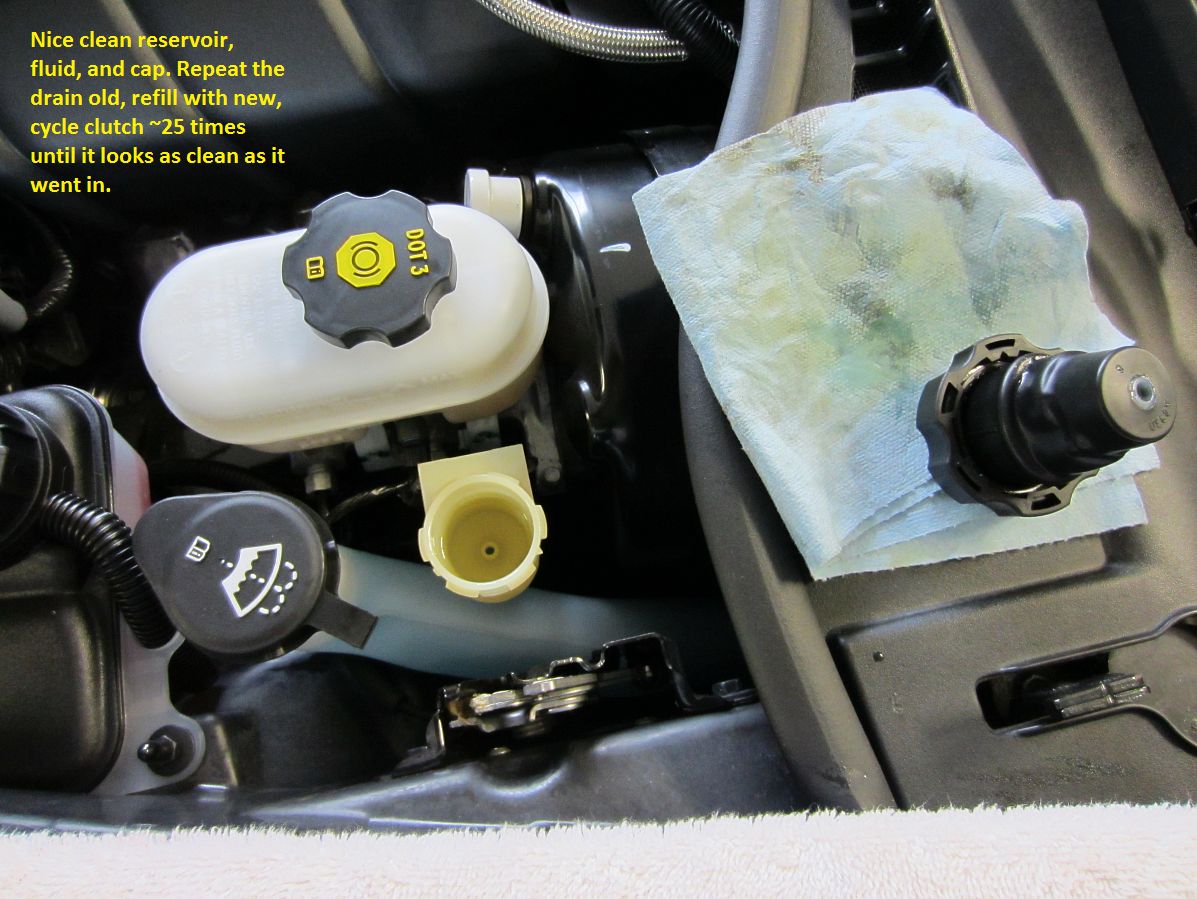
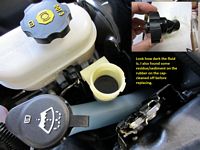
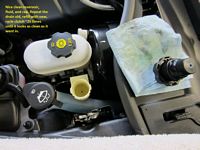
First real maintenance item: clutch fluid replacement. Because of the way this car is designed it is not as easy as bleeding so someone came up with a way to do it called the "Ranger Method", video HERE. tjl5709 came up with a revised Ranger method HERE but I did not have all the required items to do it this way yet.
What this involves is removing all fluid from the clutch fluid reservoir, replacing with your choice of DOT4 brake fluid, and pushing the clutch pedal ~25 times: If fluid does not look like the new fluid you just put in, rinse and repeat until it does. I did this process about 5 times before mine remained clean. Cycling the clutch pulls the new fluid into the system and allows the old fluid to come up to the top. Some do this every few months, I'll keep an eye on the color.

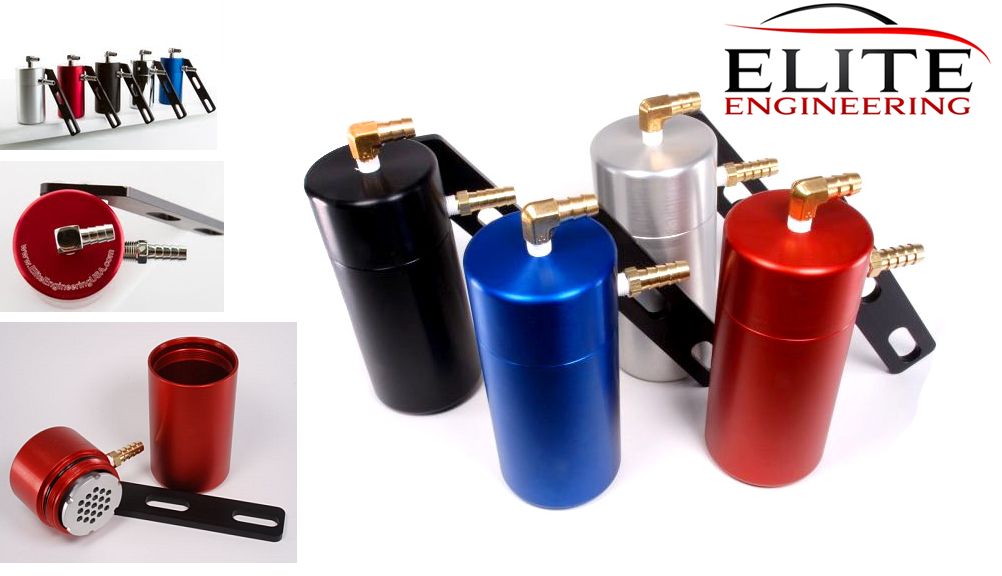
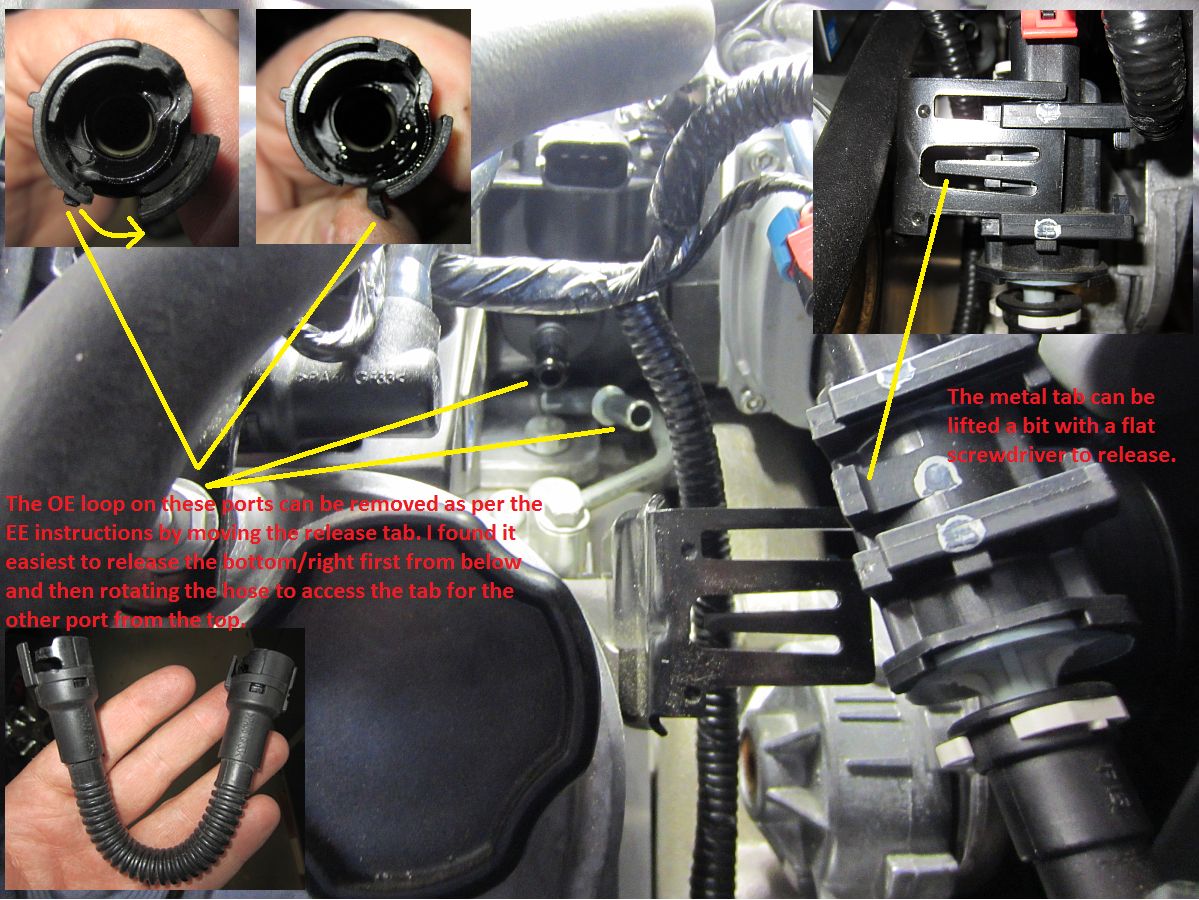
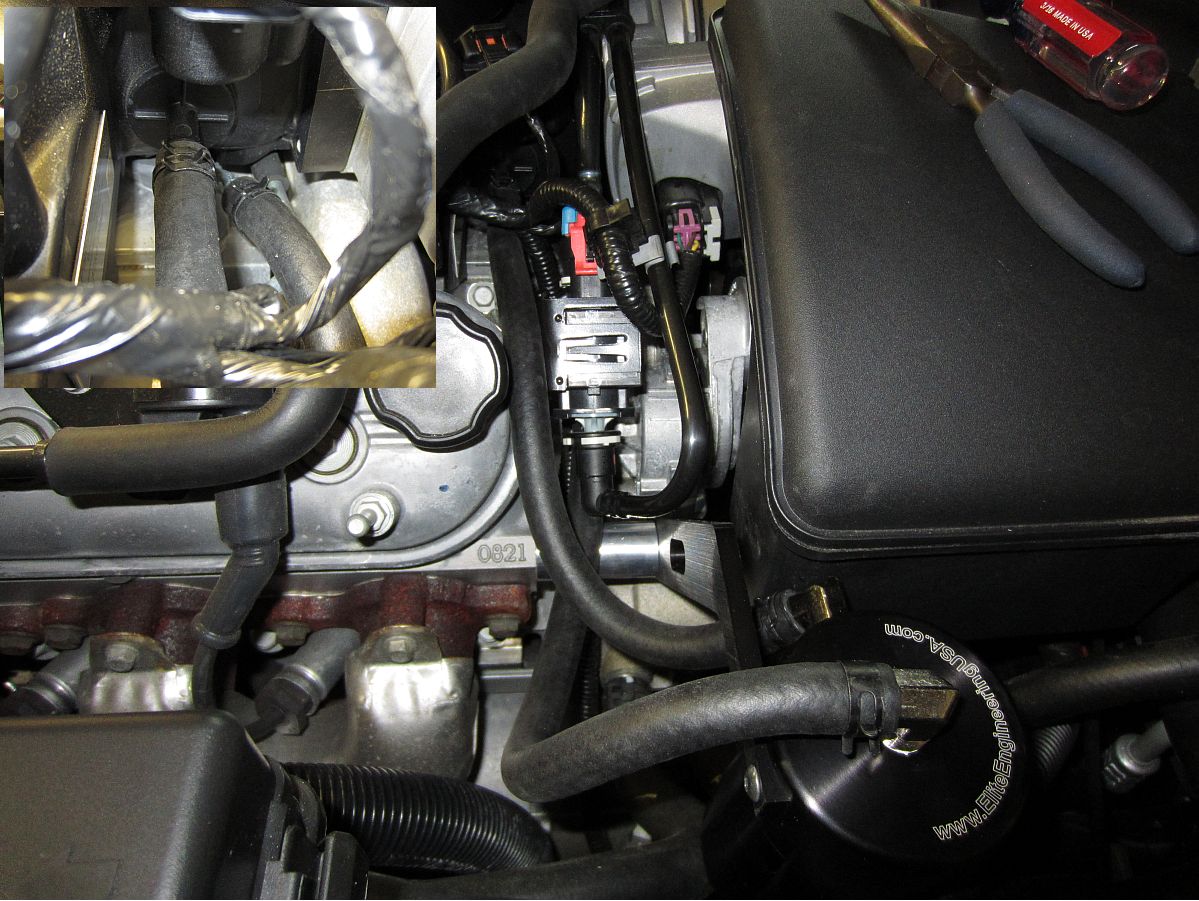
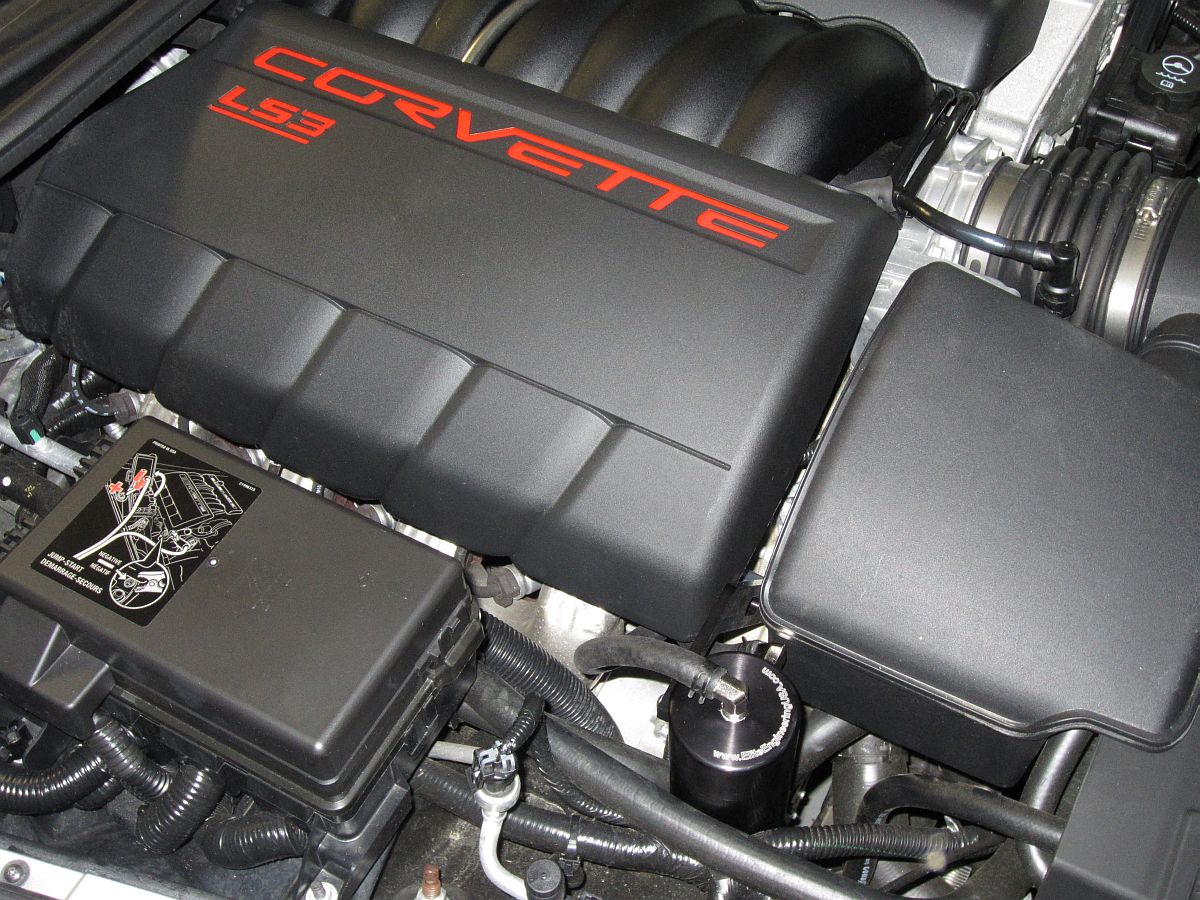
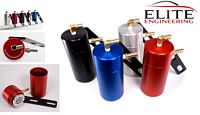
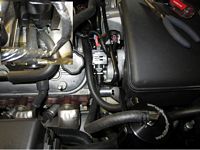
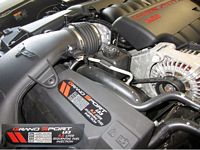
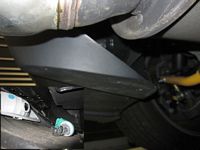
Elite Engineering PCV Oil Catch Can purchased from JDP Motorsports-
Installation Instructions HERE, Corvette Fever write-up is HERE.
I used teflon tape for the hose barbs and sealing paste for the small screws that mount the can. I felt like the wiring loom that was removed from the block to make room for the bracket bolt should not be floating and zip tied it to the bracket spacer. I found my long/angle needle nose pliers worked great to get the hoses with clamps on to the motor side. This can looks great and seems to be well thought out (unlike 95% of the OCCs out there), in black it does not stand out and scream to the mod police
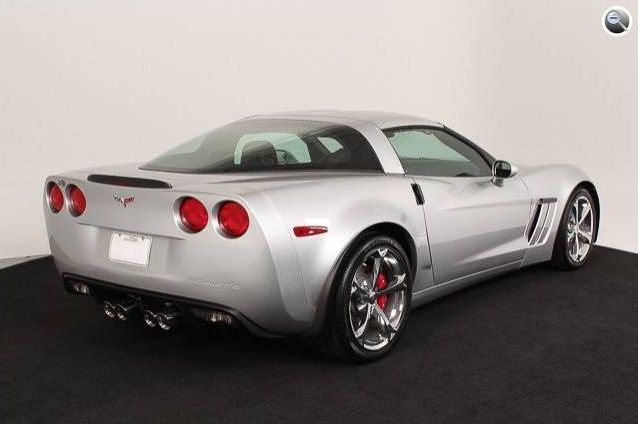
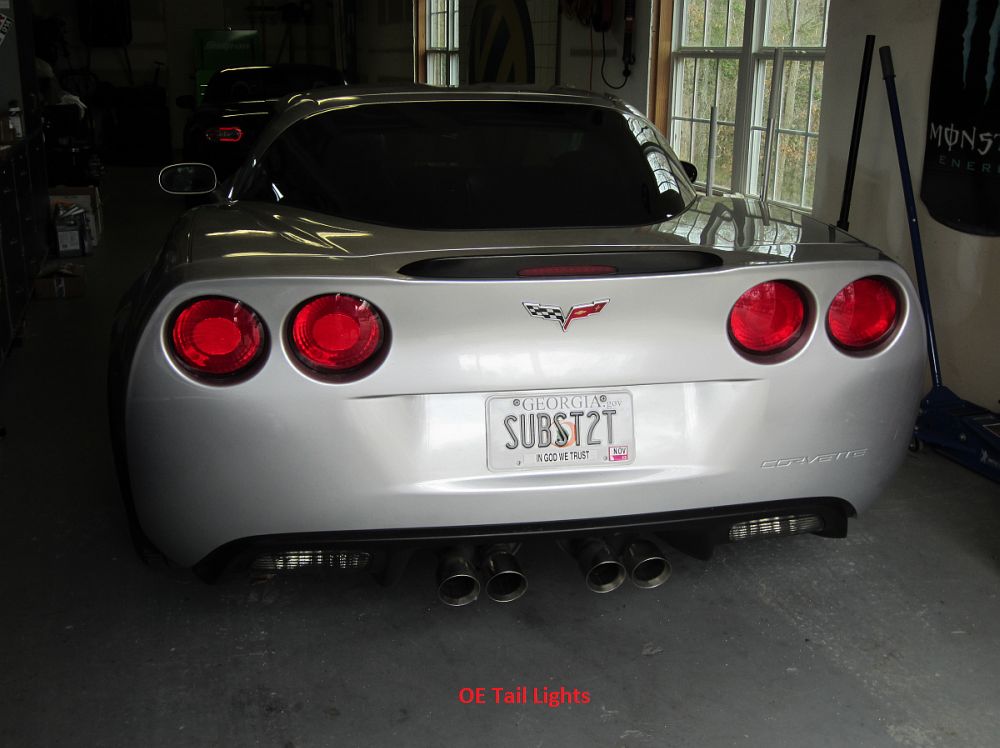
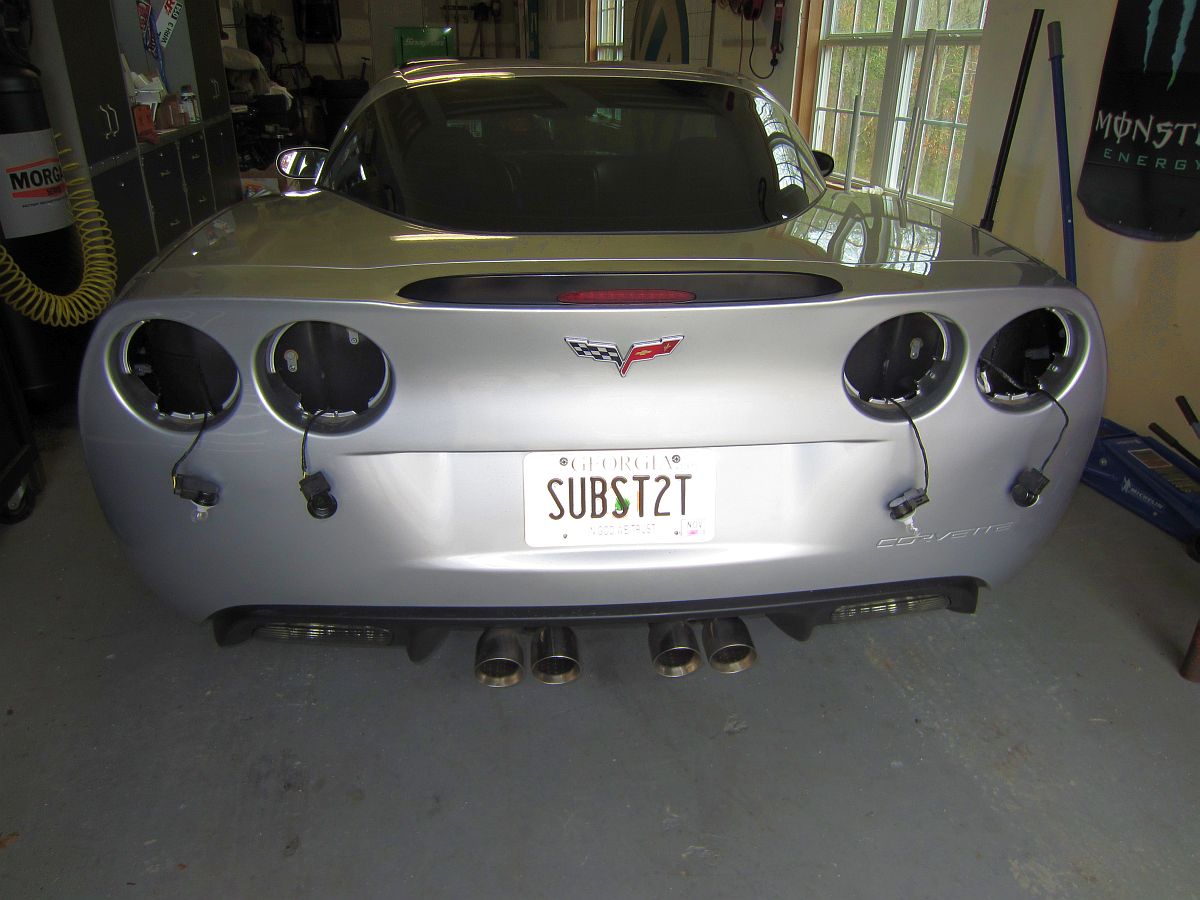
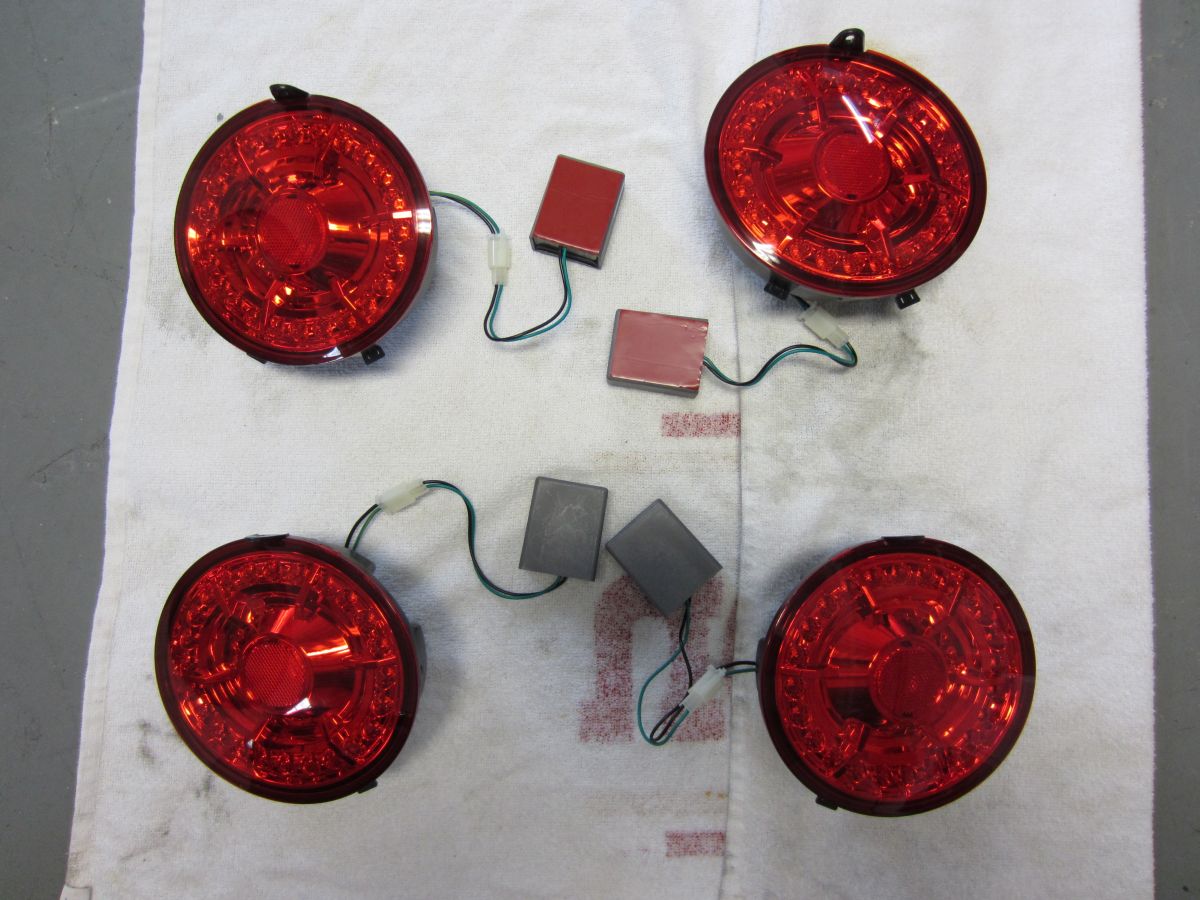
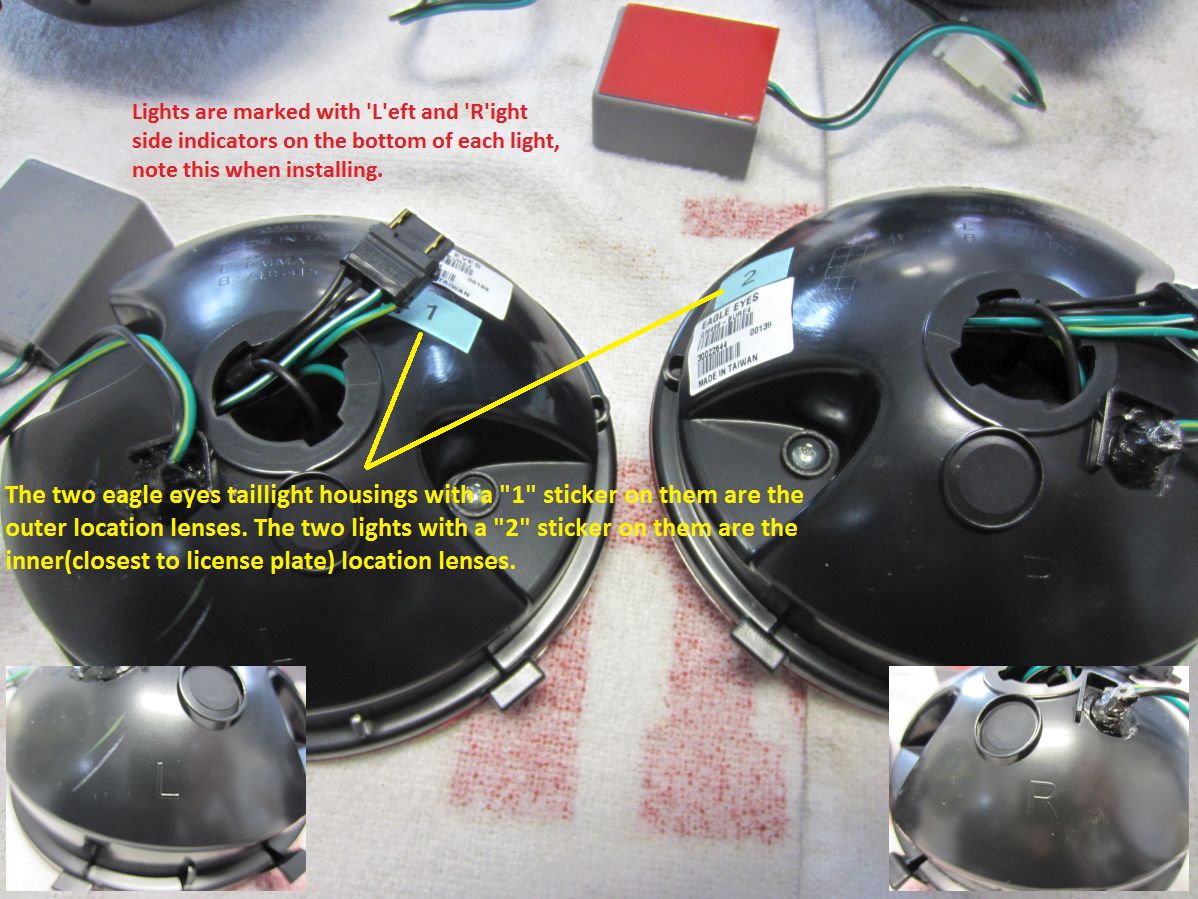
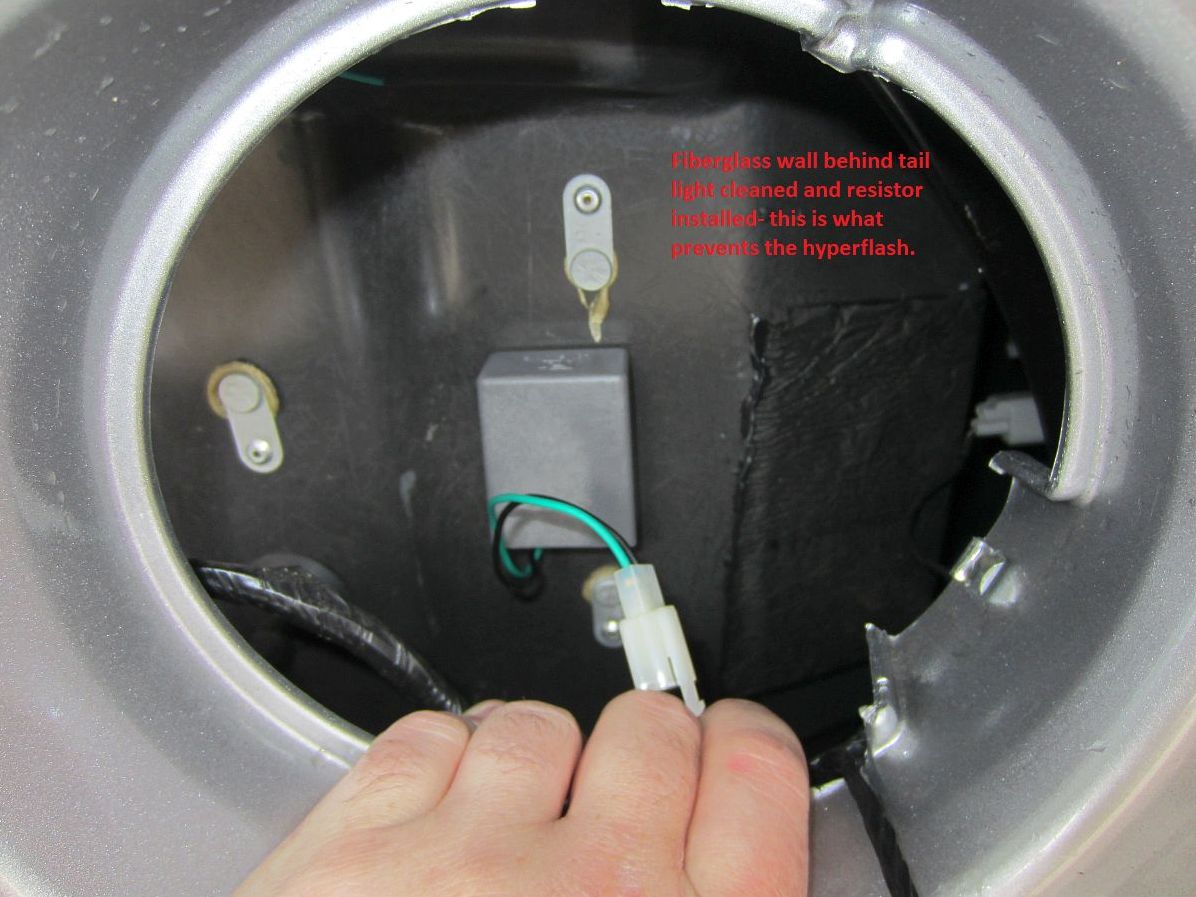
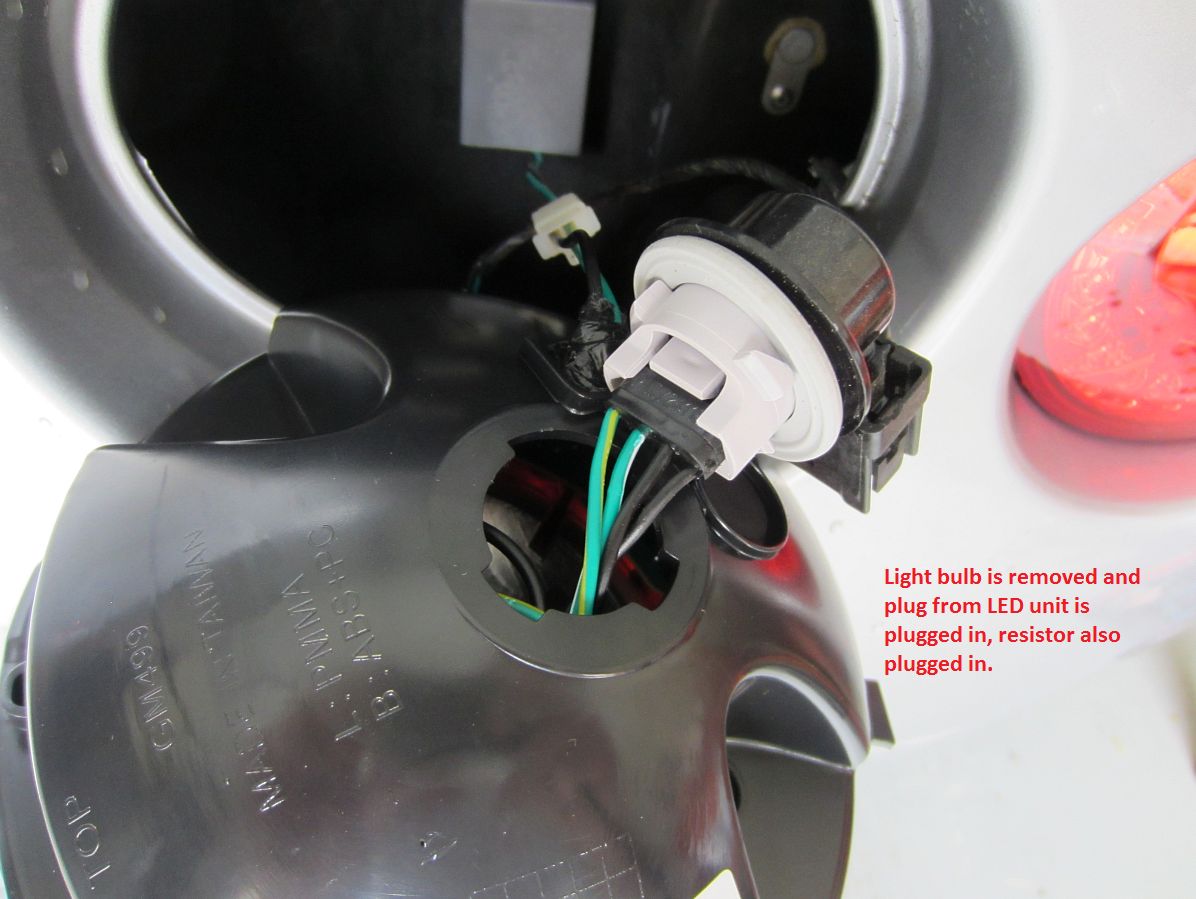
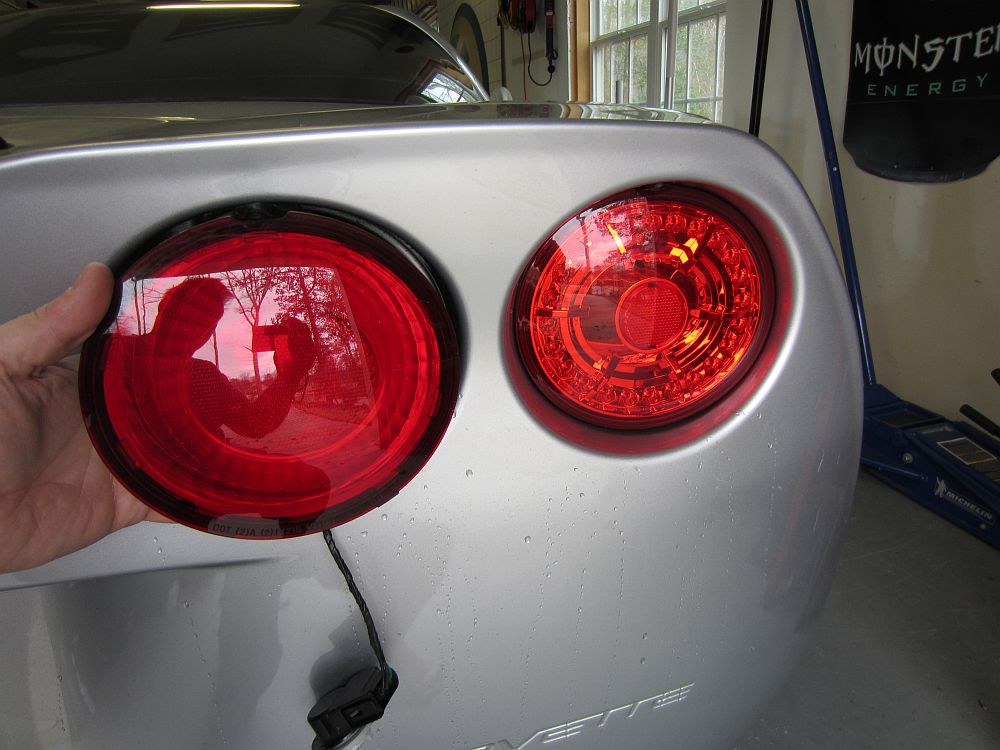
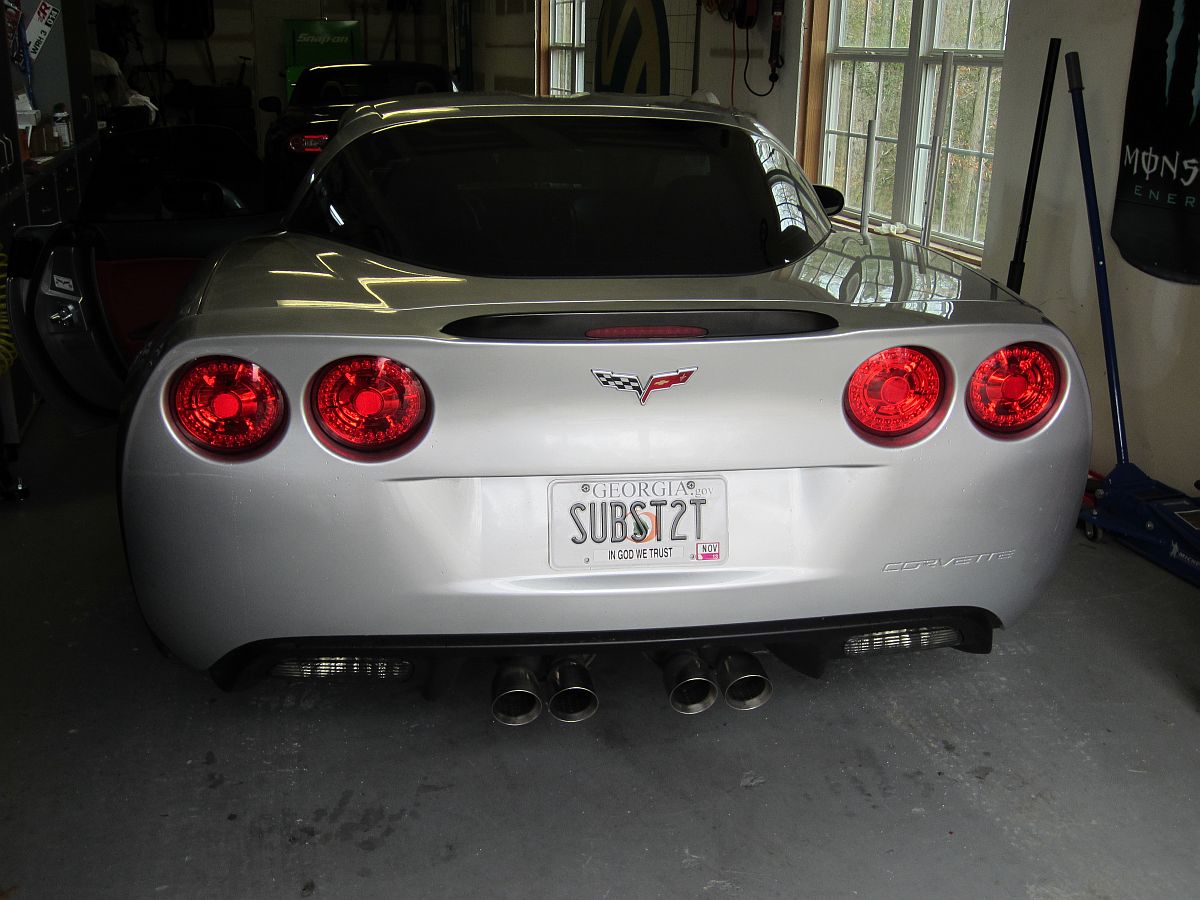
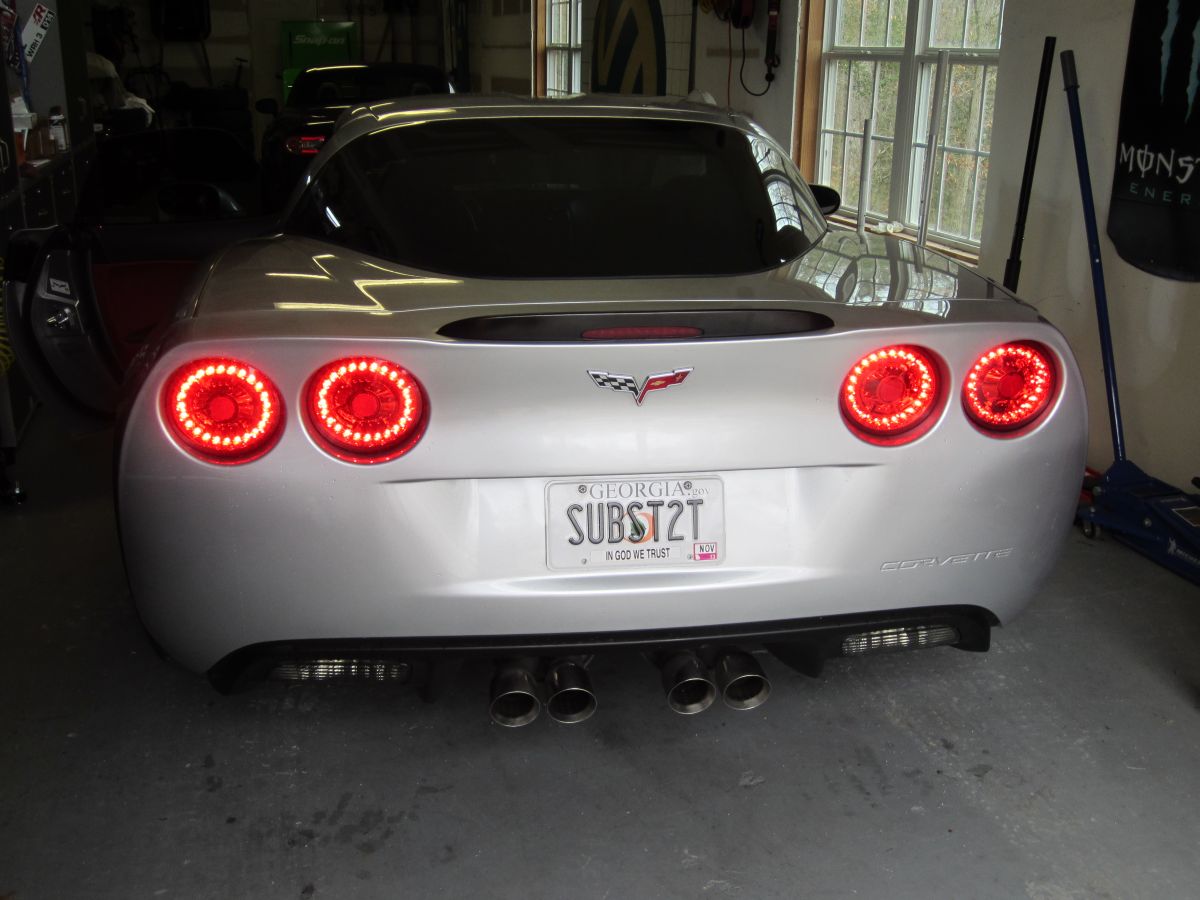
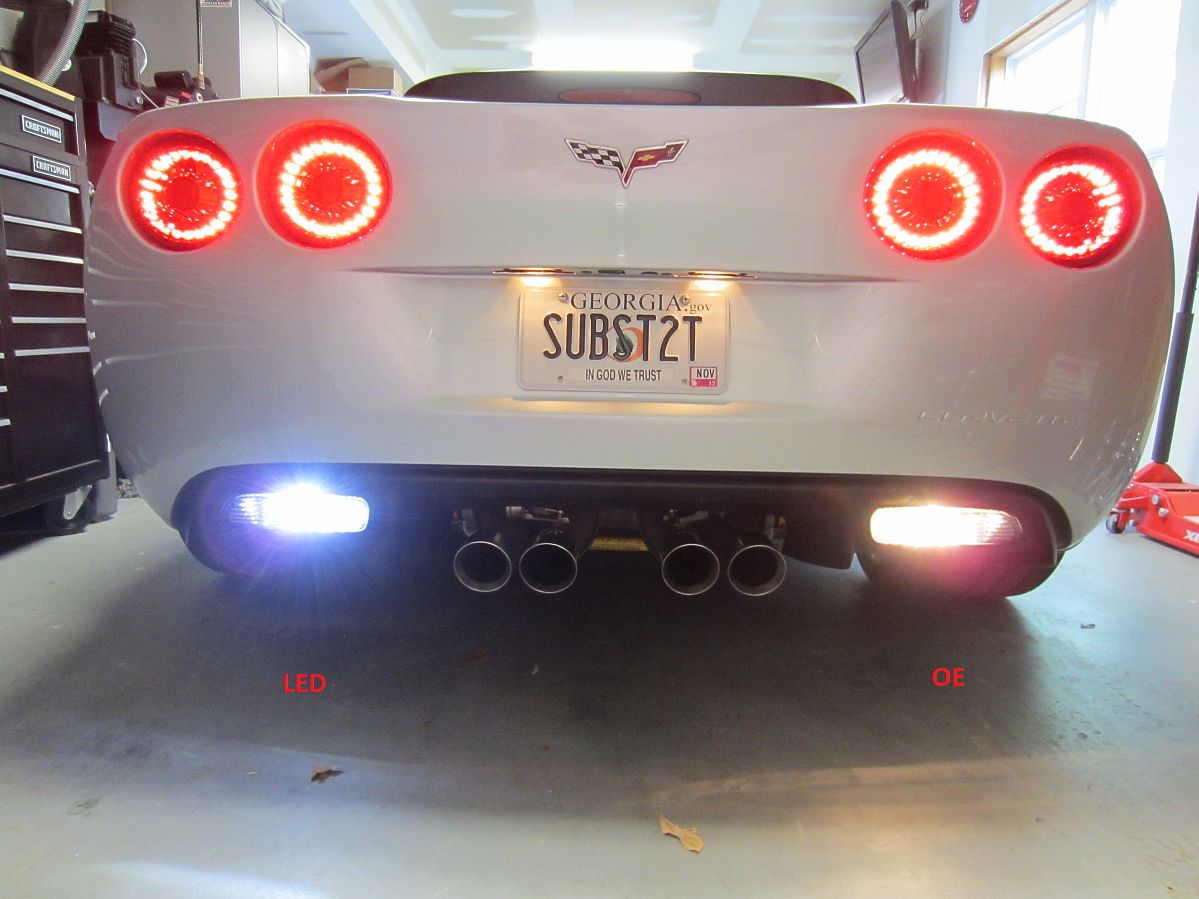
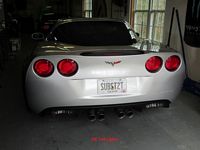
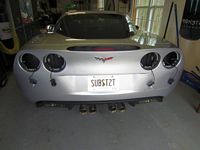
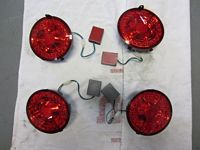
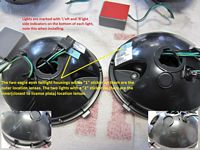
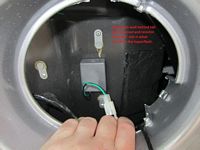
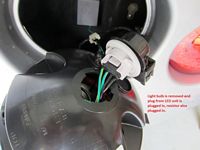
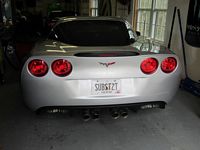
Eagle Eye LED tail lights from Corvette Mods installed, sale price made them just as cheap as eBay vendors. DOT approved and come with the resistor so they don't hyperflash- true legal, plug and play solution made in Taiwan. There is a thread on CF about these HERE. Hard to see in the pics but these lights are BRIGHT


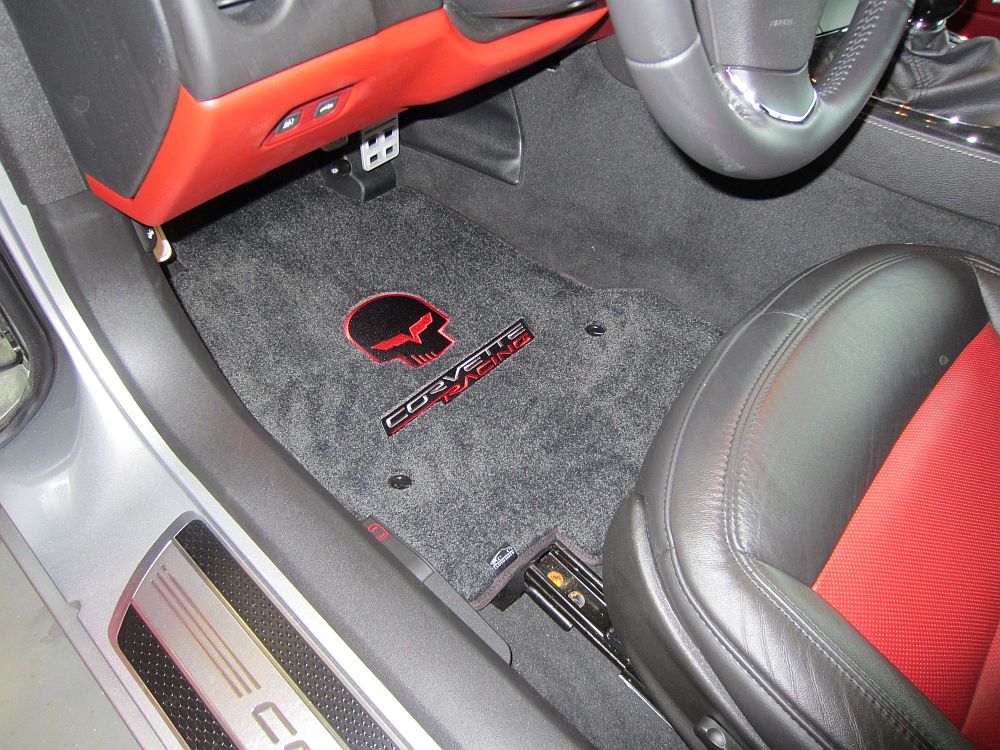
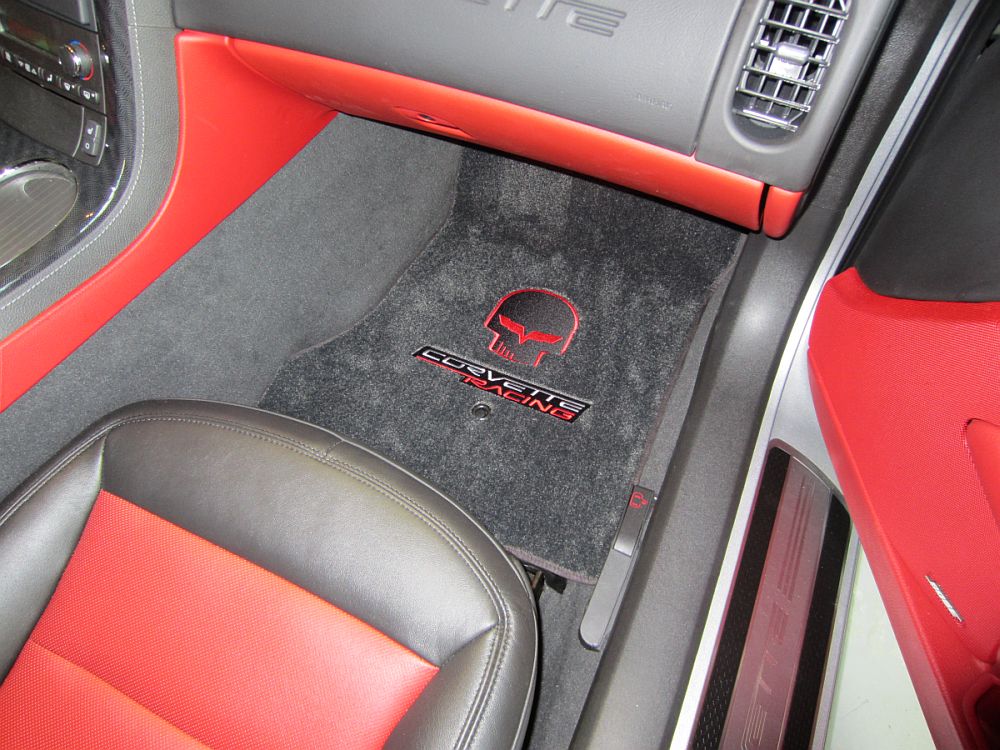
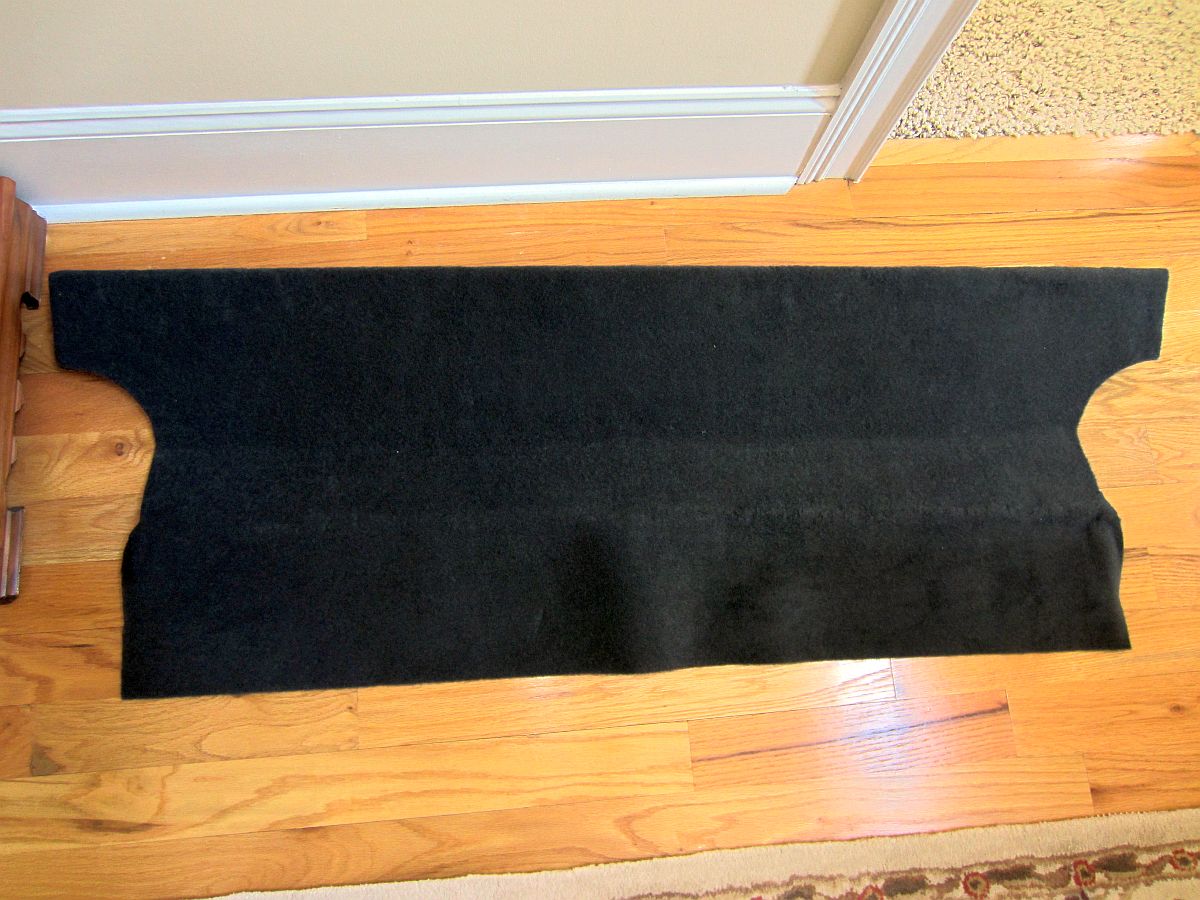
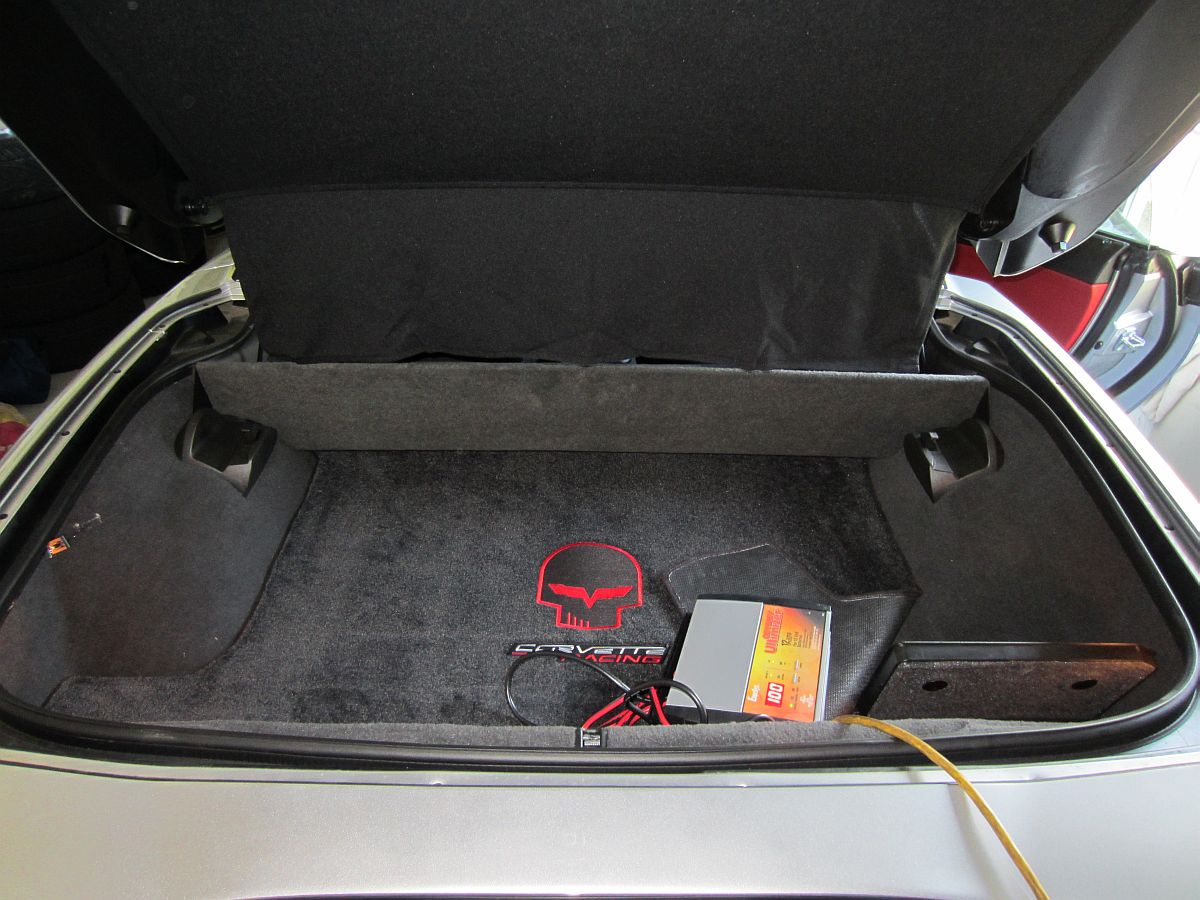
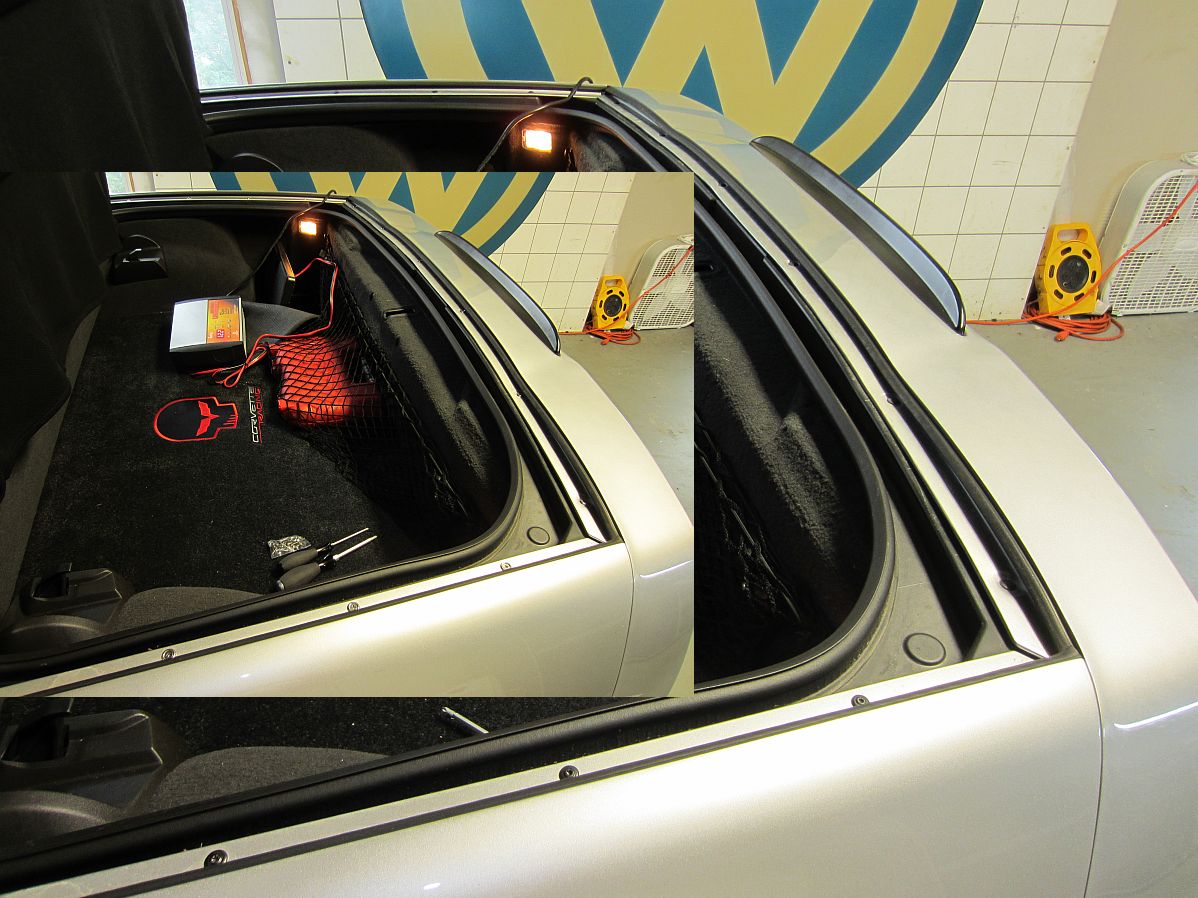
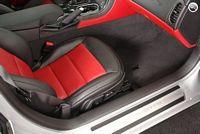
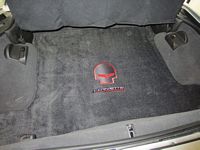
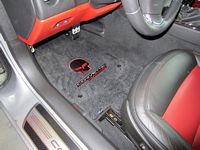
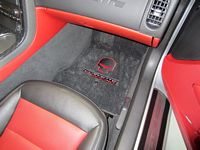
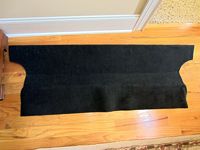
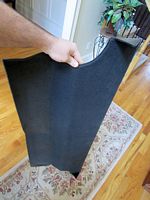
Lloyd Ultimats "Jake" Corvette Racing cargo mat from RPI Designs should keep the carpet like new. I later caved in and bought the matching floor mats from East Coast Corvettes.
The story of Jake can be found HERE.
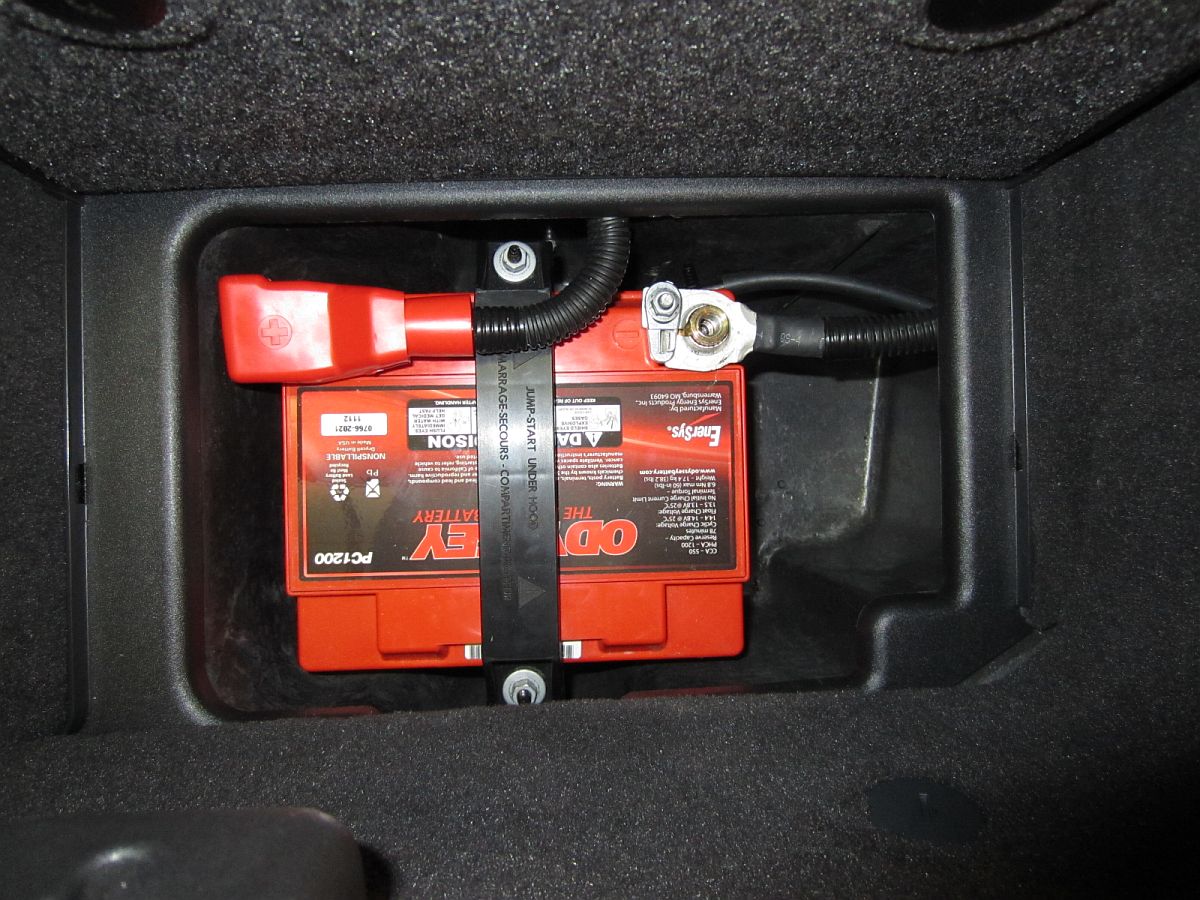
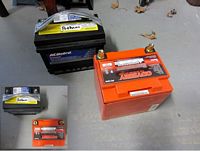
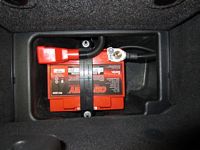
Odyssey PC1200MJT installed: Owner's Manual HERE, Technical Manual HERE, Ultimizer Charger Manual HERE, Warranty Information HERE.
My car has been a dealer promo-car for the past year and with just ~700 miles I don't see the factory battery lasting, it strains now to turn the engine over when cold. I like an Odyssey battery just for the peace of mind it provides while I'm out of town on a project. Not a lot of size/weight savings (if any) compared to the OE battery but much better specs and durability. Required no mods to mount, does not require the vent line to be connected since it is a sealed battery.
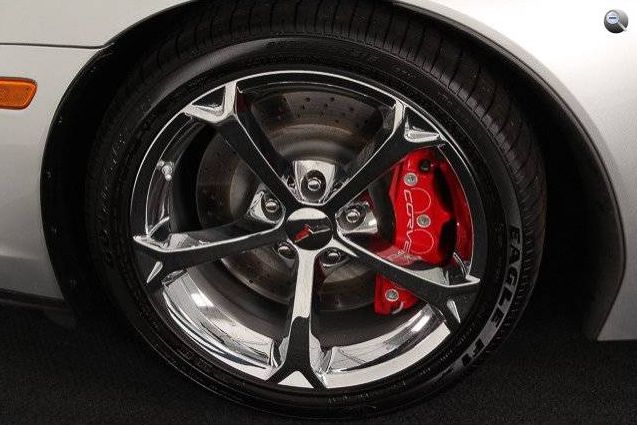
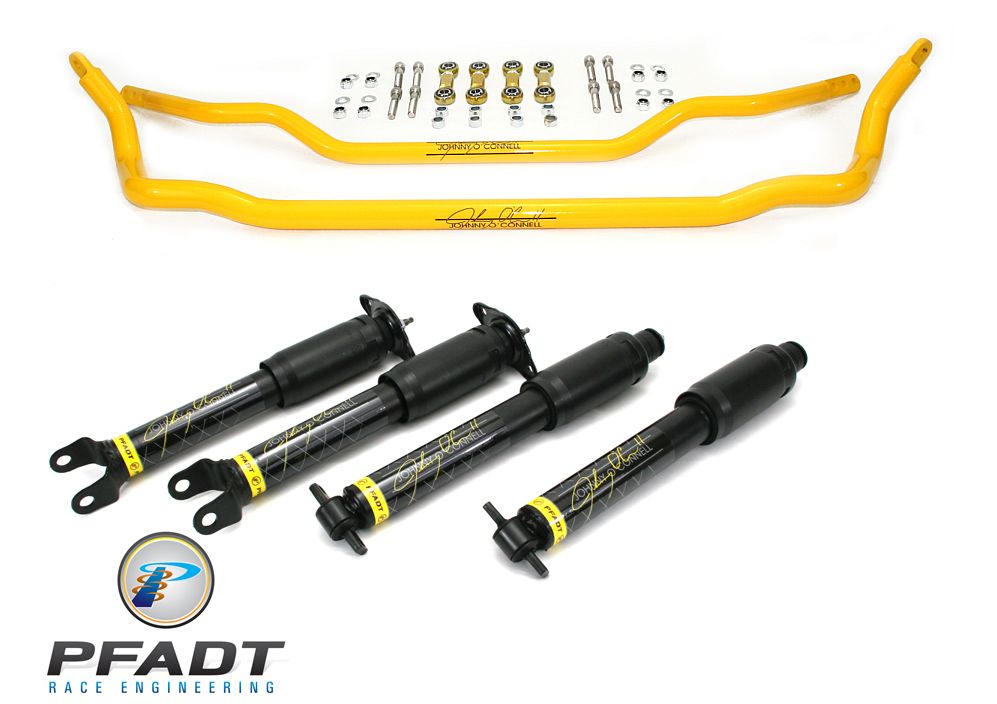
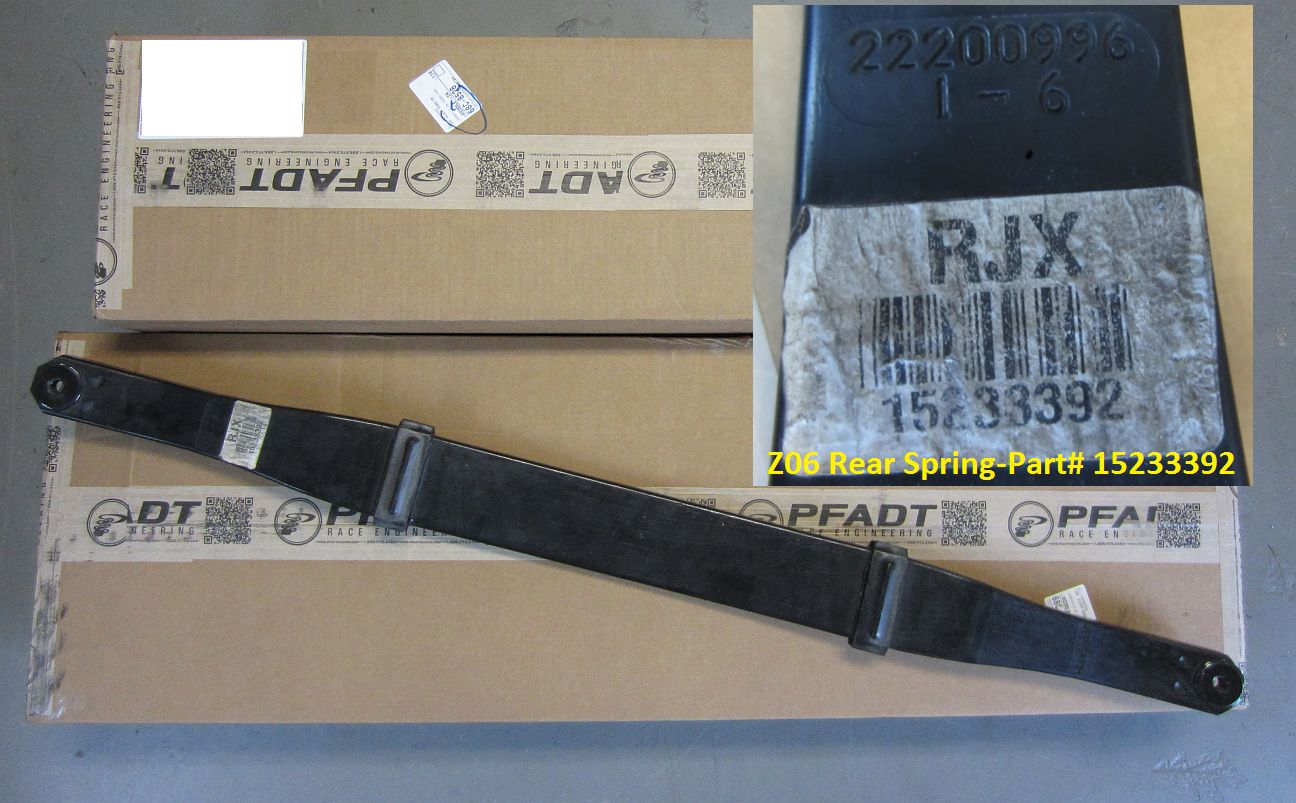
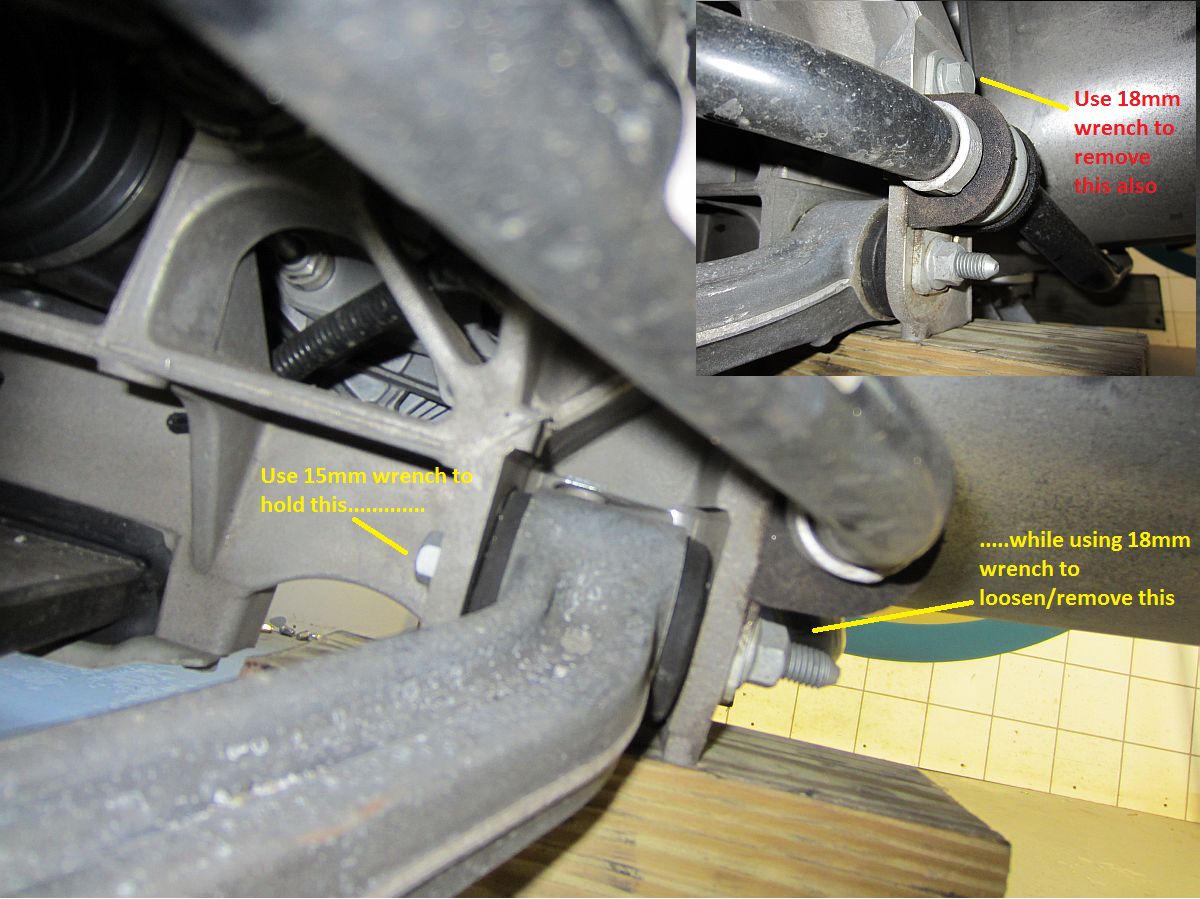
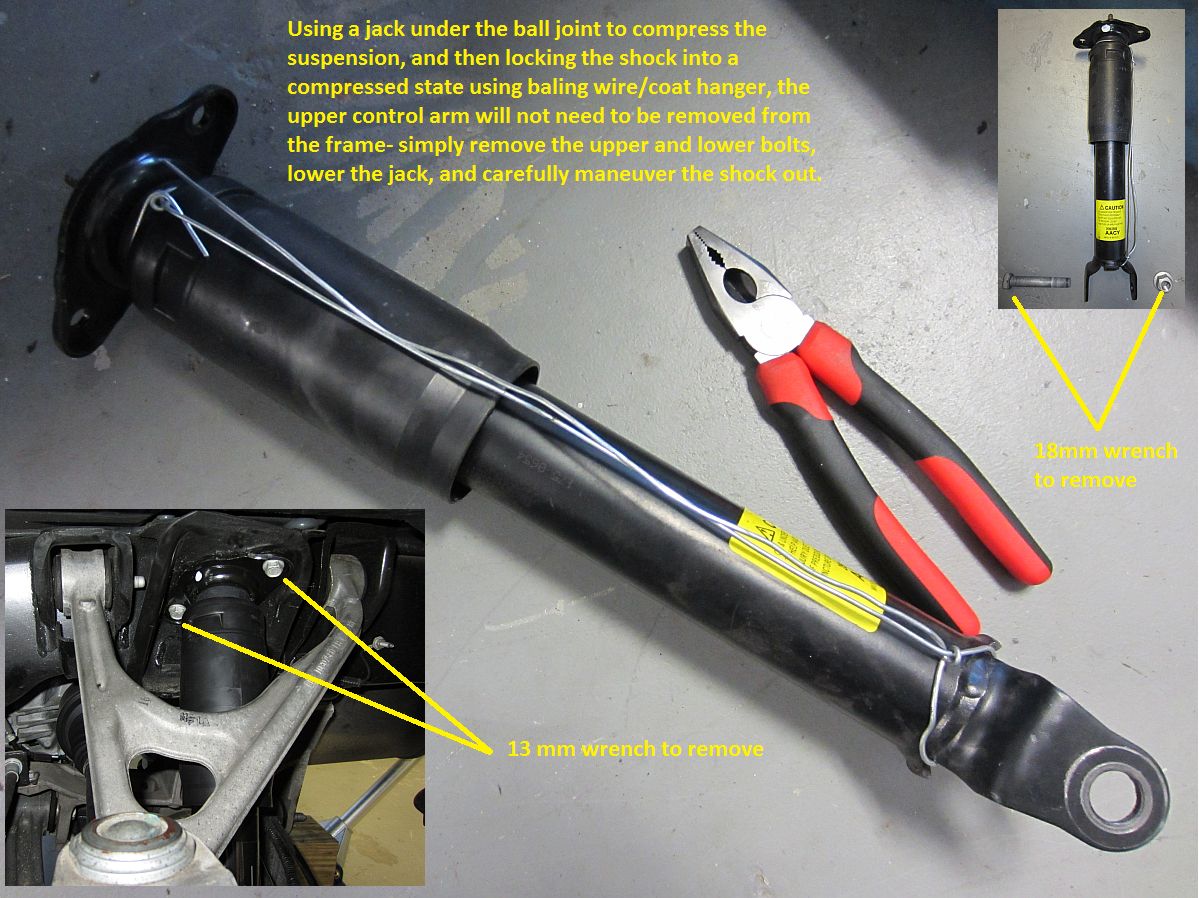
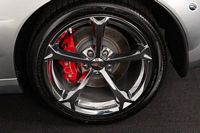
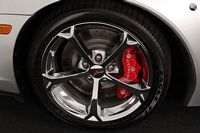
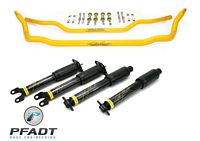
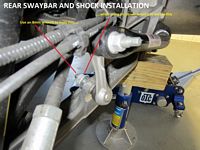
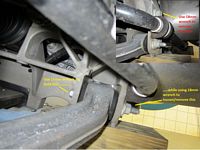
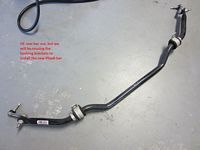
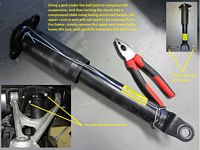
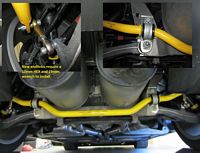
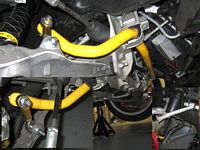
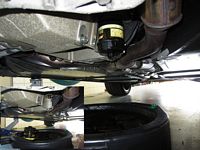
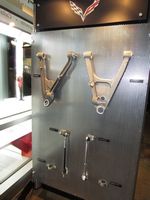
Pfadt Racing Johnny O'Connell Stage 1 suspension package consisting of new sway bars (Diameters are 1.375 [34.925mm] Front and 1 [25.4mm] Rear), adjustable end links, and shocks purchased from JDP Motorsports-
Development Video HERE, Shock Installation Instructions HERE, SwayBar Installation Instructions HERE, and Pfadt Racing Alignment Guide HERE.
I bought a low mileage Z06 rear spring (from the CF forum classifieds HERE) to dial the the car back towards neutral balance if needed, the Pfadt system was designed on a Z06 but will work with the "lesser" cars as well. The front spring of the GS and Z06 are within a few lbs of each other but the rear spring is a bit stiffer on the Z06.
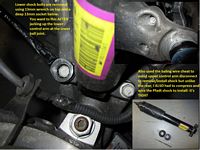
I started at the rear since it was easier to get to in the garage at the time; removed the sway bar first, then the shocks (using the wired compression shortcut), and installed in reverse order- same process used up front next. The Pfadt shocks installed without compression in the rear, but required compression/wiring for the front- saved a little bit of time not having to touch the upper control arm. As a bonus it seems to be less work entering/exiting the driveway without hearing the scrape of the spoiler.
Even though I have not had the car aligned to Pfadt specs yet, my thoughts after some drive time echo other reviews on CF- the car feels less nervous over road imperfections and transitions and more controlled, this was money well spent. Friends that drove before/after the installation feel the same way.
HERE is just one CF thread of many that describe the difference.
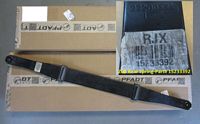
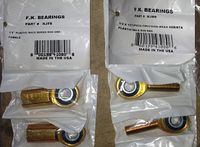
BTW, when worn out the Pfadt endlink part numbers are FK NJM8 (Male) and NJF8 (Female).


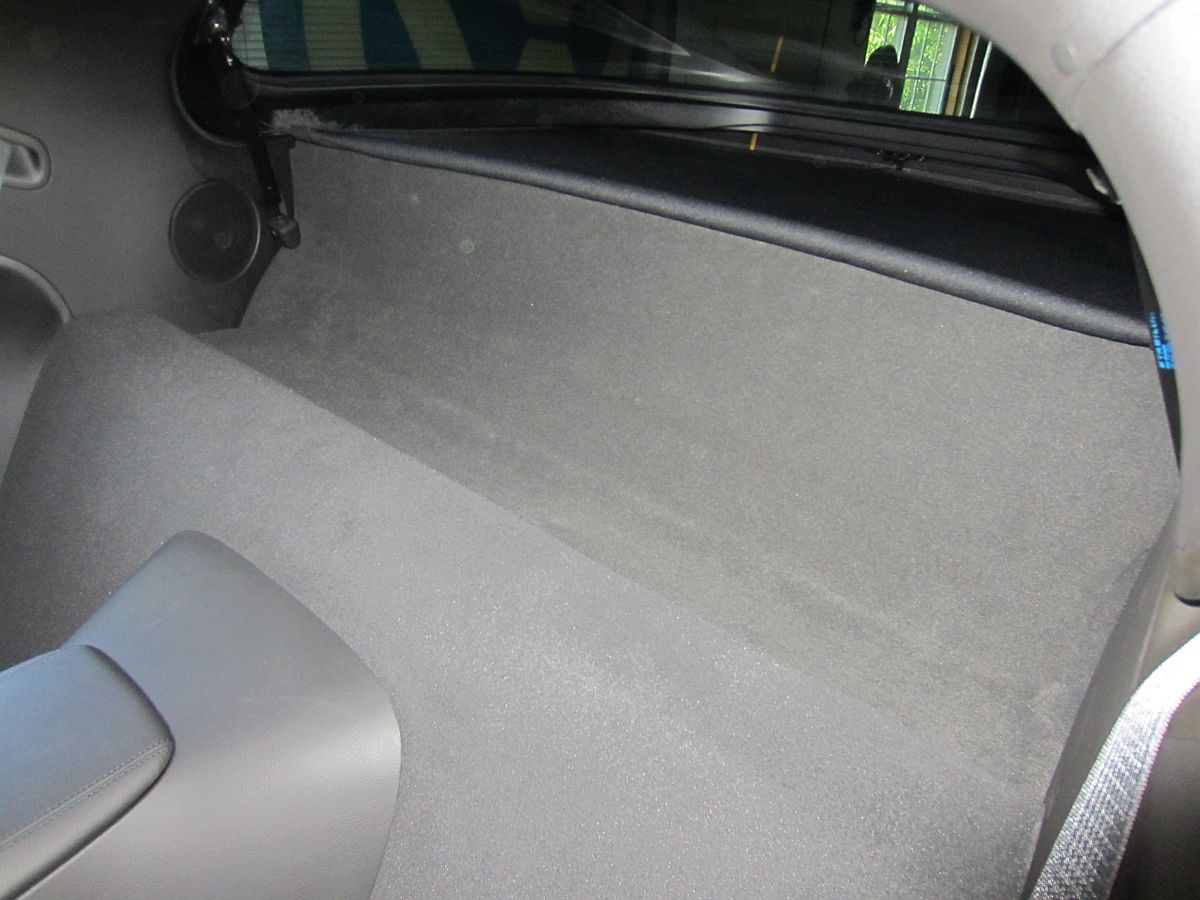
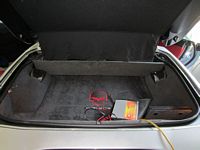
Cargo Partition from Exotic Vette purchased and installed. Nice ABS partition covered in carpet that is a close match. It slides in place easily and the carpet at the front can be tucked in for a seamless look. No more cargo cover flapping in the wind and objects sliding all around the hatch when needed within reach- Both an aesthetic and functional improvement.
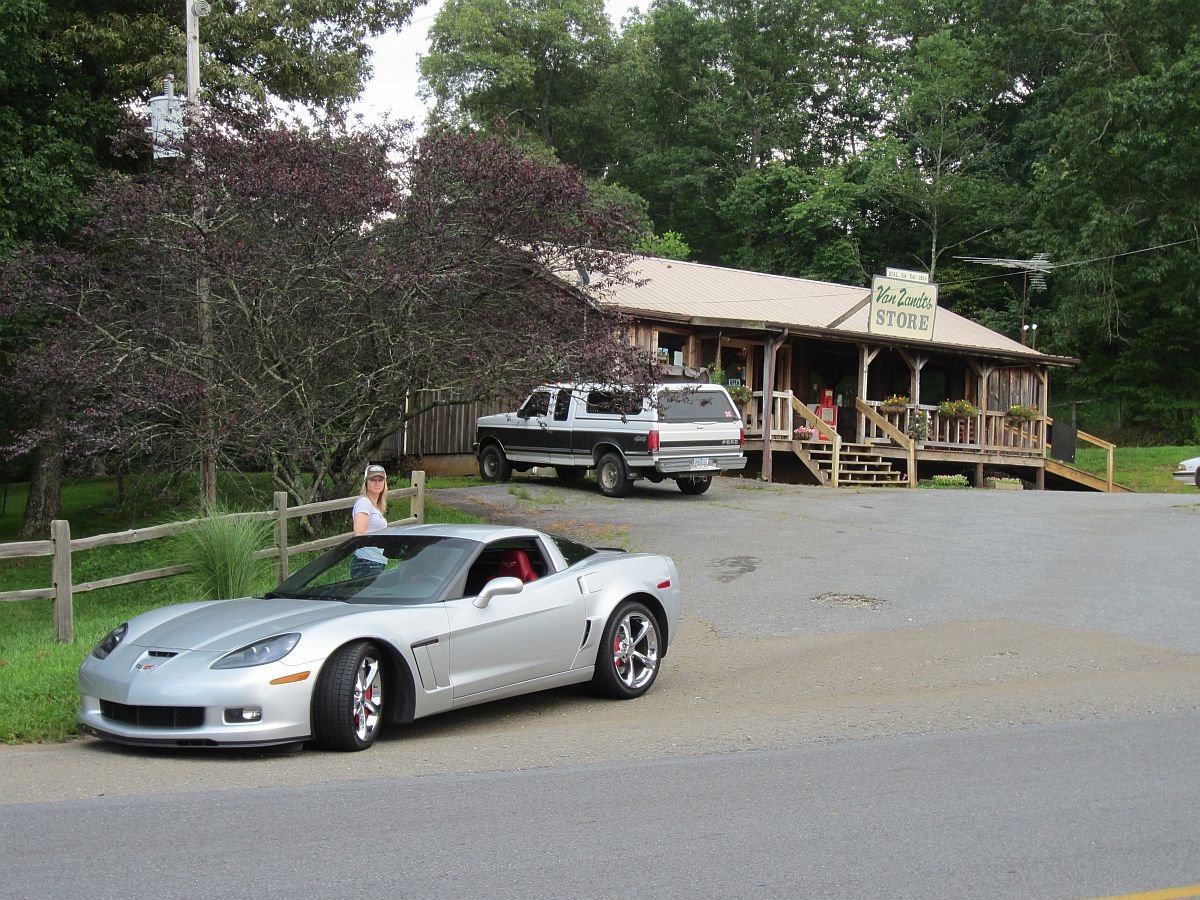
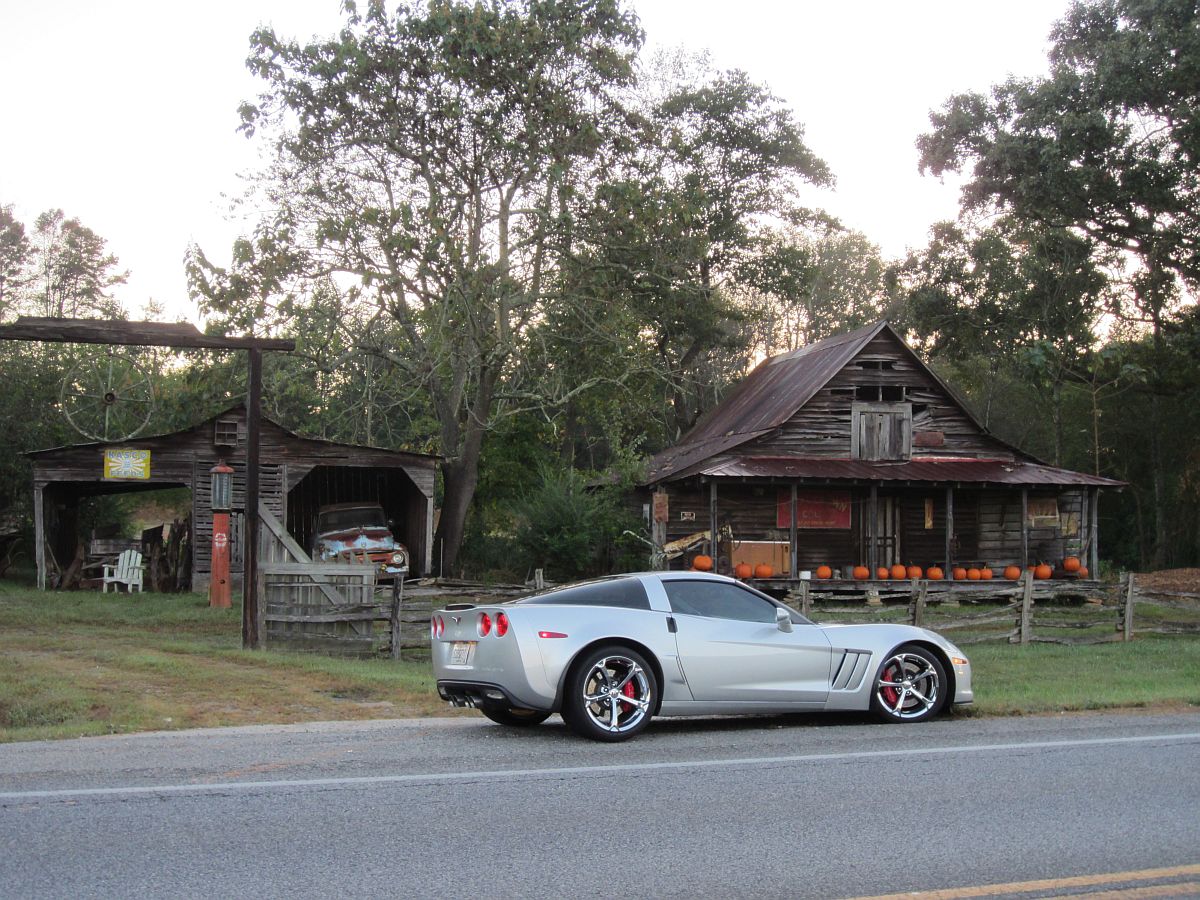
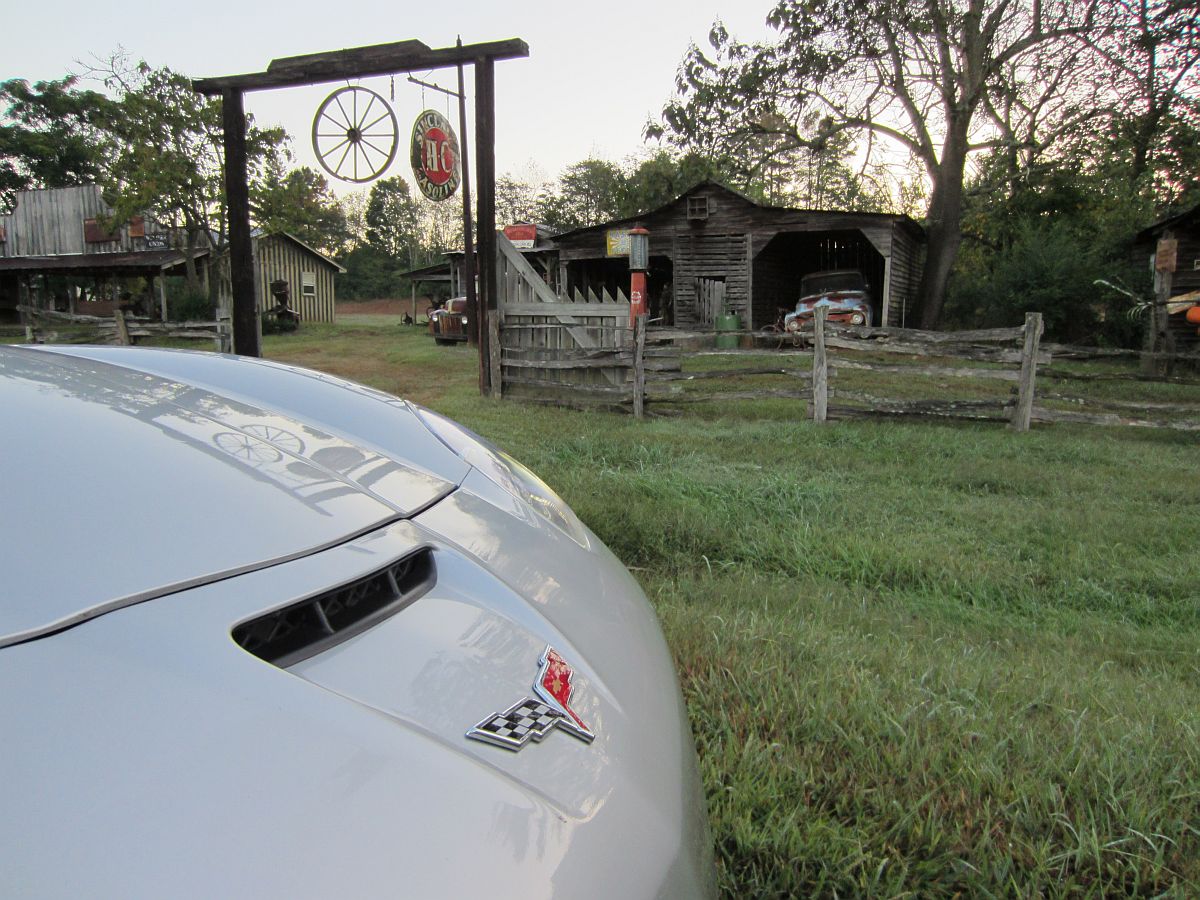
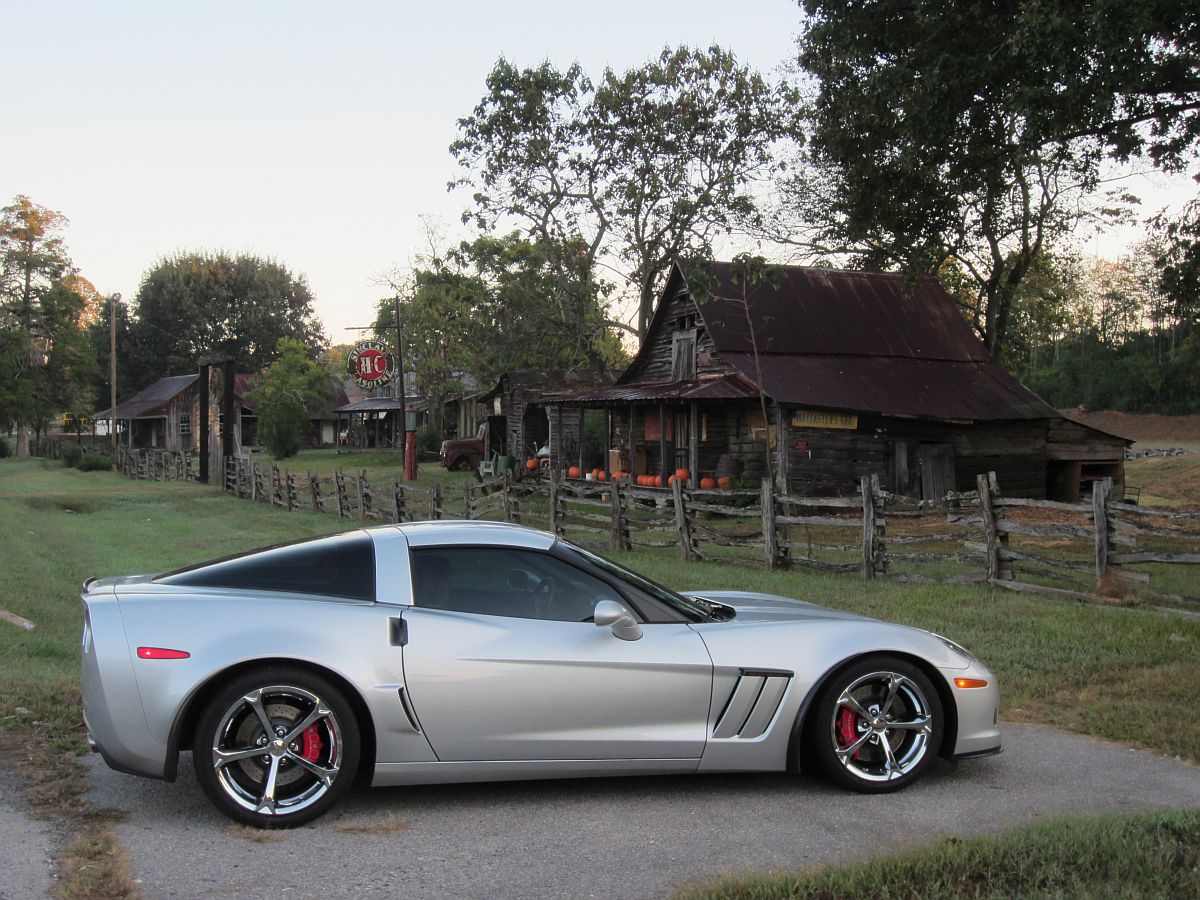
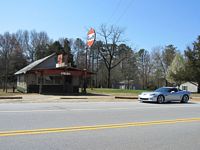
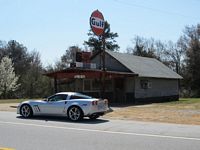
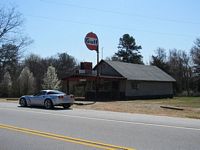
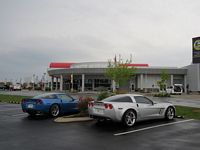
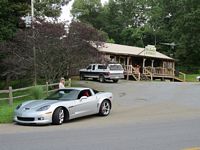
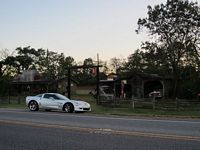
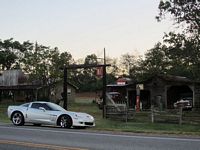
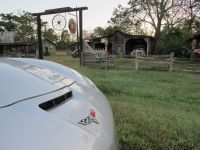
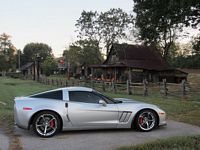
Driving to a friend's restaurant today I happened upon this old gas station turned into weekend BBQ place- I had to stop and snap a few pics.
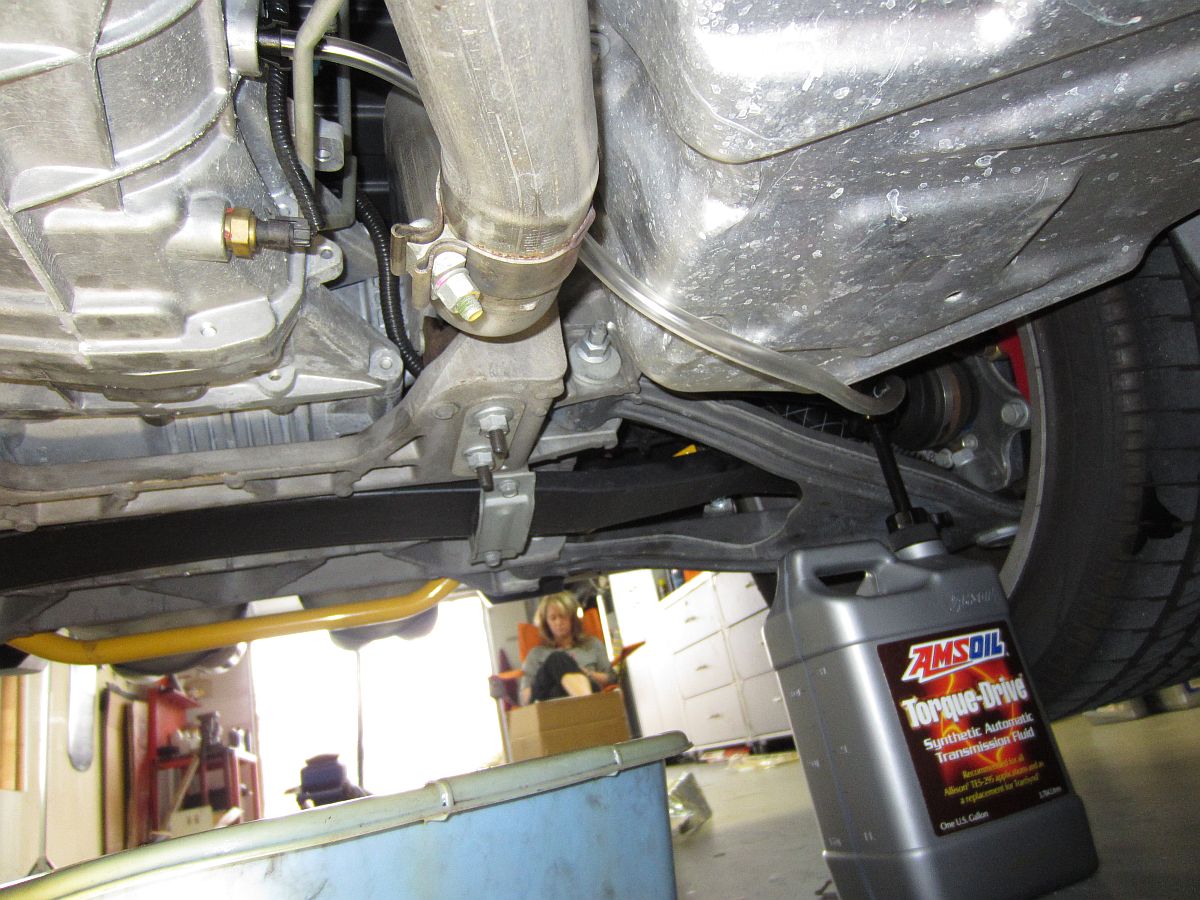
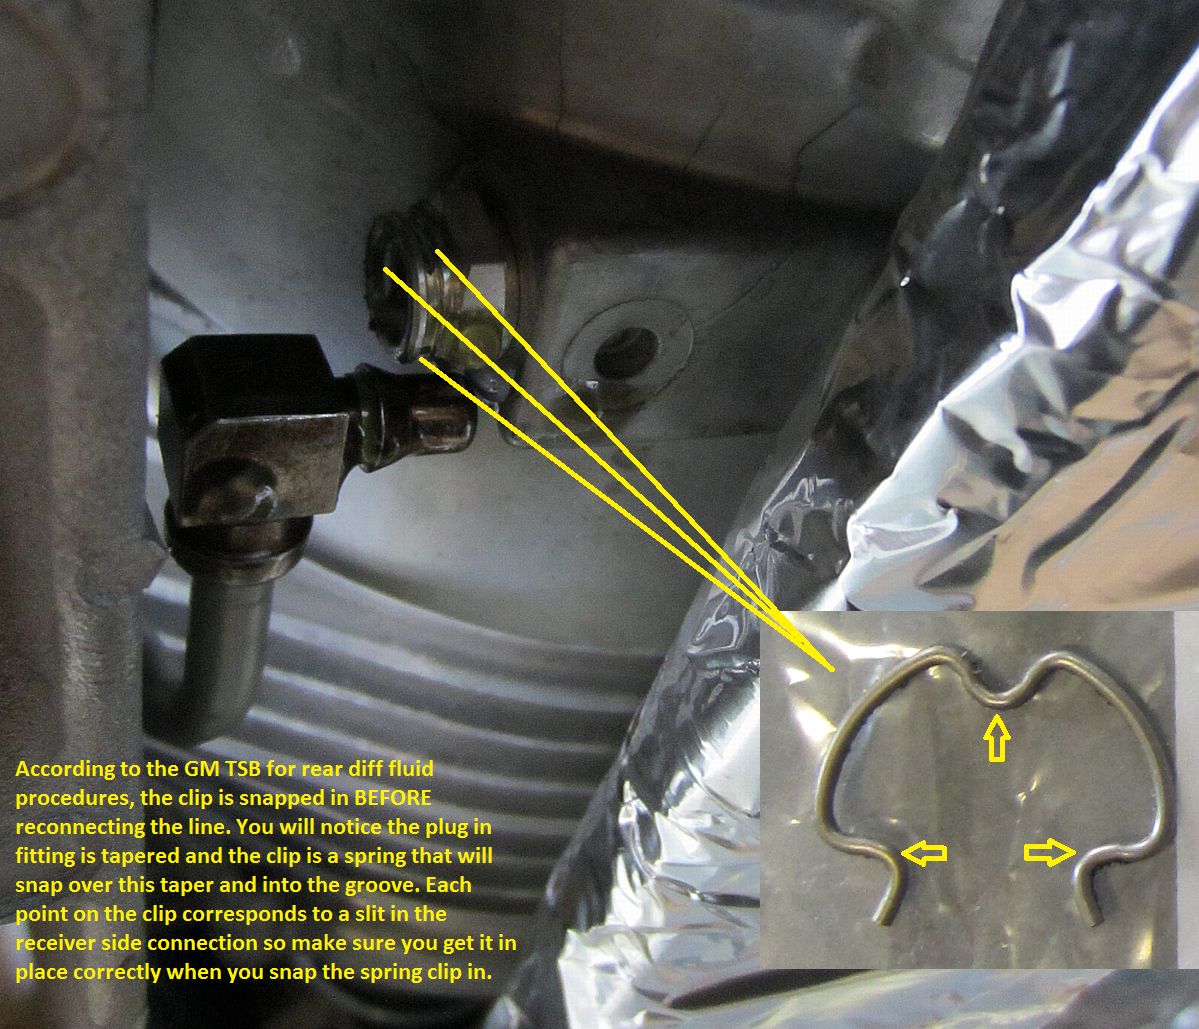
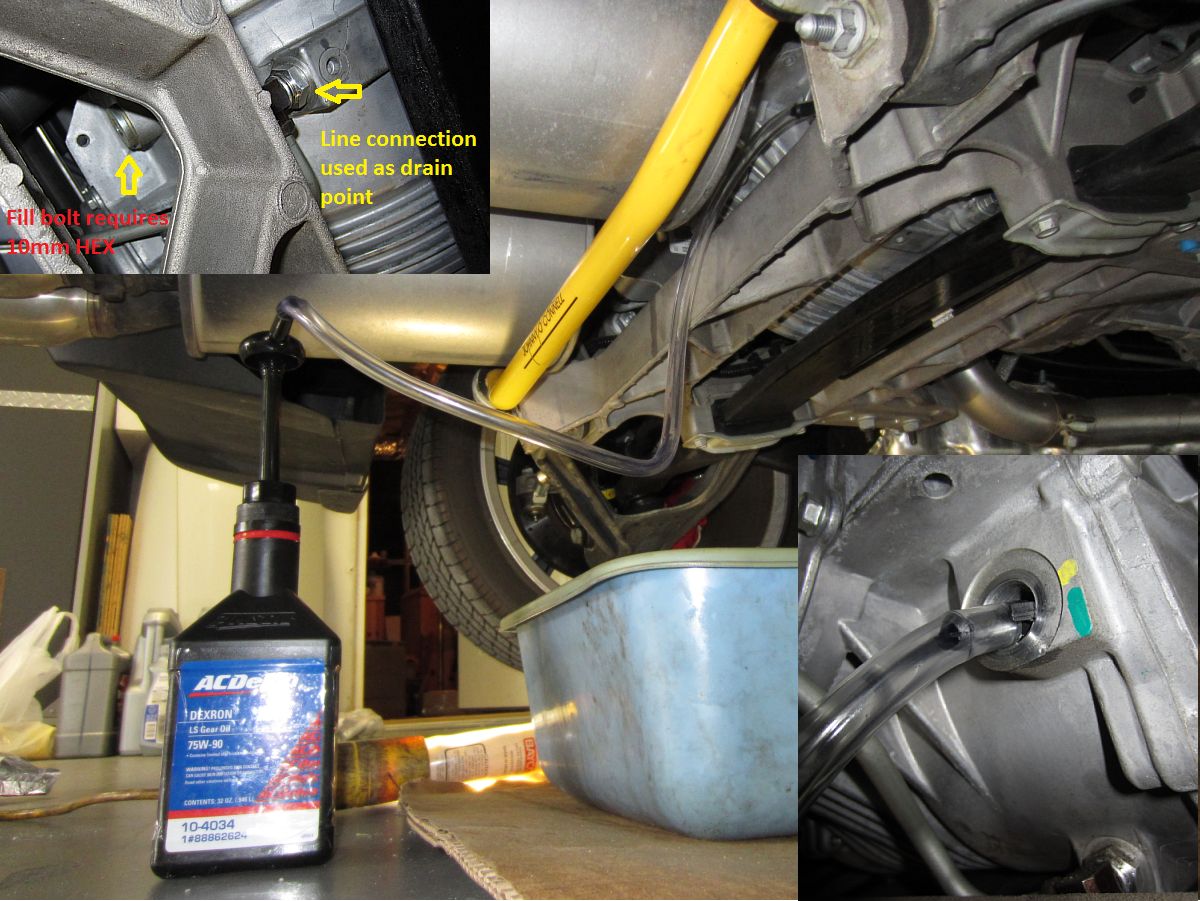
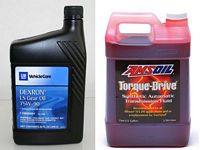
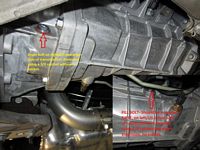
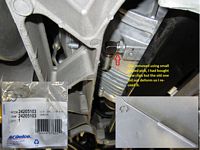
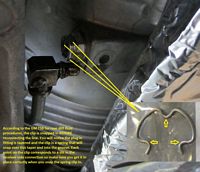
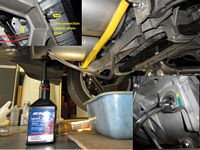
Dexron LS Gear Oil (P/N 88862624) from Cheapest GM Parts (along with differential line clip, P/N 24205103)purchased for differential oil change (and is full synthetic according to manufacturer HERE) and Amsoil Torque-Drive Synthetic Transmission Fluid (P/N ATD1G) purchased for transmission fluid change. I like to change initial fill fluid early to get rid of any break in metals
......but due to my travel schedule did not get this done as early as I would have liked. This also reinforced my desire for a MaxJax.....soon.
I used CF Dreamin's Transmission Fluid Change DIY Guide HERE (archived HERE) and Differential Fluid Change DIY Guide HERE (archived HERE). I did not run the car while on jack stands but drove it at 10 MPH for 1 minute in the neighborhood and also did my figure 8s in the culdesac before rechecking levels.
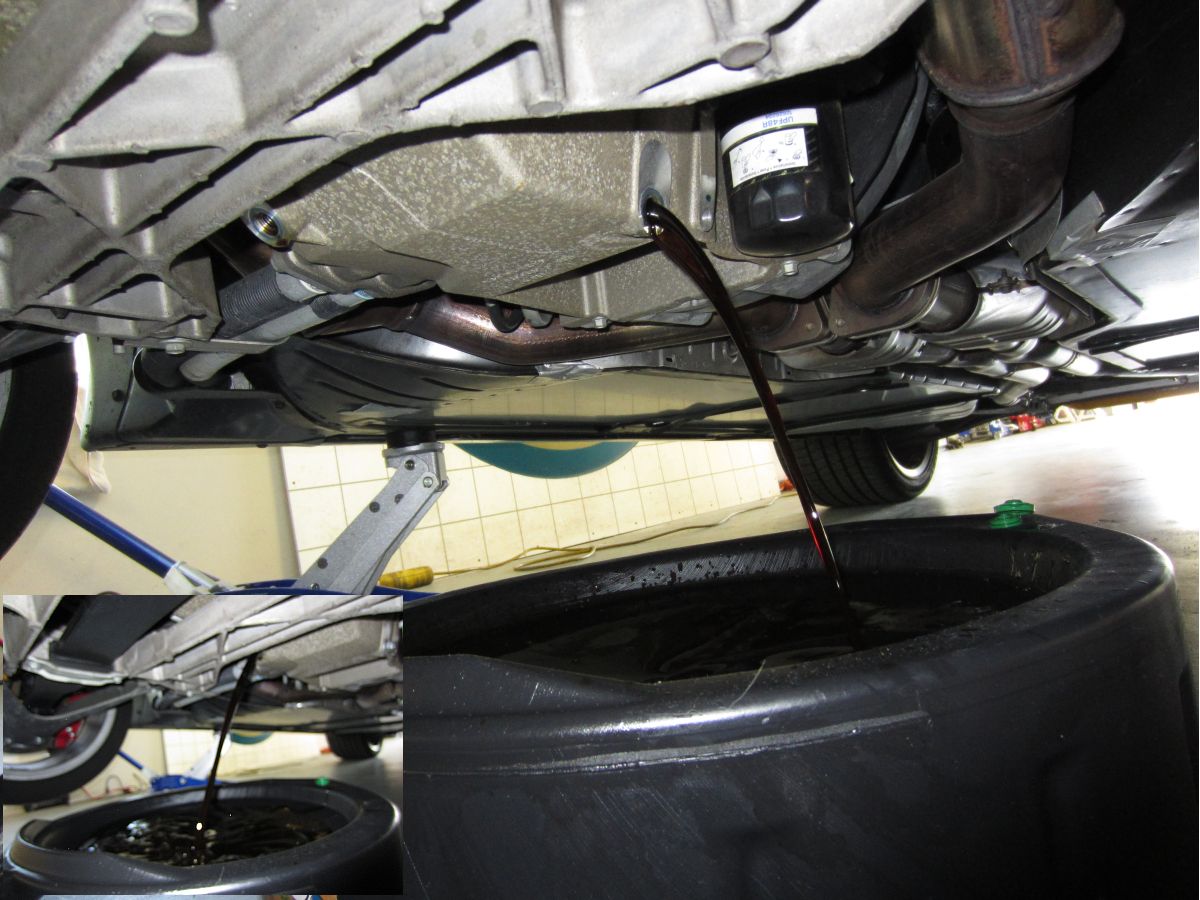
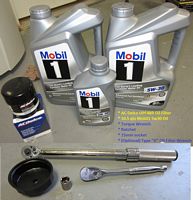
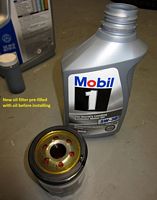
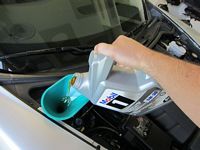
First oil change at ~3k miles.....a little later than what I shoot for with new cars but with my schedule it could not be helped. For the most part I followed the oil change DIY HERE but did take some pics when I did my change.
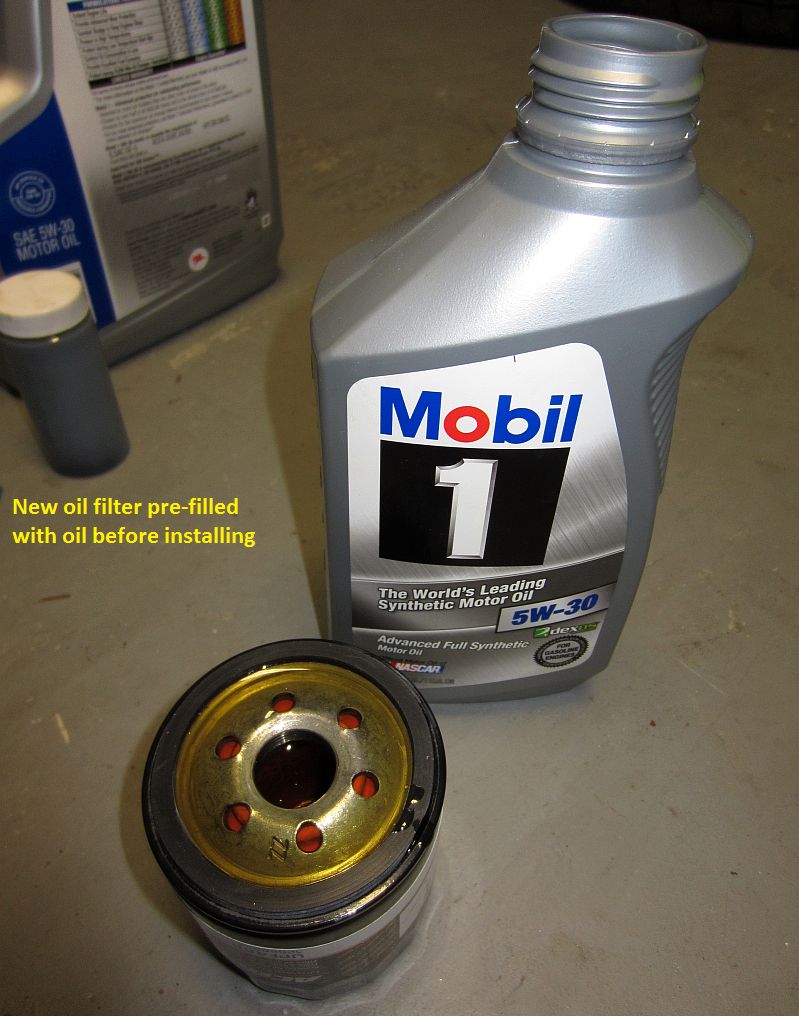
Supplies Needed: WalMart has the best prices on Mobil1 5w30 that meet the Corvette Dexos requirement and came as factory fill- need at least 11 quarts. The AC Delco UPF48R oil filter for dry sump cars can be purchased online or at the dealer, also as it came from the factory.
Tools: At a minimum you need a ratchet with 15mm socket or wrench and oil drain pan, optional is a torque wrench which I like to use since it is EASY to strip an aluminum oil pan (spec is 18 ft/lbs torque) and a filter cap wrench, the Pennzoil type D wrench I purchased for another car works for this car as well.
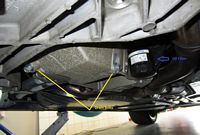
After taking the car for an oil warm-up drive, I jacked the car up on both sides and placed ramps under the tires but left the jacks in position. With plenty of room to work I removed the front drain bolt using the 15mm socket/ratchet and let it drain until it was down to a trickle and then carefully maneuvered the drain pan into position to catch that trickle and the new stream from the second/side drain bolt. I waited until both were done dripping and then reinstalled the bolts and torqued to 18 ft/lb.
The oil filter was removed using the wrench and placed down in the drain pan. While that was dripping I filled the new oil filter with oil and then installed it hand tight. All the oil drips/runs were cleaned up and then time to move up top.
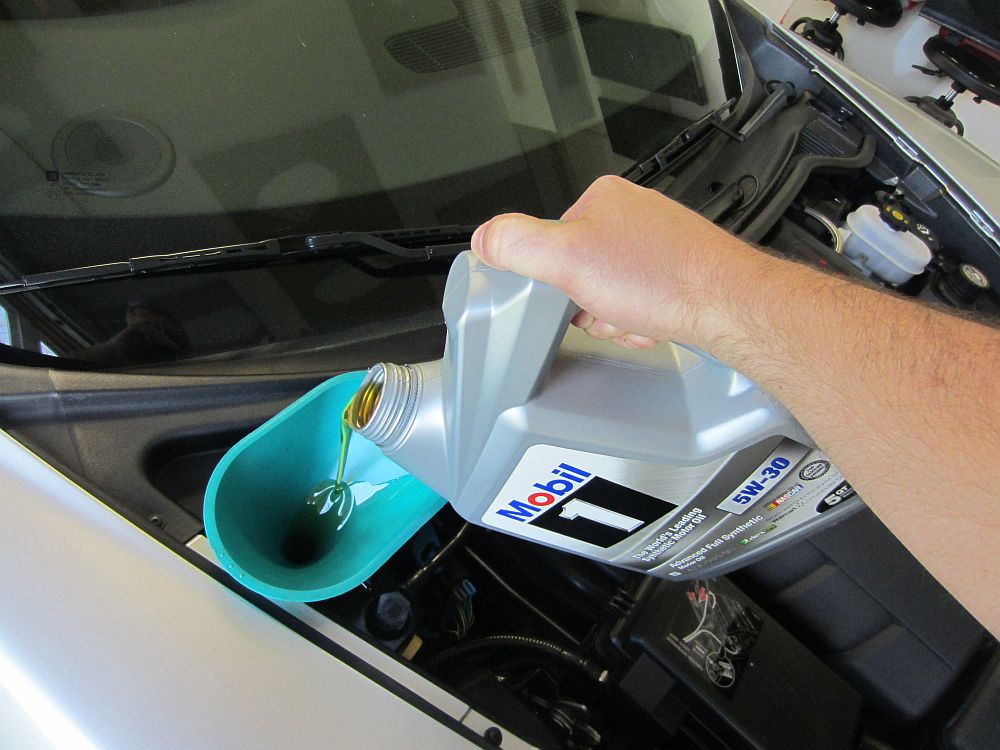
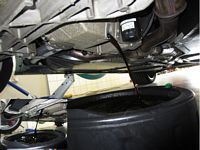
With the car back on the ground, I placed a funnel in the reservoir and began to slowly pour the oil in until a total of 10.5 qts was used, including the oil in the filter.
Time to go for a drive and get the oil temp up to 175 so the dipstick can be checked after 5 minutes but not more than 20 minutes.
Current dexos1 licensed/approved oils can be found HERE.
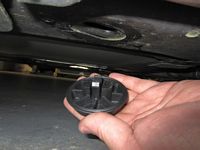
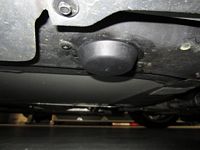
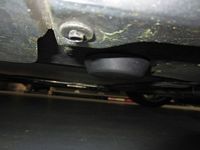
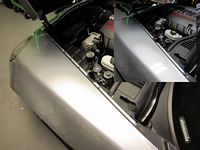
Corvette ID/Specification Data Plate from Corvette Mods installed. I did use sand paper to remove the thin raised line in this area before wiping it down with brake cleaner and applying the plate. I think it adds a little to the engine compartment, YMMV.
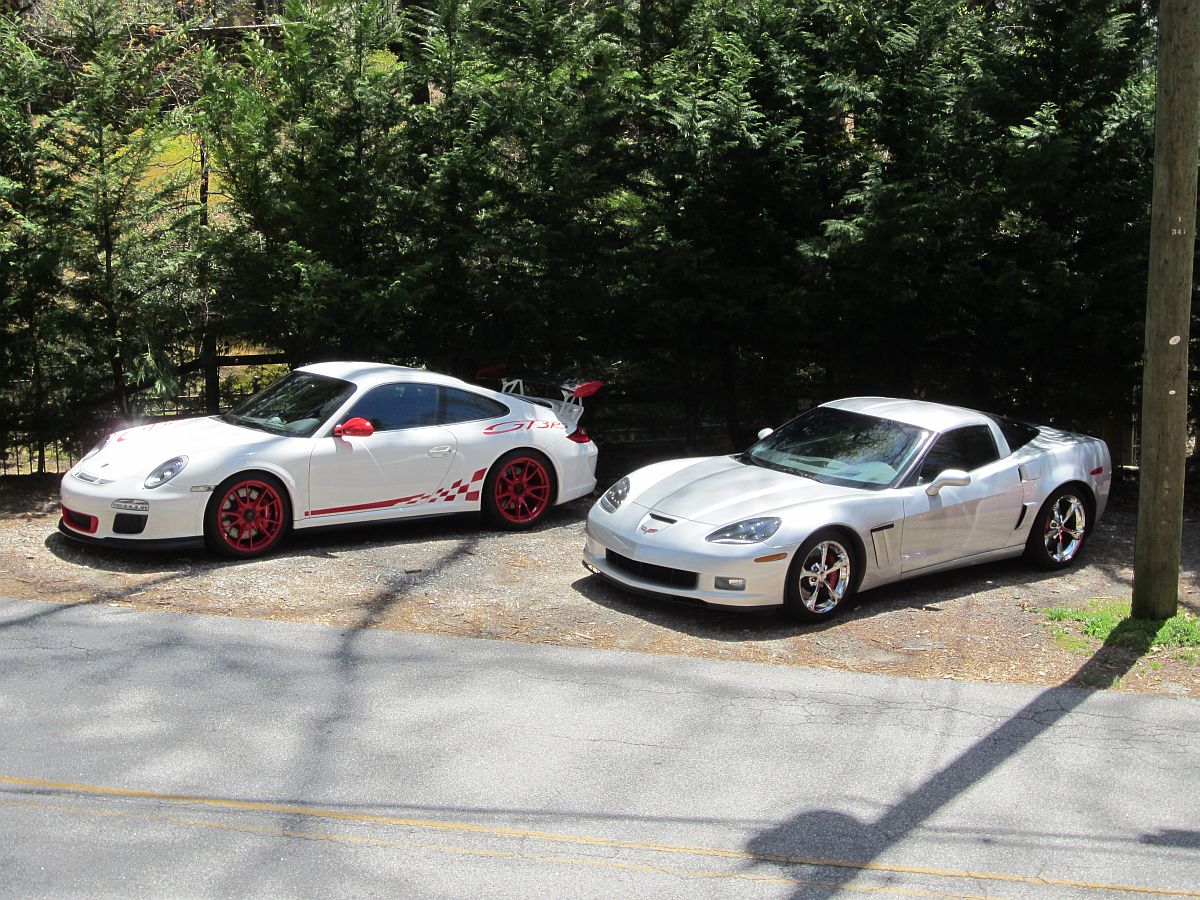
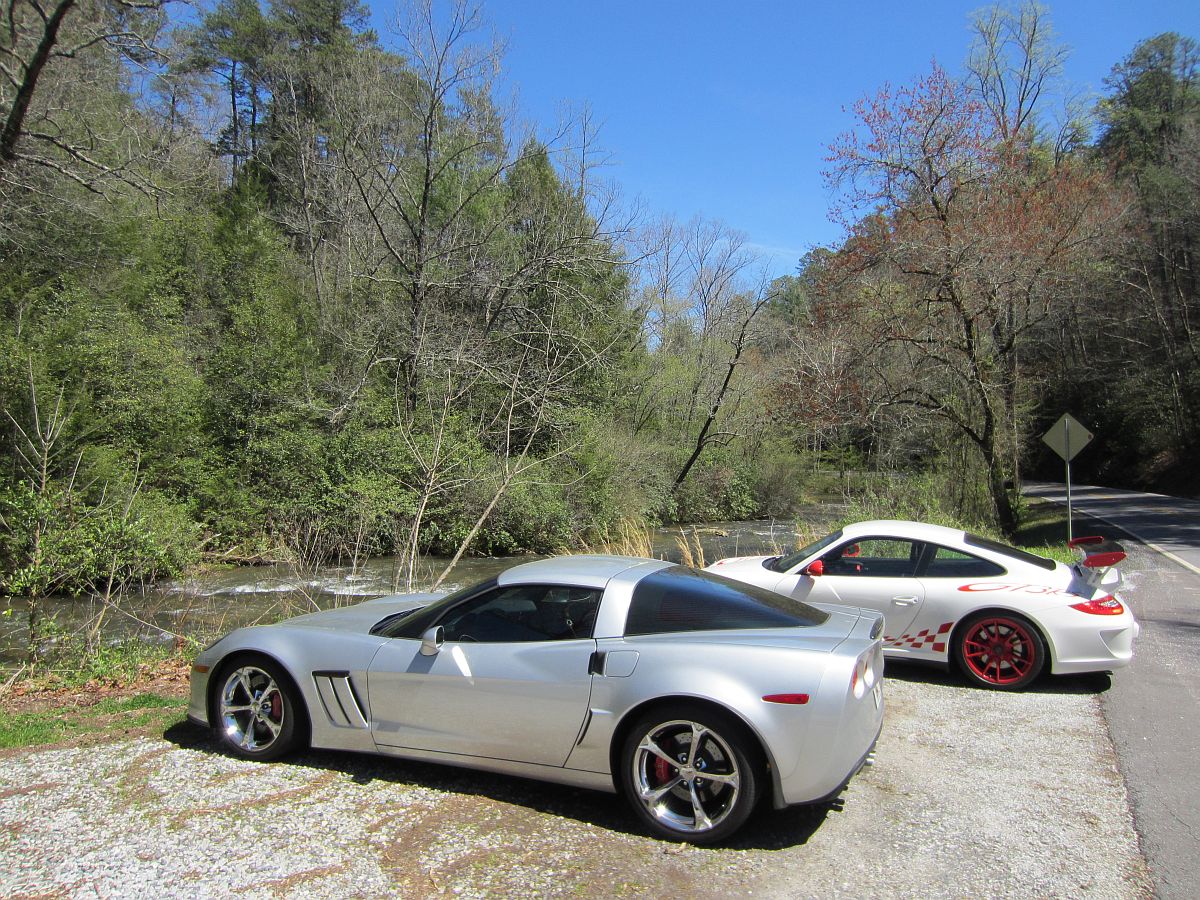
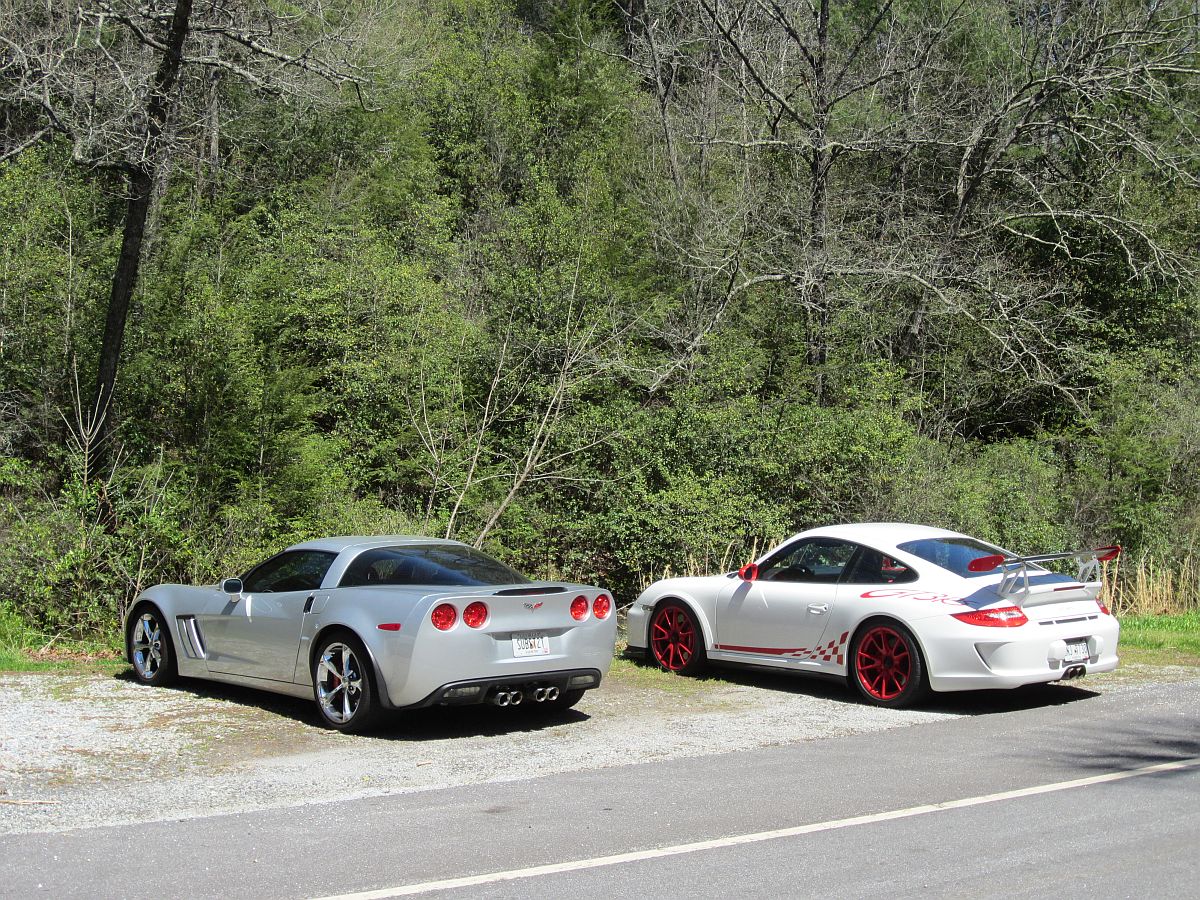
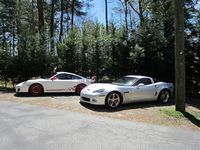
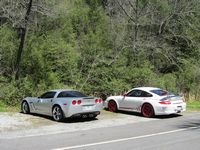
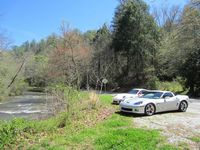
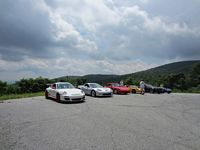
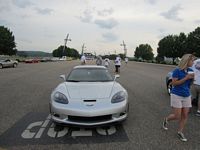
Corvette had a play date with a Porsche GT3 RS


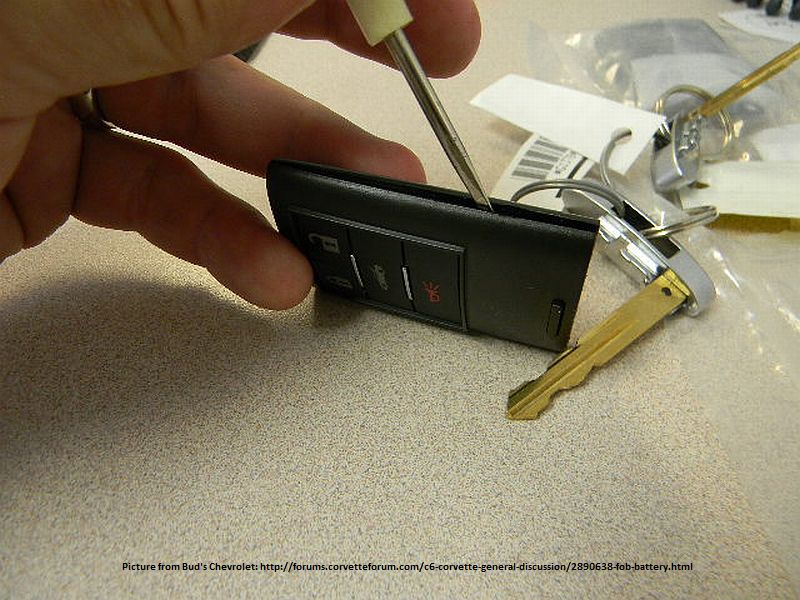
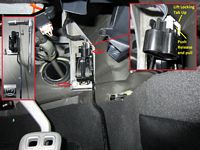
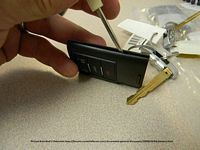
On the drive above, the key fob battery started to die. I received the "NO FOB DETECTED" error until taking it out of my pocket and holding it close to the dash. If the battery ever does weaken/die, there is a slot to the left side of the open glove box that the key can be placed in with the buttons facing the passenger (right) side of the car to allow the car to start and function until the battery can be replaced.
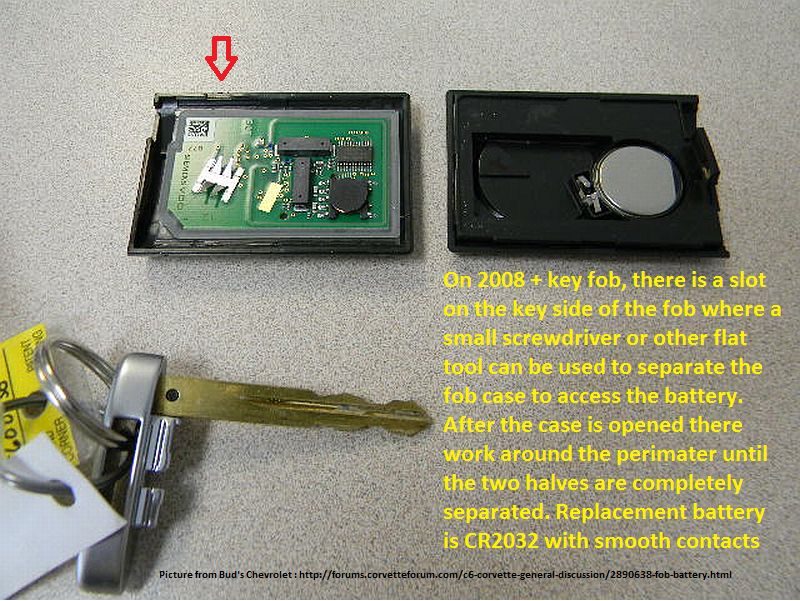
To replace the battery, the key is removed by pressing the release and pulling out. On that side of the fob there is a small slot on the side where a small screwdriver can be inserted to separate the fob case, and work around the perimeter to completely separate the halves. The battery is a CR2032 and should be one with smooth contacts, I found Energizer batteries fit the bill for me. Line everything back up (including the release button for the key) and carefully snap back together- good for another year or so.
Pics below borrowed from CF thread HERE.

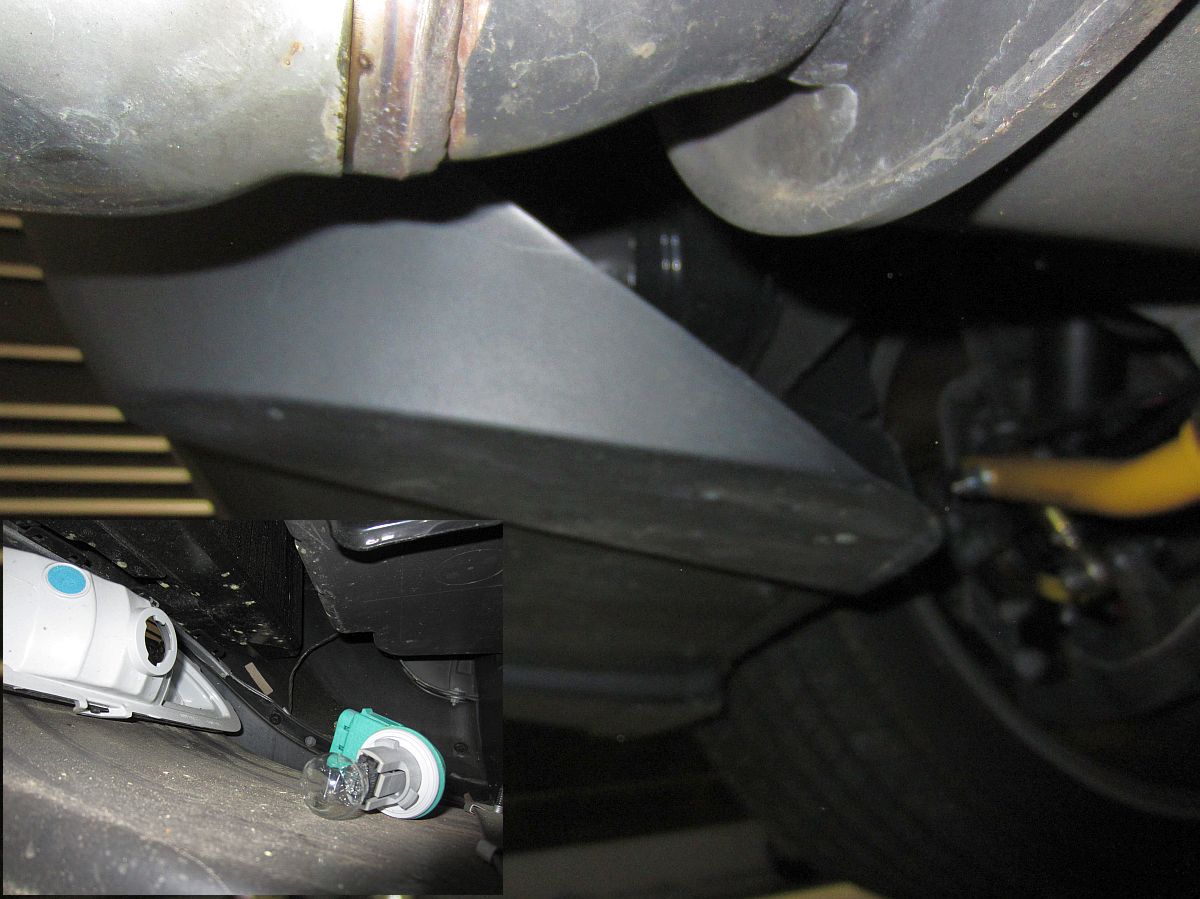
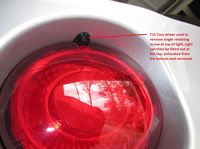
New LED 3157/3156 reverse bulbs purchased from a-integrics on eBay. Hard to see in the photos since the camera adjusted for the difference in light but these are brighter. Easily swapped out by lying on your back under the car, reaching over the plastic diffuser, locating and twisting the bulb socket out of the housing, removing/replacing the bulb by feel- just pull out to remove and push in until it clicks to install.
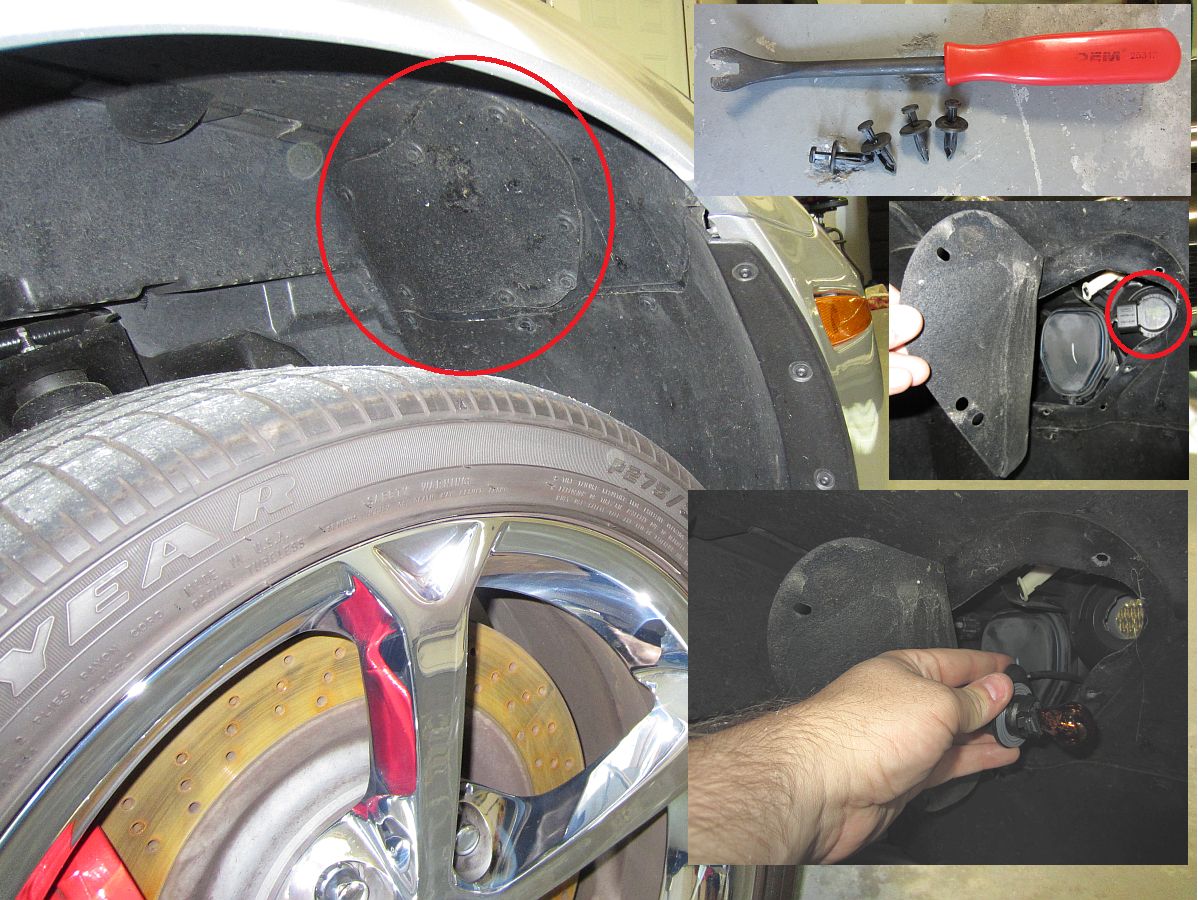
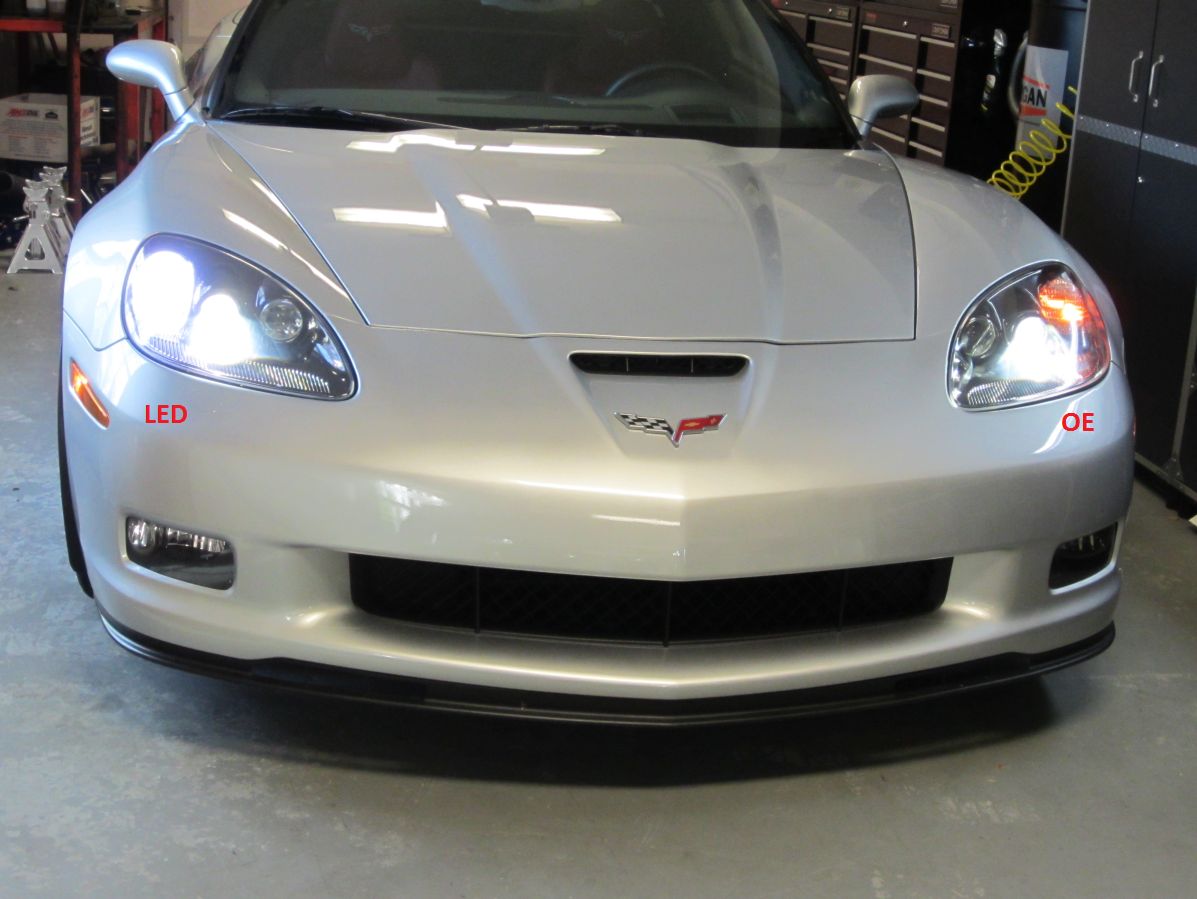
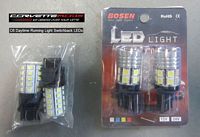
Also bought some daytime running light switchback LED bulbs from CorvetteMods, installation instructions HERE. I used a jack to slightly raise the car up and then the access panel was easy to get to without removing the wheel. Only 3 or 4 push pin plastic rivets need to be removed, the access panel is flexible rubber and will move far enough out of the way to access the plug- it is the one closest to the outside of the car. Another twist to remove socket and R&R by pulling and pushing until audible click at the base of the bulb.


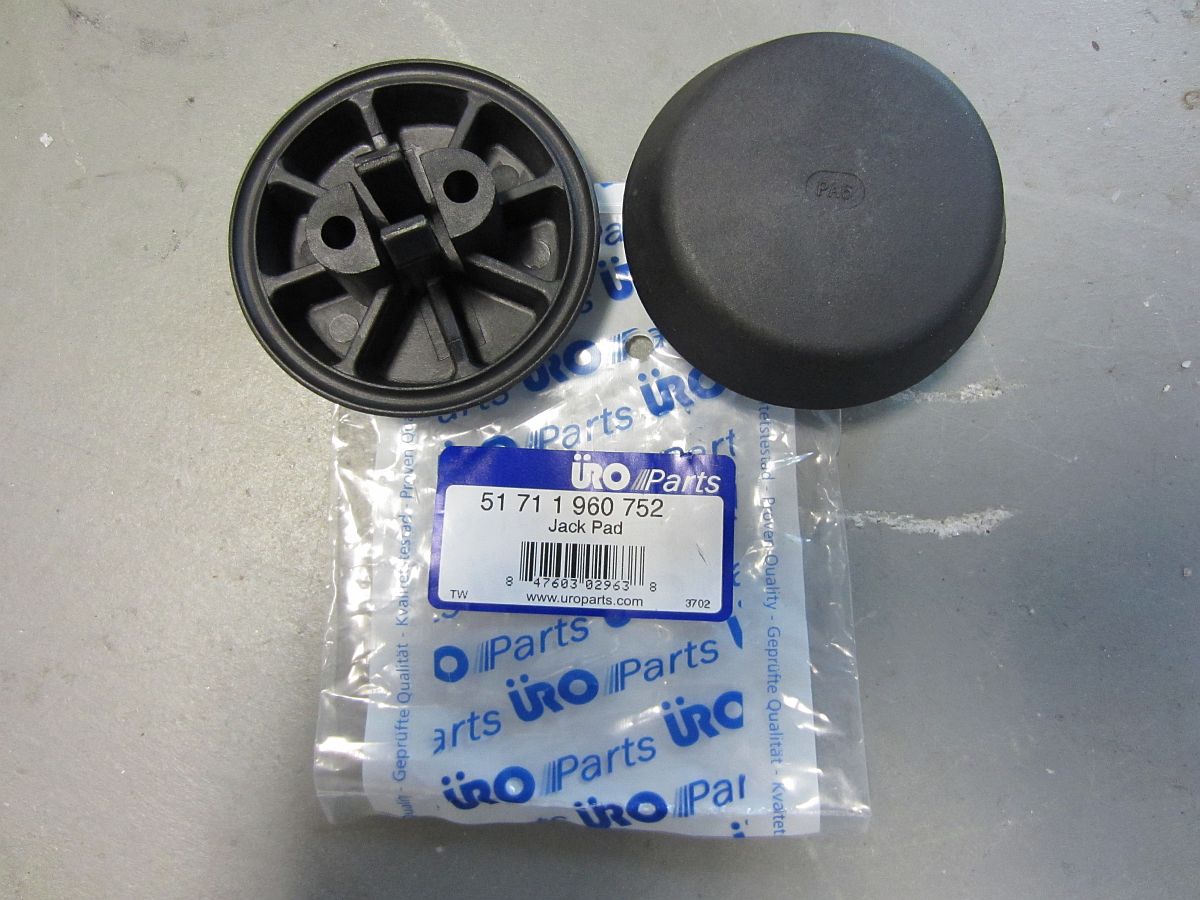
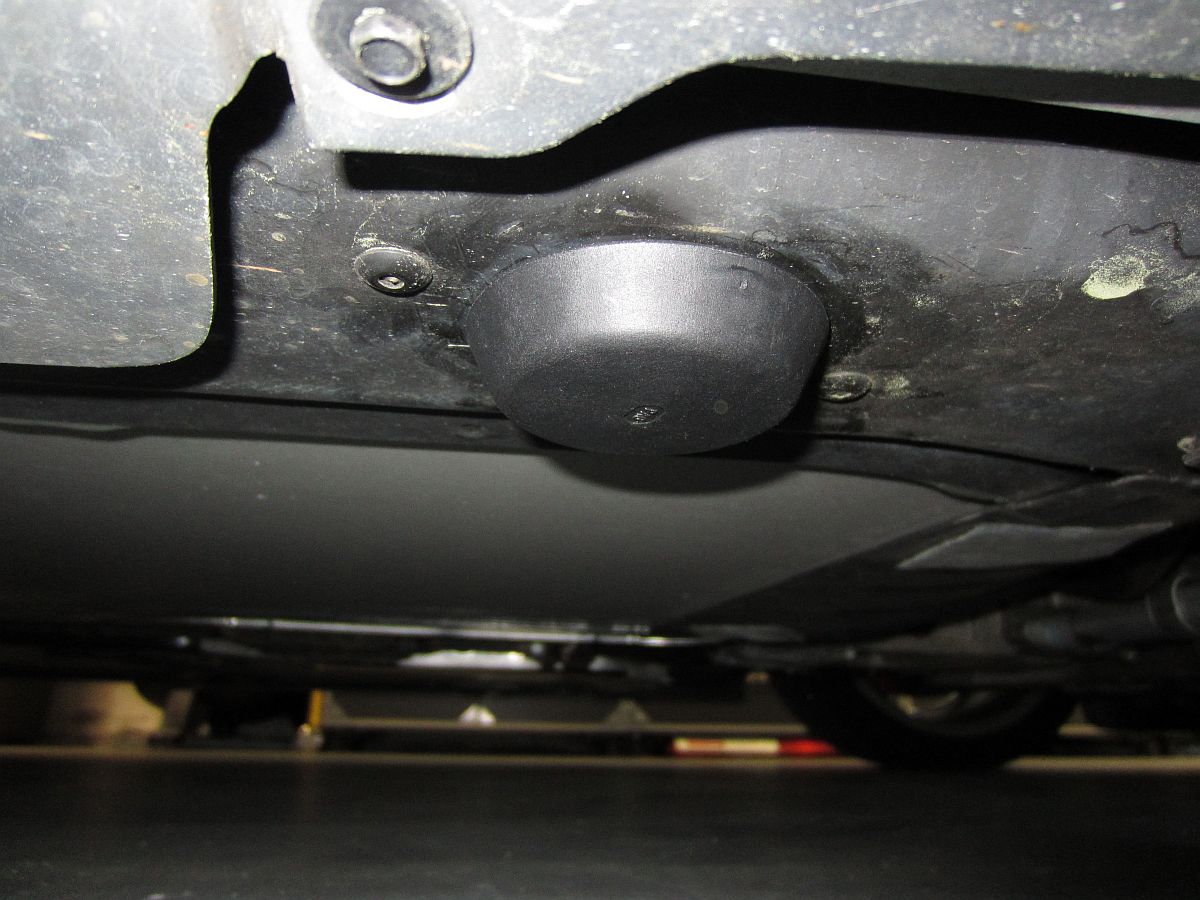
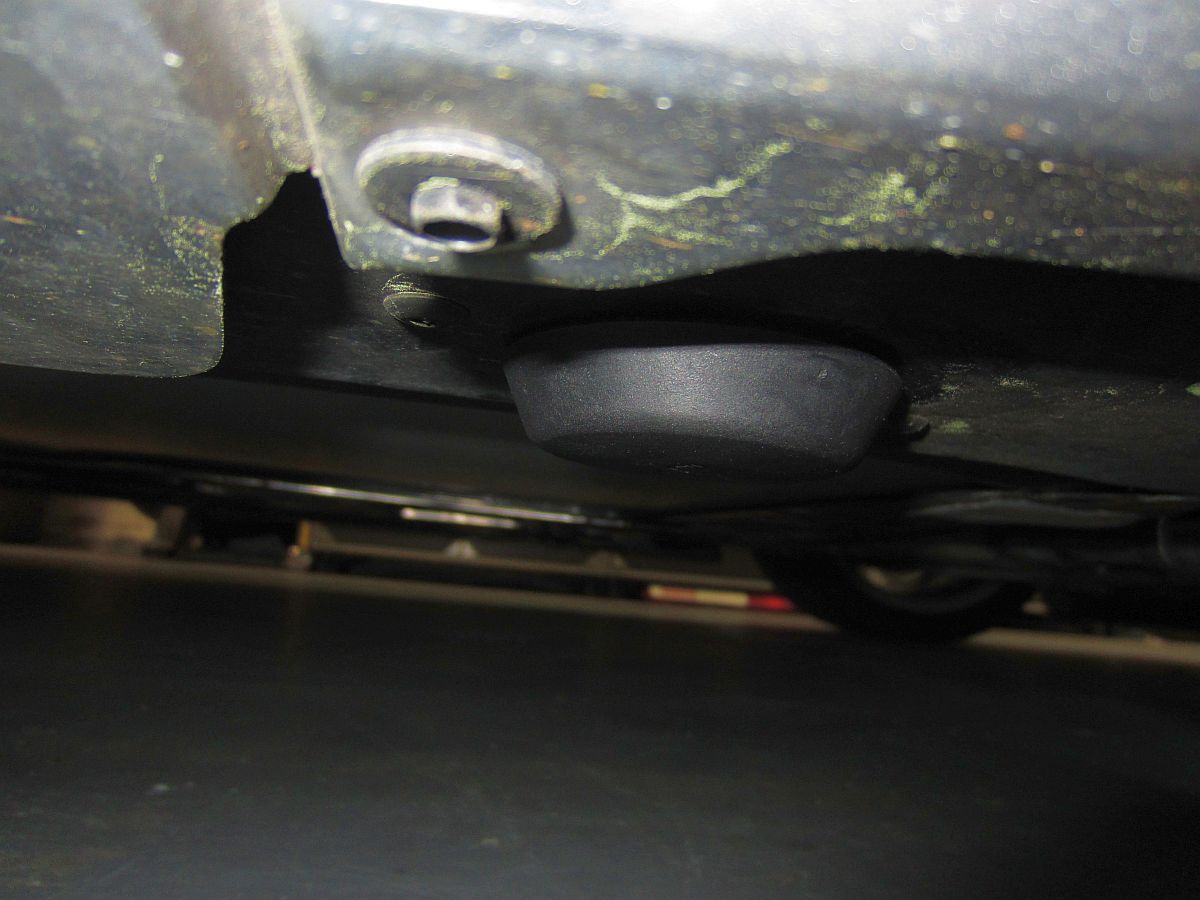
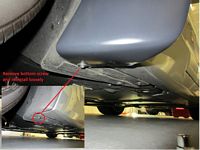
I bought some BMW jack pads that work with the Corvette from importec, BMW P/N 51711960752. They are easily snapped in and out by hand, this set will be thrown in the trunk and used for any lift/jack use while out and about- i.e. the tire shop. For home use I have an alumimum set from Corvette Garage and a Hockey Puck set I use the most I made from a hockey puck and eyelet screws as shown HERE.

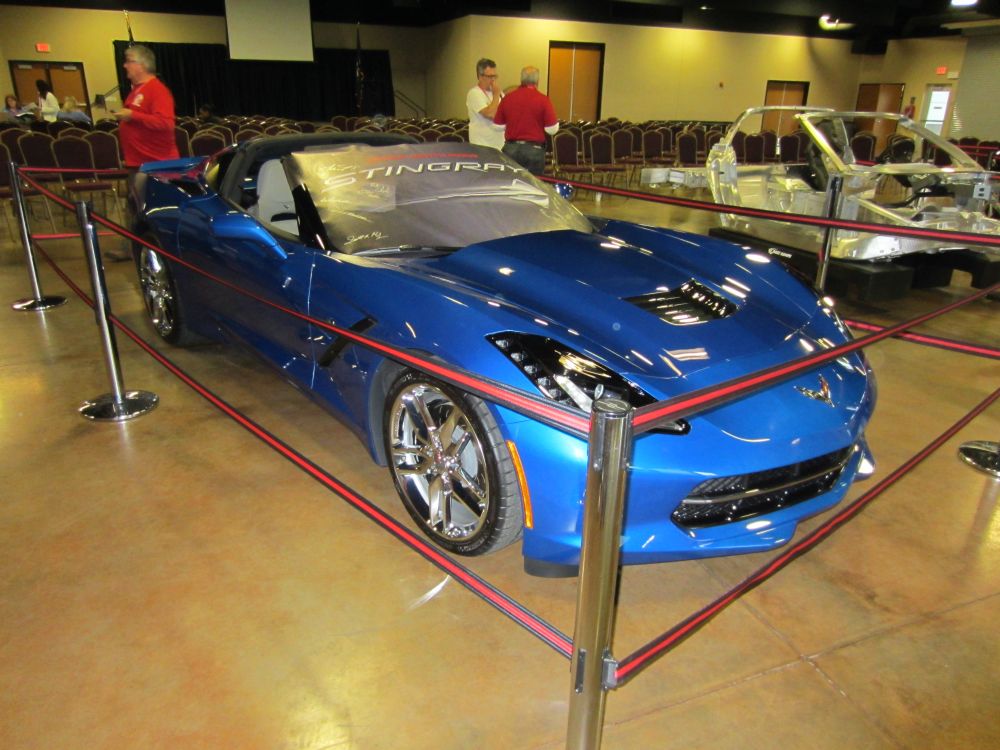
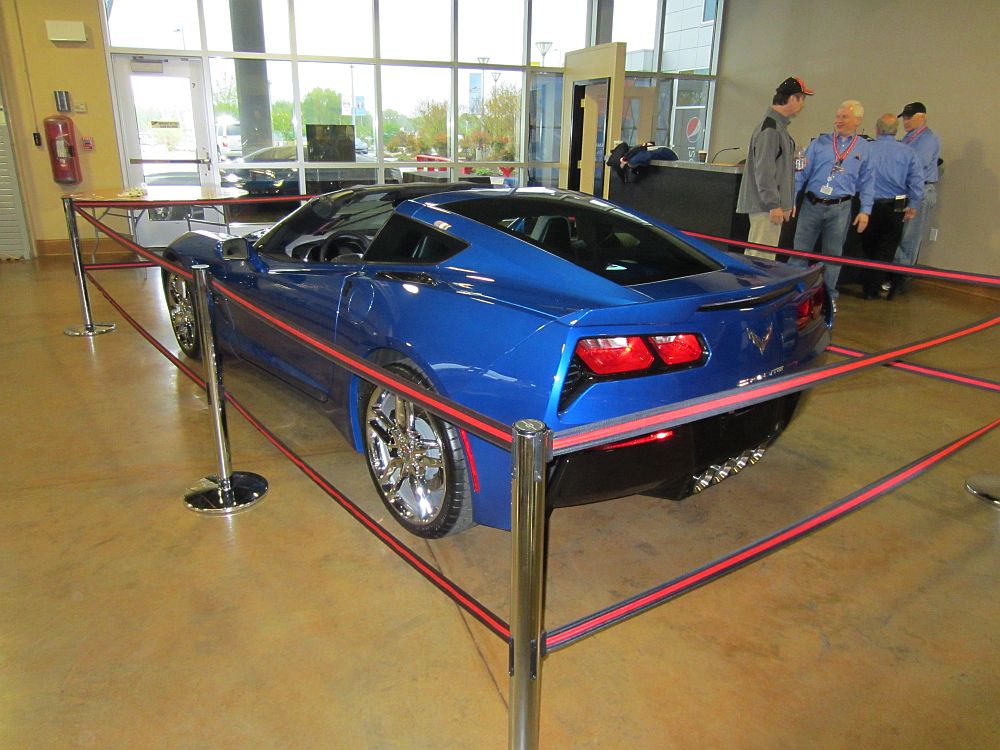
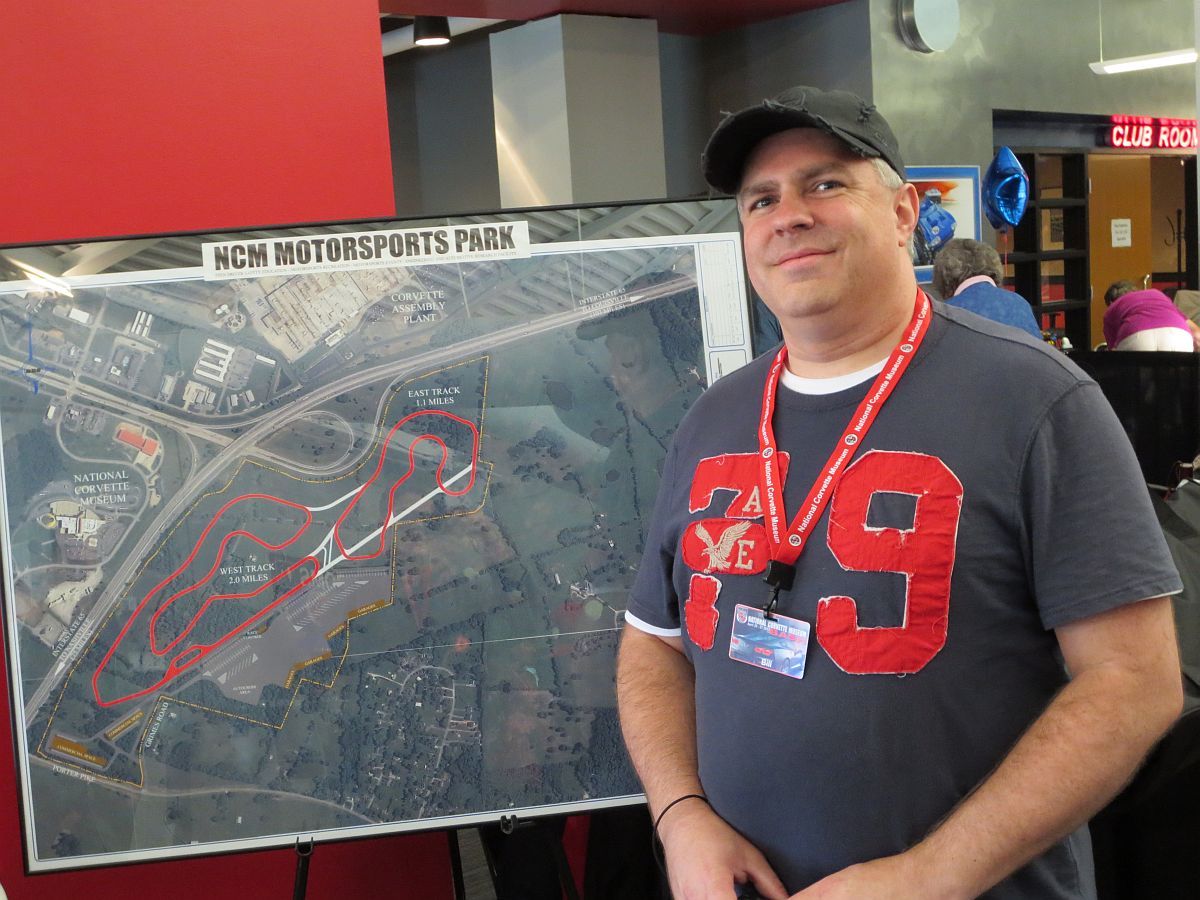
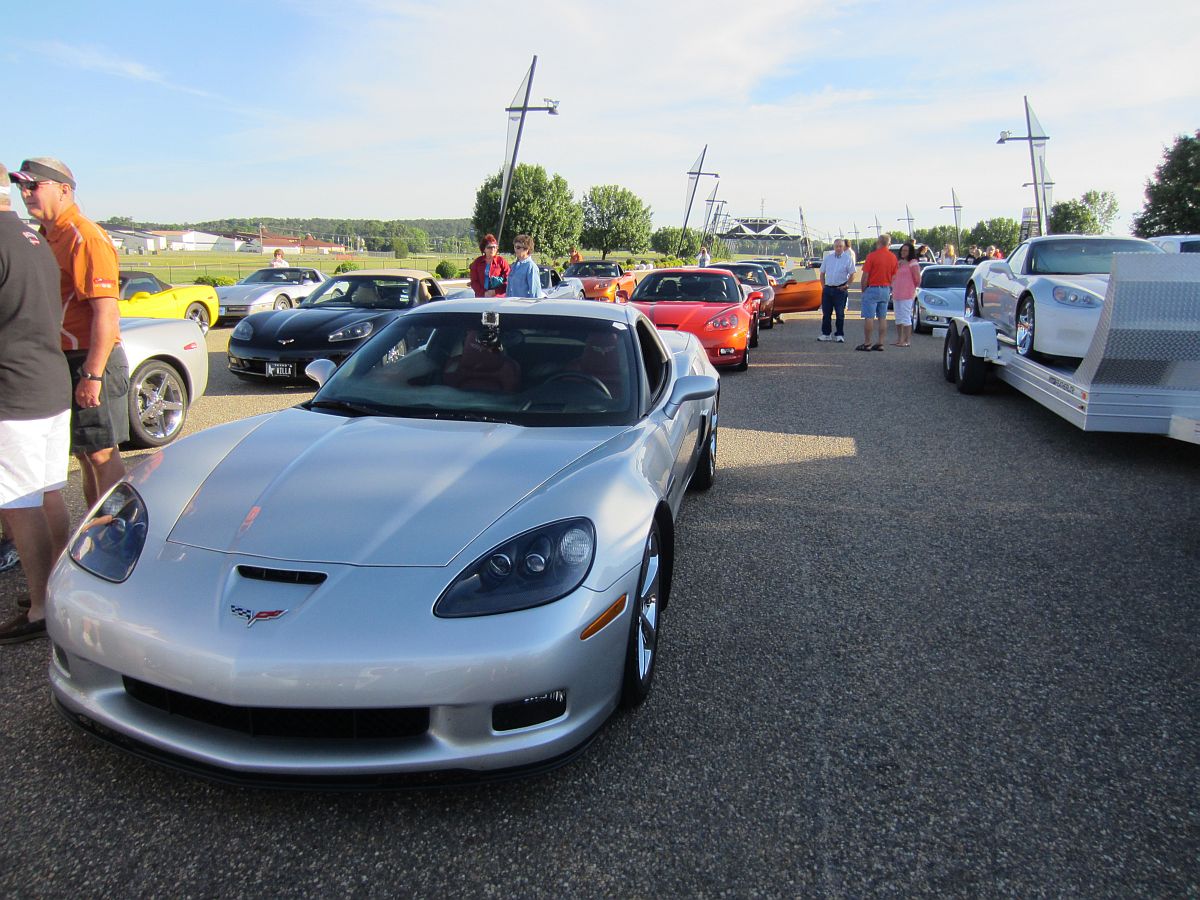
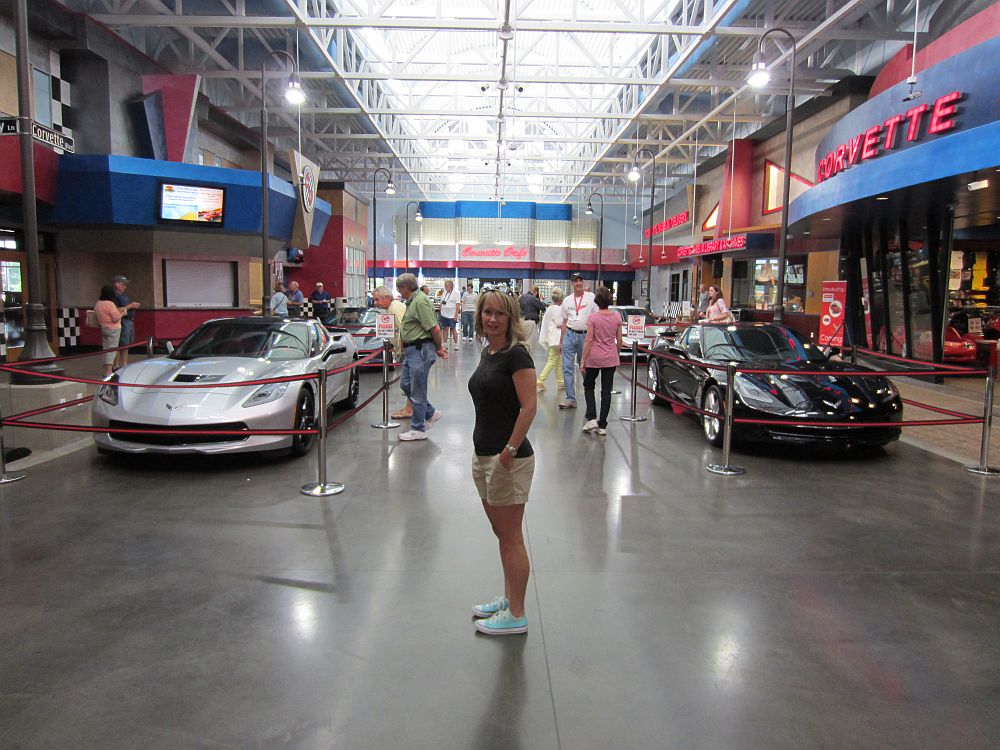
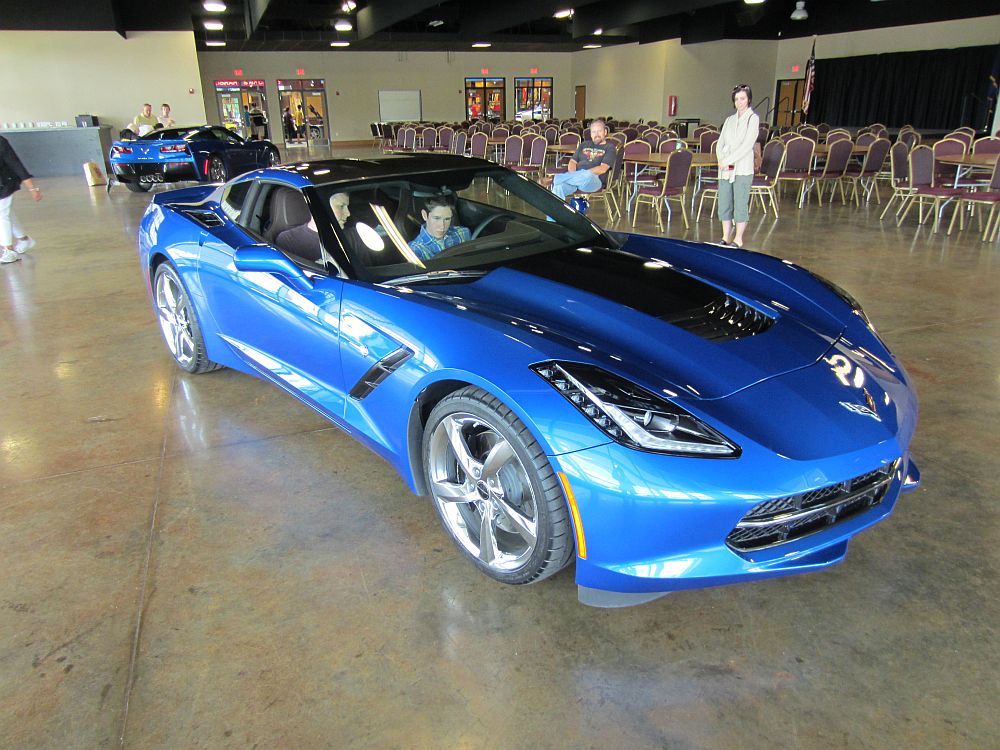
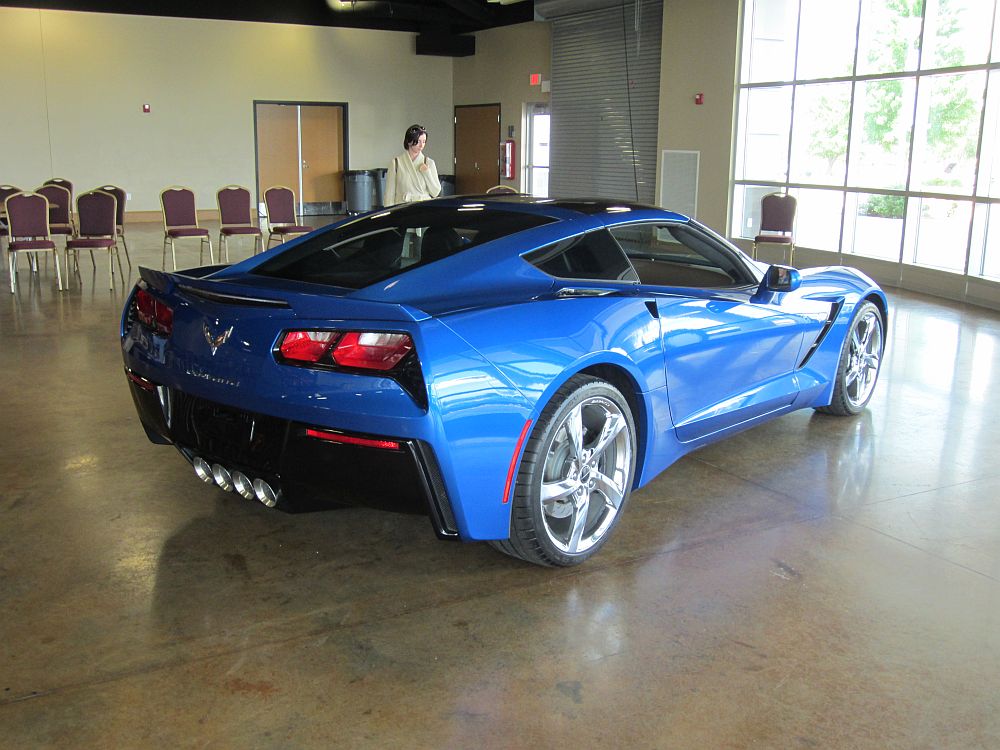
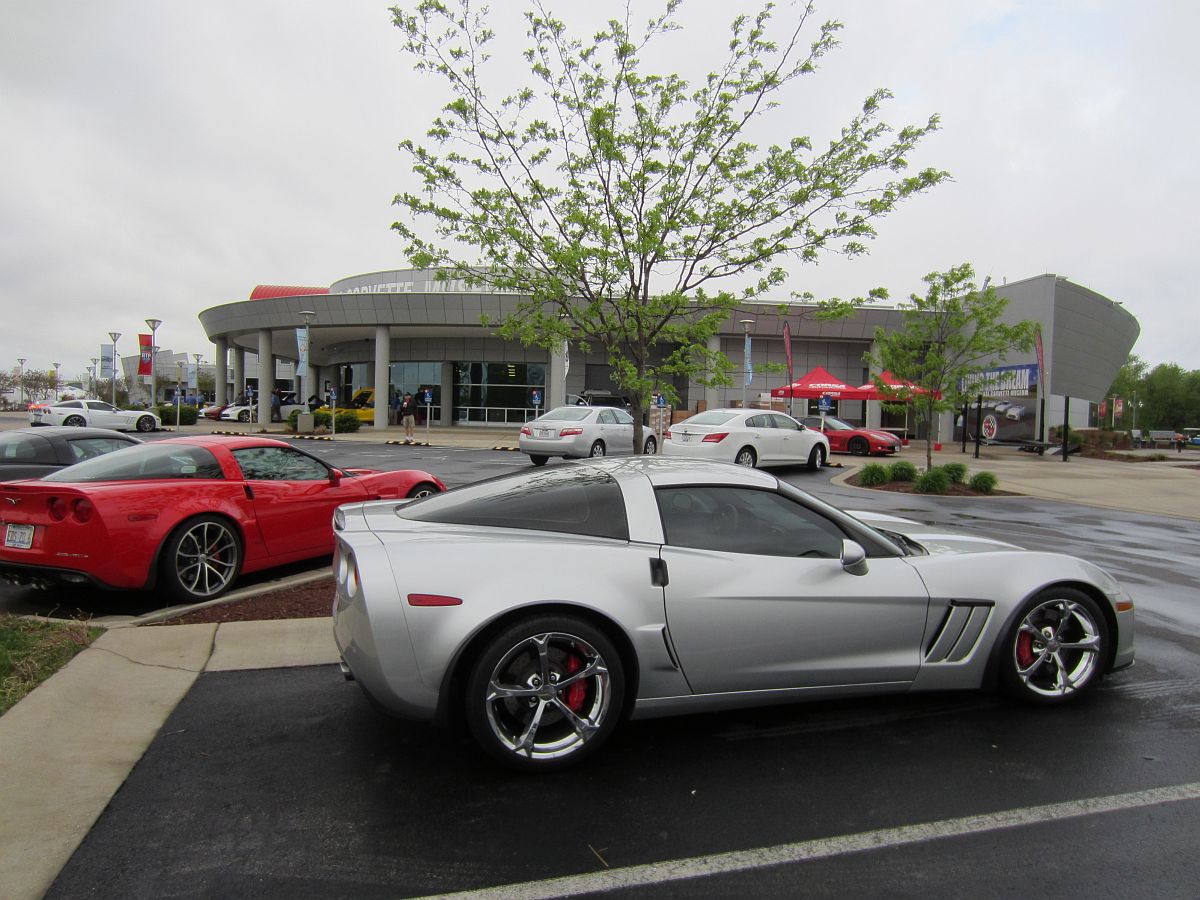
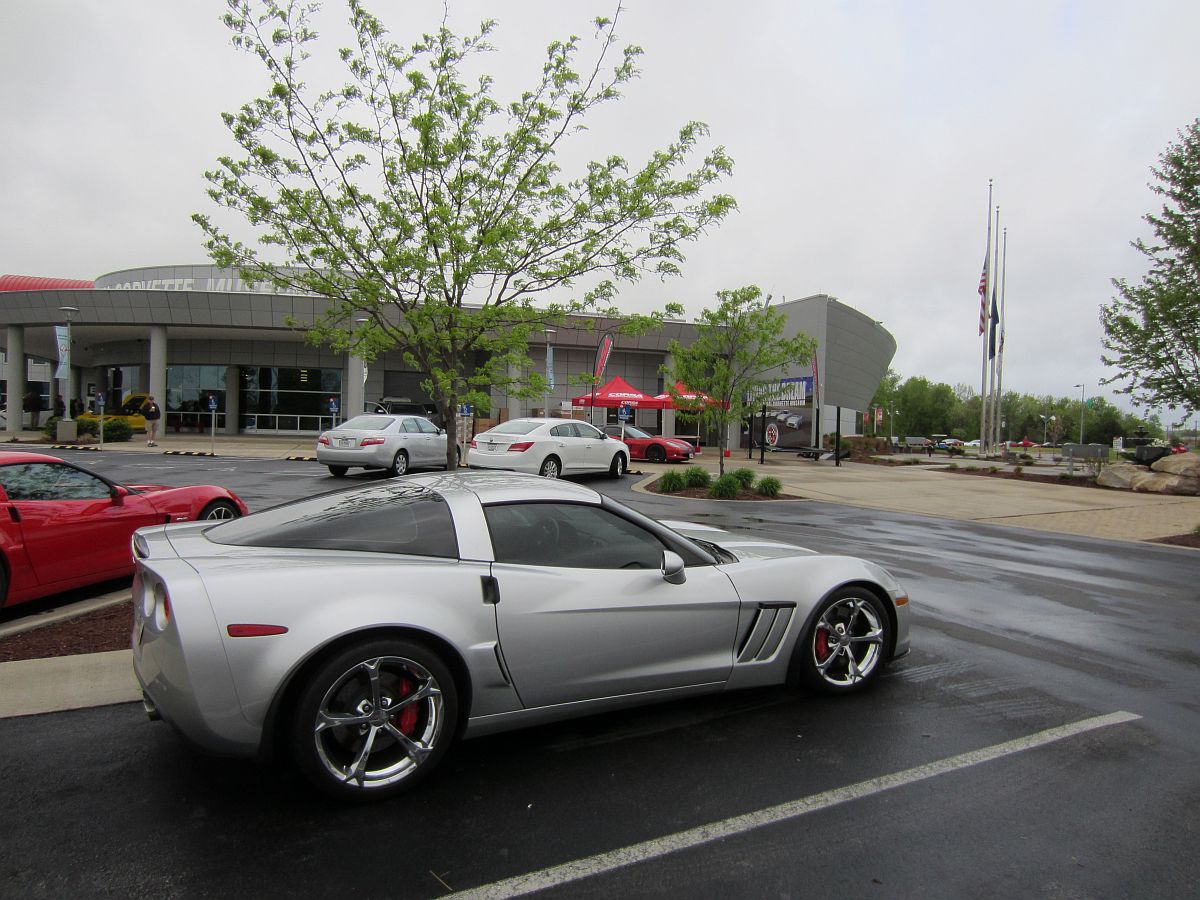
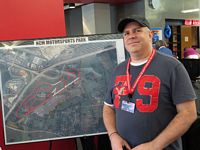
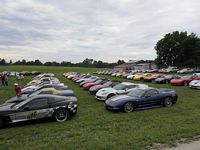
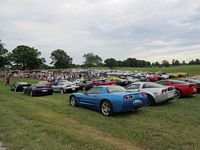
We made it out to our first NCM Bash (April 27, 2013) for the C7 introduction, we just drove up for the day Saturday.
I don't know, no love at first sight with the C7 like with the C6 so I'm still glad I bought my Grand Sport, a decision I made after the C7 reveal in January
Some C7 and event pictures are from my camera, some from my phone. Too many pics to put here but a few.......
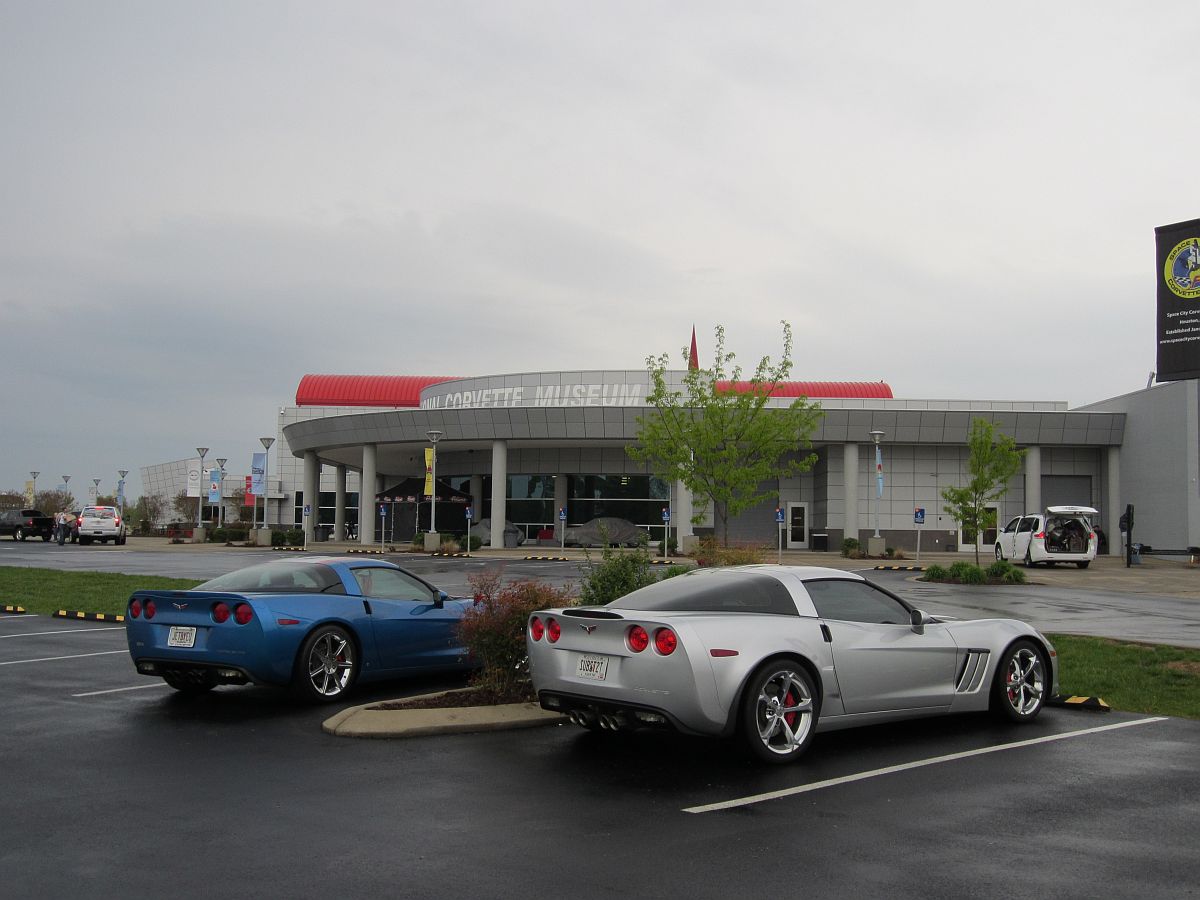
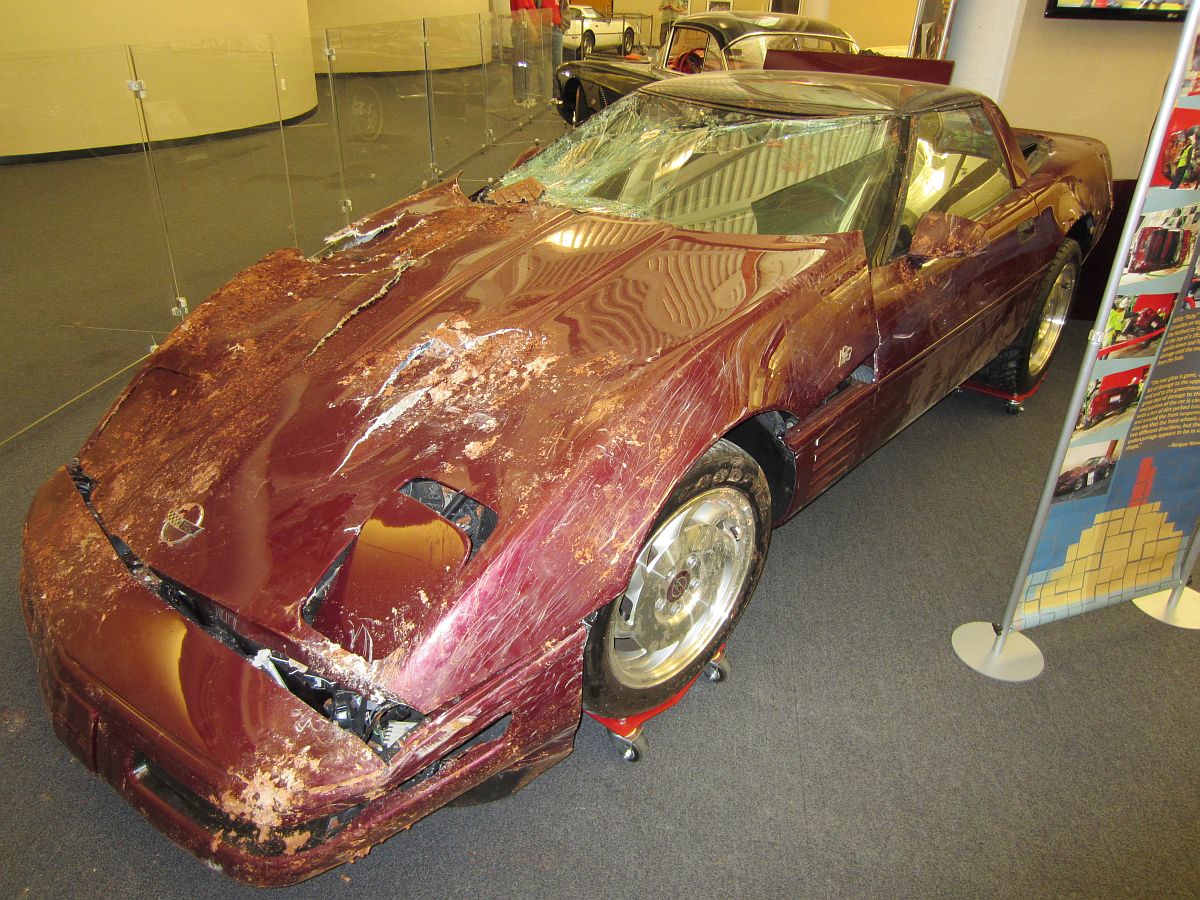
The Corvette museum and event were better than expected, a lot to cram into one day for sure. Museum info on the 2014 Stingray release is HERE.


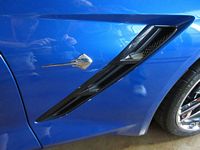
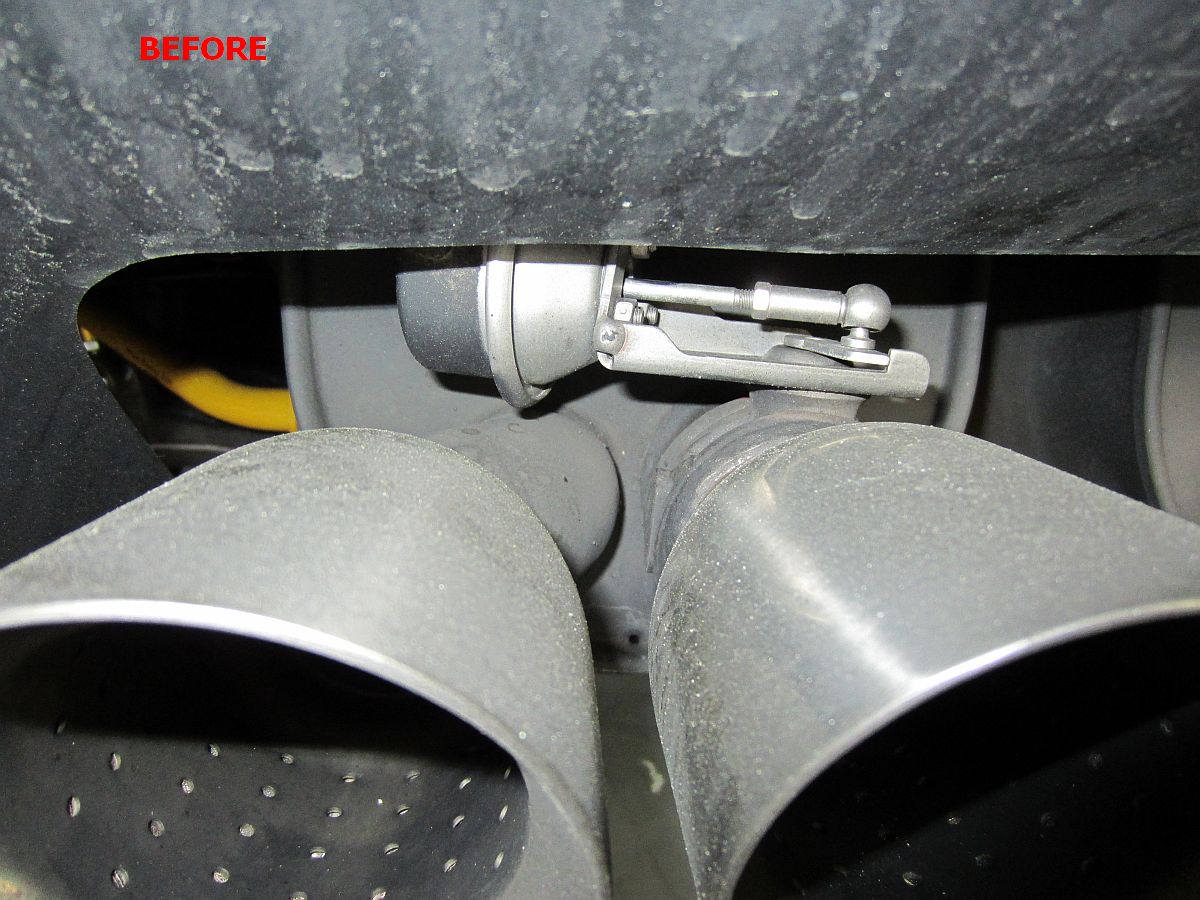
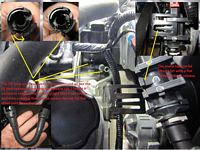
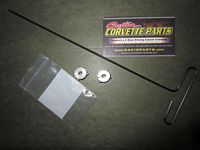
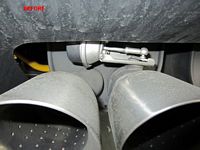
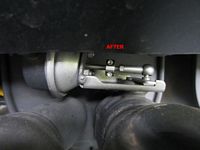
I was not looking to open my NPP exhaust wide open by removing the fuse or using a controller, I just wanted a bit more sound below the cutover (i.e. at idle). I happened on a CF thread HERE that seemed to be a possible answer- parts sourced from Nakid Parts. Installation instructions HERE.
Some forum members call them exhaust collars or clamps but NP refers to them as "mild adjustable control kit". Two collar clamps are provided with a long hex tool, these are installed on the rod to the vacuum actuator and can be adjusted to open the exhaust valve to tailor the sound you want. Still playing with them for now but the 1/4" suggested in the thread seems to be the ticket.
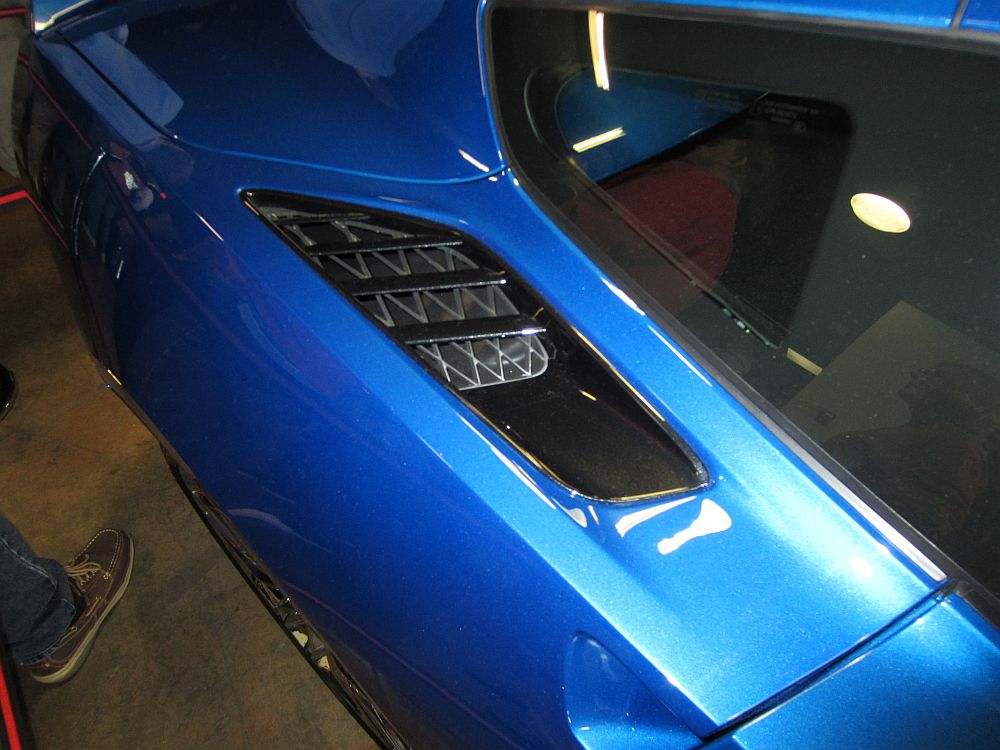
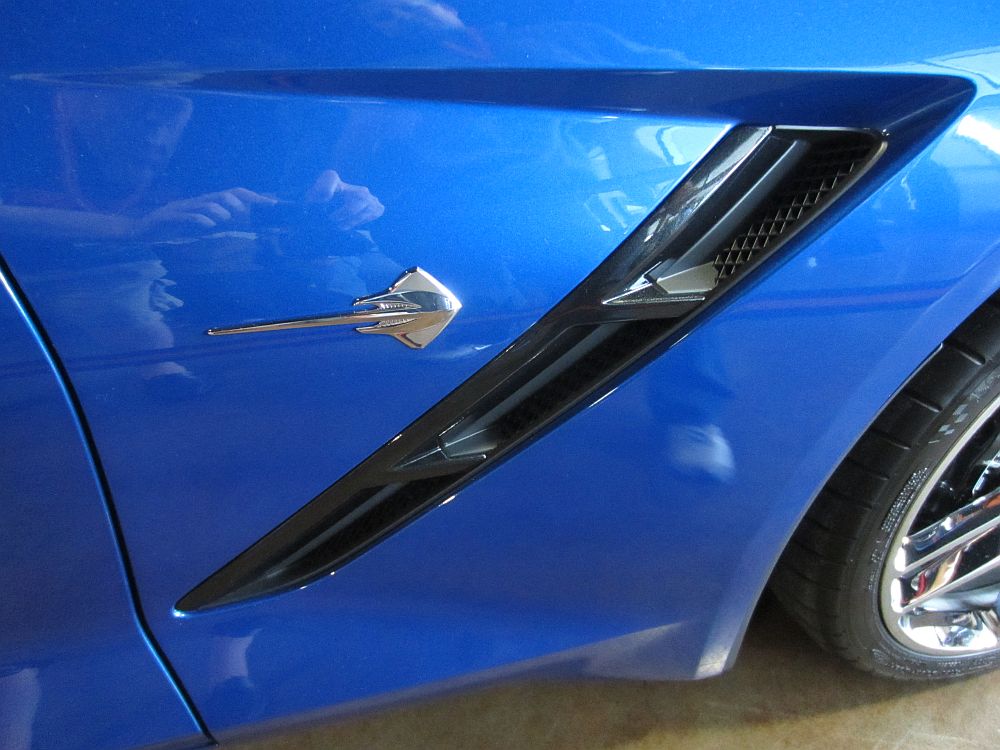
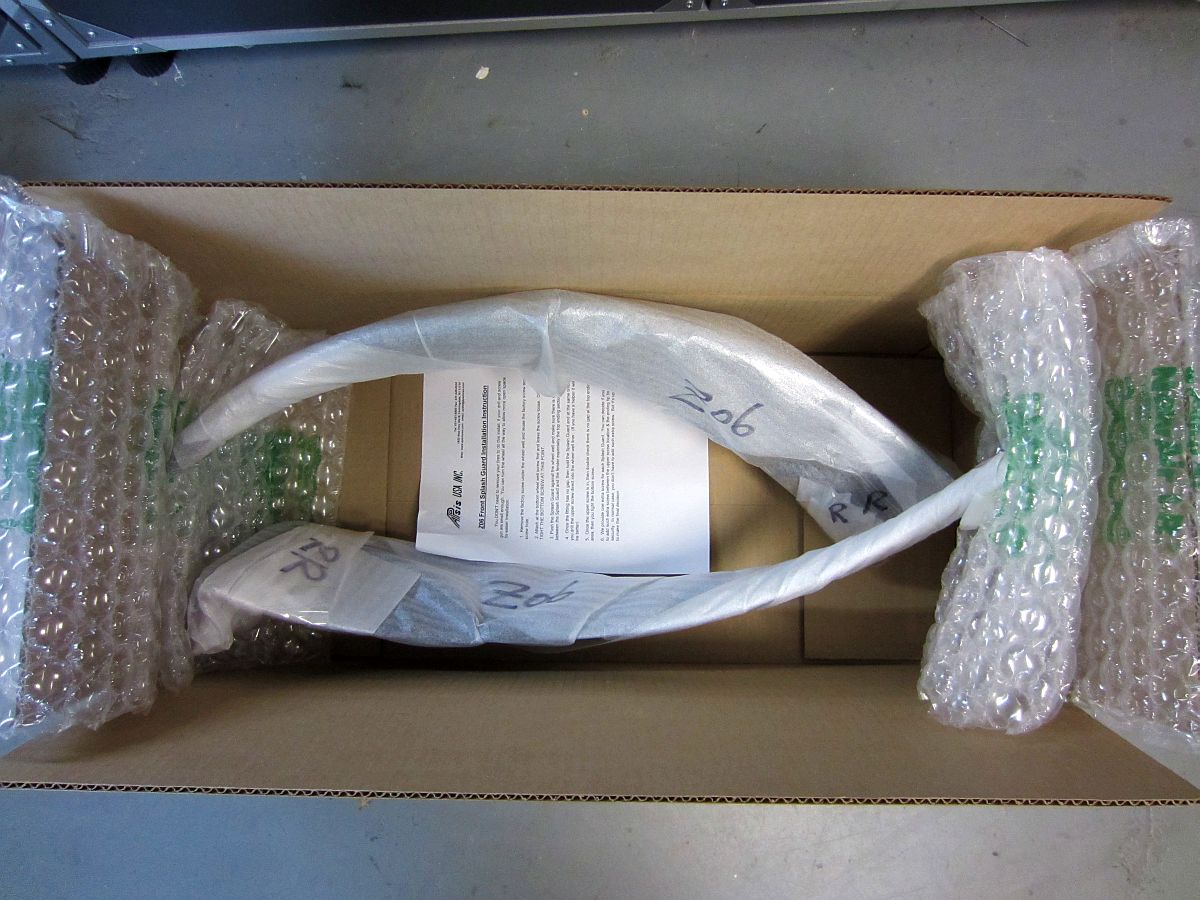
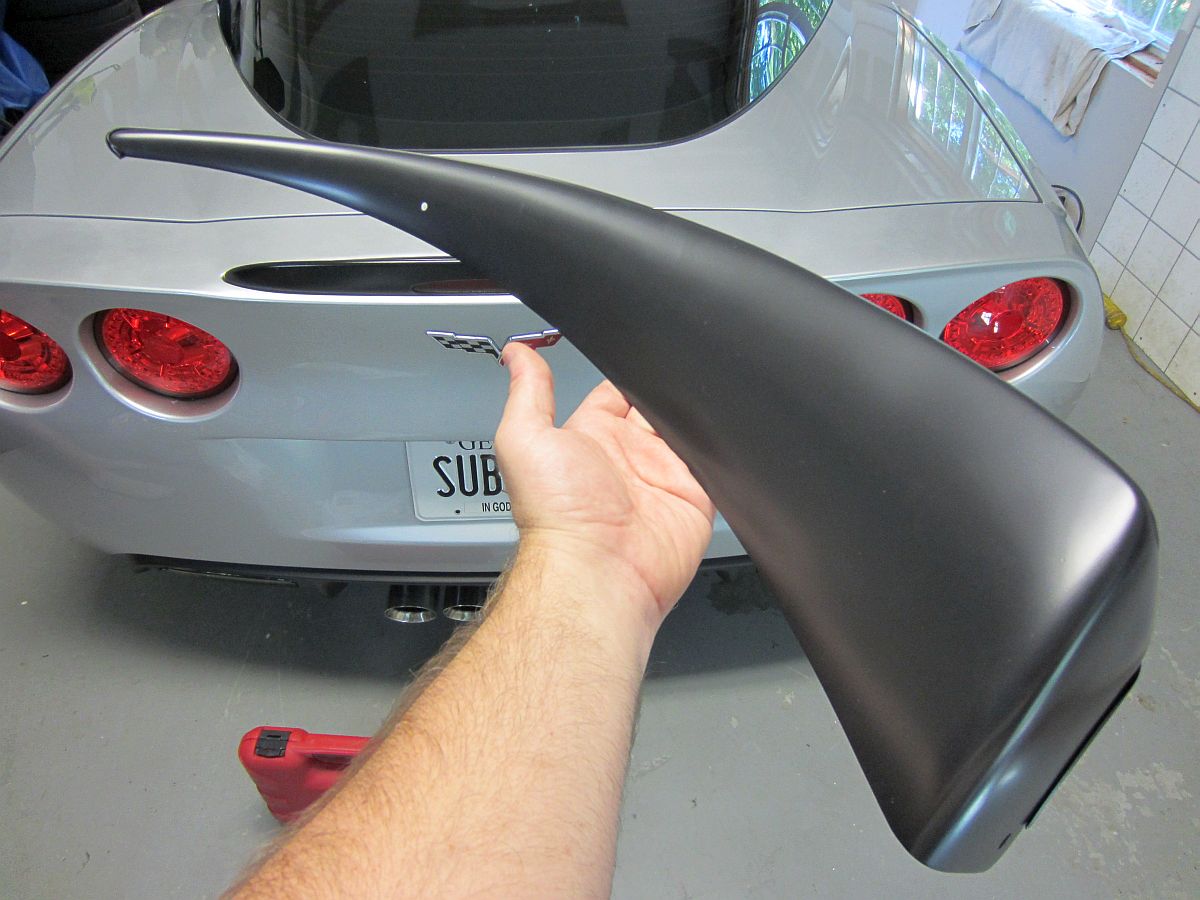
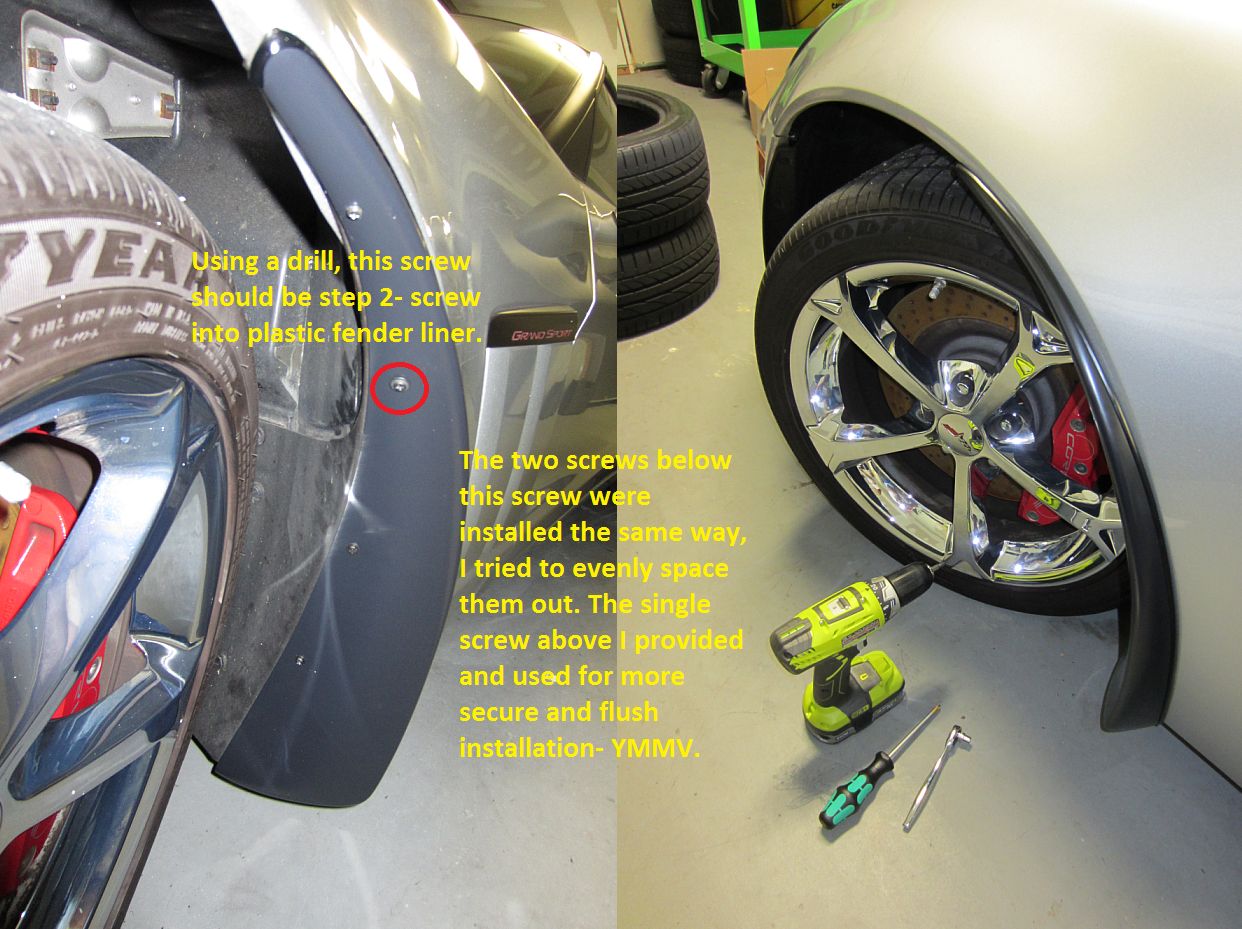
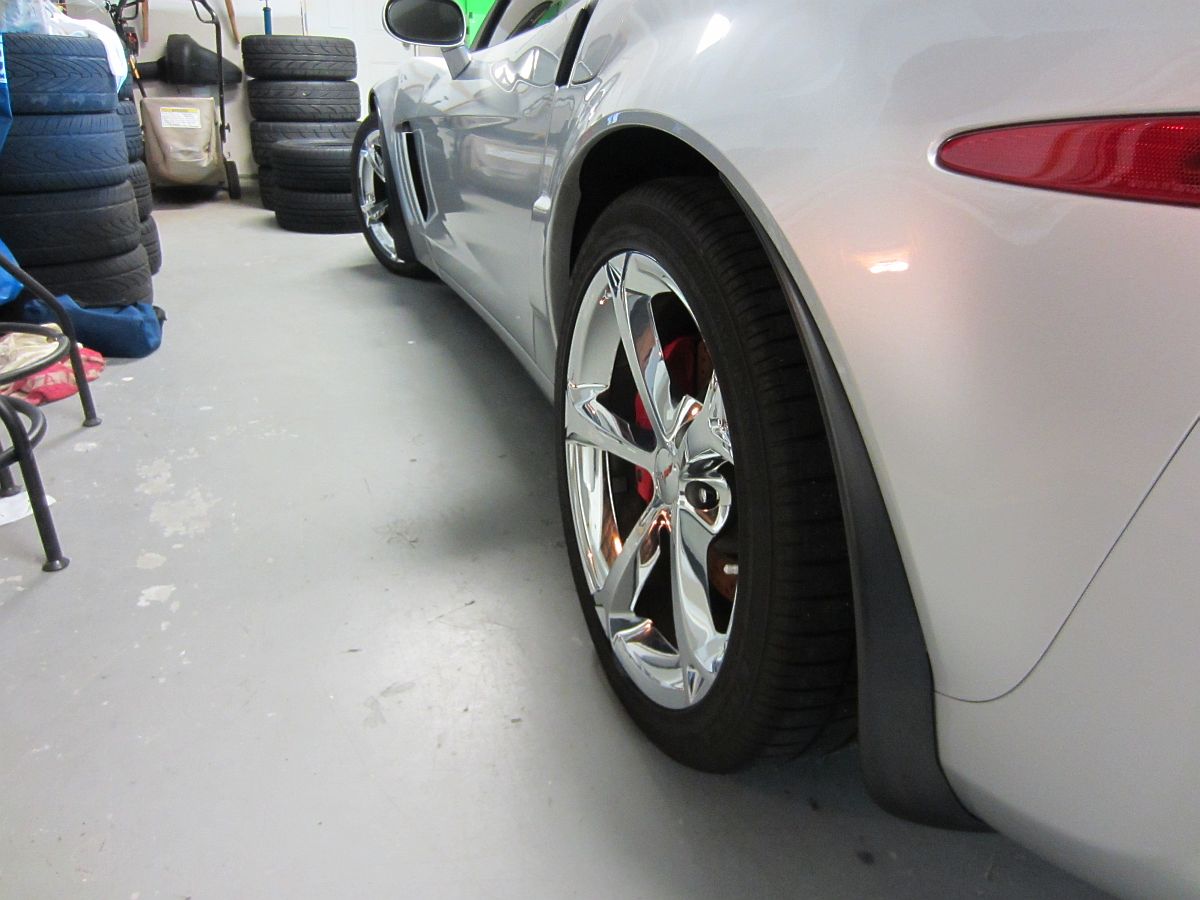
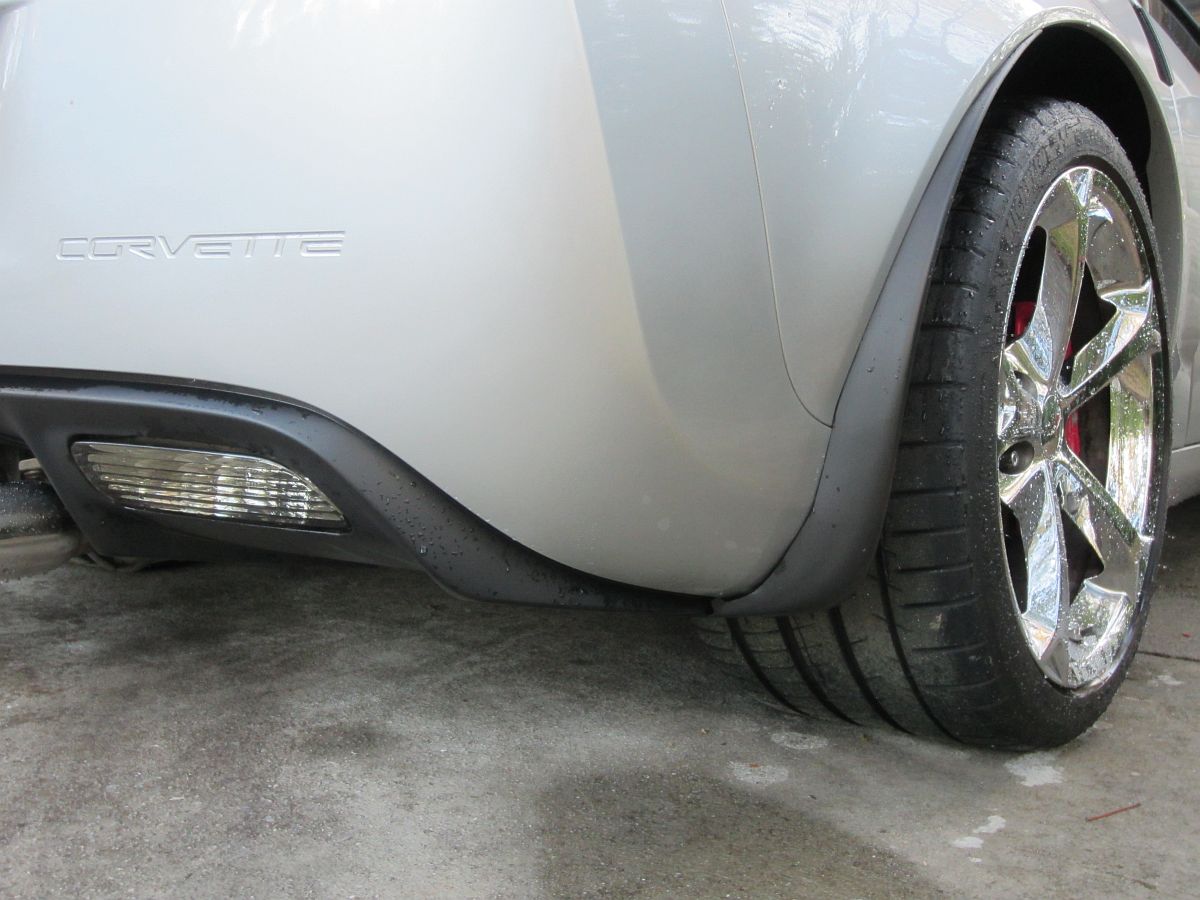
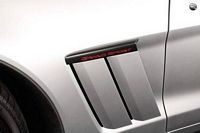
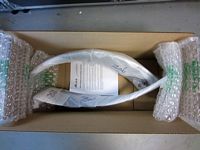
Apsis Front Splash Guards (original wider size) purchased to prevent chips to paint caused by small rocks, etc. thrown up and back by front wheels- not sure why they don't include these from the factory? I may go ahead and get some paint film on the rear air ducts too.
Fiberglass pieces match factory pieces, installation instructions HERE. Some CF Apsis splash guard discussion HERE.

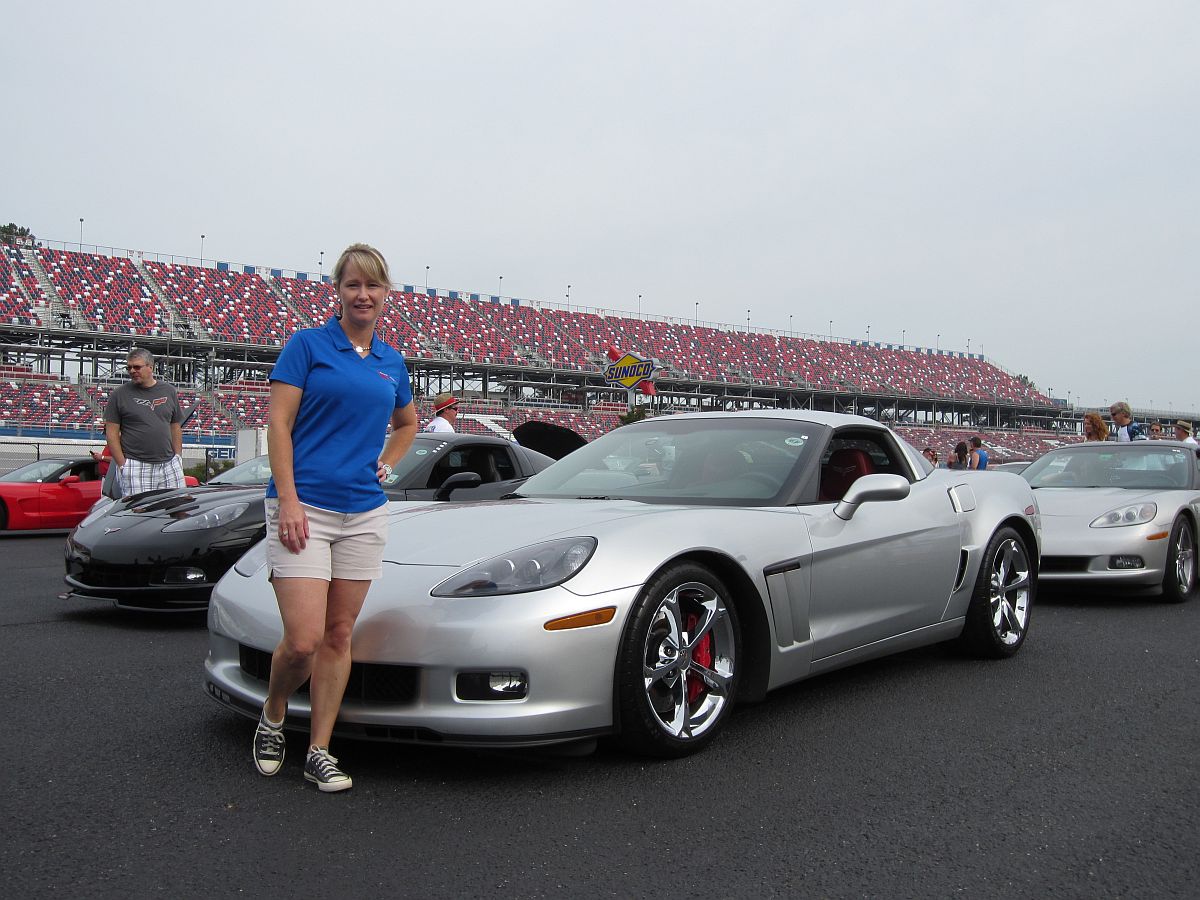
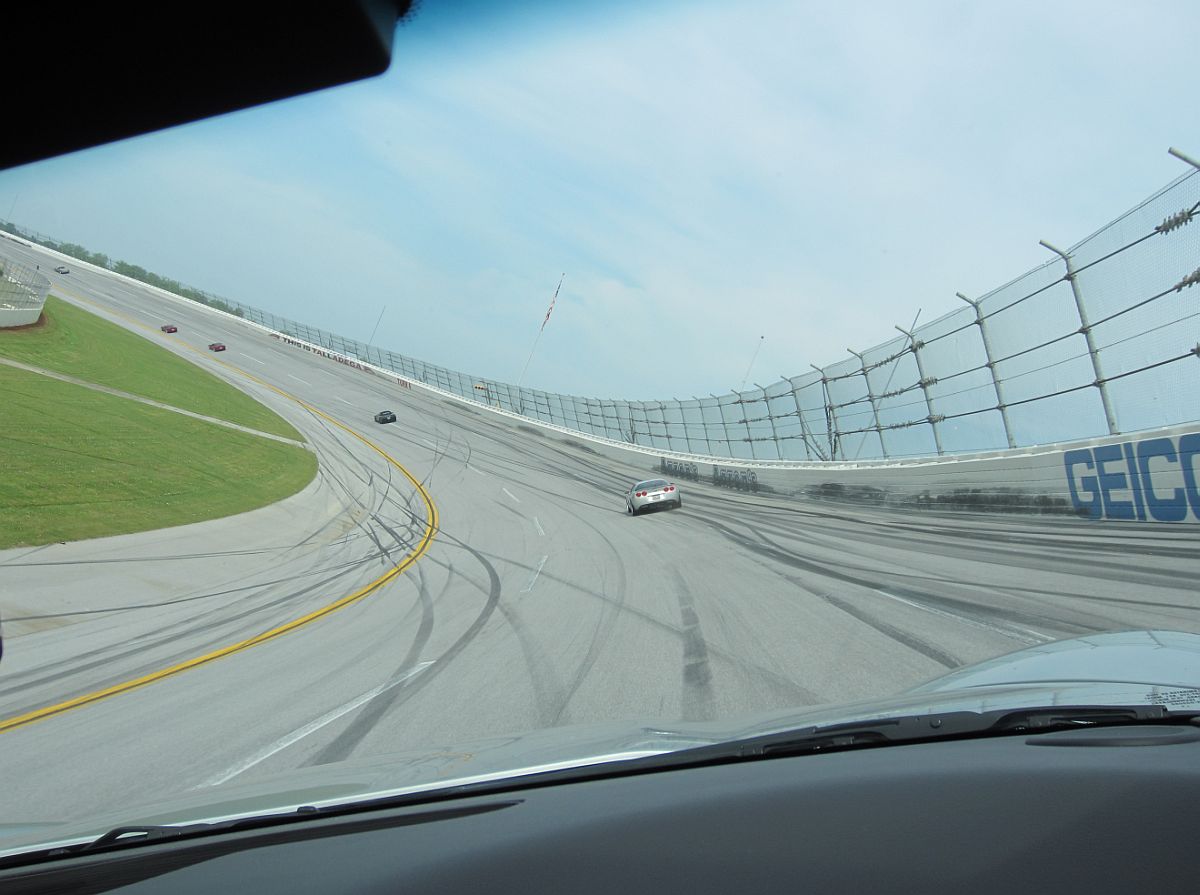
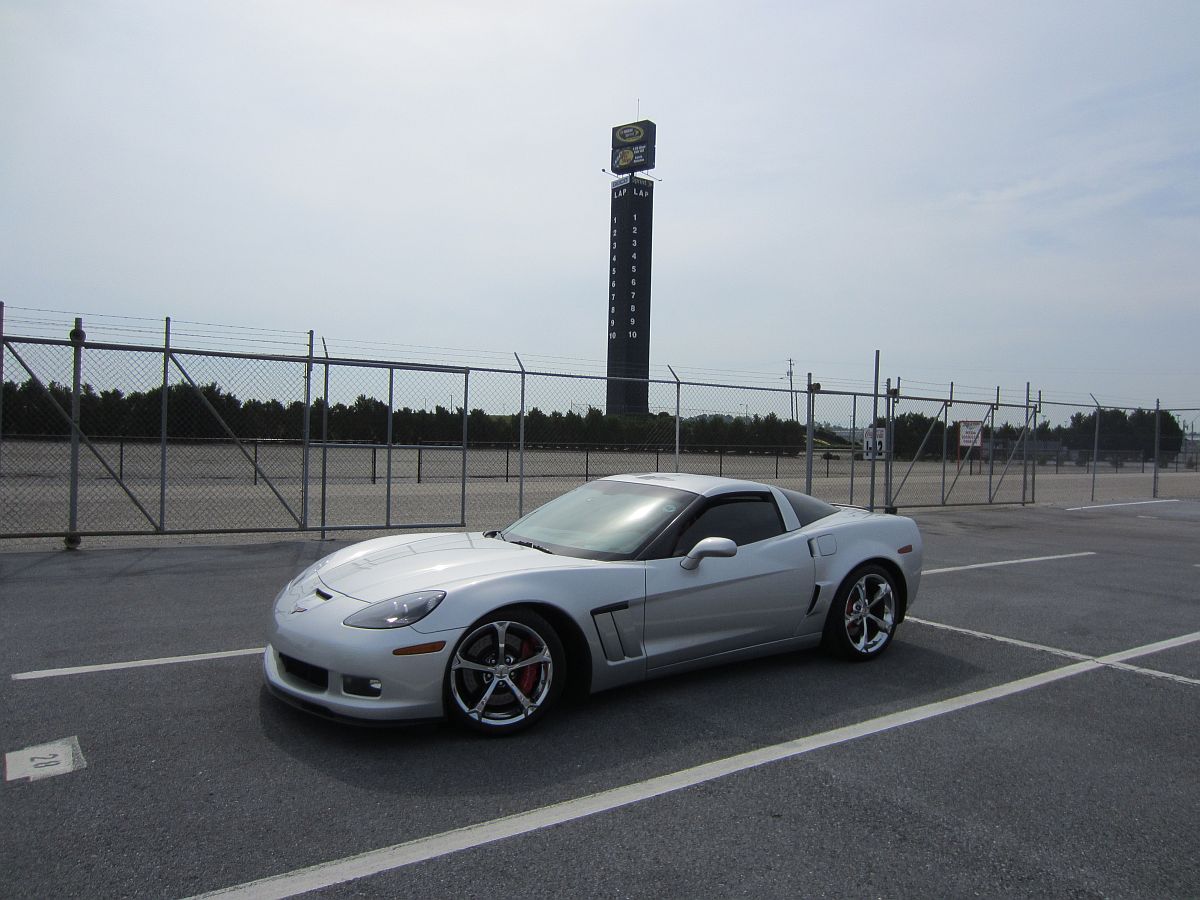
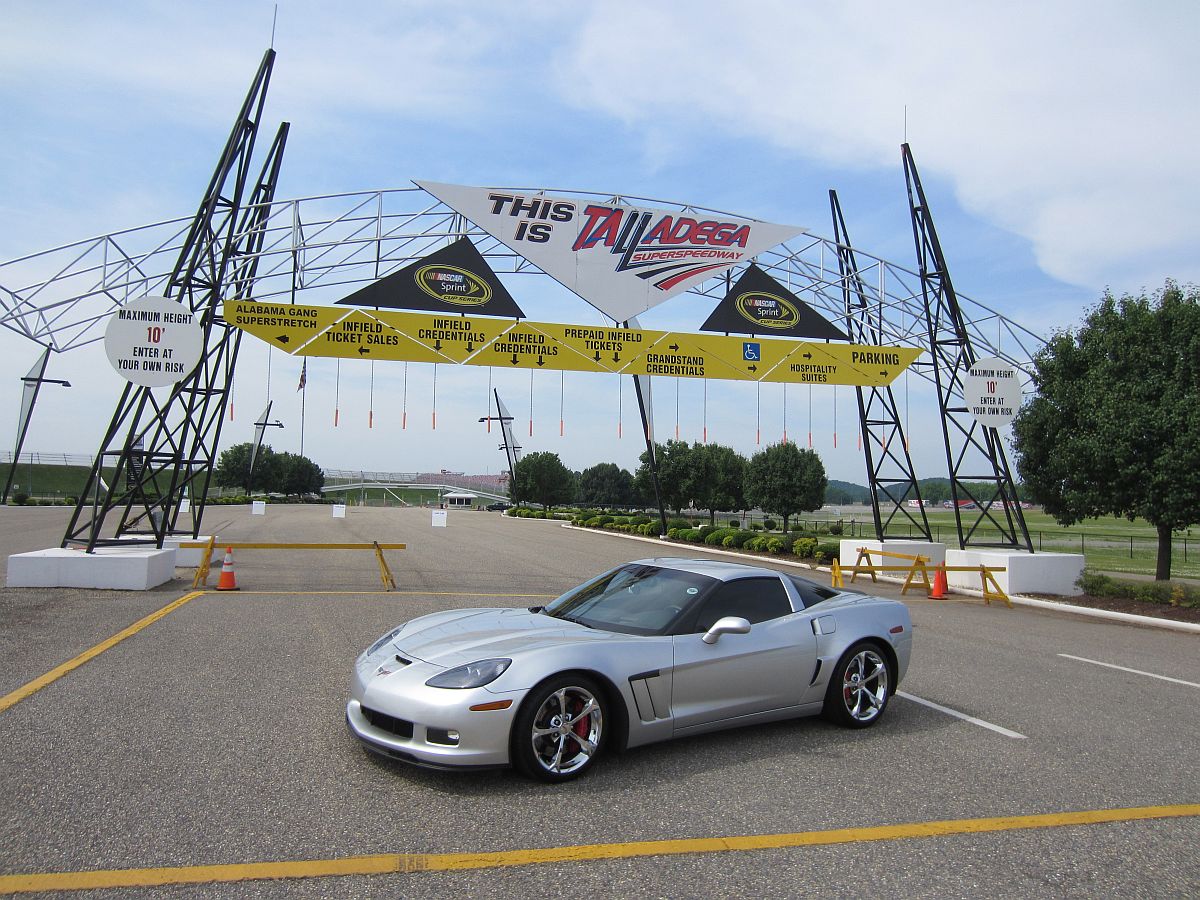
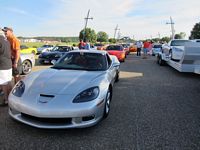
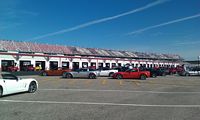
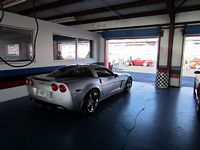
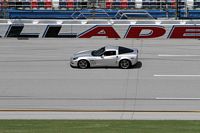
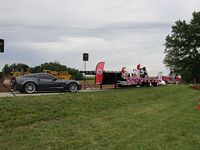
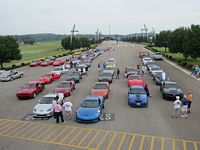
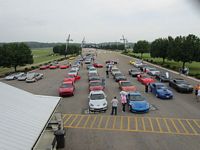
Attended Vettes4Vets (V4V Facebook Page) Talladega Dinner and Track Day over Memorial Day weekend 2013 for the first time. This event allows for owners to go fast on a track between two pace cars, no passing, while raising money for our Veterans.
VERY strange feeling on first banked turn out of the pits since we were going way less than the 80MPH really needed to use the bank. This is an experience that everyone should add to their bucket list. The video does not convey the reality.
Our session videos are HERE, this was also our first GoPro outing so still getting a feel for location and battery life. We had the camera on the front window, outside top, for the first session and moved it to the rear bumper above the exhaust for the last session.....battery died before the end of this session.
BIG THANKS to Jeff Williams and the rest of the officers/board and event volunteers for making this event possible!


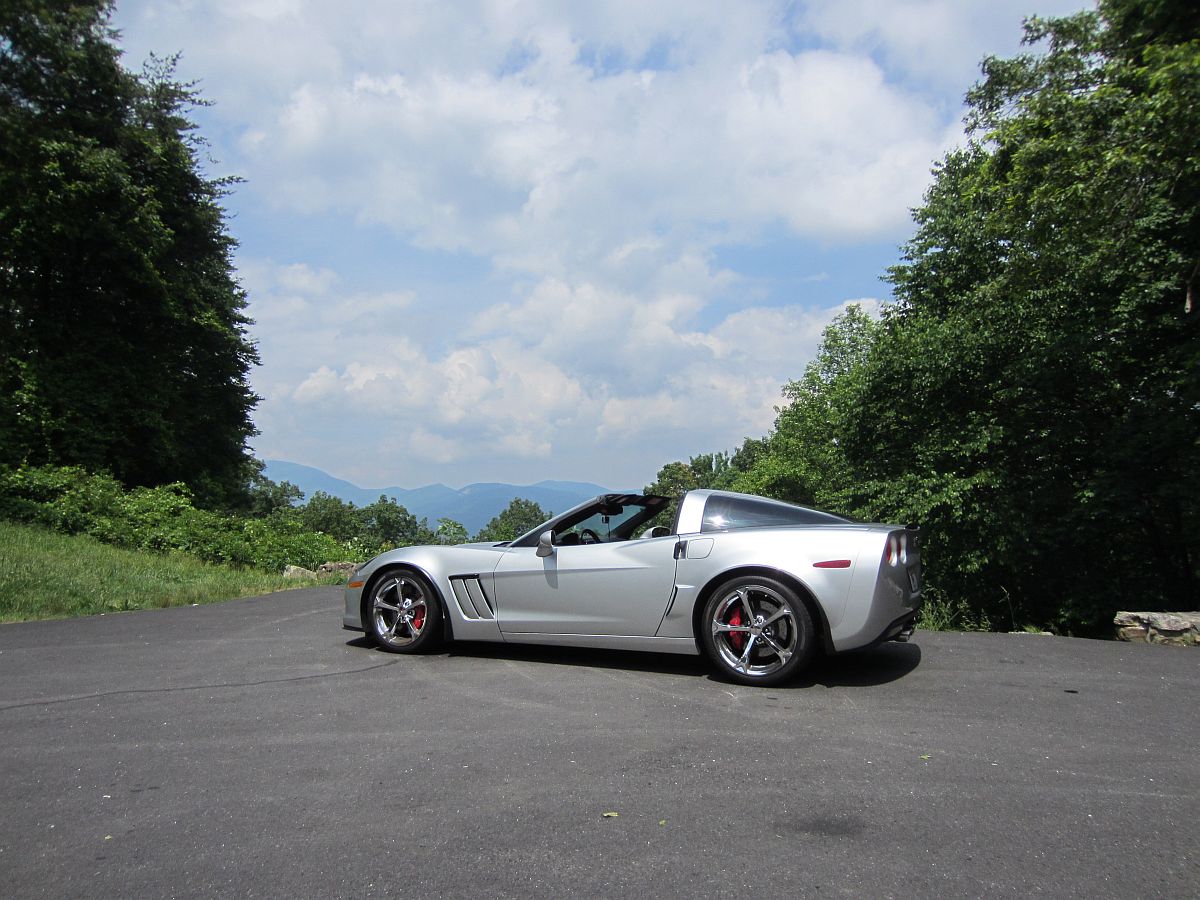
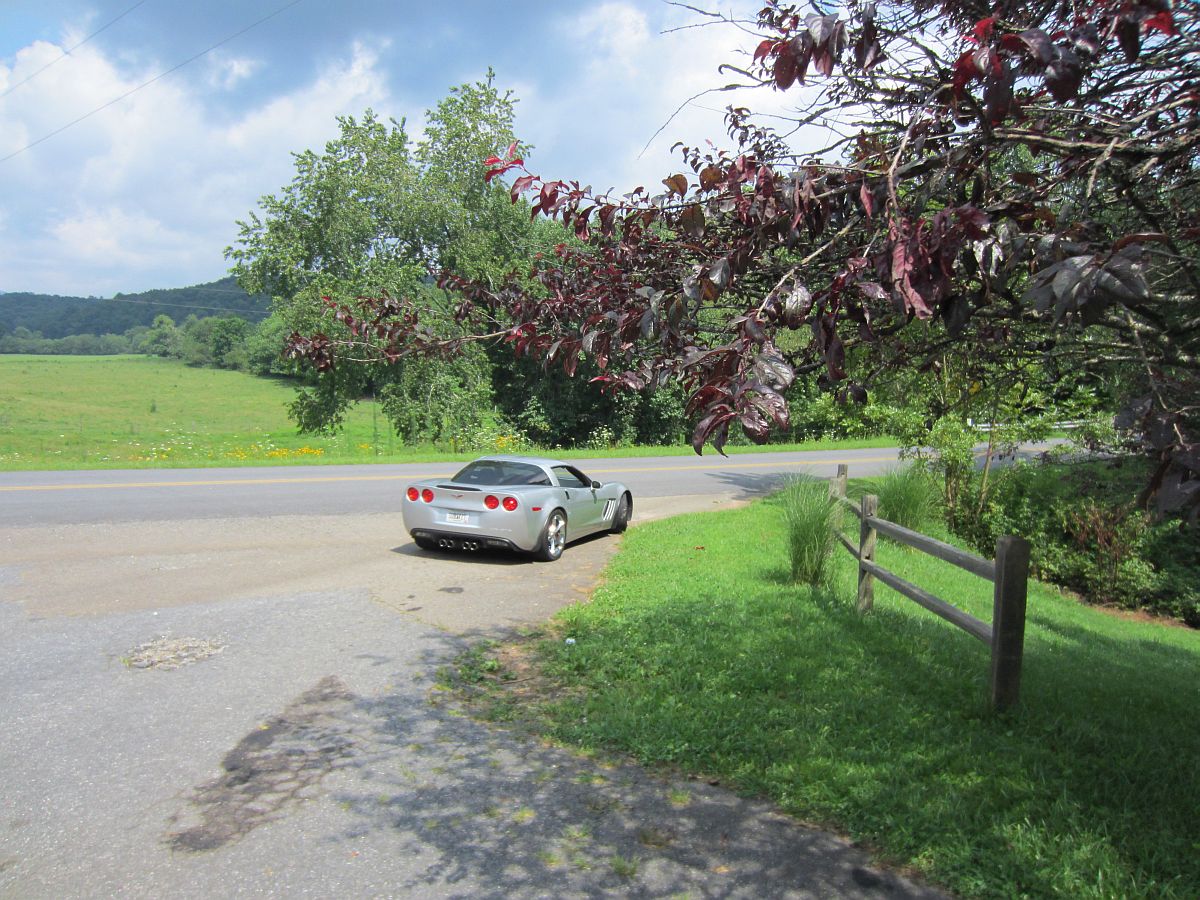
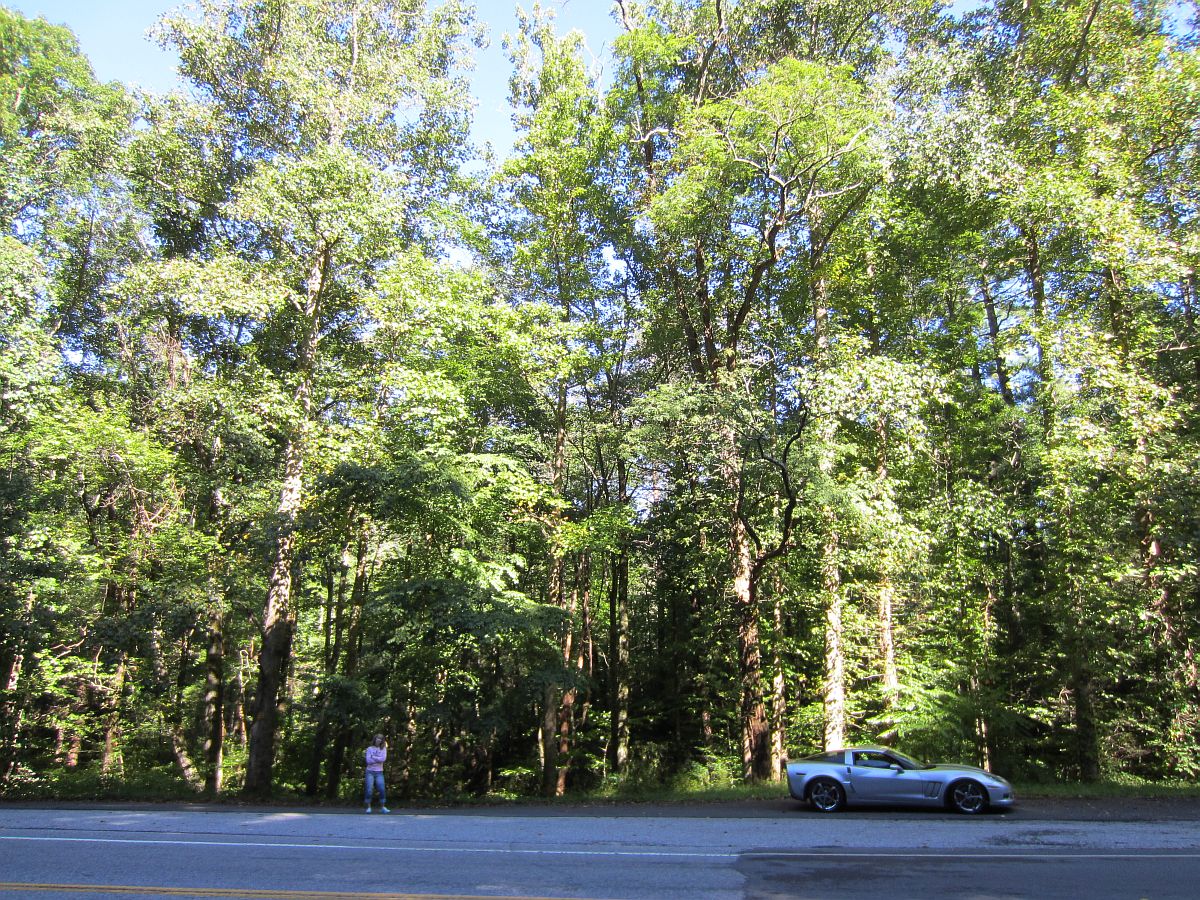
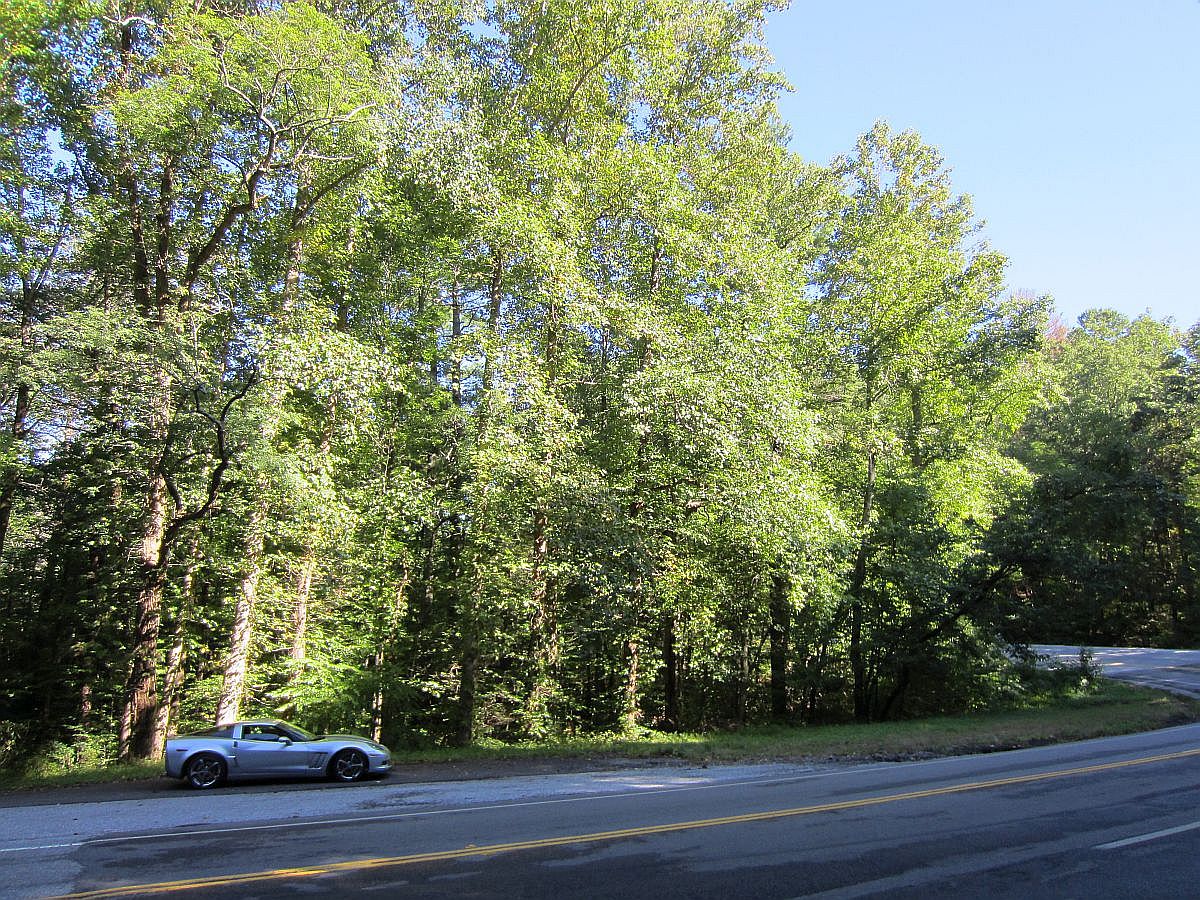
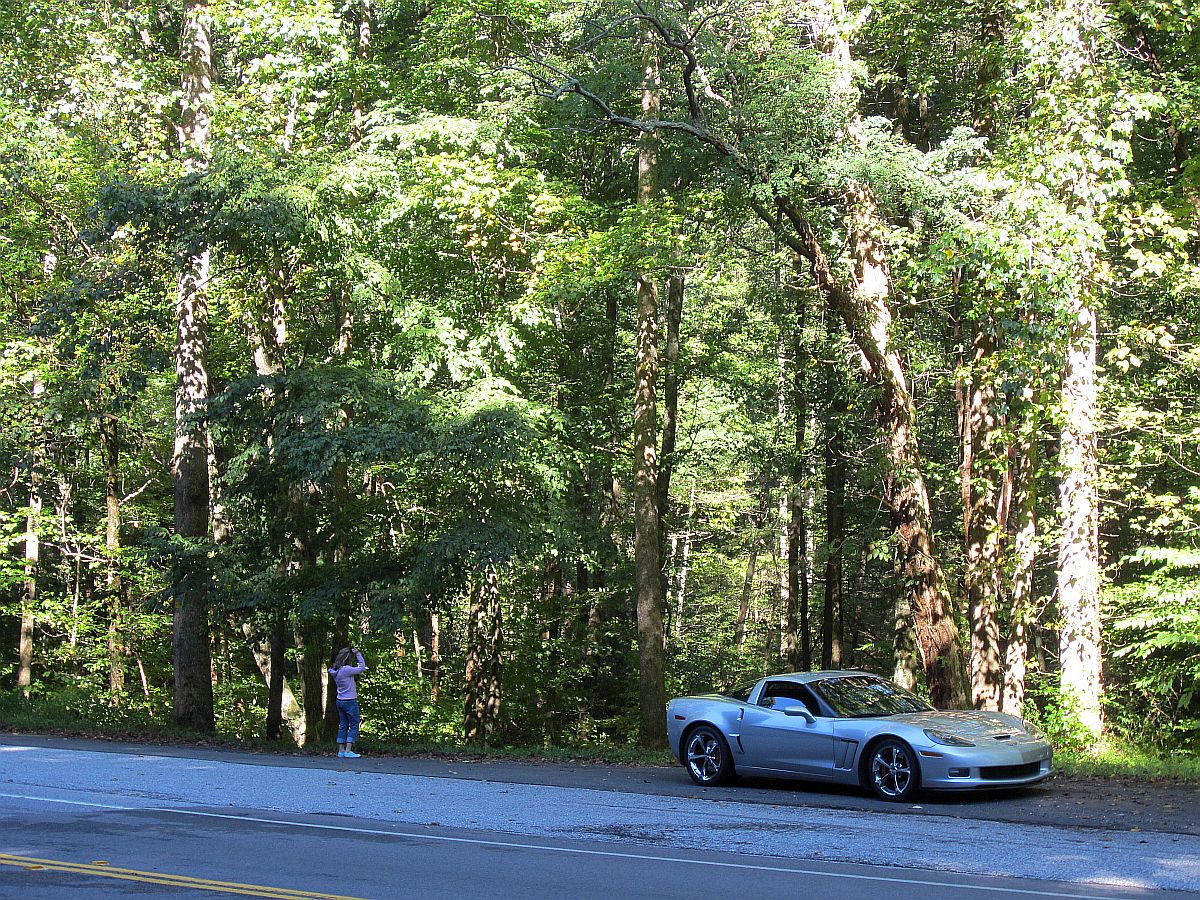
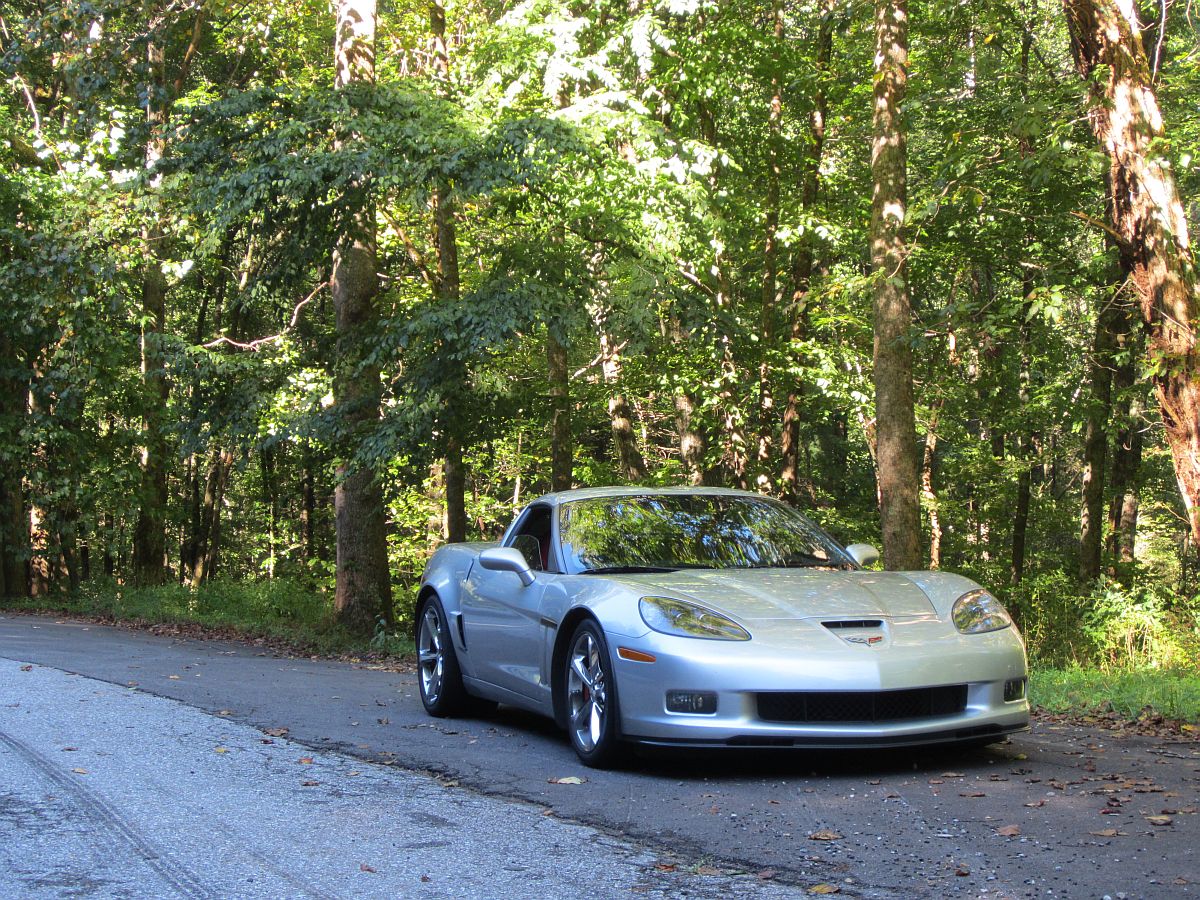
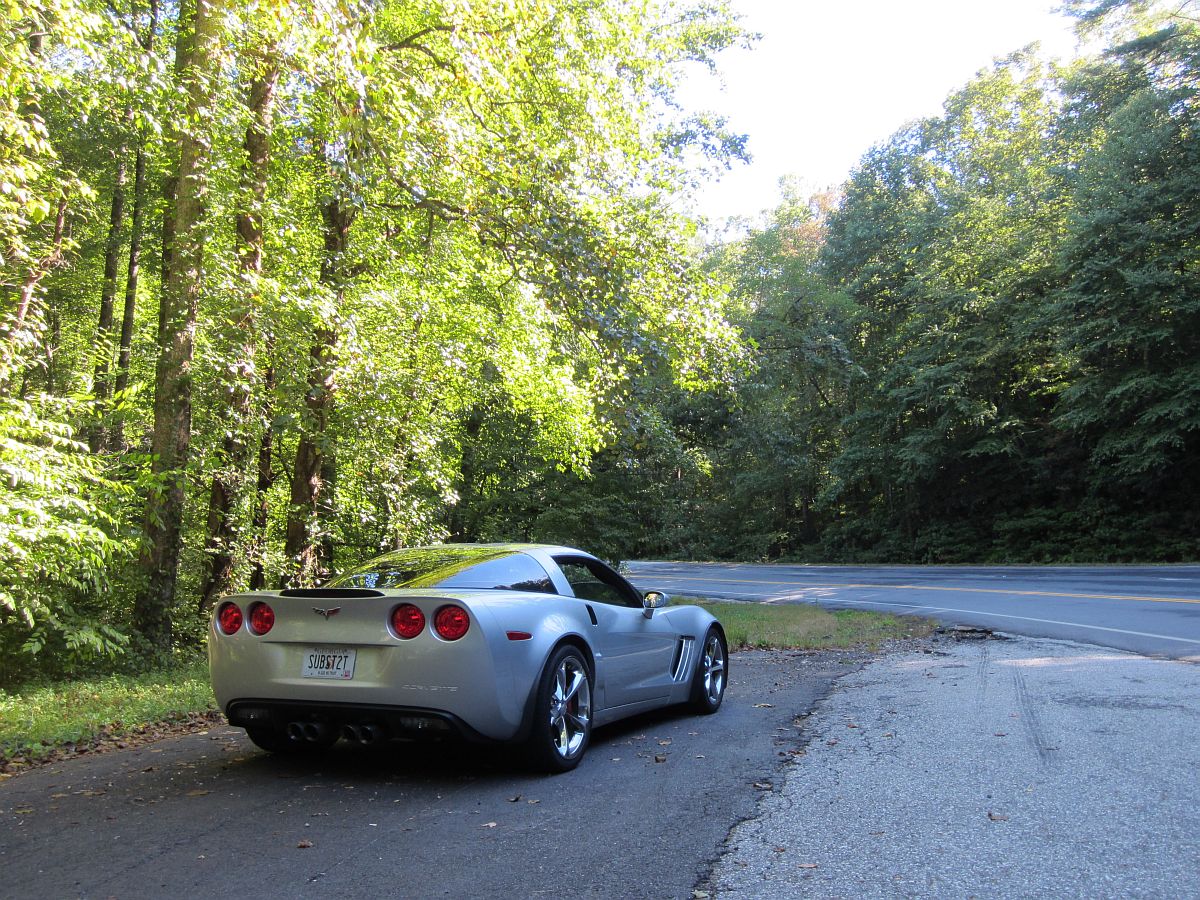
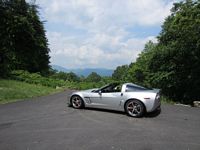
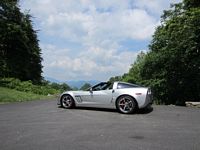
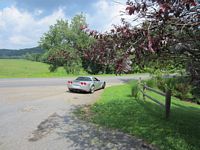
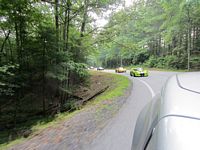
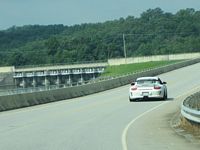
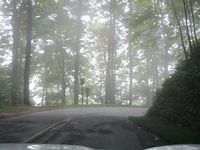
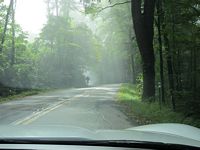
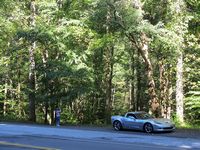
Went to the N. GA Mountains for a quick drive on the 60/180/129 loop with the top off, still a bit of gravel on the roads from winter ice/snow but not bad.

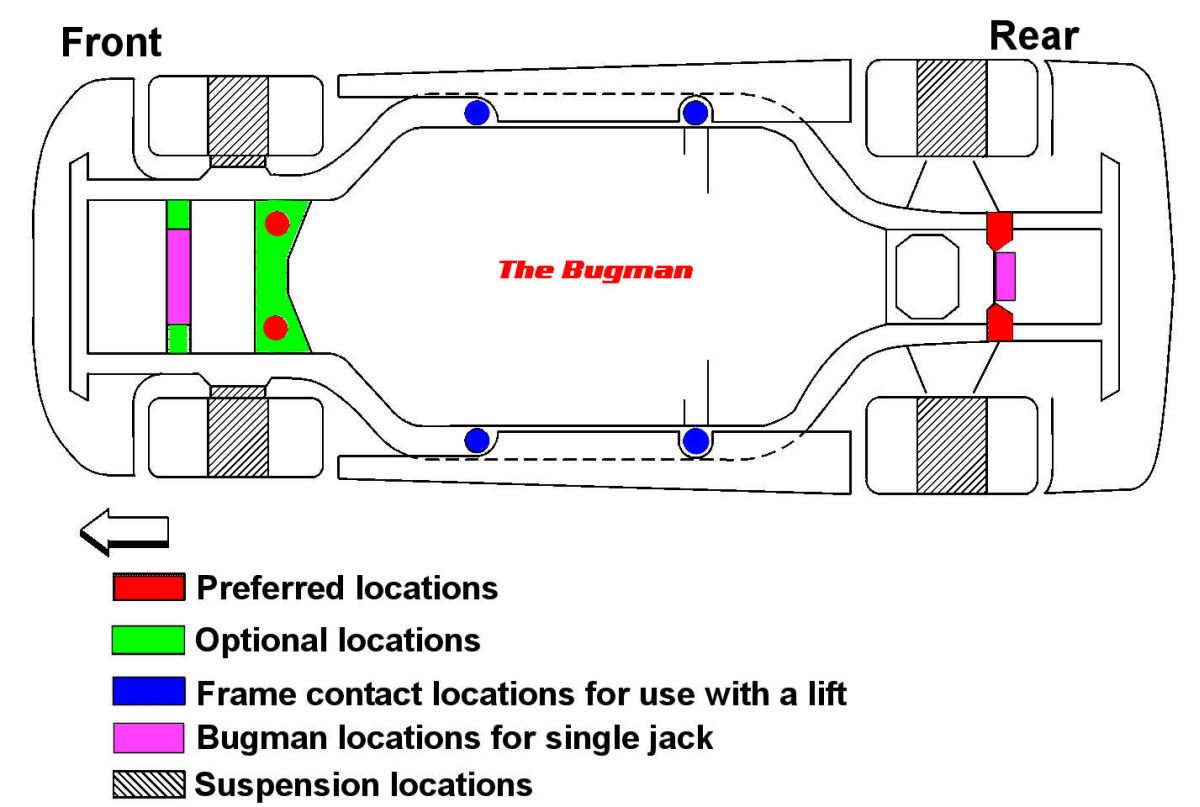
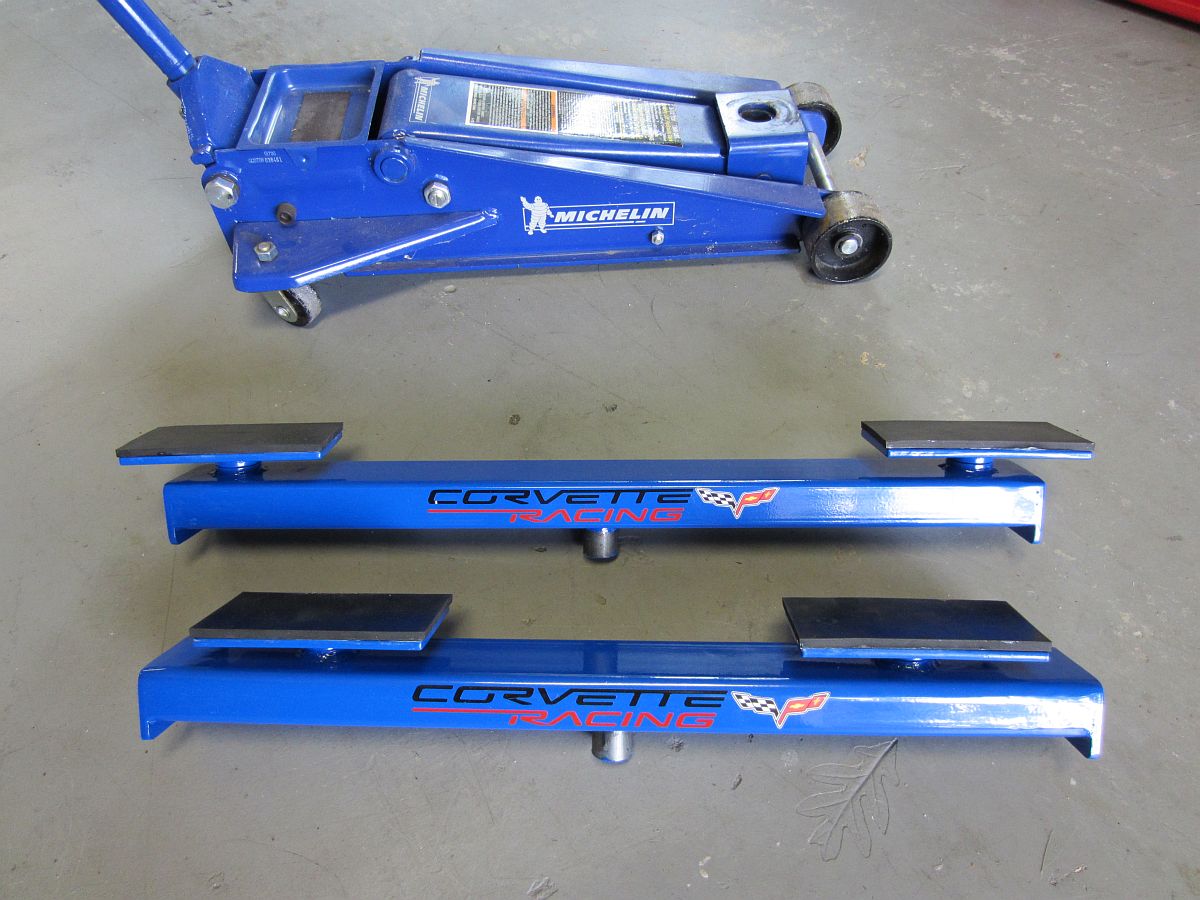
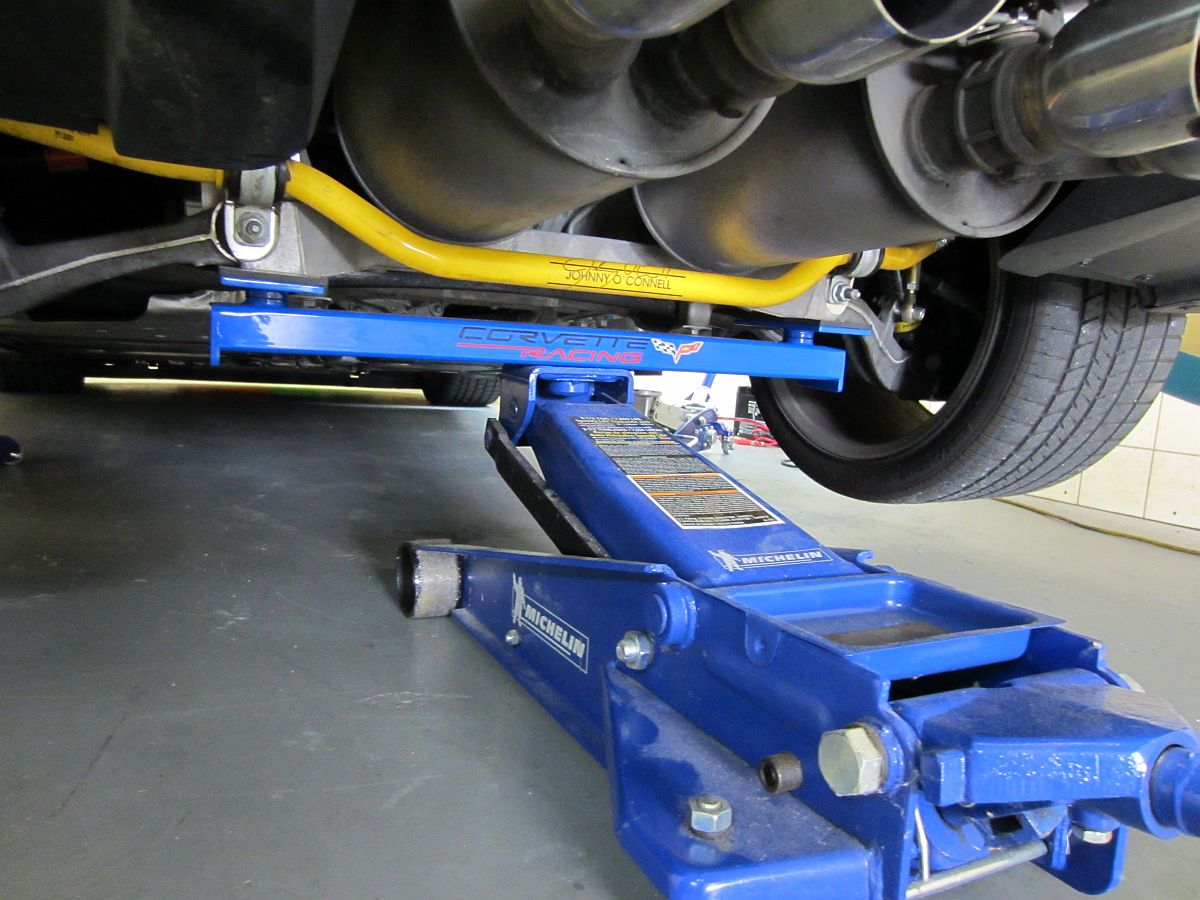
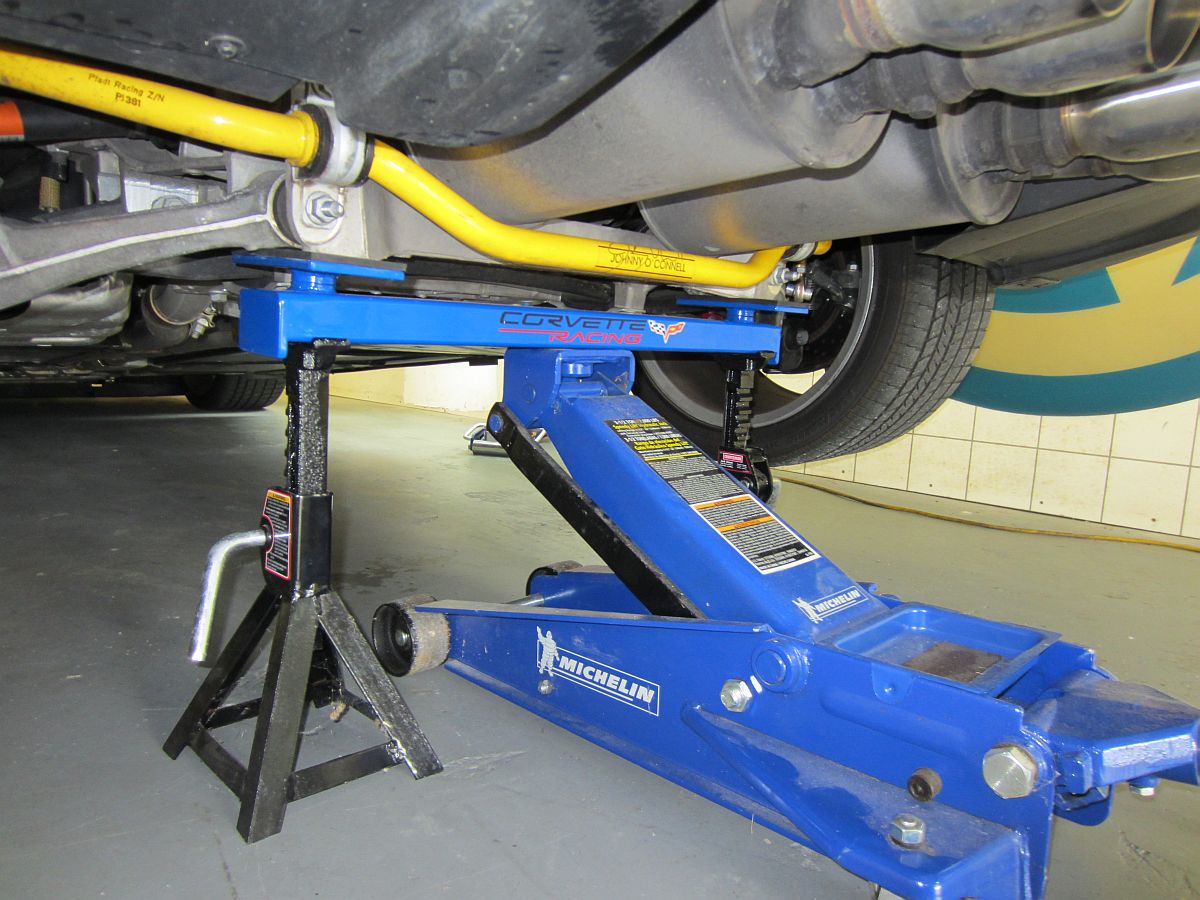
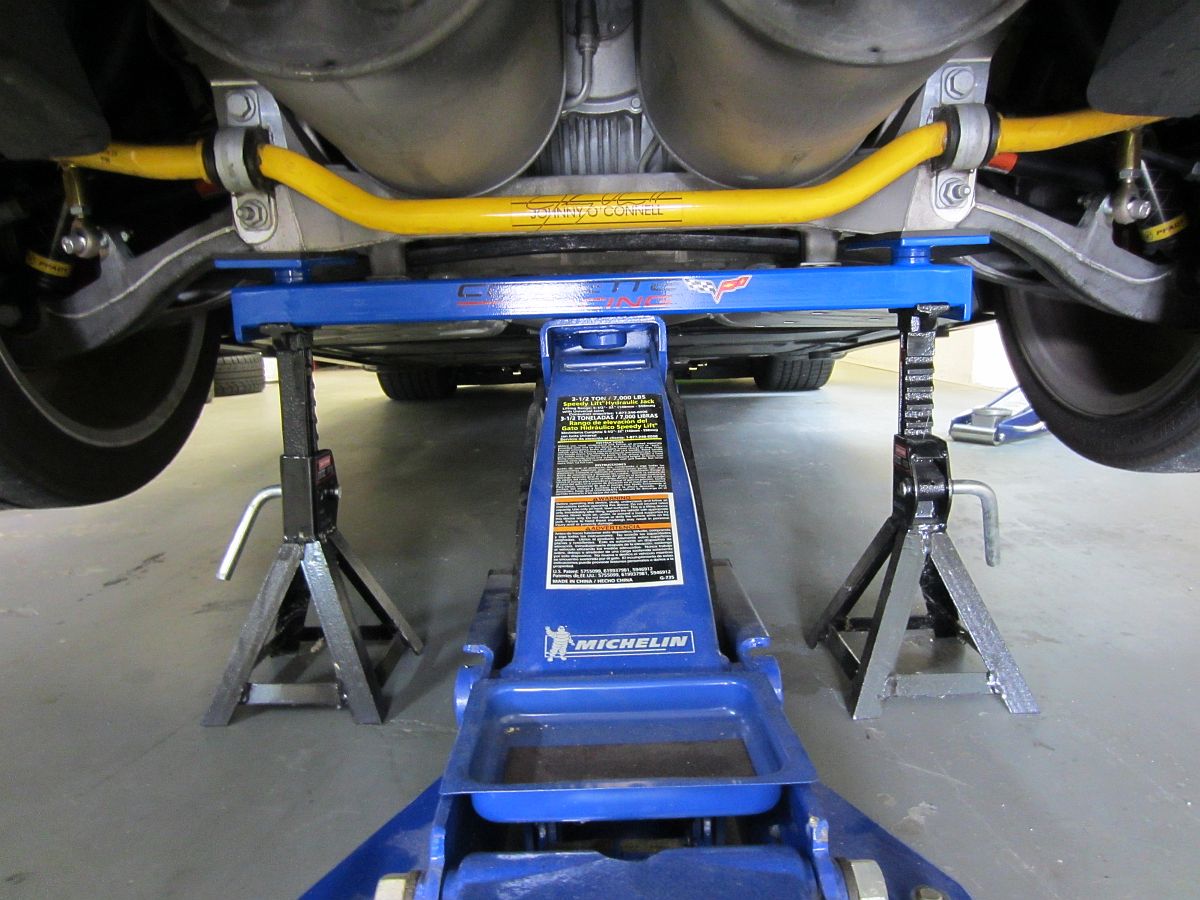
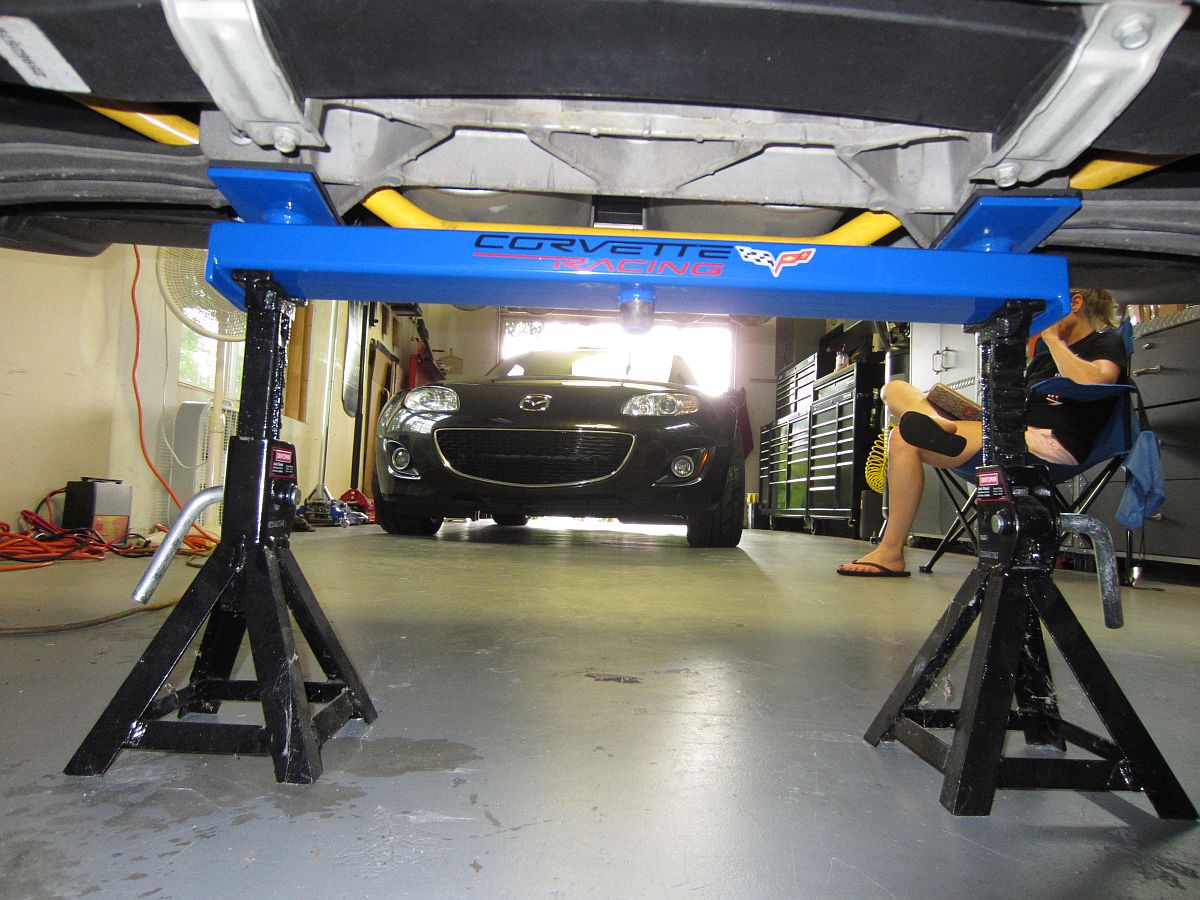
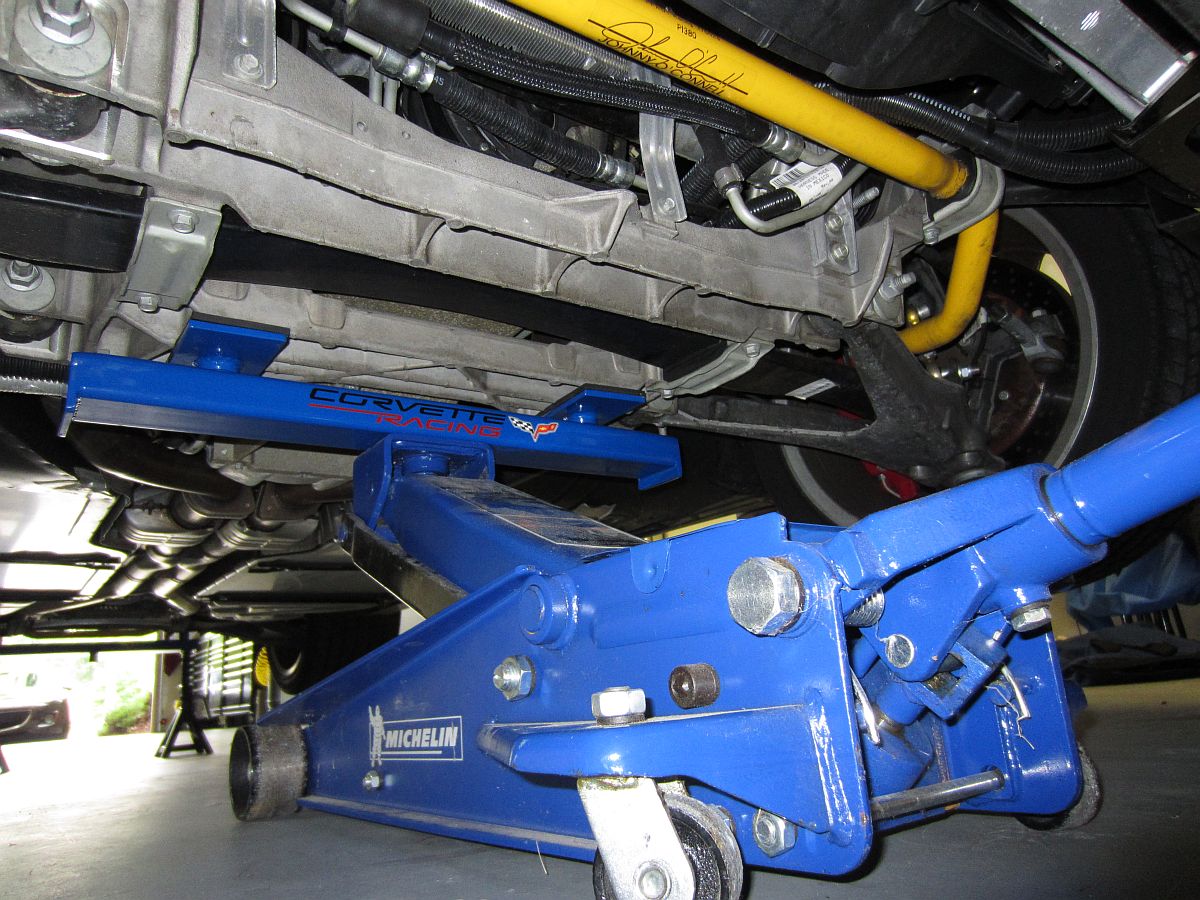
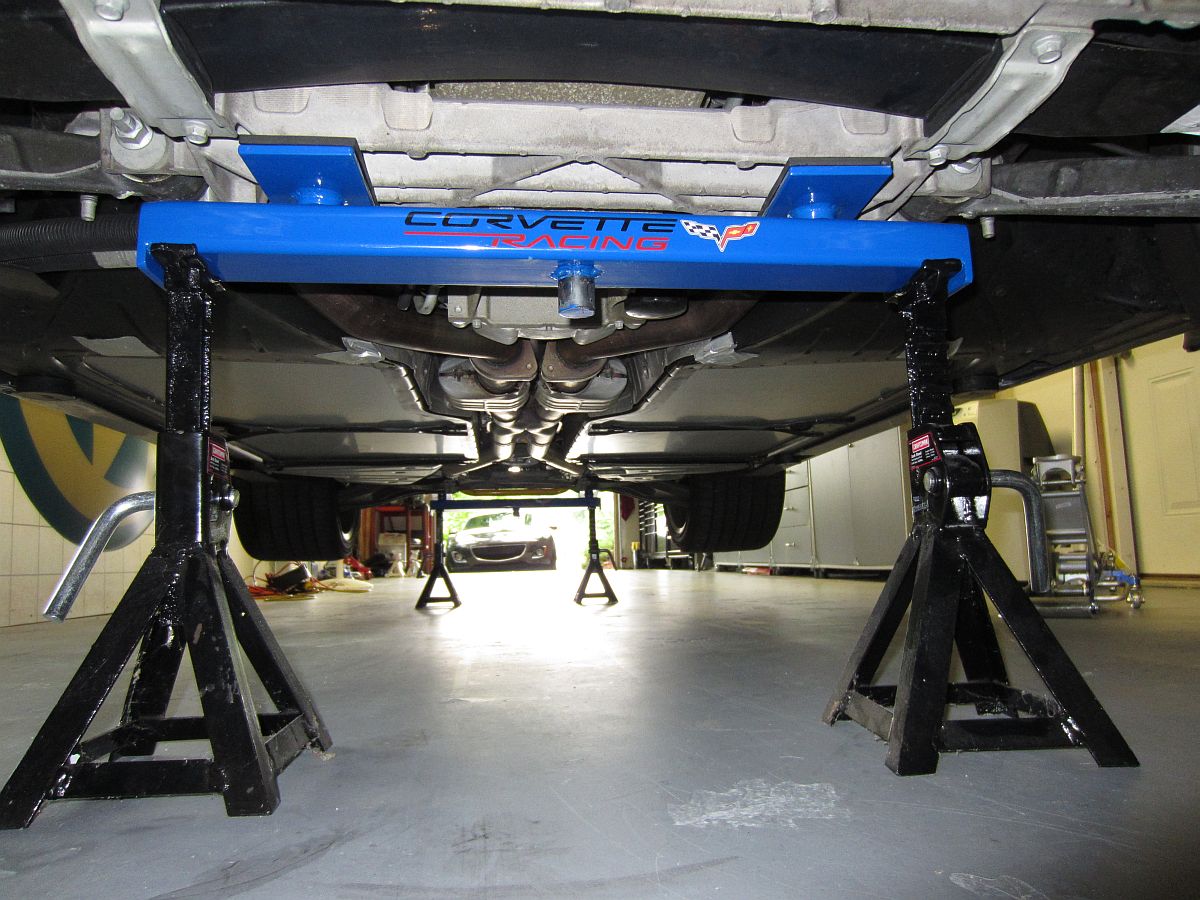
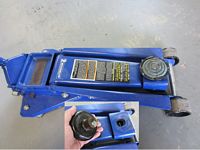
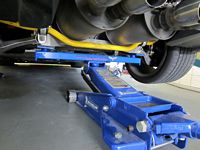
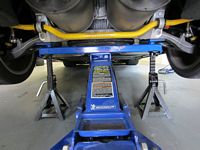
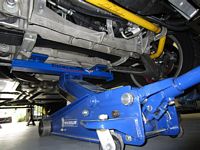
A lot of the guys on the forum lift their car using the preferred jack points as shown on The Bugman's Site using either modified cross beam adapters (one of many CF threads HERE - archived HERE) or pieces of 2x4/2x6.
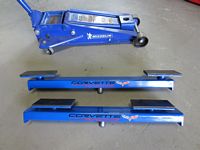
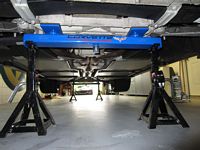
The generic cross beam adapters were not as good of a deal as when Northern was closing them out years ago and I'm not a fan of 2x6 supporting a car I am under. While looking for cross brace adapters I found some Corvette specific adapters for a C5 and emailed Jim at Smith Fabrication to see if he made them for a C6. He did not so after a few days of taking pictures, measurements, and emailing back and forth Jim came up with measurements we agreed on and he manufactured my set and sent them off to the powdercoater. The pads on either side of the adapter swivel to make the best use of the pad and can be removed for storage.
Almost look too good to use for jacking the car up. Super sturdy and do an excellent job while I save funds for my lift. I will be making some 2x6 ramps to drive up on so that the jack/adapters fit under the car without having to jack a bit on either side to get clearance. I'll let the pictures do the talking.


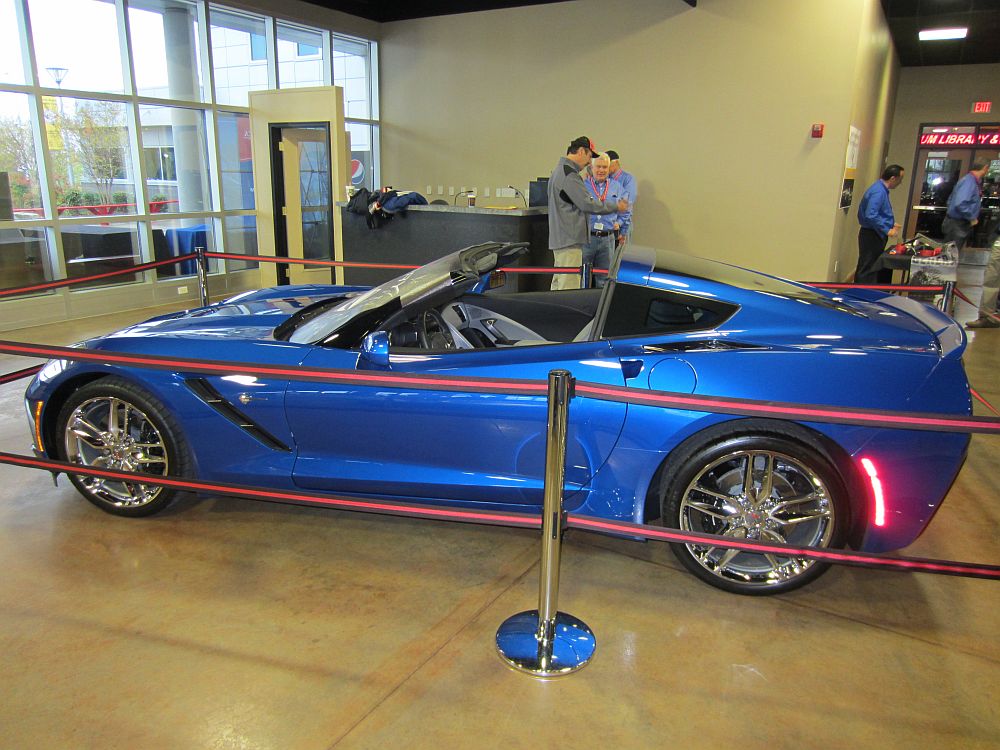
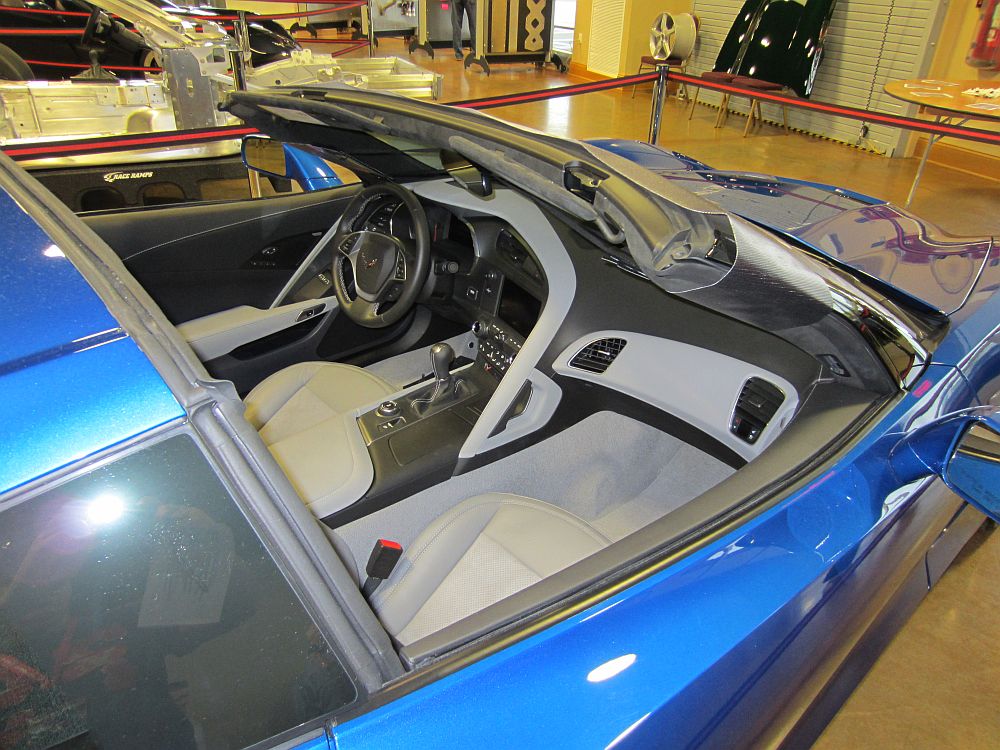
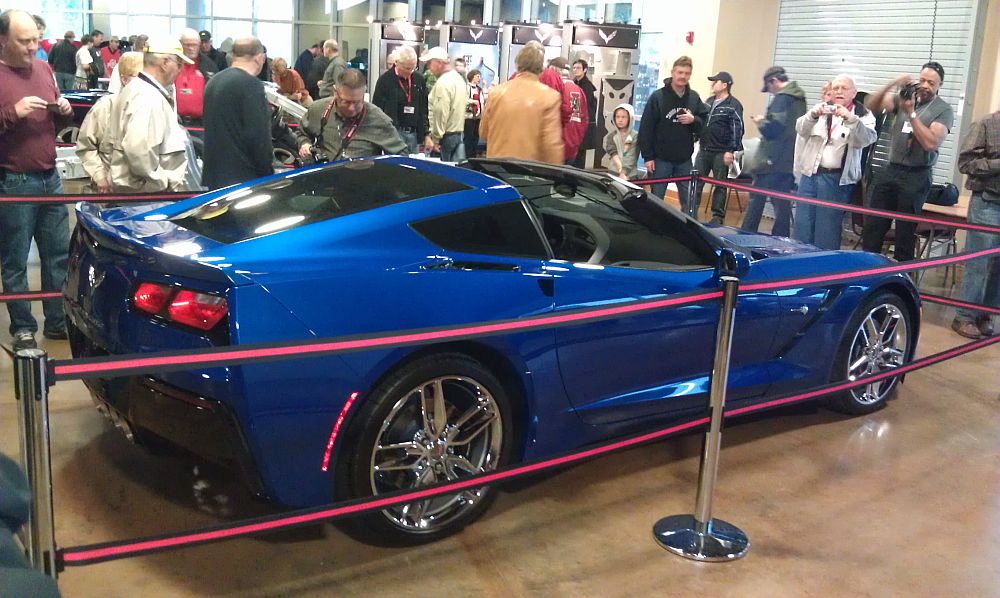
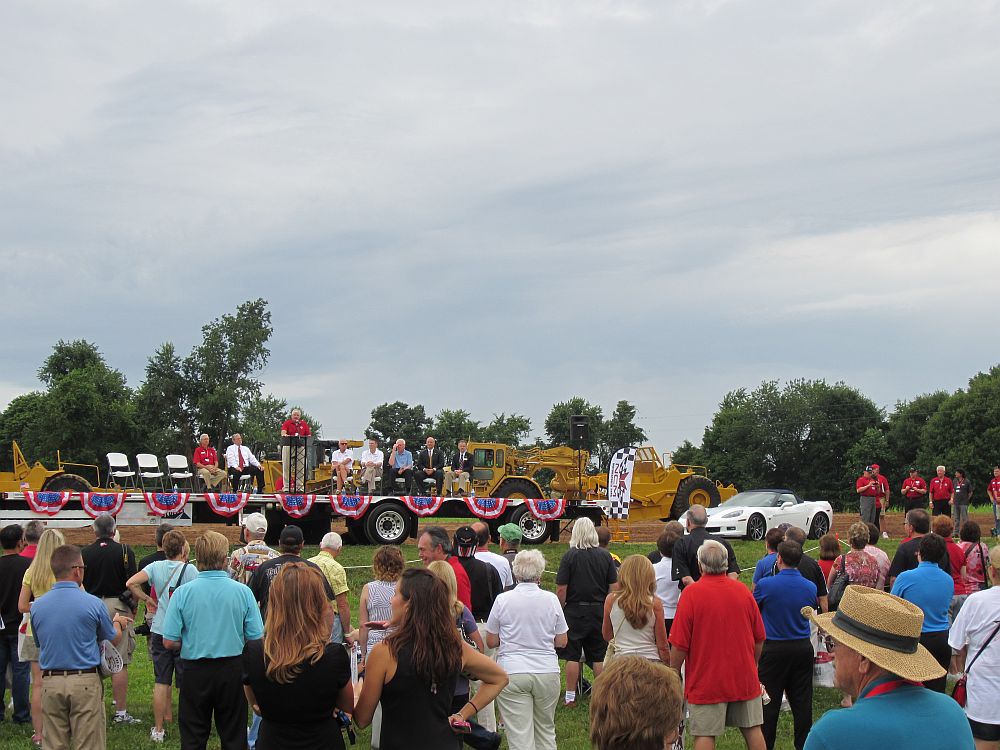
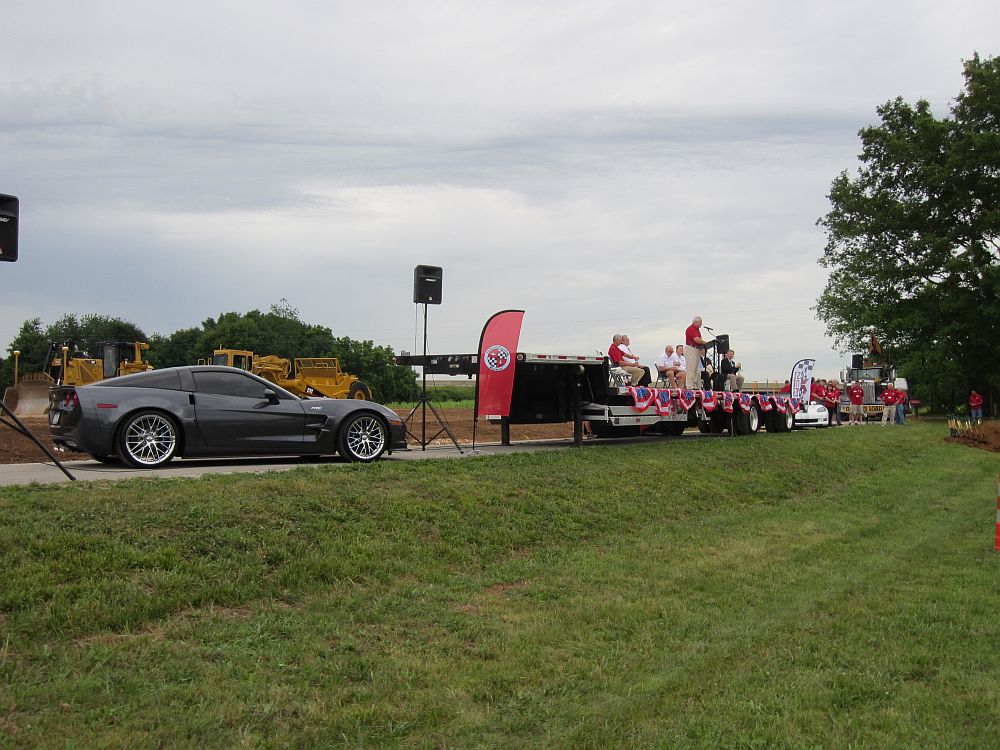
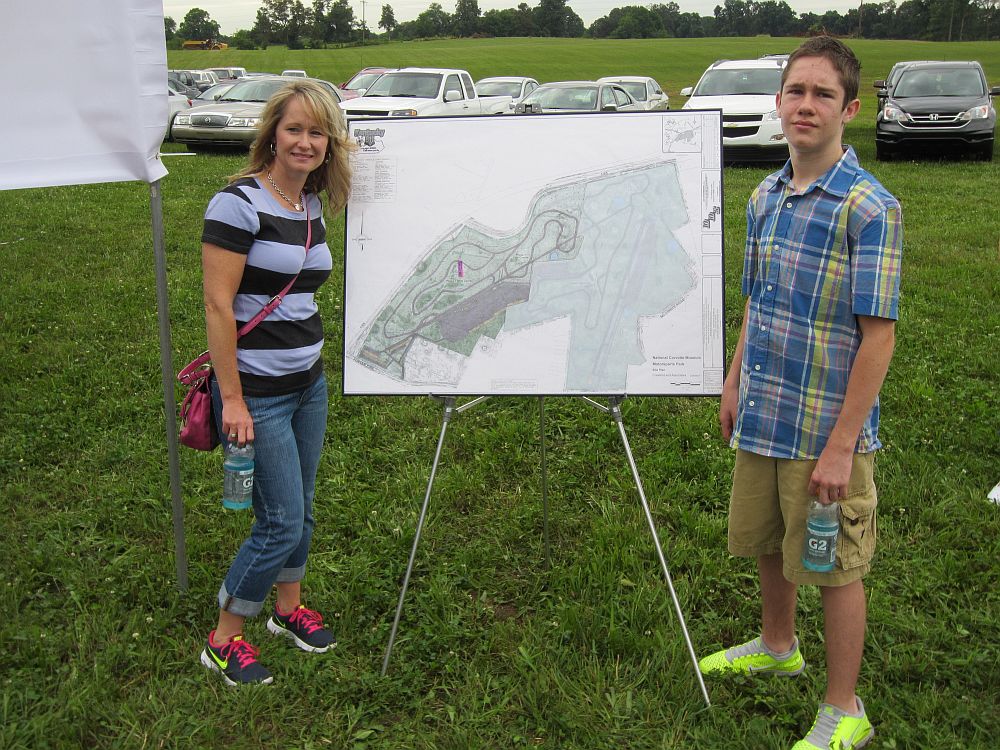
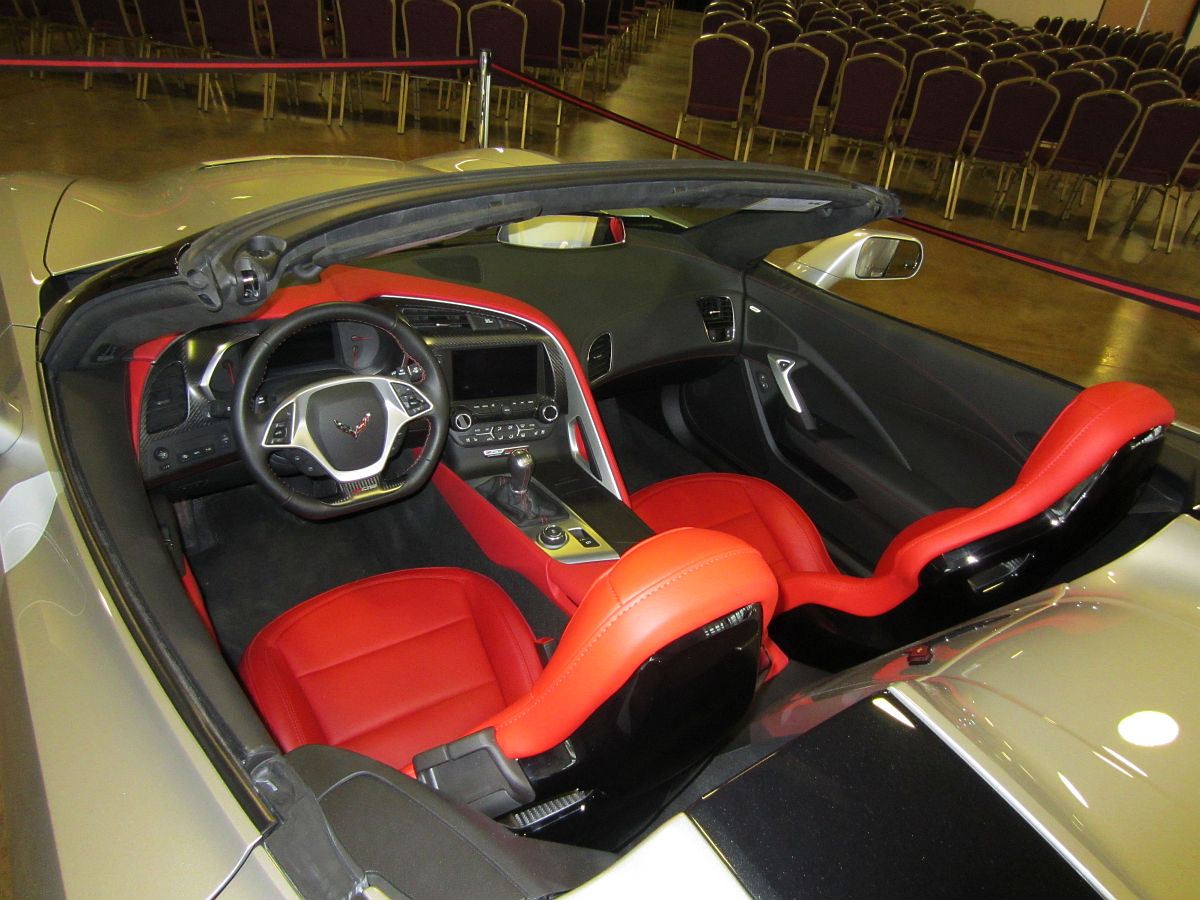
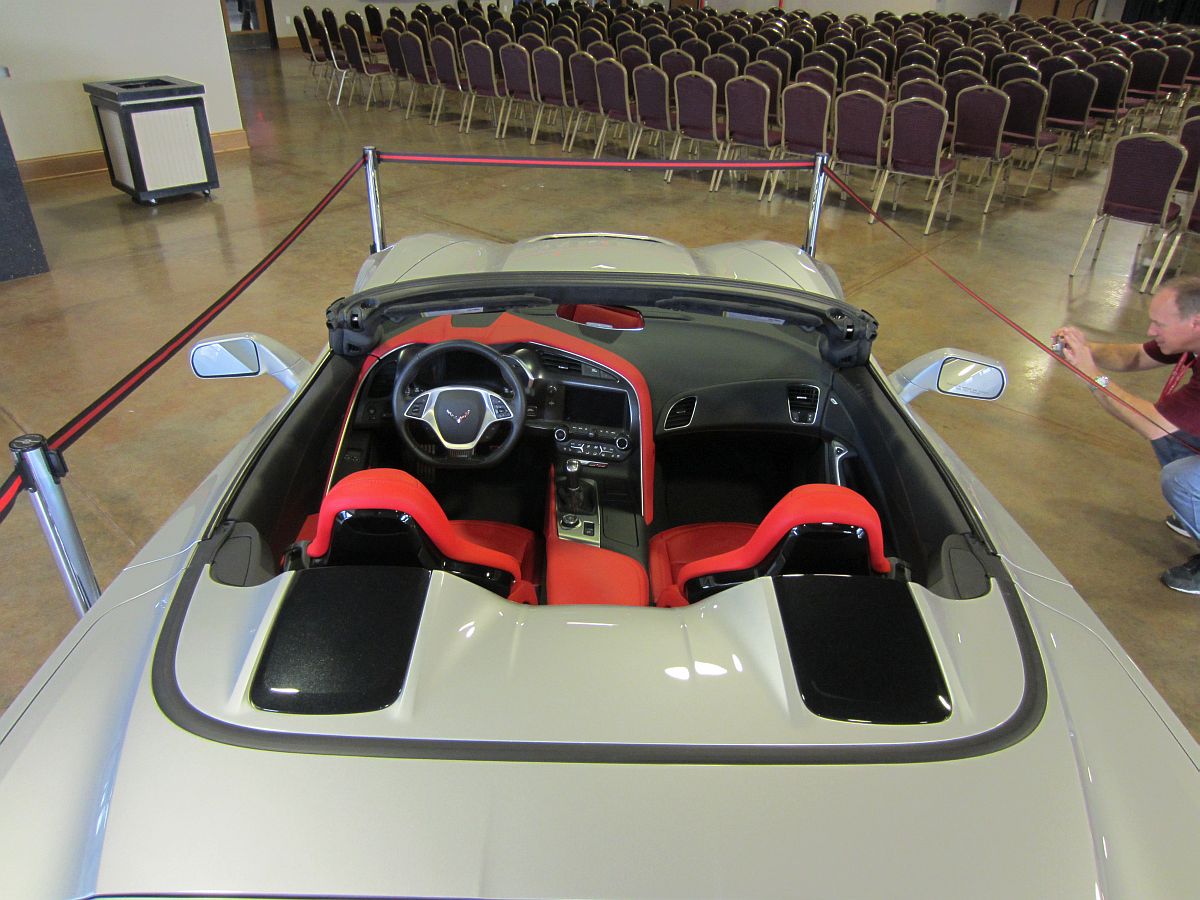
Seems like we were just at the 2013 Bash but back to NCM for the 60th Anniversary Event with hopes of being able to sit in a C7
Not only did we get to look over the C7, sit in it, and play with the electronics but we also got to be present at the NCM Motorsports Park Groundbreaking......neat stuff for a project funded by enthusiasts. Wife and son's first time to NCM so we did the museum tour as well. The new C7 seats are what we should have had since the C4, even the softer touring seat is comparable to the Carvaggios we C6 owners have to upgrade to to get real seats. The C7 does have some cool, new technology but I think I'll have to pay off the C6 first so I can keep it in the garage- different car and one I want to hold on to. My wife even got to have her picture taken with Tadge......


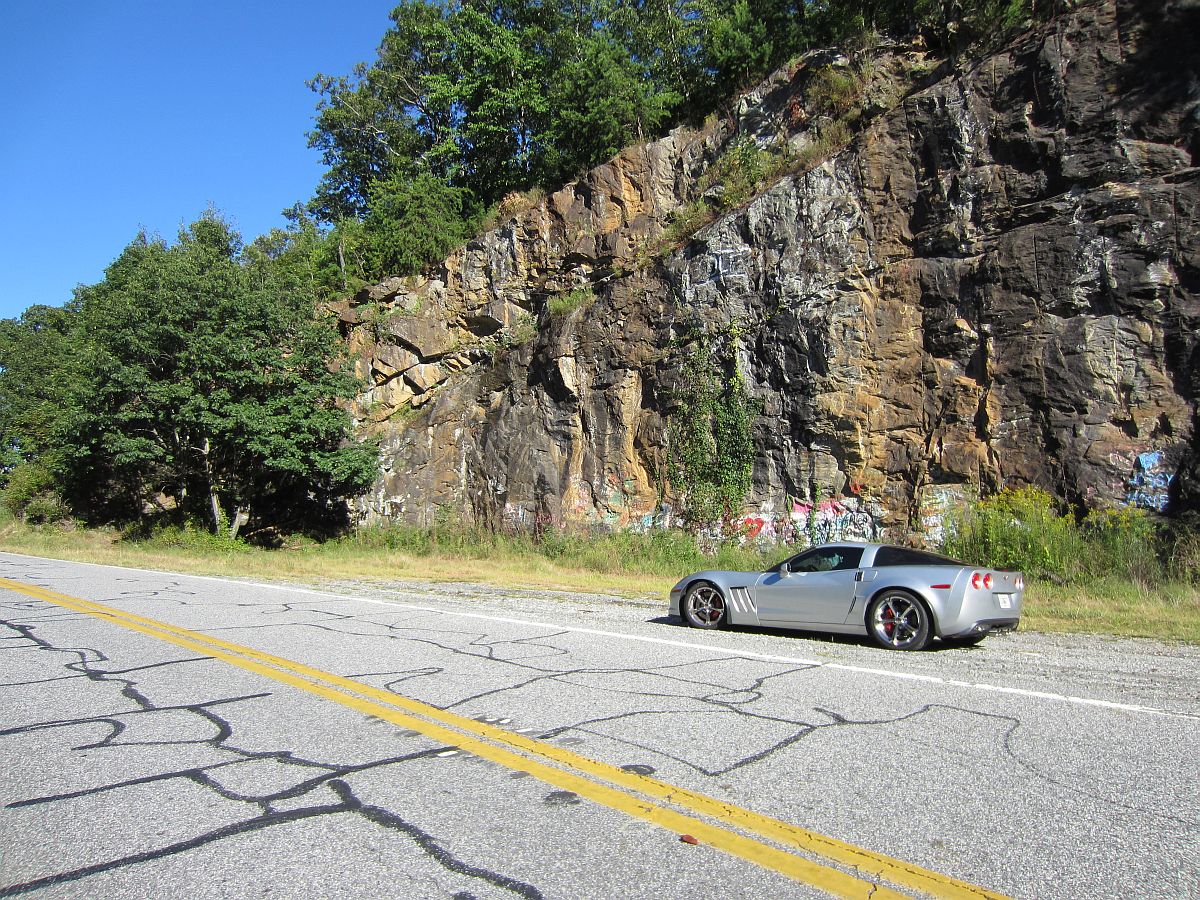
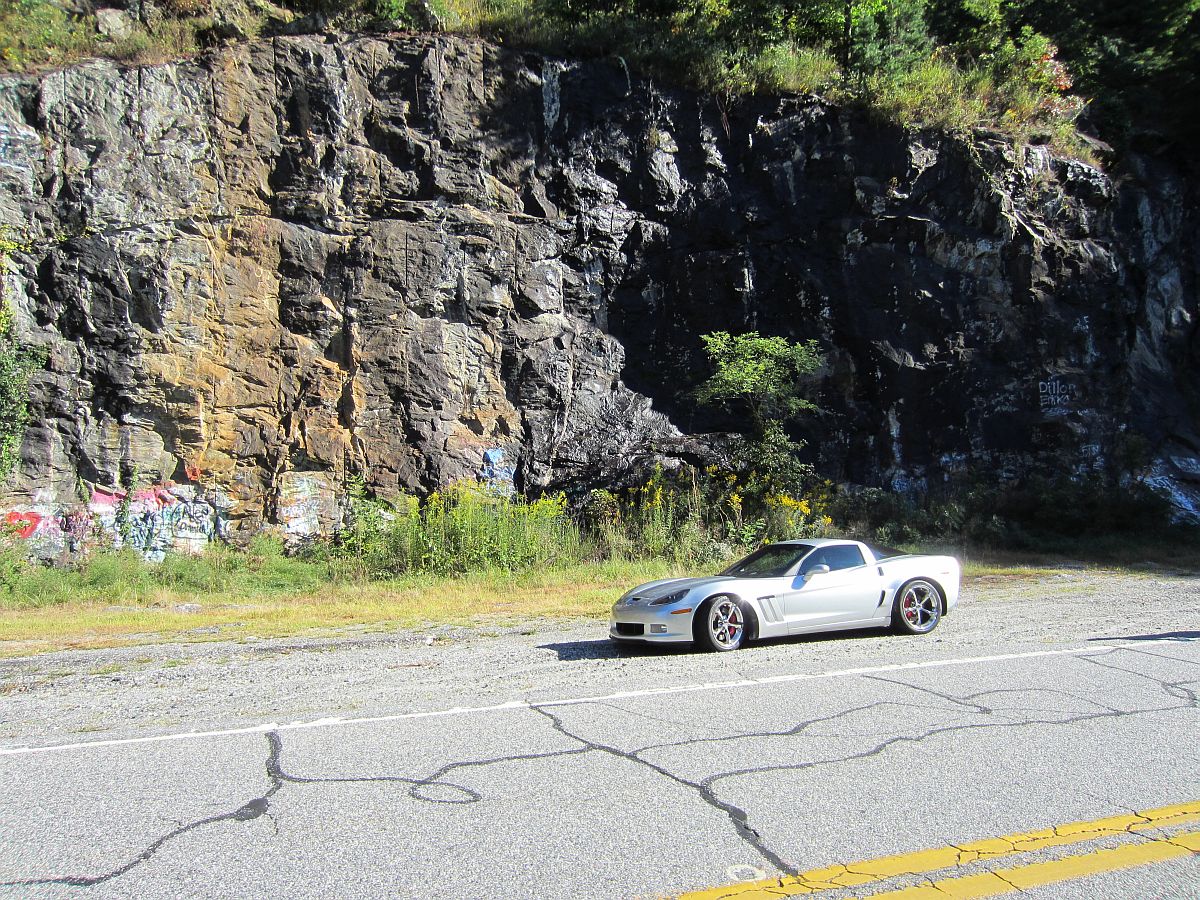
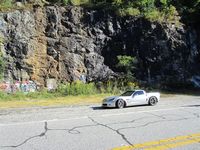
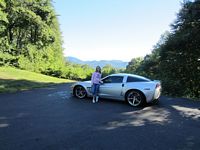
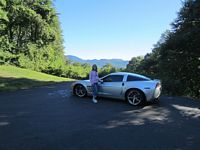
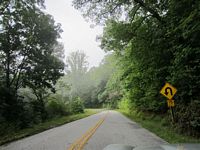
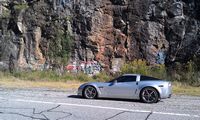
Another North GA Mountain drive in July 2013, a little cloudy but no rain:


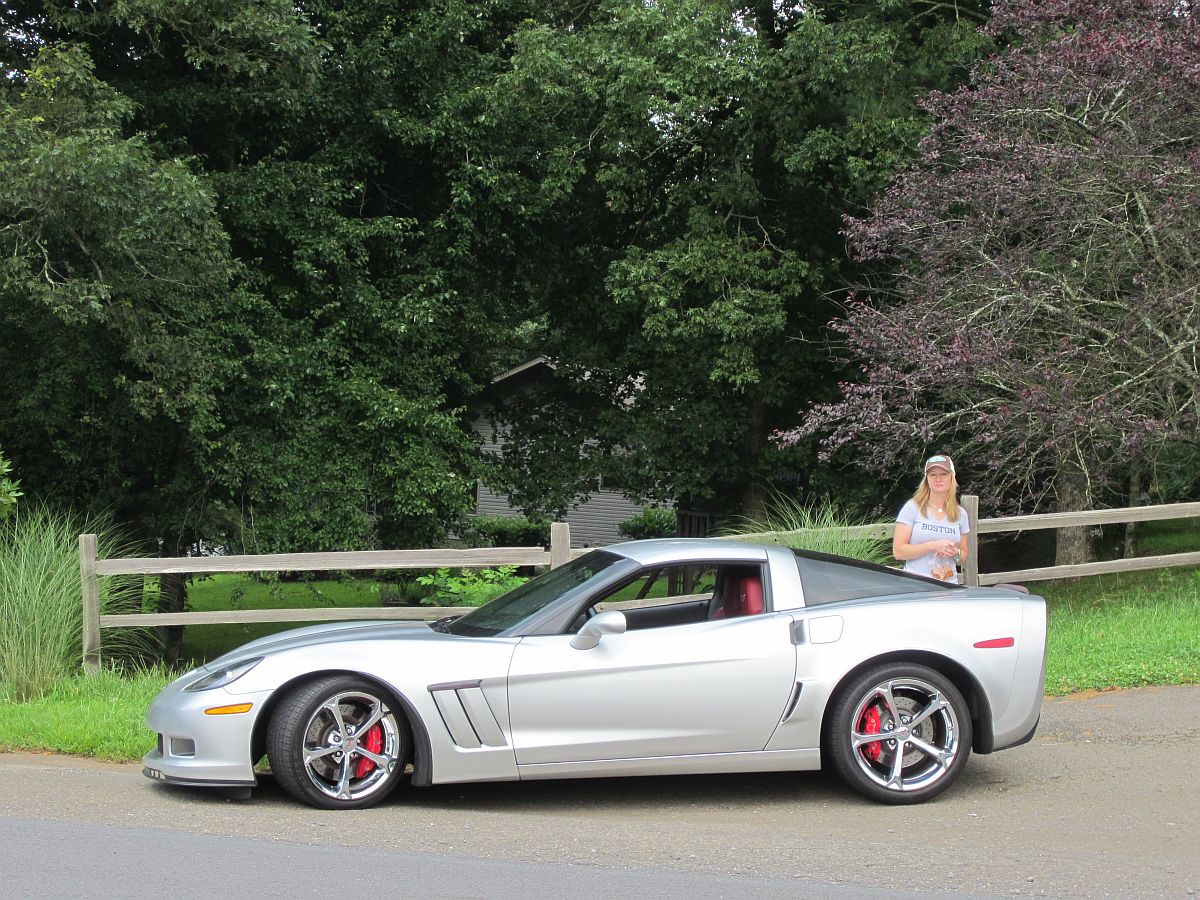
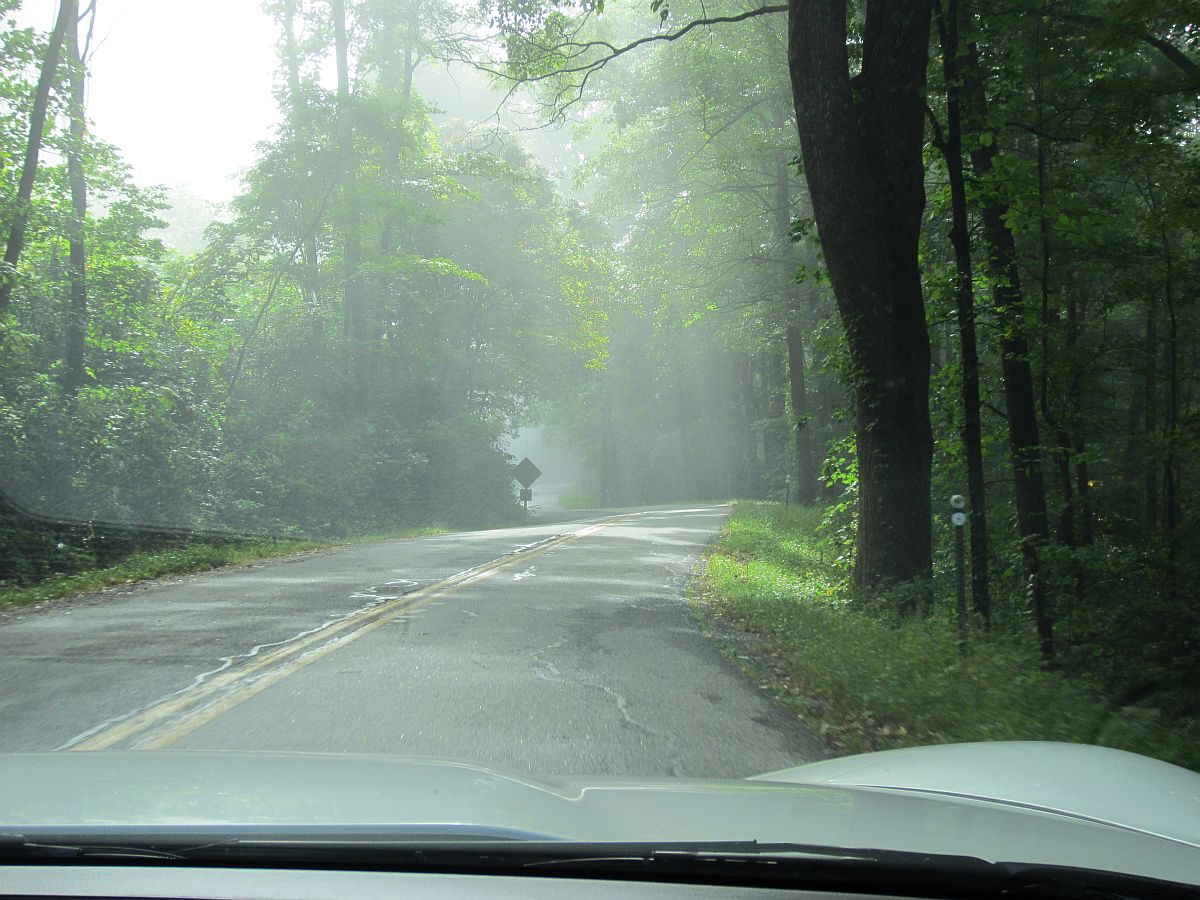
North GA Mountain drive in September 2013, first day of fall- PERFECT. My wife got to drive a little on 129, she did not want to drive on 180 or 60.....


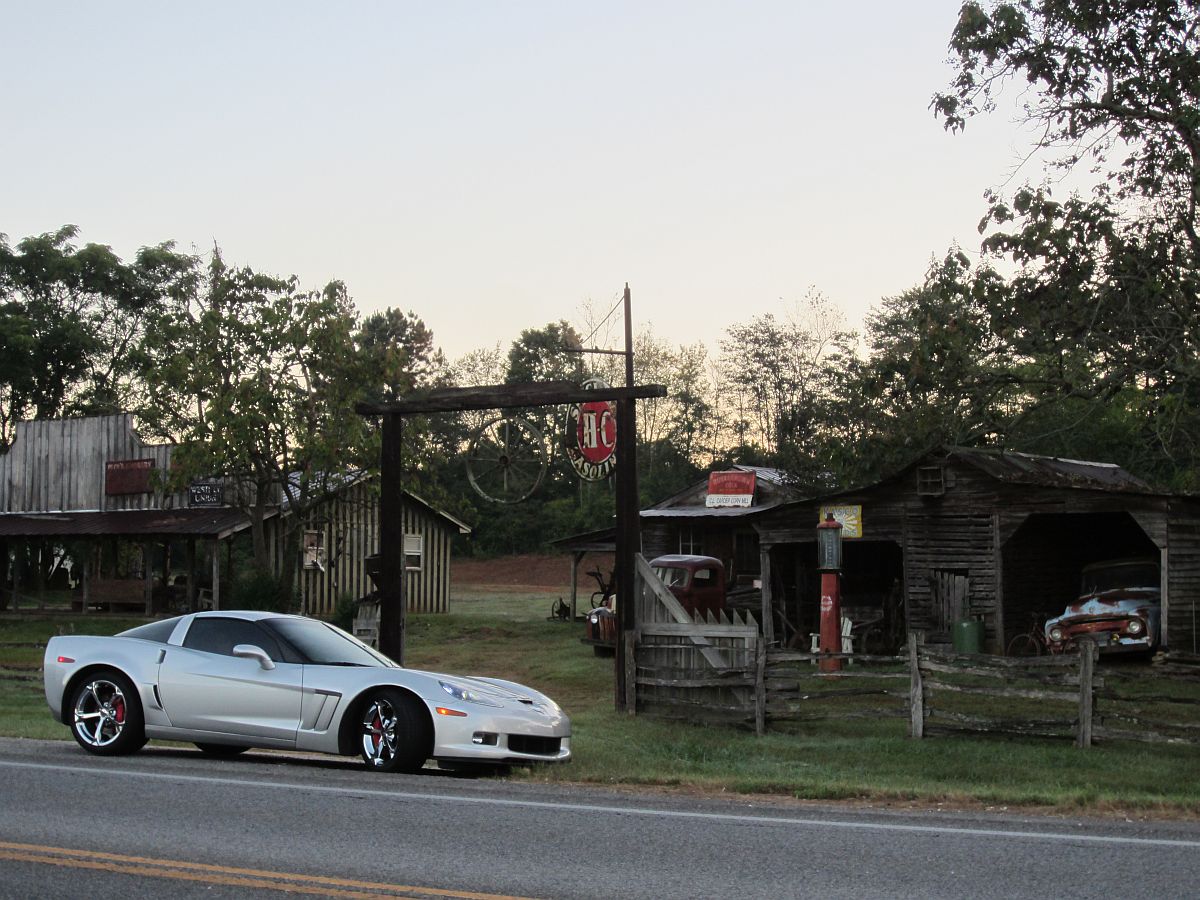
We found this on the side of HWY 60 in Murrayville on the way to Dahlonega, like a street from an old town- pretty neat.....

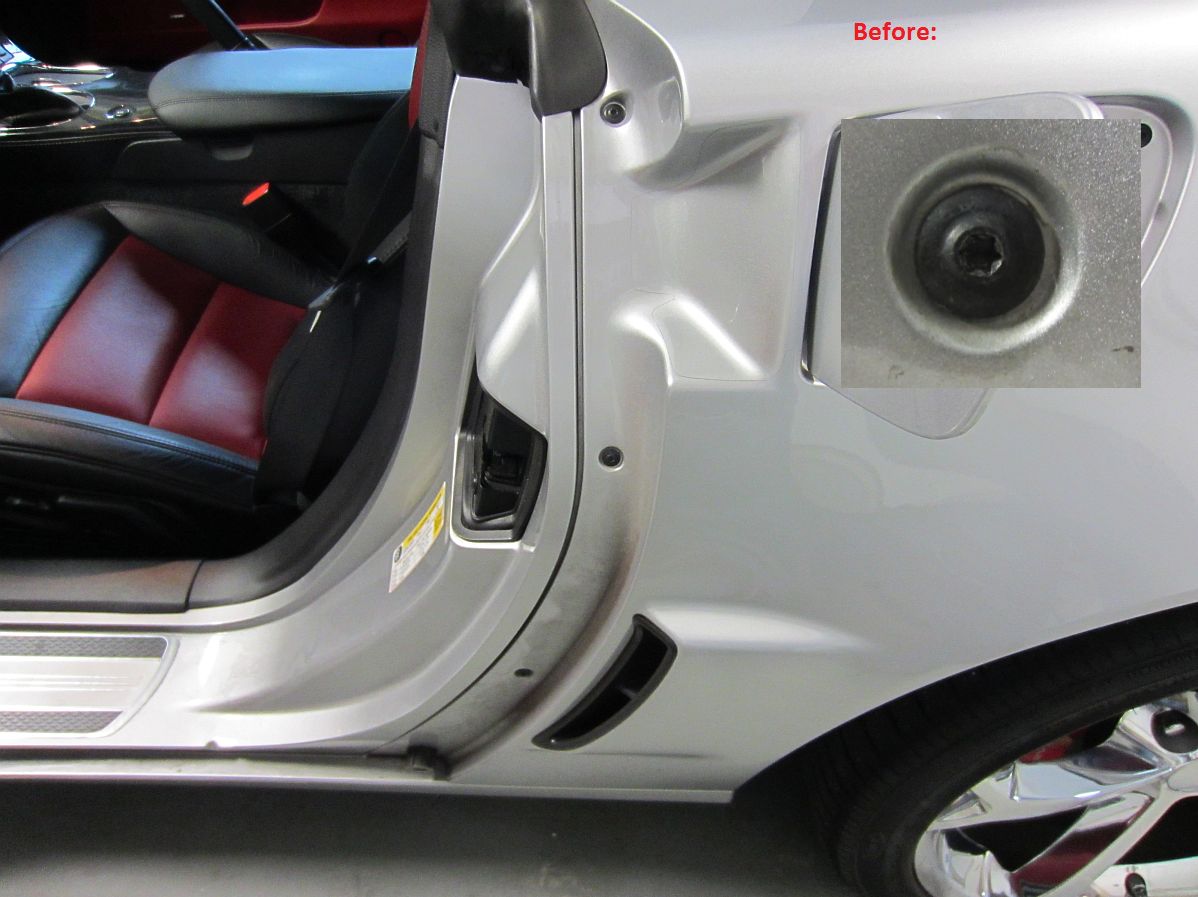
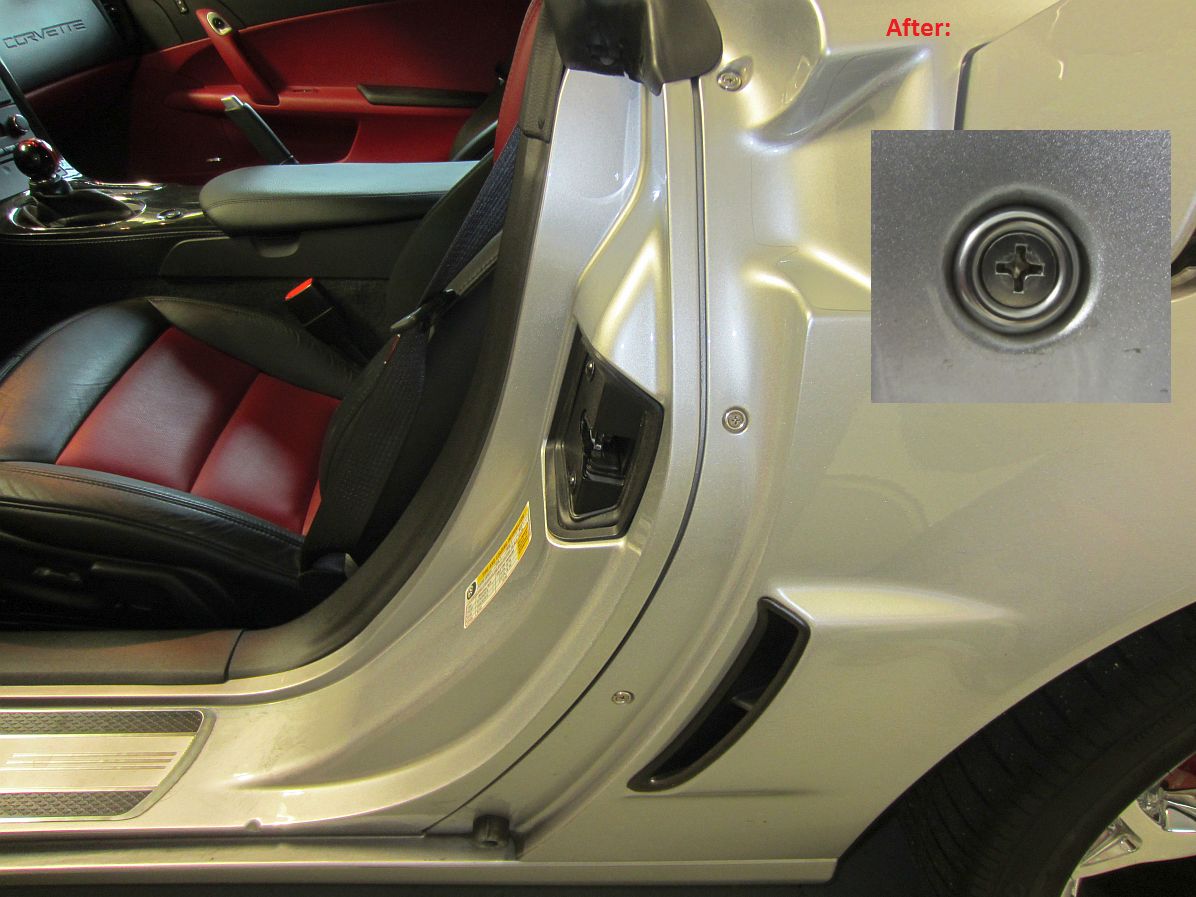
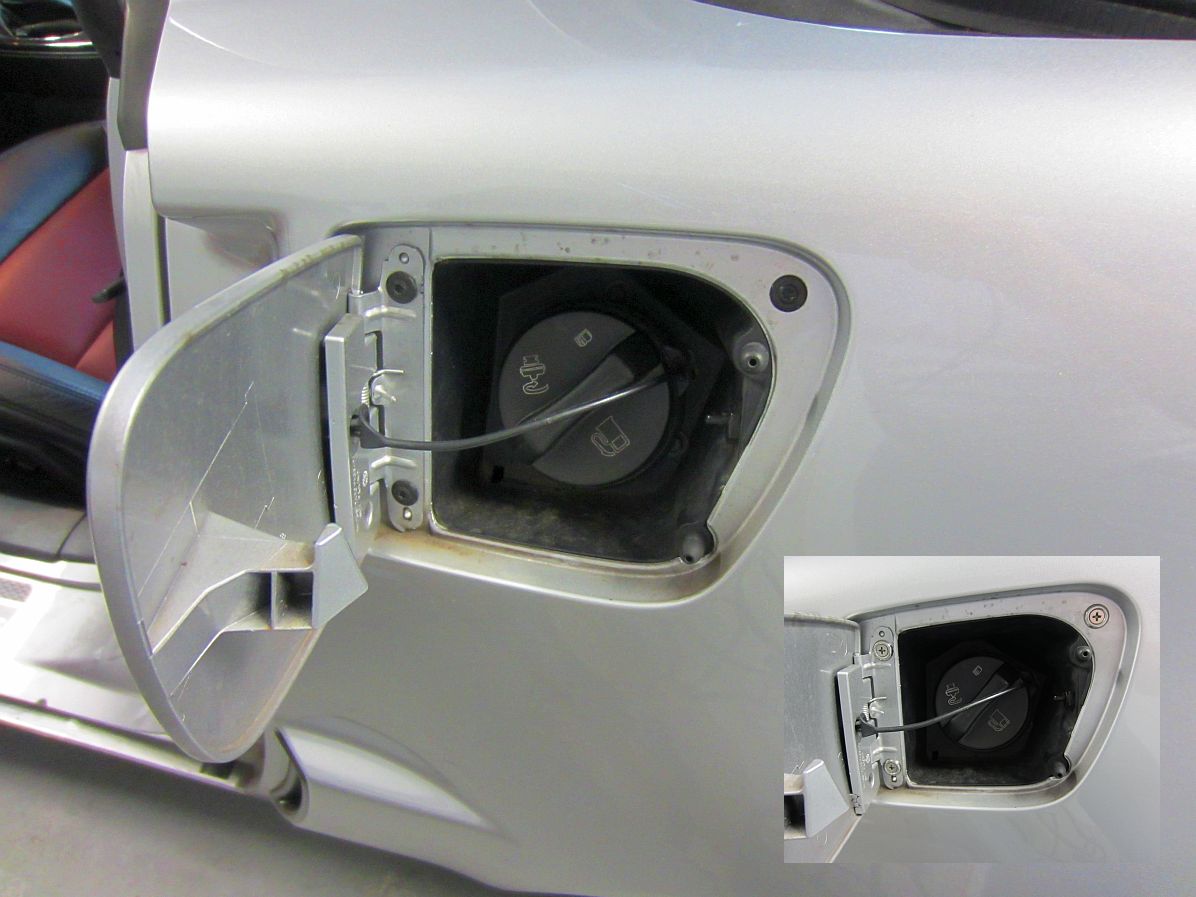
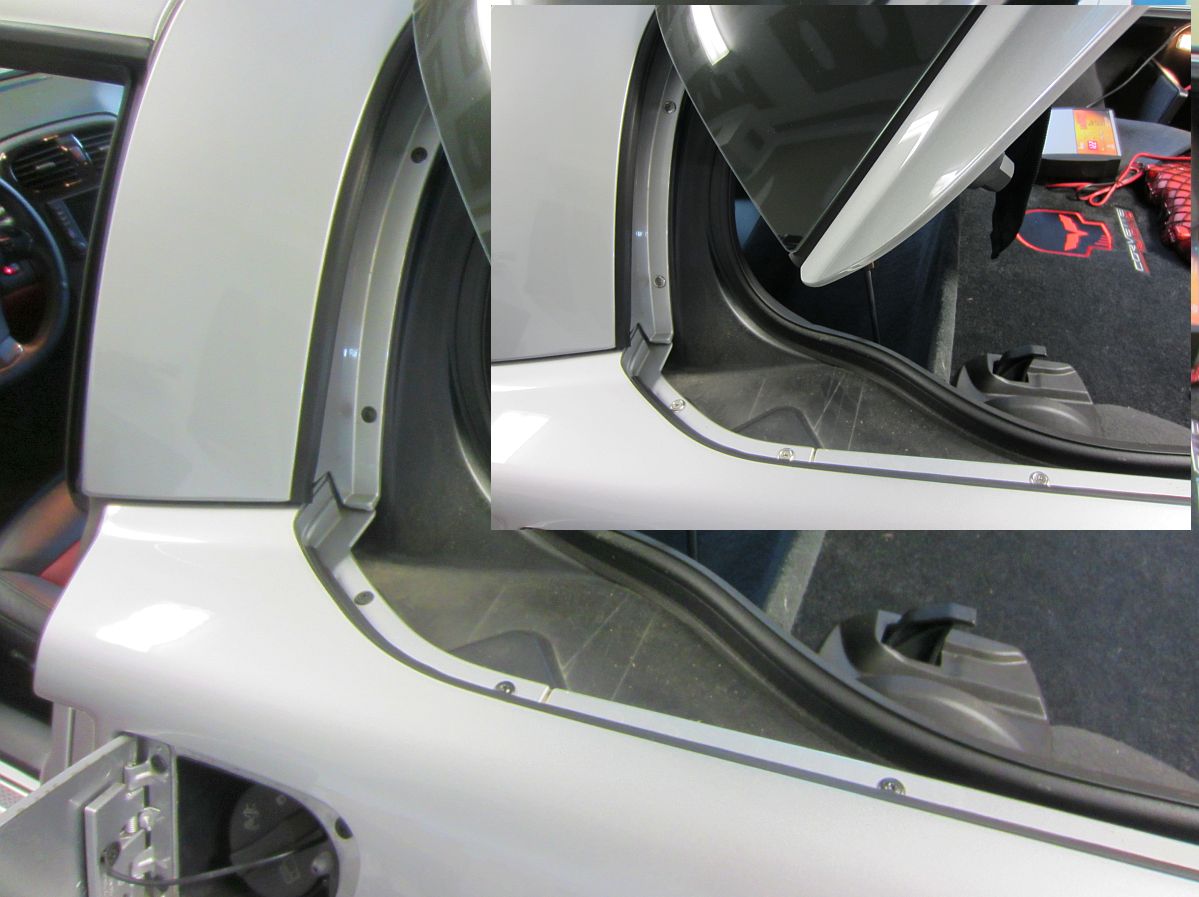
I purchased the CorvetteMods Stainless Steel Screw Kit to replace the screws in the hatch, doors, engine bay, gas cap, license plate, and fender liners (have not done those yet). They do look nicer than the OE hardware which appeared to have started rusting - crisis averted.....
Car was VERY dirty when these were installed and pics were taken, it did get washed after the single digit cold snap was over

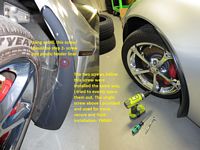
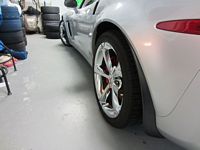
Goodyear F1s all toast at ~8500 miles. I have always hated these tires so I am not mourning their early demise. Great opportunity to try some good tires, this time I decided on Michelin Pilot Super Sports, first place finishers in the latest Car and Driver Tire Test. These tires were purchased from and installed at my local Loganville Kauffman Tire (Thanks Josh!) and aligned to the Pfadt Performance Street (Track Use with Street Tires) spec. Car is LIGHT YEARS better, and these tires should last at least twice as long as the Crapyears.

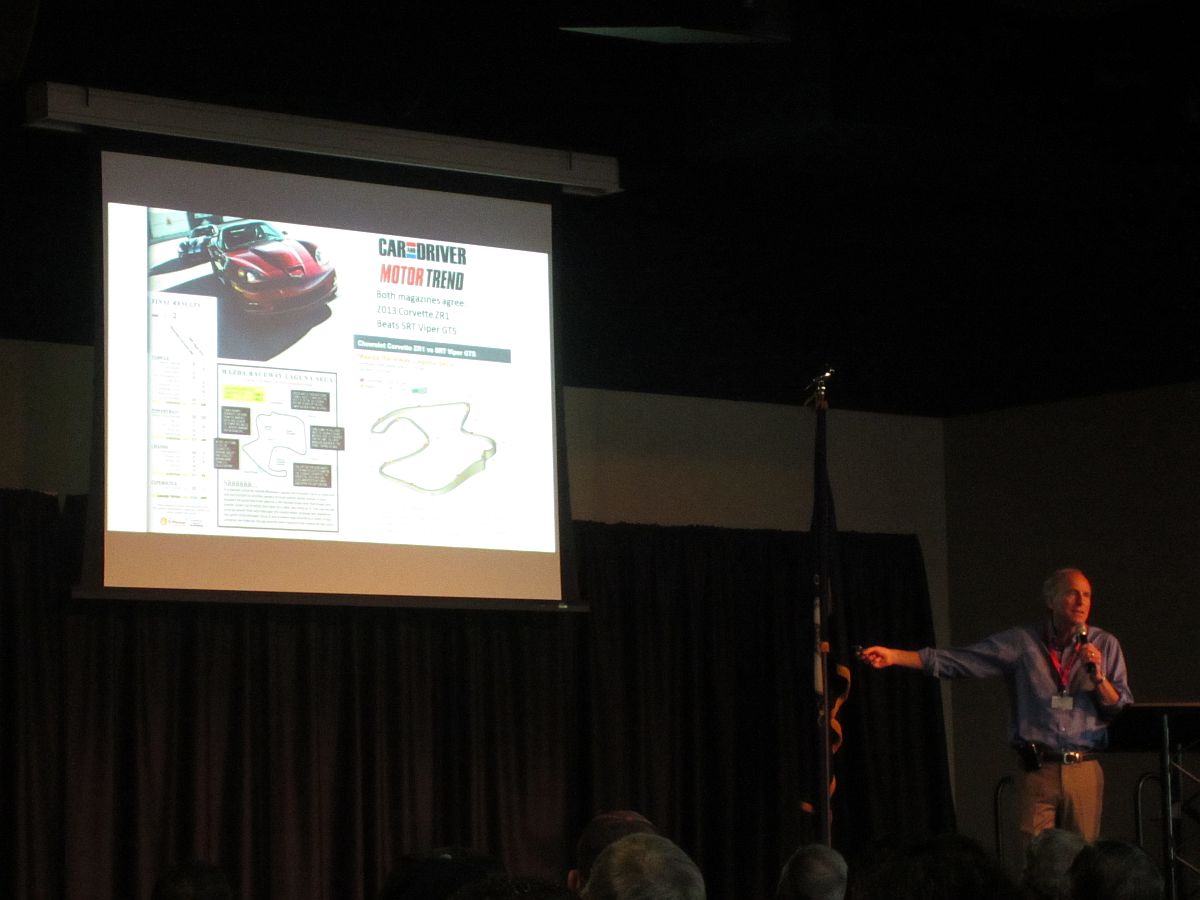
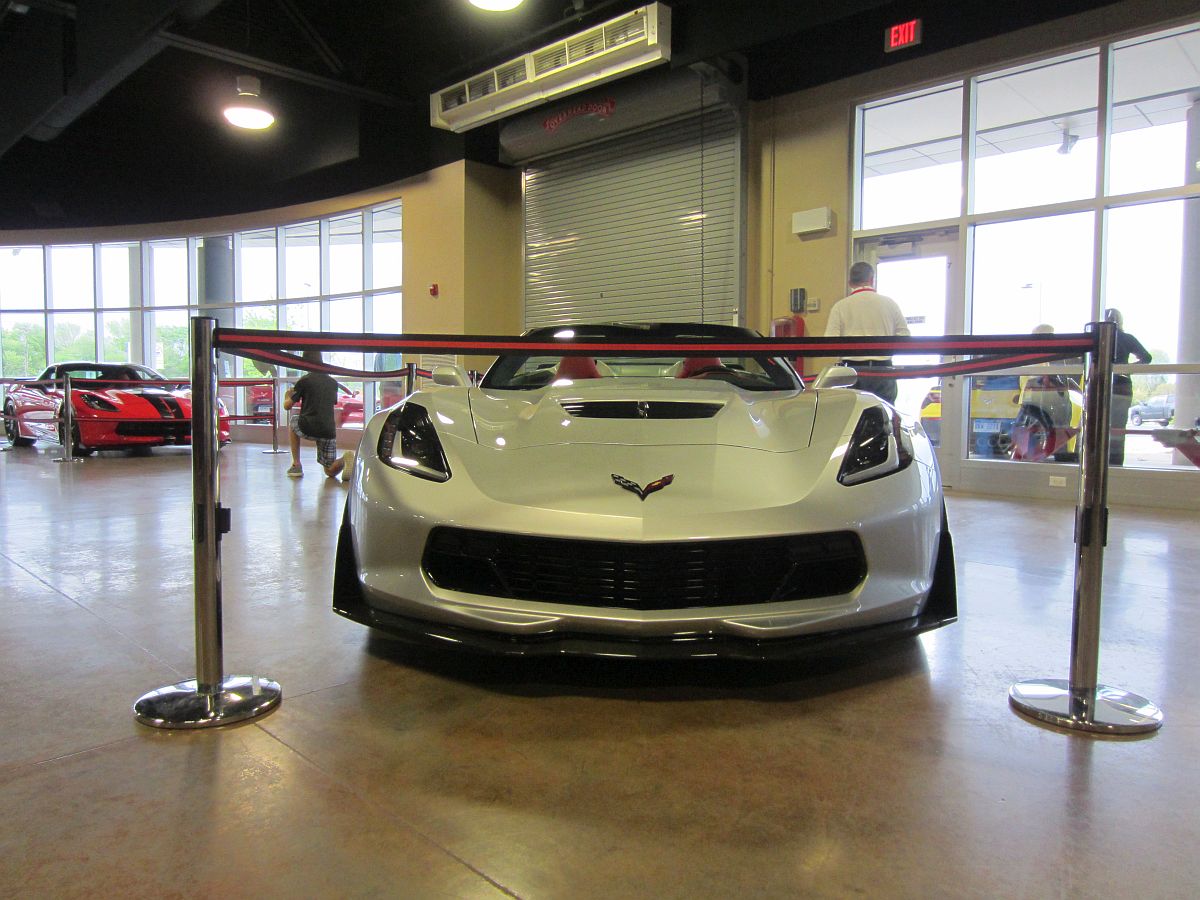
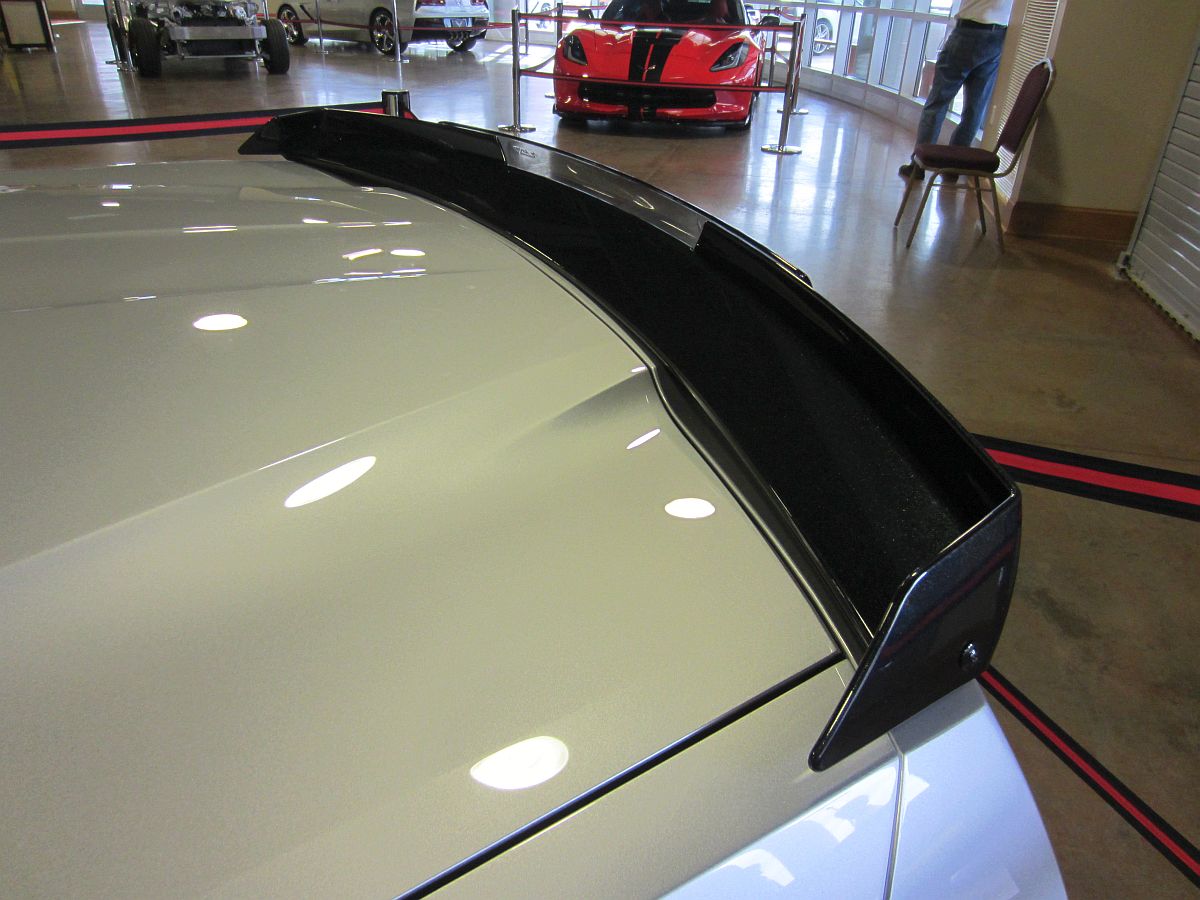
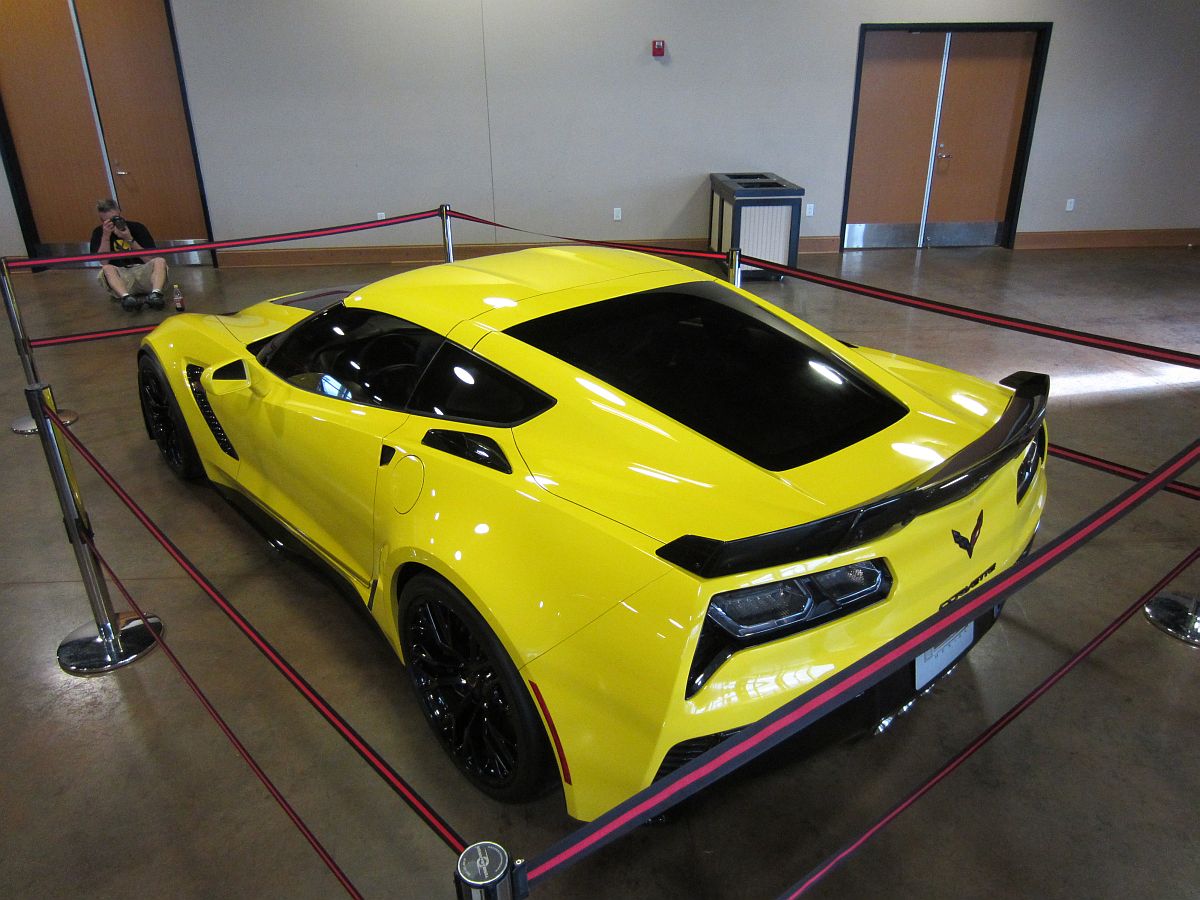
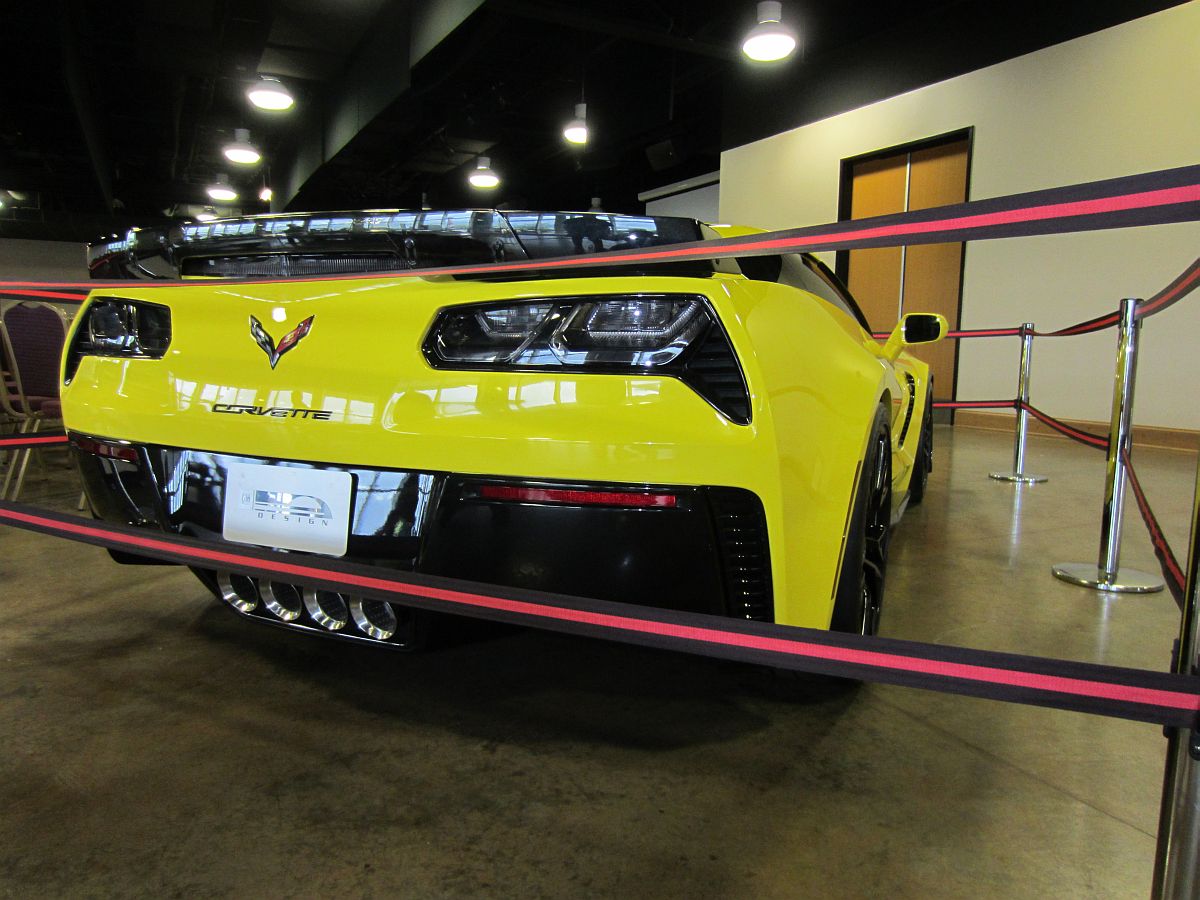
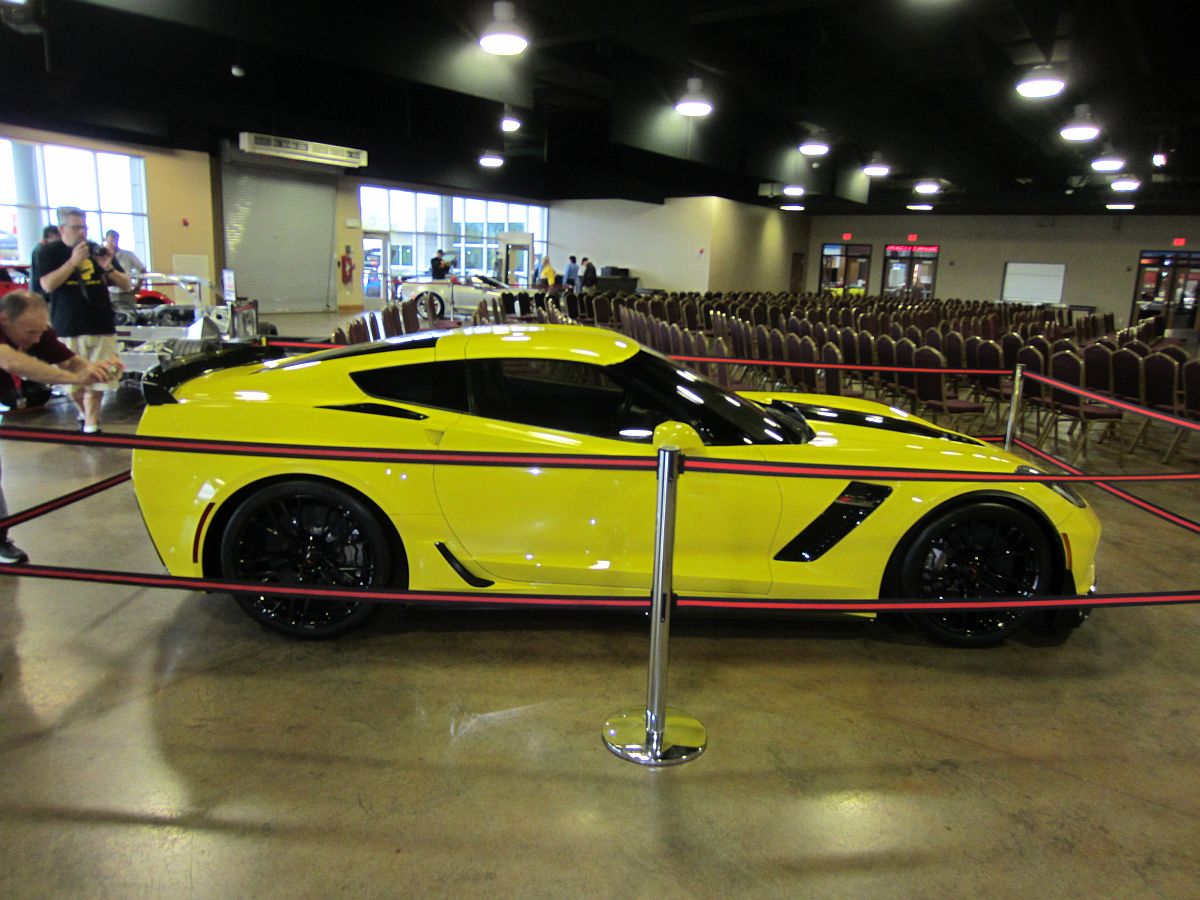
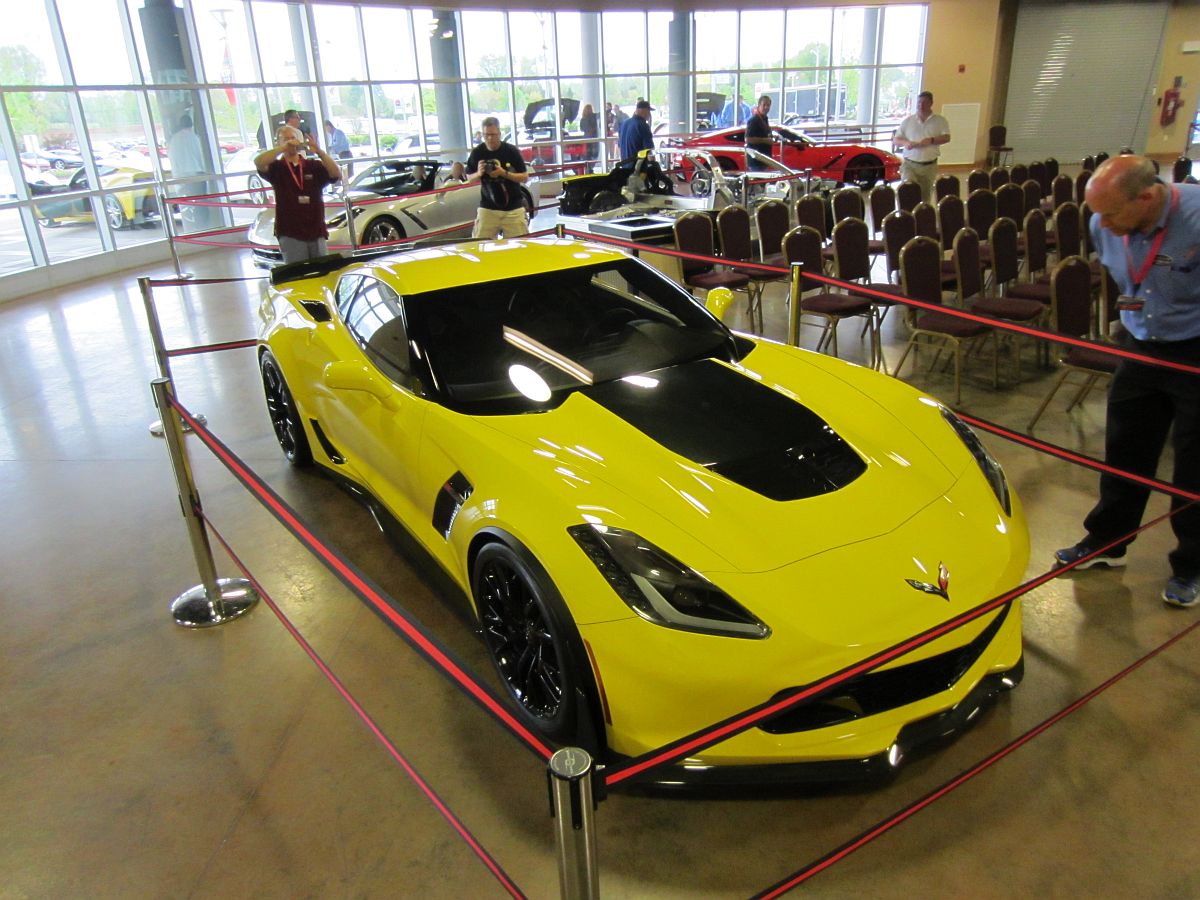
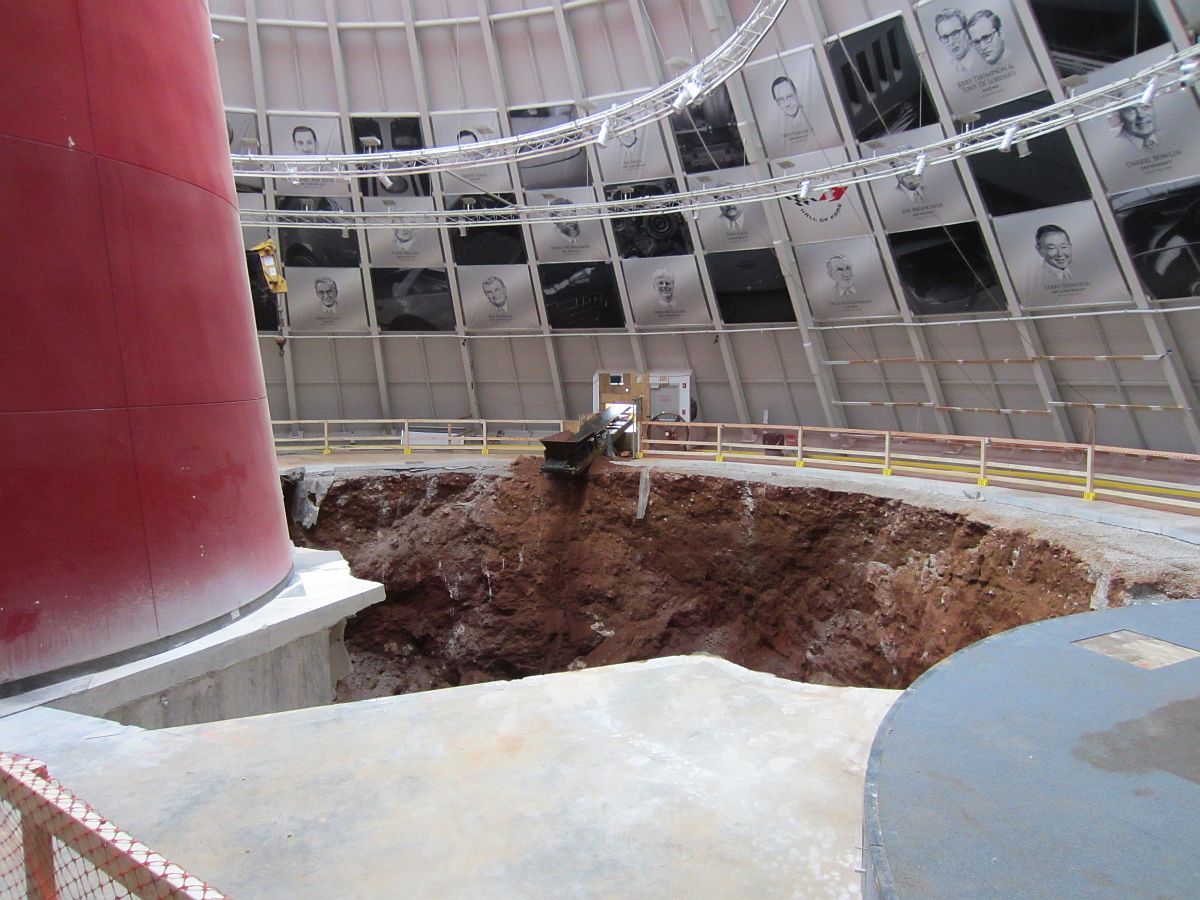
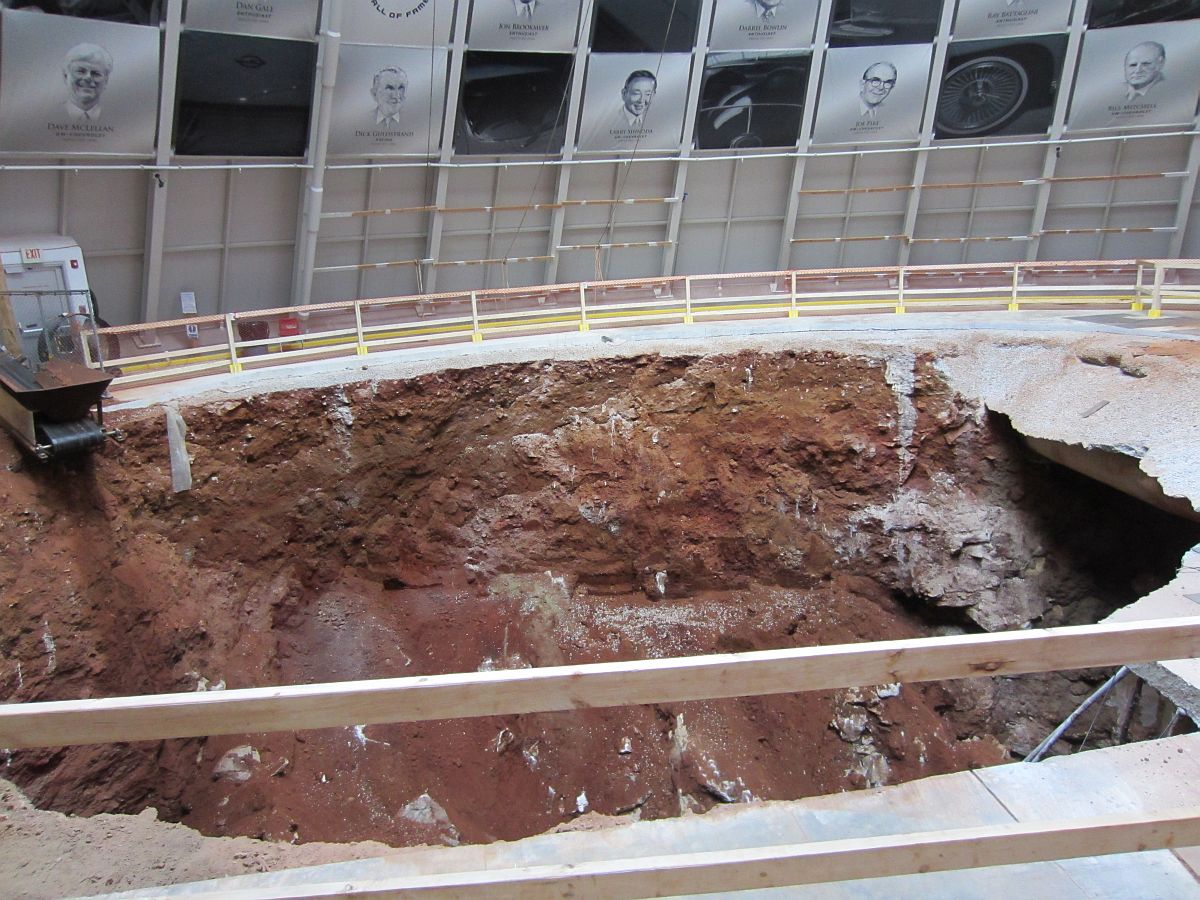
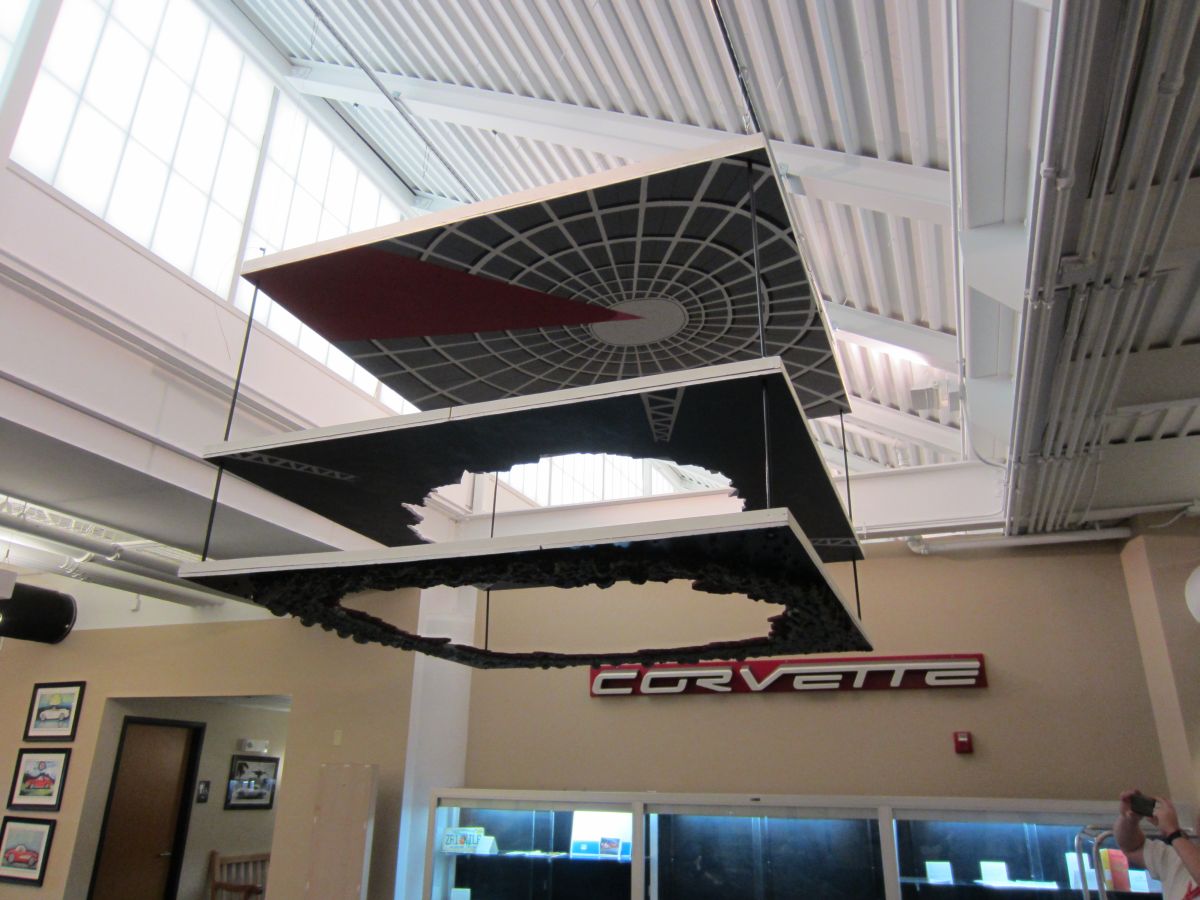
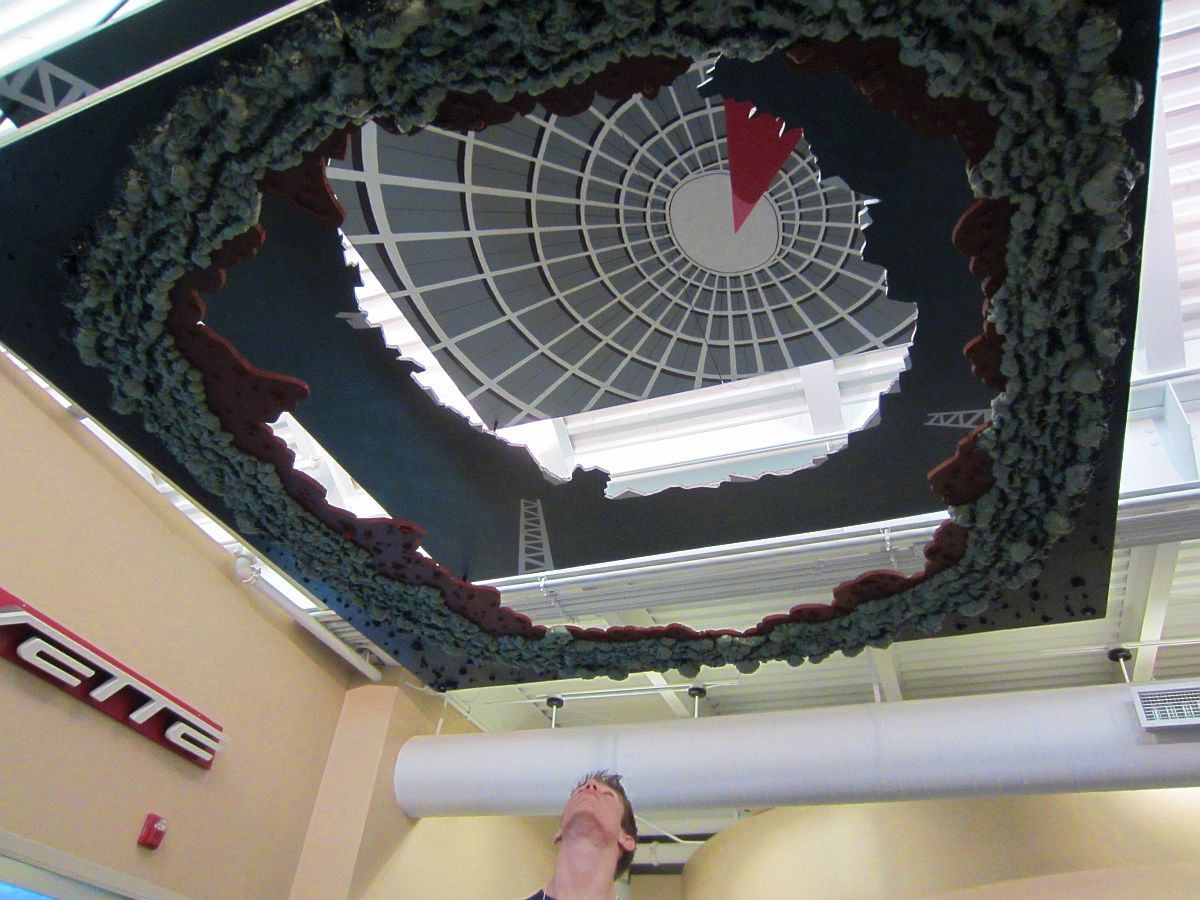
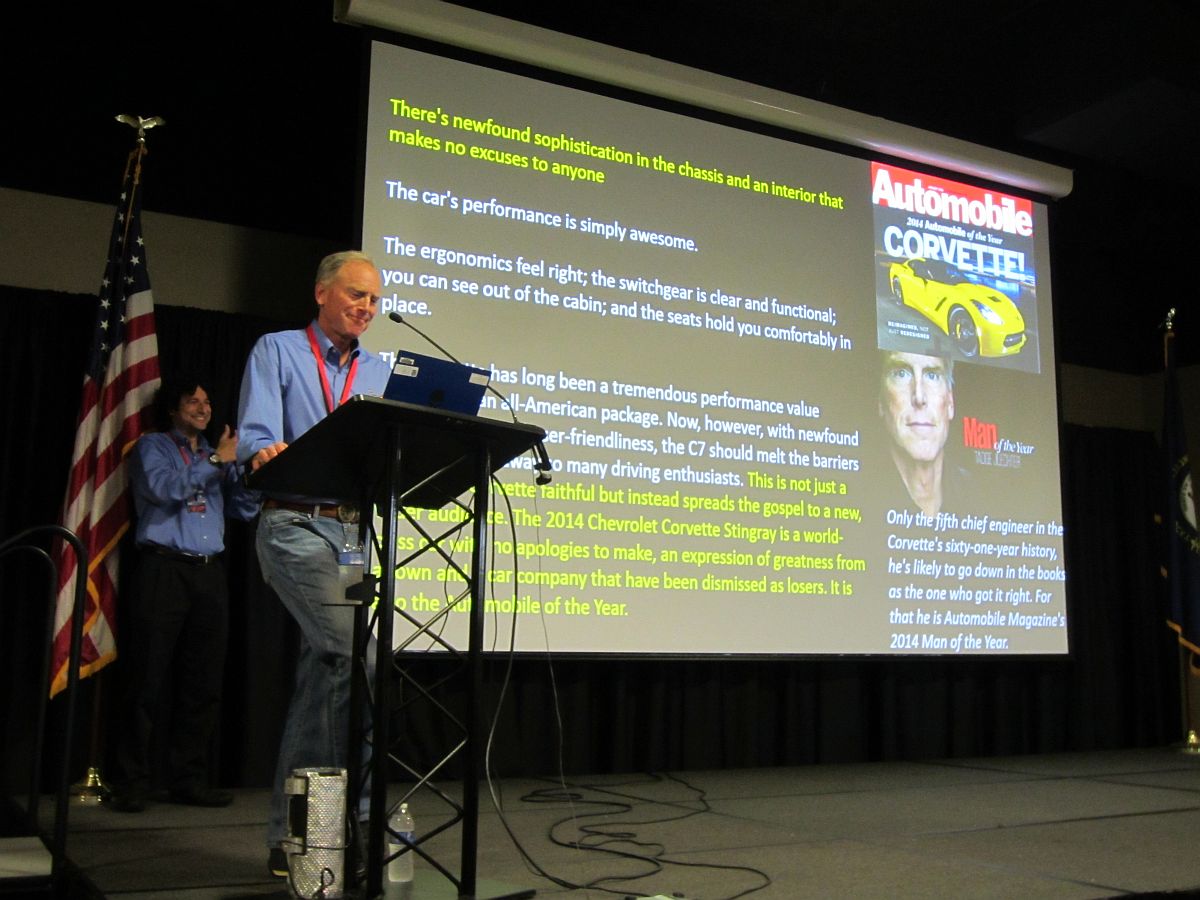
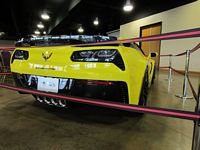
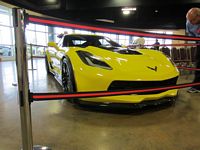
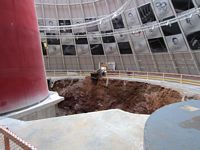
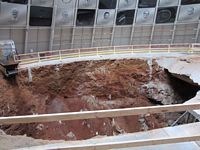
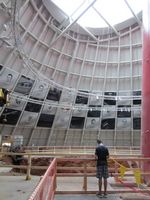
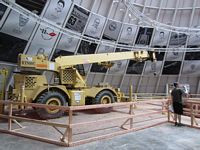
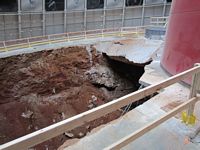
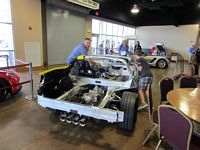
We made it out for my second NCM Bash (my son's first- April 25, 2014) for the C7 Z06 introduction and to see the sinkhole and cars that were retrieved, we just drove up for the day. I really like the new Z06, maybe the wide body is what does it for me since the Stingray left me feeling kind of meh. Too many pics to put here but a few.......
The Corvette museum and event were better than expected, a lot to cram into one day for sure. Museum info on the 2015 Z06 release is HERE.
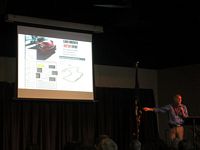
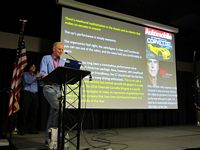
Corvette presentations by GM engineers/staff follow the press releases here:
*Corvette Z06: A Quick History of a Fast Car
*2015 Corvette Seminar at the 2014 NCM Bash
*Corvette Z06/C7.R Design Seminar at the 2014 NCM Bash
*2015 Chevrolet Corvette Z06 is Most Capable, Ever
*Drop-top Supercar: 2015 Corvette Z06 Convertible
*Corvette 2015 Presentation
*Corvette 2015: What's New
*Corvette C7R


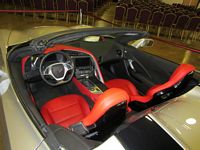


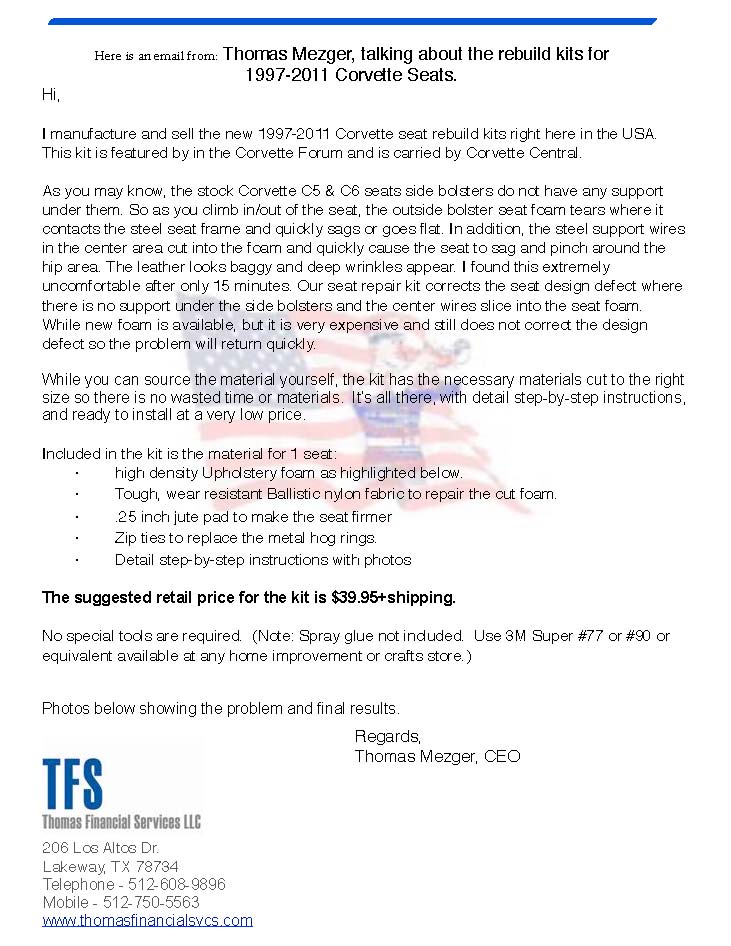
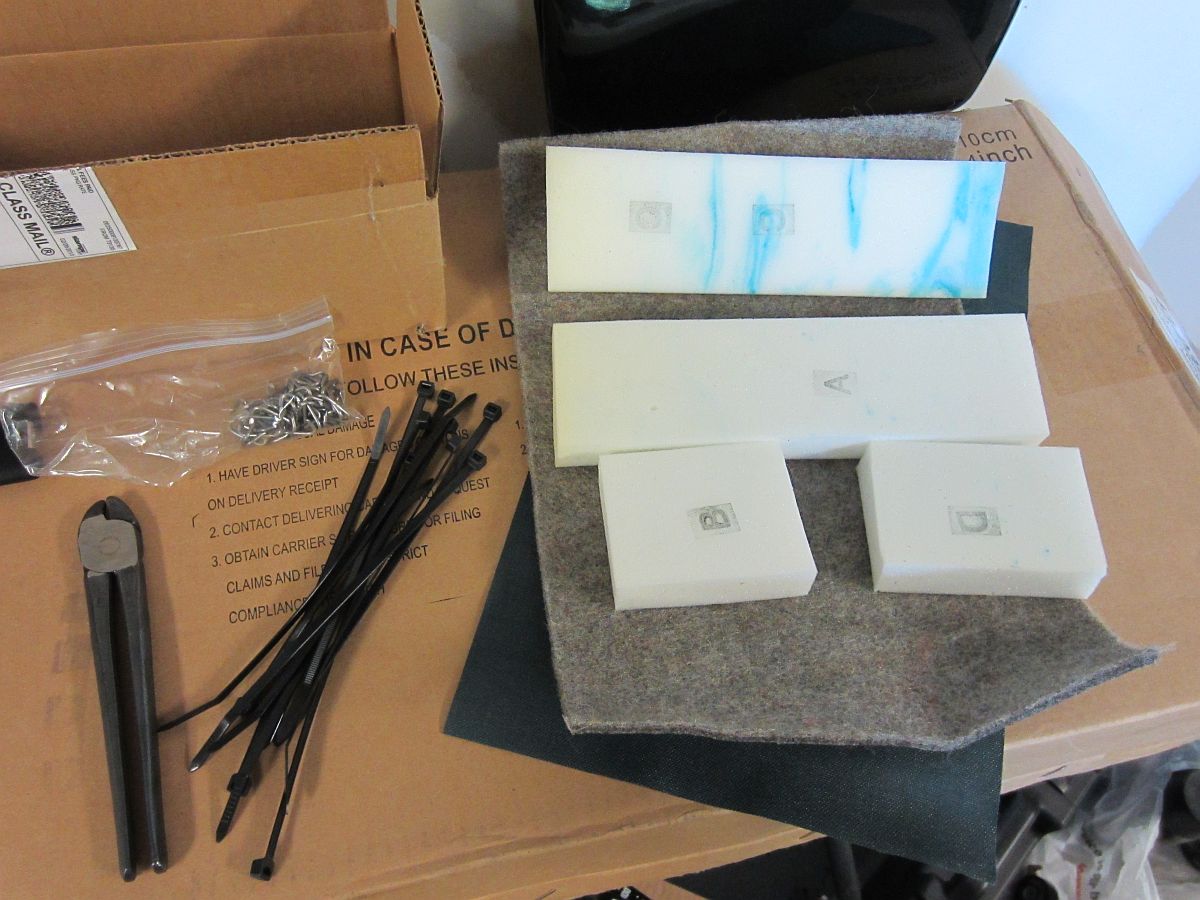
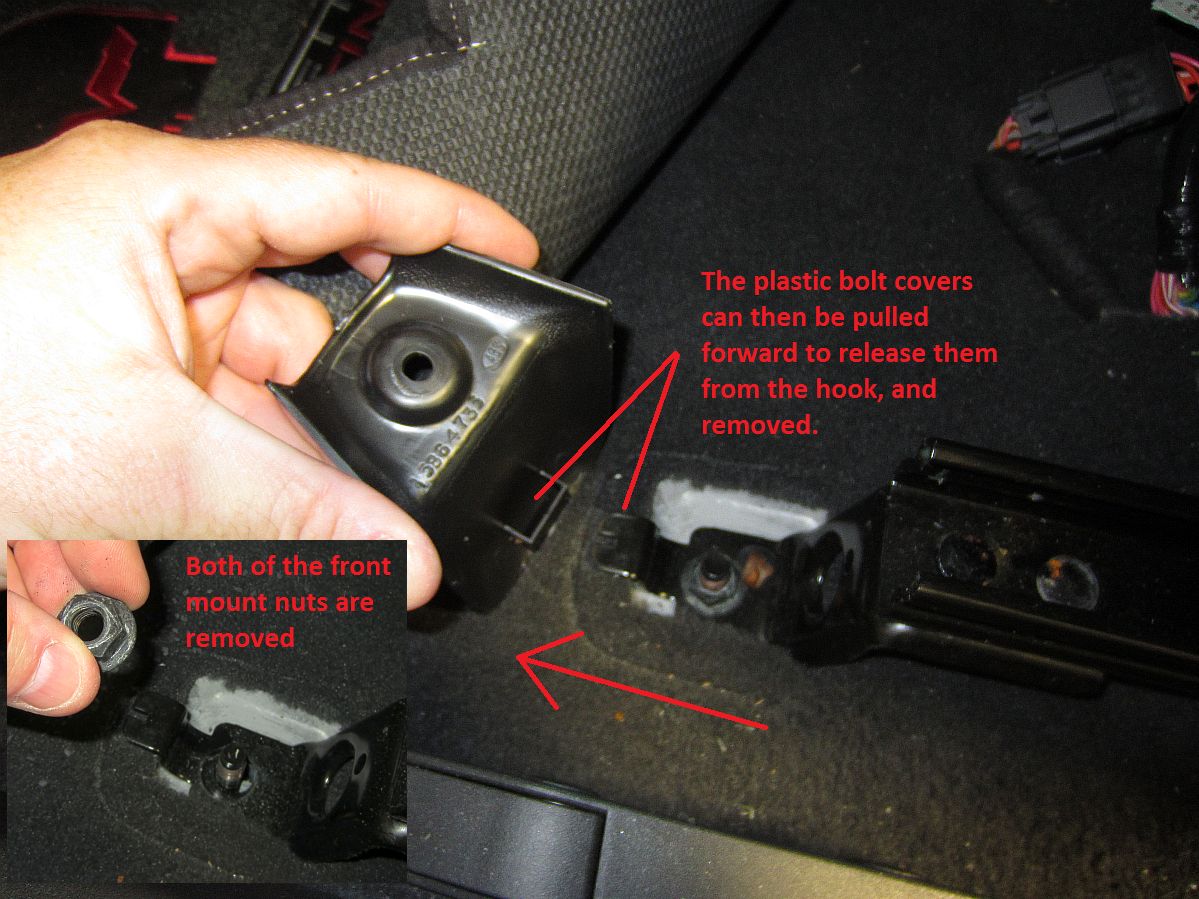
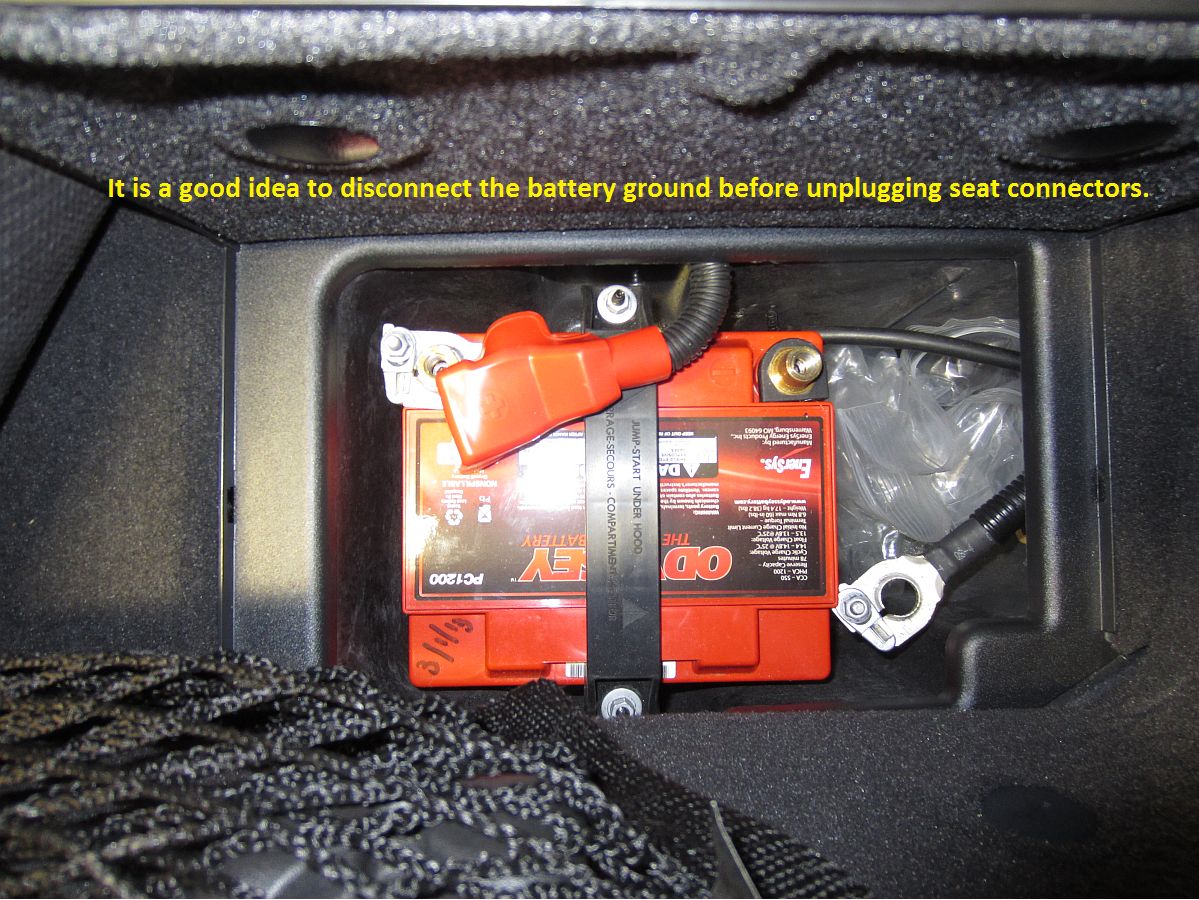
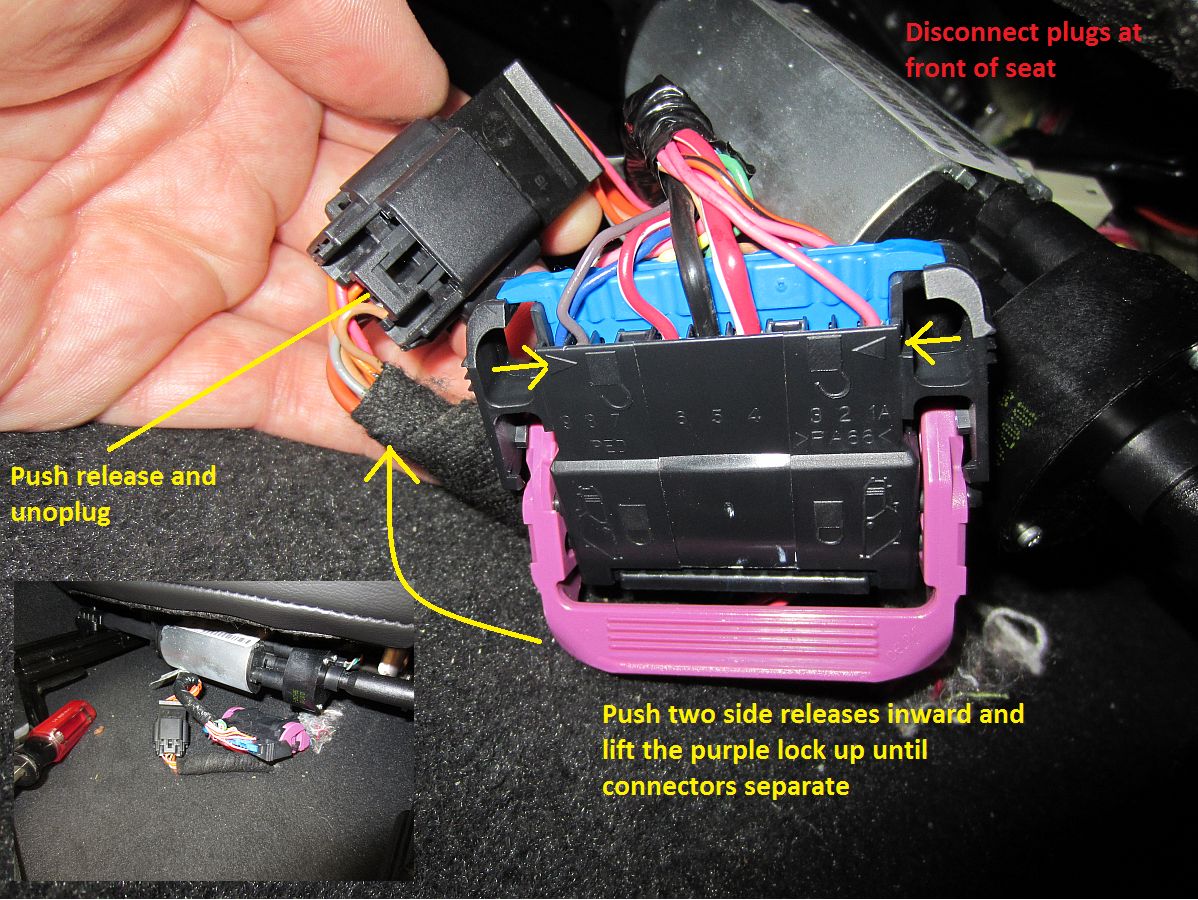
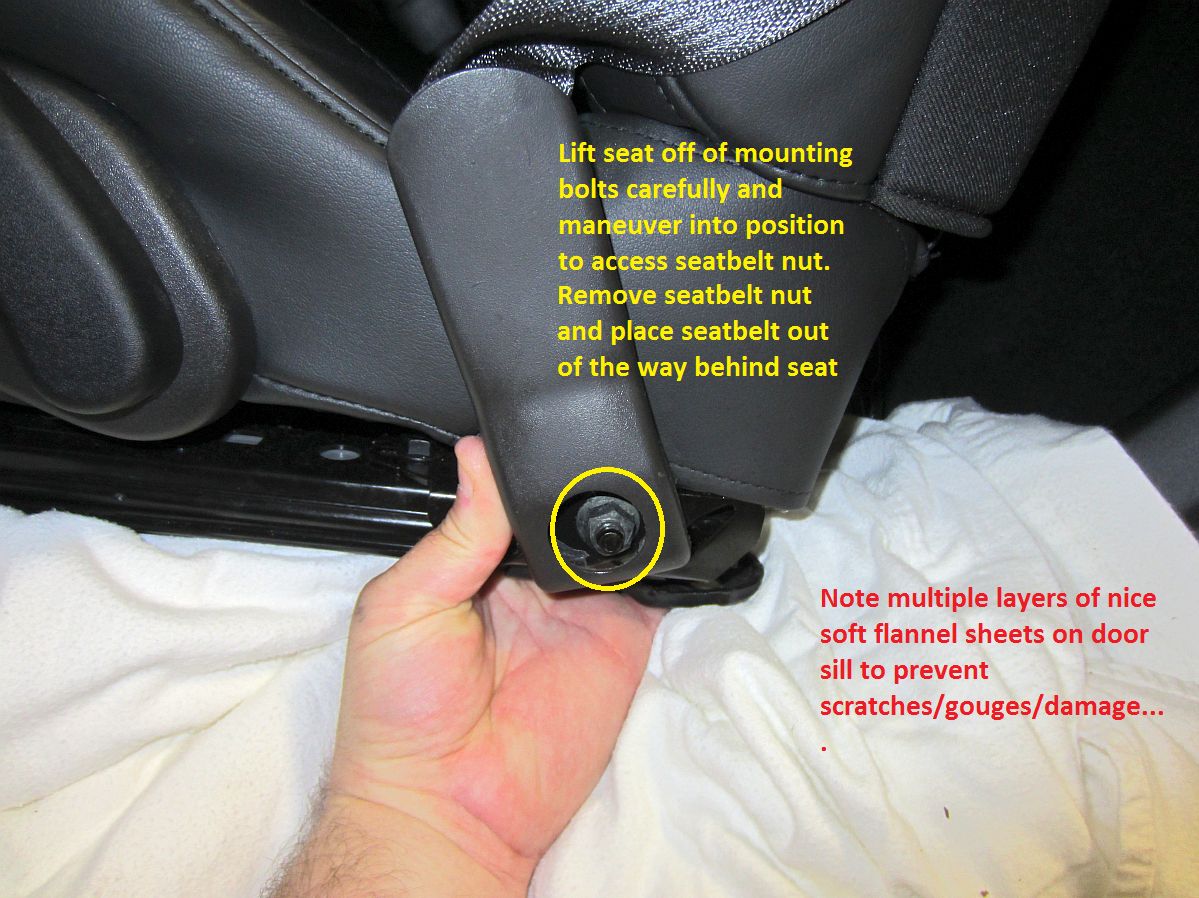
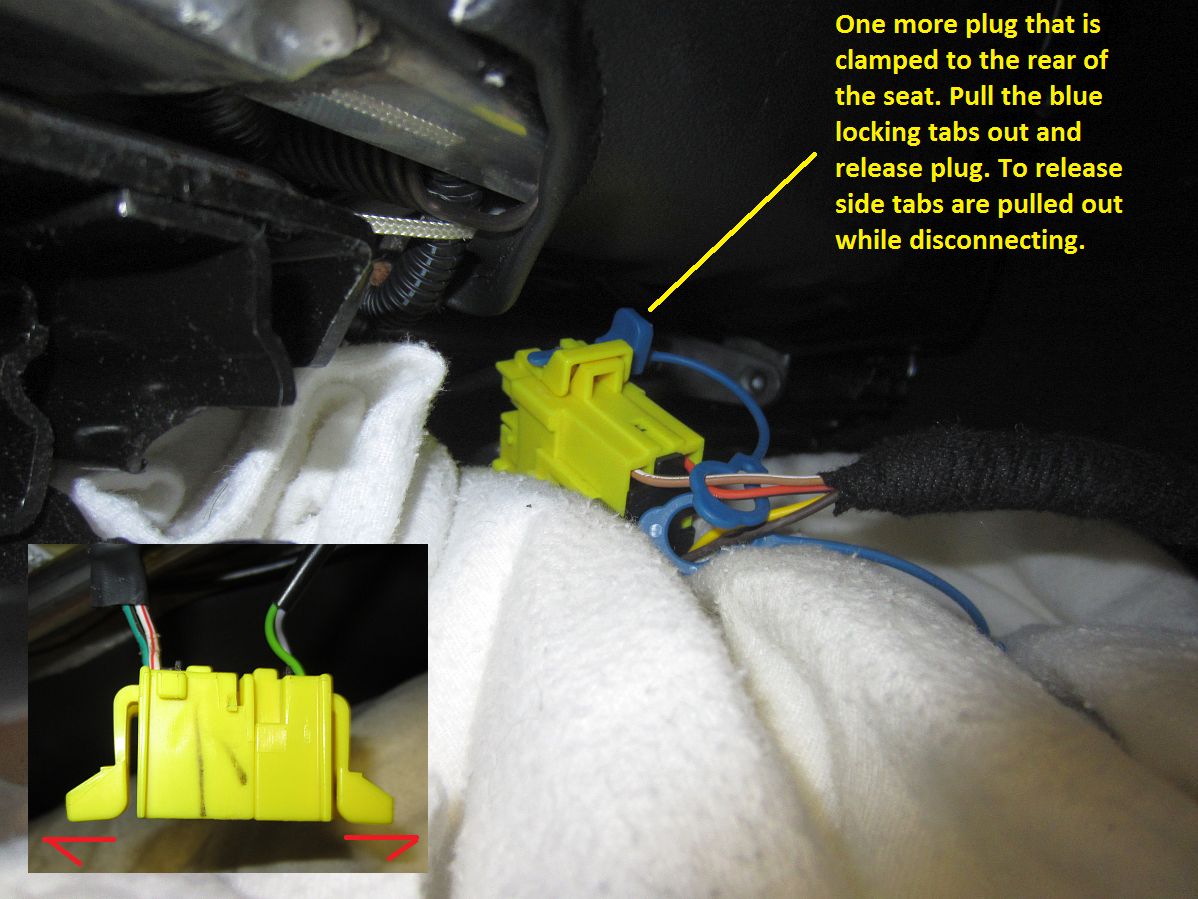
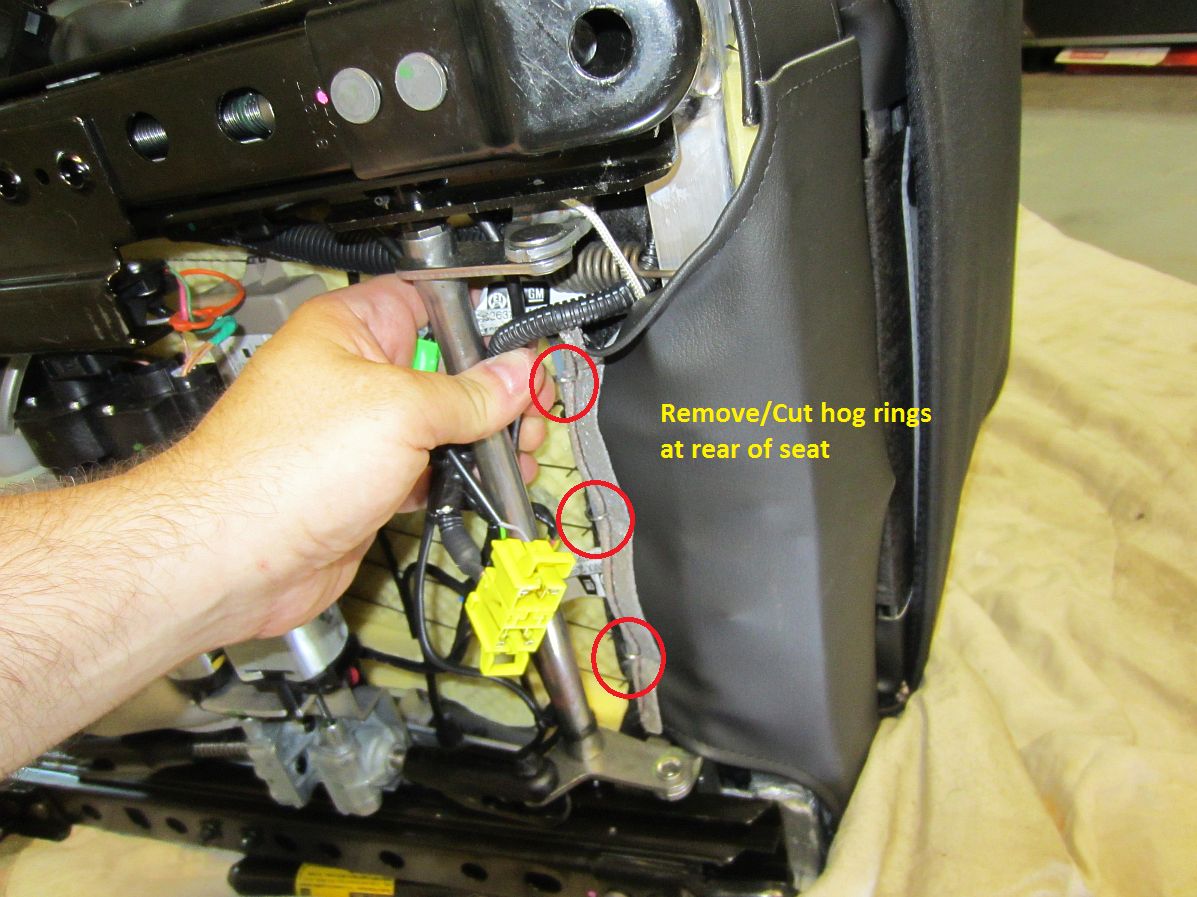
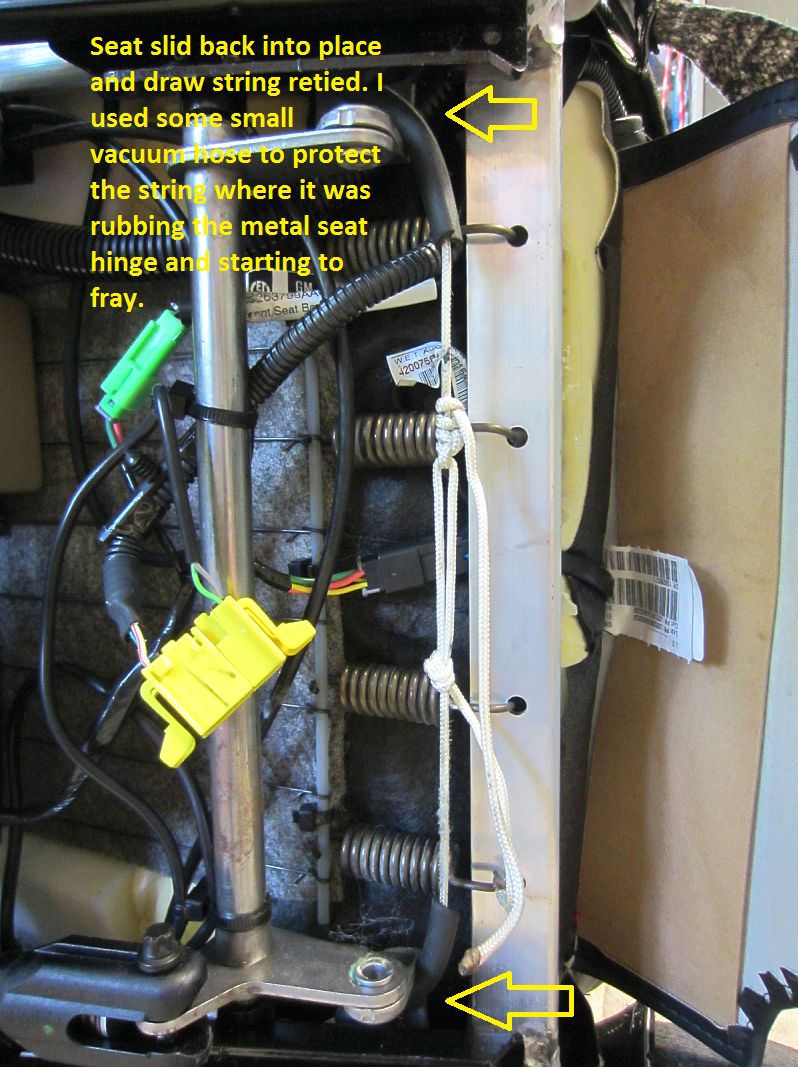
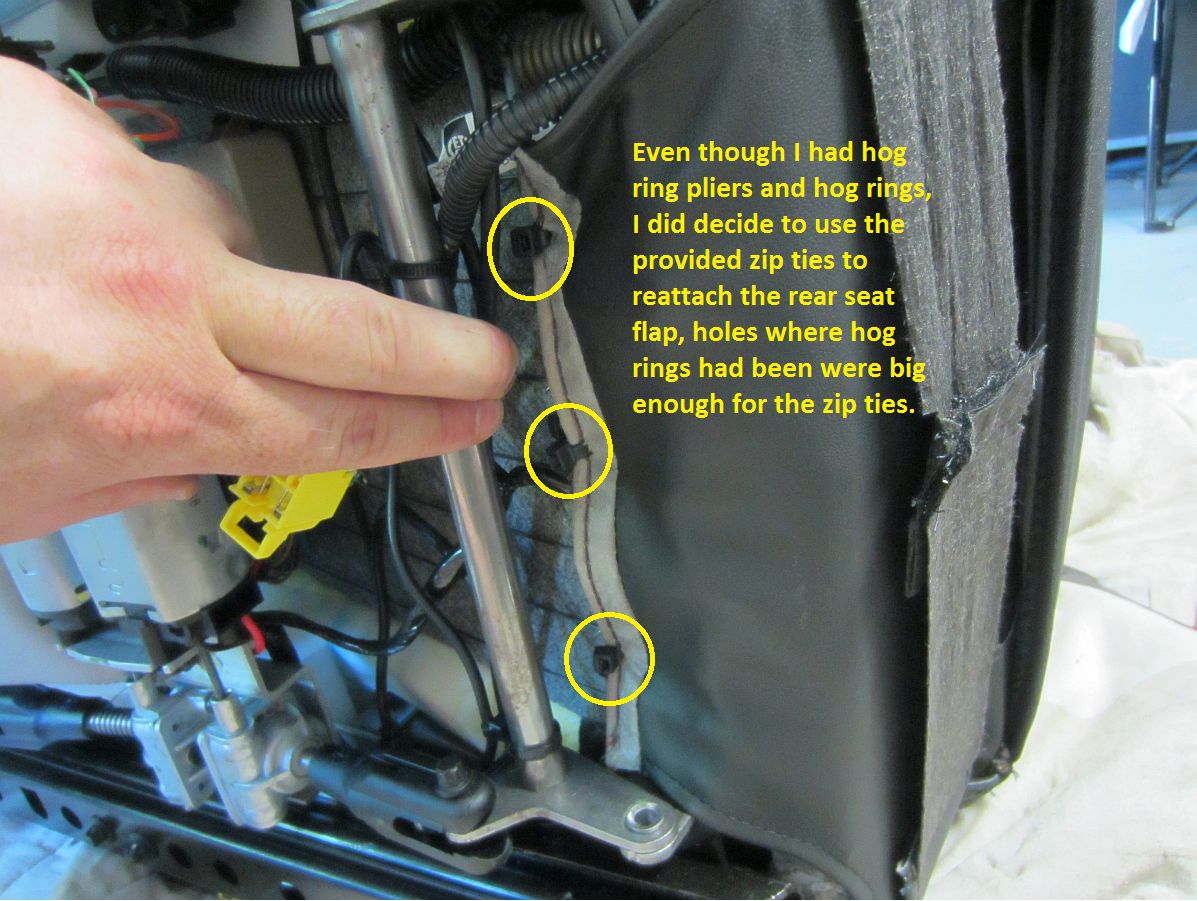
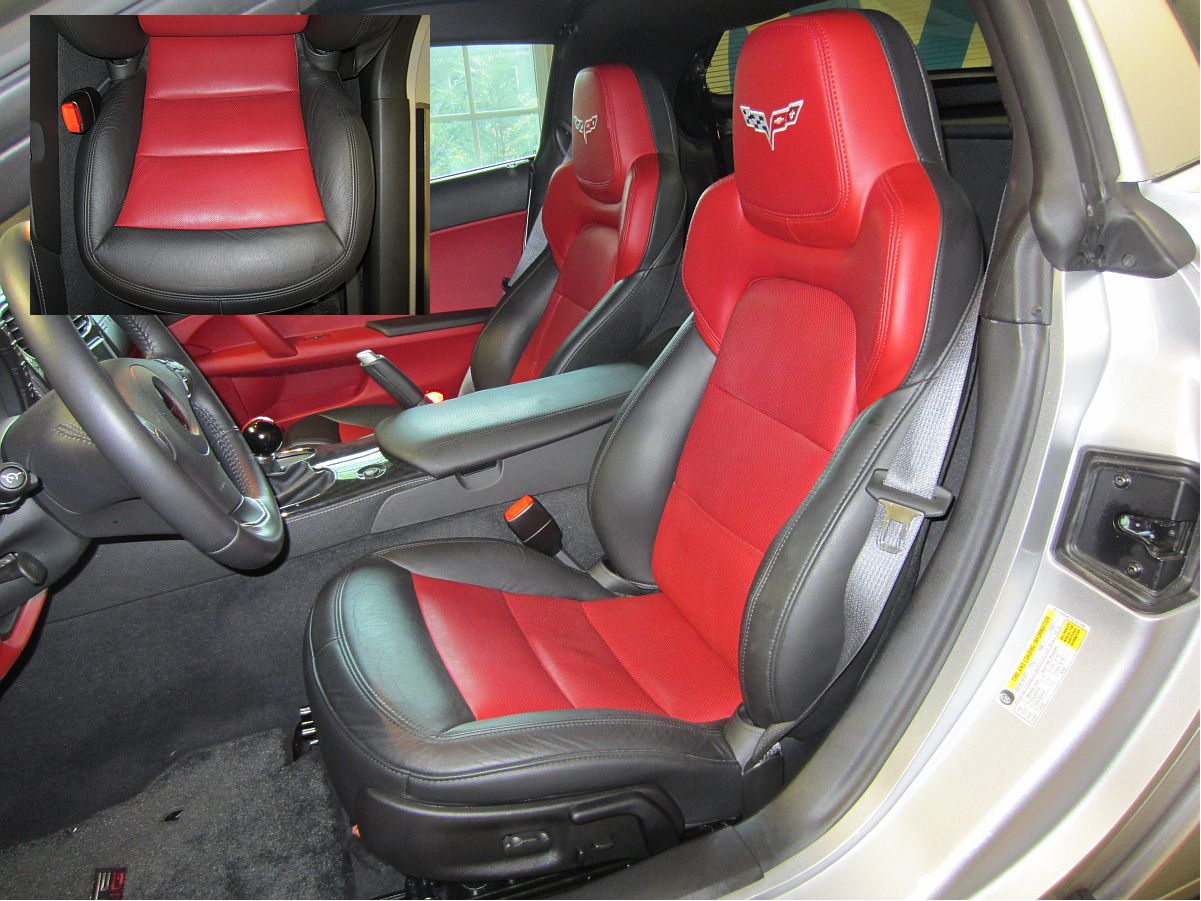
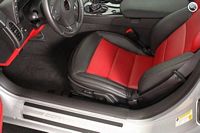
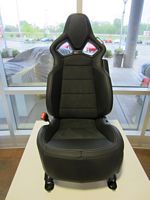
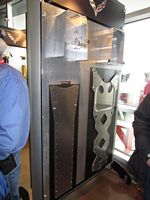
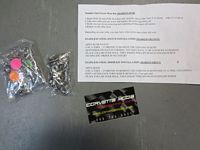
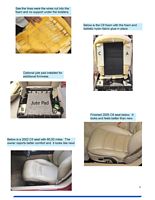
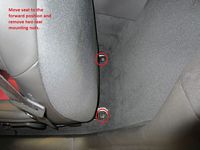
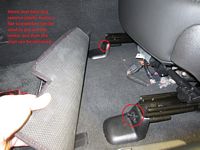
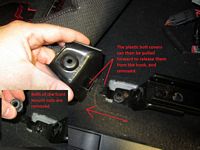
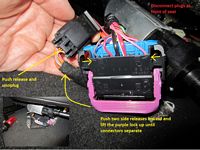
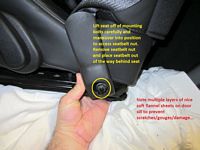
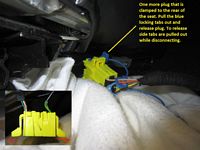
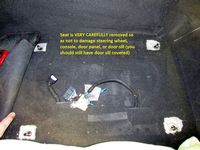
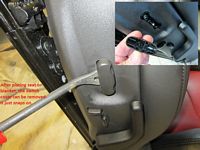
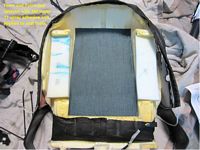
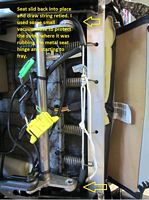
Thomas Mezger's Seat Repair Kit purchased from JWM Motoring- Thomas's write-up on this kit is HERE.
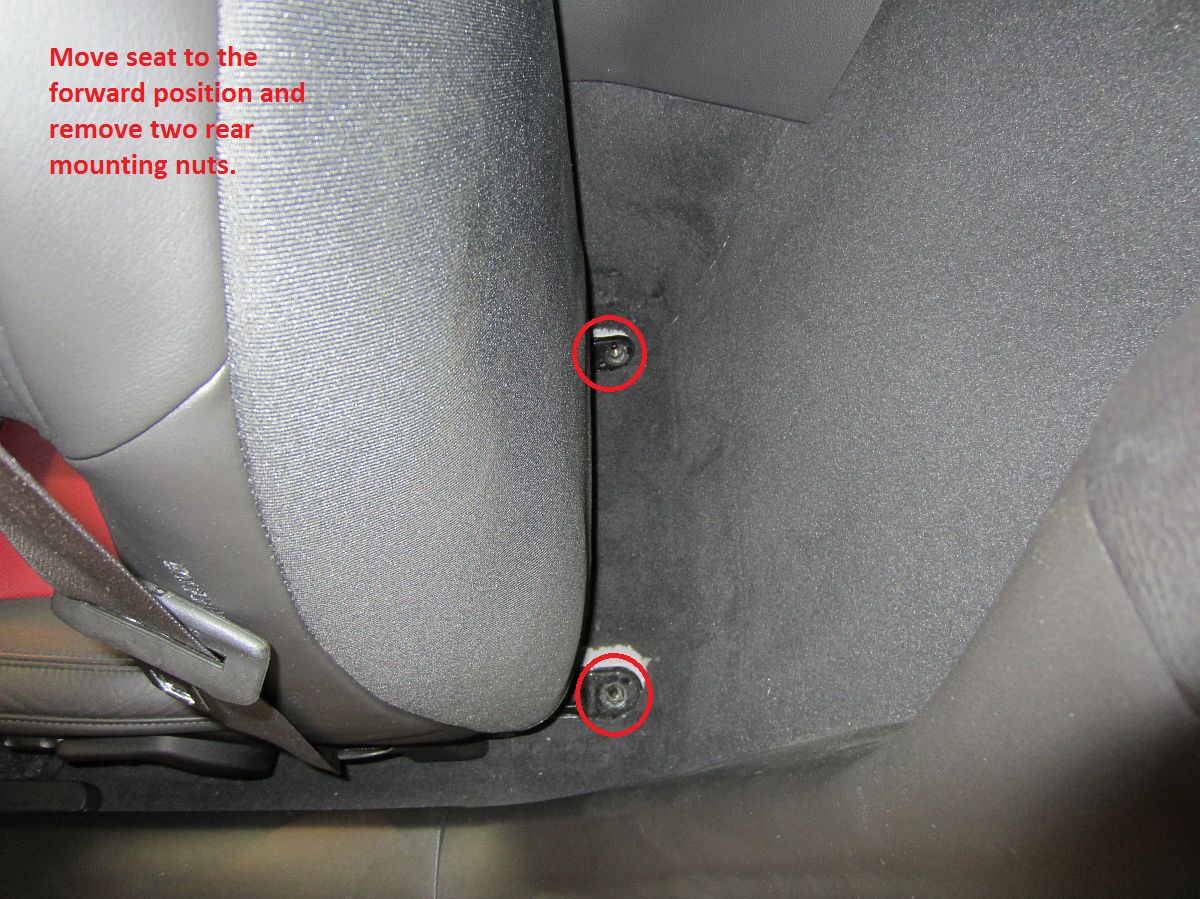
I took some pics below during my installation to supplement the provided black and white printout. I did add one small thing: the two metal risers that cut into the OE foam seat were covered with a small piece of rubber tubing cut down one side so that they would slip over, hopefully this will reduce the occurence of future tears/wear in the foam. With less than 10k miles, my foam was already torn. Seat feels WAY better now, more supportive and firm. Really, this repair kit has made seats I was looking to replace ASAP tolerable for a while longer.
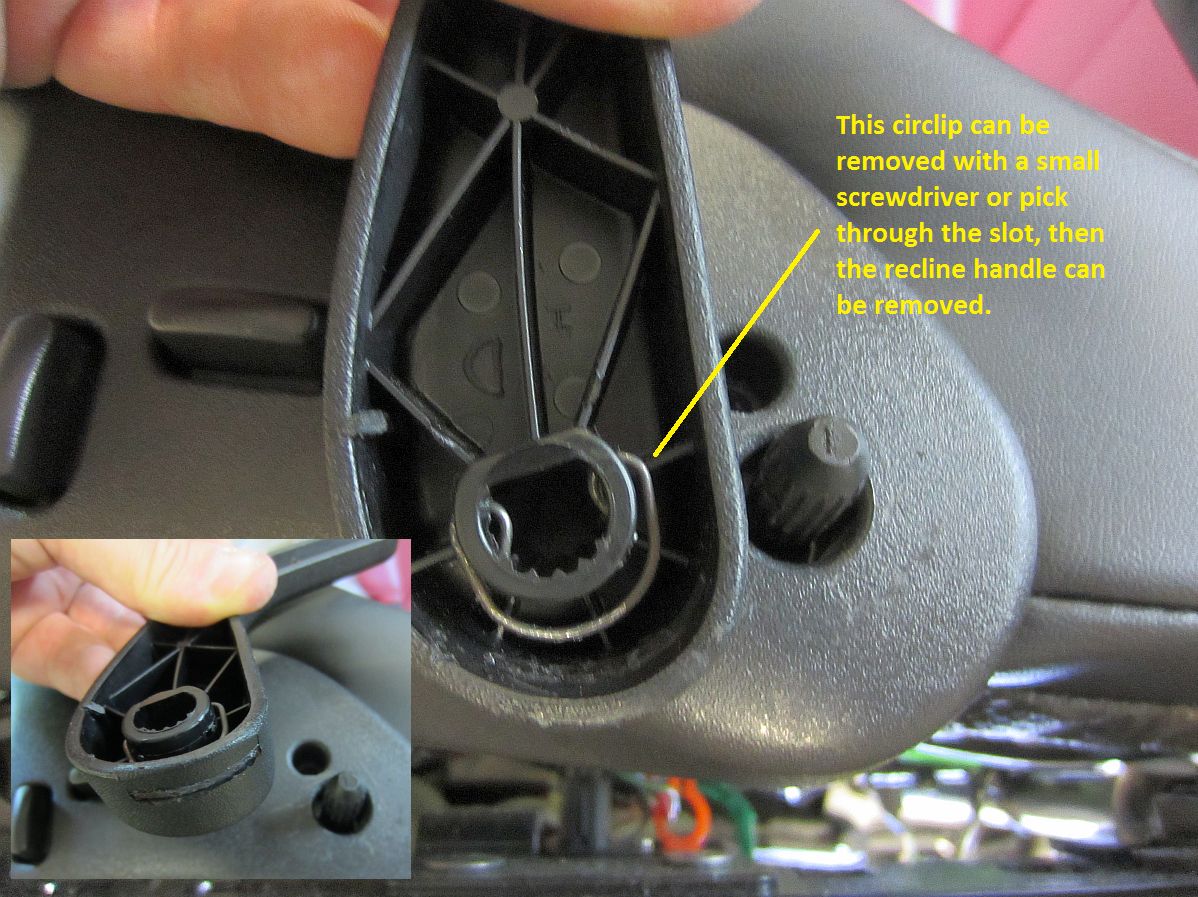
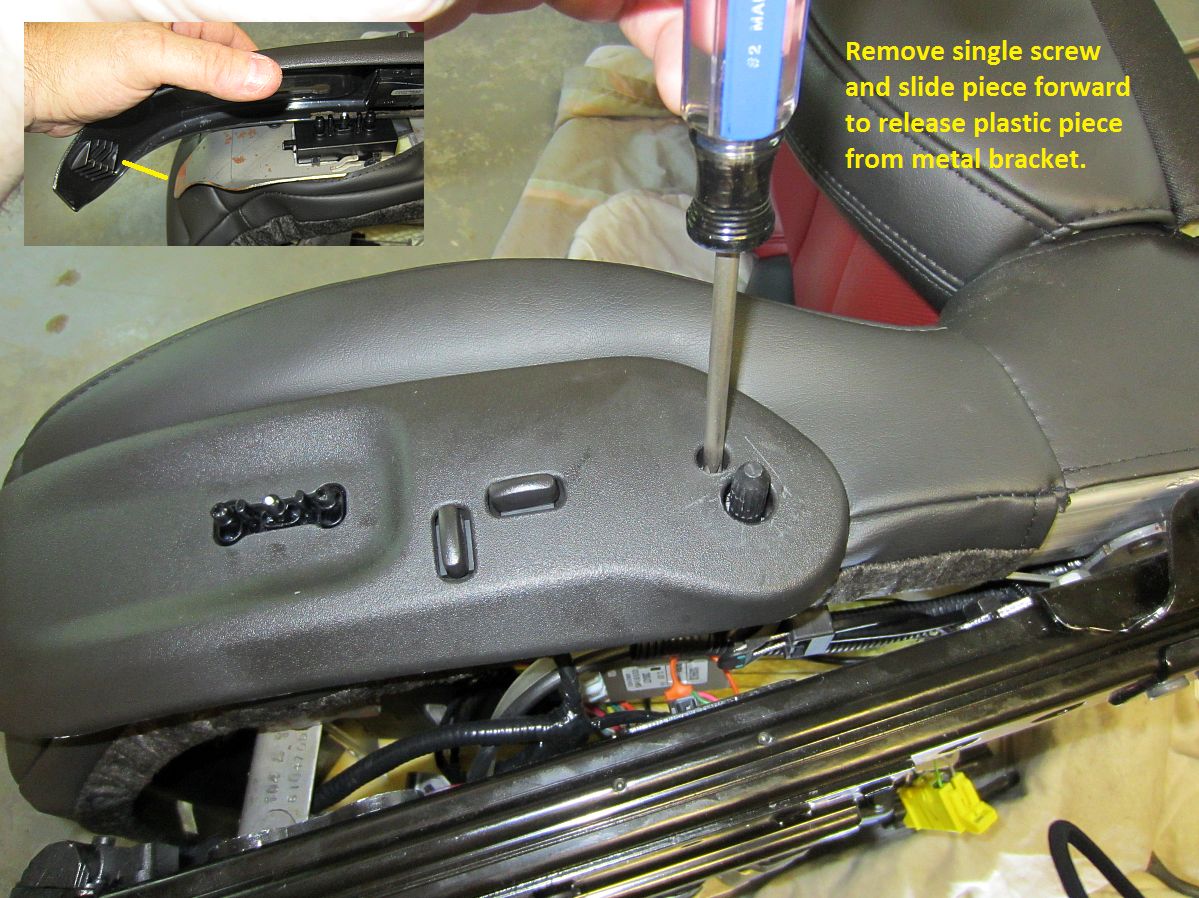
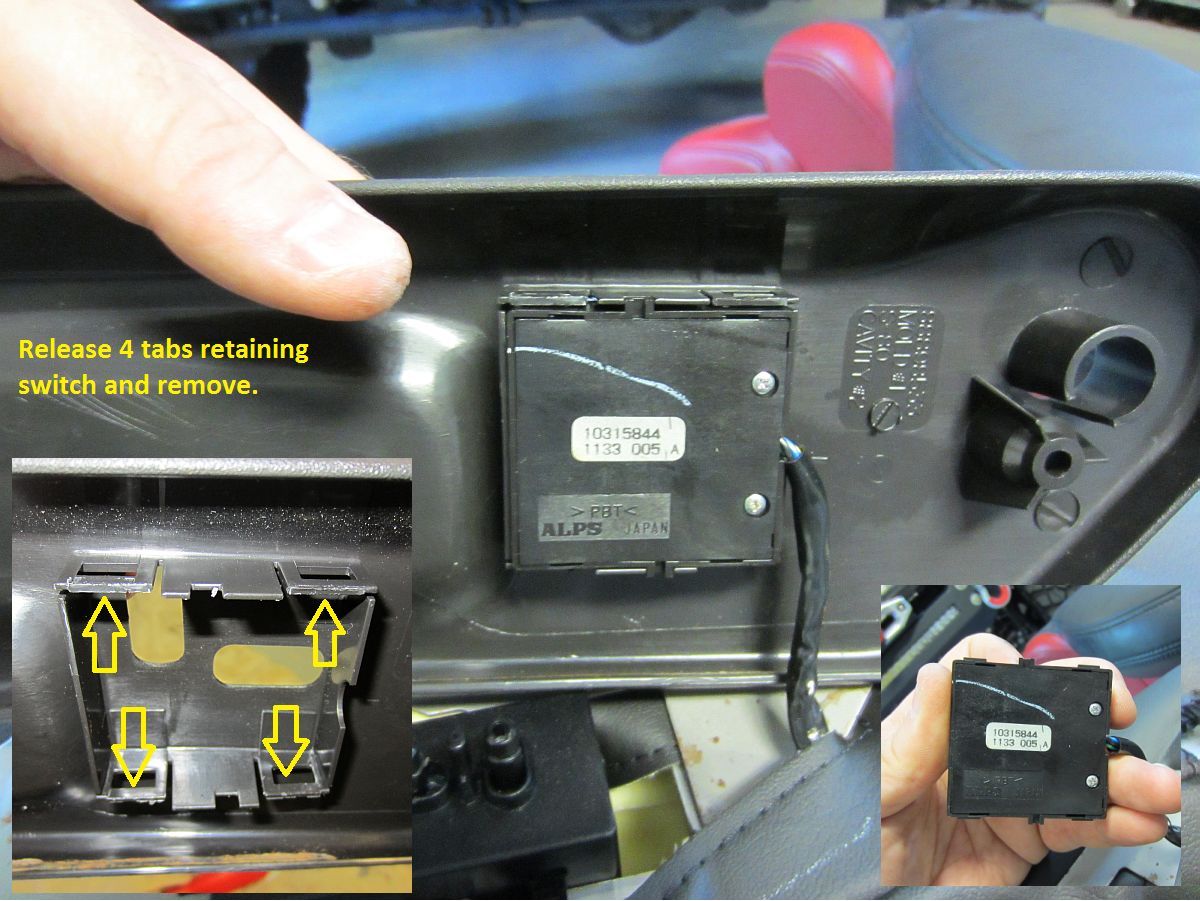
I subsequently installed this kit in both seats in my 427 and took some additional pics HERE to highlight some differences for the 2013 seats, the passenger seat, and a new challenge with the seat recline shaft.


Attended my 2nd Vettes4Vets (V4V Facebook Page) Talladega Dinner and Track Day over Memorial Day weekend 2014, this was the first year for my wife. This event allows for owners to go fast on a track between two pace cars, no passing, while raising money for our Veterans. My wife got to do a parade lap in a ZR1 while we were waiting to get started.
This year was a little slower through the turns compared to last year (but my fastest top speed). Fewer people this year as well but great fun.
Our session video is HERE, I used my HTC One for video as it has done better for me than my GoPro where battery life is concerned. Corvette Forum's SOSLOW1 was in front of us and shot this video, he said his car was near 800 HP.
BIG THANKS to Jeff Williams and the rest of the officers/board and event volunteers for making this event possible!
Event Guide HERE, Run Schedule HERE.


Pending Projects:
Steering Rack Bushing from Doug Rippie, replaces the rubber bushing. Installation video HERE and easier to see installation pics with directions HERE (archived HERE in pdf format).

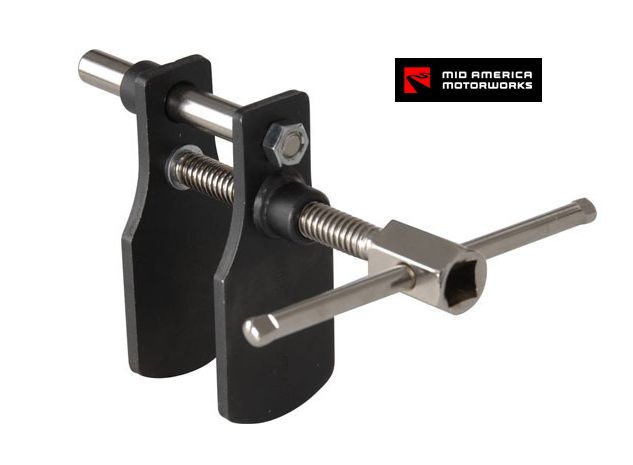
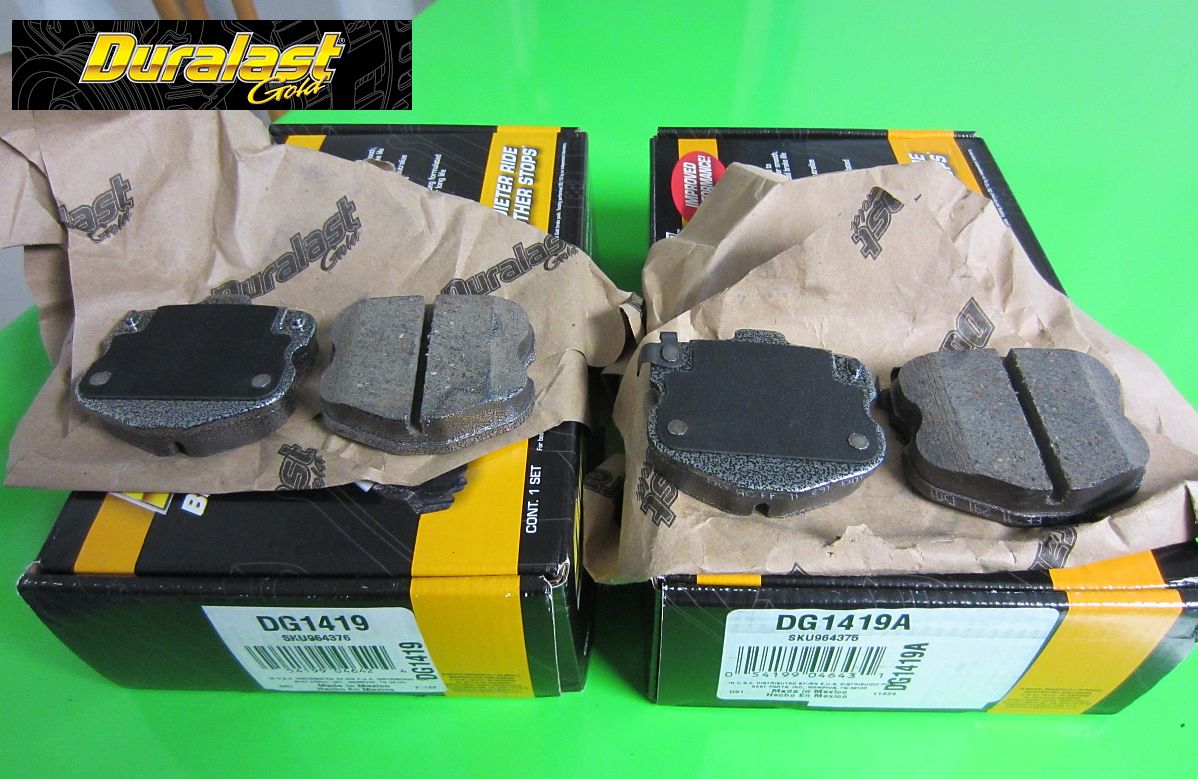
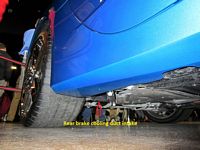
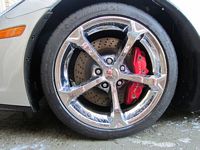
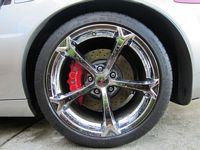
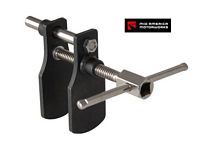
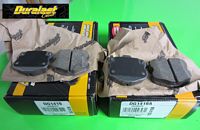
Autozone Duralast Gold Brake Pads (P/N DG1419 front, DG1419A rear) purchased to cut down some of the brake dust produced by the OE pads. These pads are lifetime warranty/replacement so it should be the last set of street pads I will need.
To R&R the pads I decided to get the caliper piston compression tool from Mid America Motorworks, this should be easy to use with no worries about marring the caliper powder coat.
Oil Analysis performed by Blackstone Laboratories
Engine Oil Analysis at 2927 miles- Factory Mobil1 5w30
Transmission Oil Analysis at 2750 miles- Factory Dexron III Transmission Oil
Rear Differential Oil Analysis at 2750 miles- Factory Dexron LS 75w90 Differential Oil
Corvette Grand Sport Reviews/Articles:
Corvette Online: Grand Sport, How it Was Born and What it Has Become<
Jalopnik: 2010 Corvette Grand Sport First Drive
MotorTrend: First Test 2010 Chevrolet Corvette Grand Sport
Car&Driver: 2010 Chevrolet Corvette Grand Sport
Car&Driver: 2010 Chevy Corvette Grand Sport vs. 2010 Lotus Evora, 2010 Porsche Cayman S
autoblog: 2010 Chevy Corvette Grand Sport vs. 2010 Ford Mustang Shelby GT500
Road&Track: 2010 Chevrolet Corvette Grand Sport 1
Road&Track: 2010 Chevrolet Corvette Grand Sport 2
Road&Track: 2010 Chevrolet Corvette Grand Sport 3
Automobile: Driven: 2010 Chevrolet Corvette Grand Sport
Automobile: Driven: 2012 Chevrolet Corvette Grand Sport
Automobile: Sibling Rivalry, 2012 Chevrolet Camaro ZL1 and 2012 Chevrolet Corvette Grand Sport
MotorTrend: Comparison, 2012 Chevrolet Corvette Grand Sport Coupe vs. 2012 Porsche 911 Carrera S
Road&Track: Corvette Fever - Corvette Comparison Test
Road&Track: Corvette Grand Sport vs. Callaway Corvette SC606 - Comparison Test
Road&Track: 2012 Chevrolet Corvette Grand Sport Convertible
autoblog: 2013 Chevrolet Corvette Grand Sport Coupe
Winding Road: Driven- 2013 Chevrolet Corvette Grand Sport Convertible
Examiner: 2013 Chevrolet Corvette Grand Sport 60th Anniversary test drive review
AutoGuide: 2011 Chevrolet Corvette Grand Sport Review
Grassroots Motorsports: New car reviews» 2012 Chevrolet Corvette Grand Sport
BusinessWeek: Review- 2010 Chevrolet Corvette Grand Sport
The Detroit Bureau: First Drive- 2010 Chevrolet Corvette Grand Sport
Corvette Grand Sport Video: *High Speed Connection Recommended*
C6 Corvette Owner Instructional DVD
2010 Corvette Grand Sport Walk Around (Corvette Blogger Article HERE)
2010 Corvettemaggedon | Comparison Test | Edmunds.com
2010 Corvette Grand Sport LS3 Dry Sump Lubrication System
Edmund's Inside Line:Is Chevrolet Corvette Grand Sport a Track Beast?
Grand Sport review with Ron Fellows
Corvette Grand Sport Road Test & Review by Drivin' Ivan Katz
autobytel: 2013 Chevrolet Corvette Grand Sport Test Drive & Sports Car Video Review
Autosavant: Driving Review - 2012 Chevrolet Corvette Grand Sport/6 MT Test Drive
Roadfly: 2010 Chevrolet Corvette Grand Sport Road Test and Review
AutoMotorSport: Einzeltest Chevrolet Corvette Grand Sport
AOL On: 2010 Chevrolet Corvette Grand Sport Test
National Geographic Ultimate Factories: Corvette
Discovery Channel: Rebuilding an Icon, The Corvette (5 Parts): 1, 2, 3, 4, 5
Motor Trend Head to Head: 2013 Viper GTS vs 2012 Corvette ZR1 (with Randy Pobst)
Corvette Grand Sport em Nurburgring
Regular Car Reviews: 2008 Corvette
Corvette Racing (C6.R) We're Ready
Corvette Racing's Tommy Milner, Petit Le Mans 2013 (last year C6.R and ALMS)- /DRIVER'S EYE
2010 Track to Street: Corvette Racing Series: Episodes 1, 2
2011 Track to Street: Corvette Racing Series: Episodes 1, 2, 3, 4, 5, 6, 7, 8, 9, 10, 11, 12
Commercial: Corvette Heaven
Corvette Articles/Documents/Files:
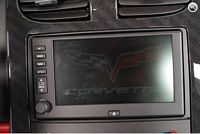
2012 Corvette Navigation/Infotainment Manual
2012 Corvette Select Specifications
Pfadt Corvette Alignment Guide and Corvette Camber Alignment Settings
2012 Corvette Slide Presentation from 2011 Bash
Vette Magazine- Chevrolet Corvette: 60 Years of an American Icon, Part 1 (1953-1982: C1, C2, and C3)
Vette Magazine- Chevrolet Corvette: 60 Years of an American Icon, Part 2 (1984-2013: C4, C5, and C6)
David Farmer's C6 Torque Specs (2005)- Facebook Page HERE
Final C6 Corvette Production Numbers HERE
Corvette DIY Guides/Installation Instructions:
BillsWebSpace: C6 GrandSport Dry-Sump Engine Oil Change
BillsWebSpace: Manual Transmission and Differential Fluid Change
BillsWebSpace: Ranger Method Clutch Fluid Replacement
Ranger Method Clutch Fluid Replacement and Information
BillsWebSpace: Elite Engineering Heel/Toe Gas Pedal and Dead Pedal Installation
BillsWebSpace: Pfadt Johnny O'Connell Stage 1 Suspension Installation
BillsWebSpace: Later (2008+) C6 Key Fob Battery Replacement
BillsWebSpace: Installing TFS Seat Repair Kit
BillsWebSpace: NPP Exhaust Controller DIY- Build and Install
CF GM'er's LS3 Dry Sump Oil Change
CF Dreamin's Manual Transmission Fluid Change
CF Dreamin's Differential Fluid Change
LMBToms's Brake Pad and Rotor Change
Junkman2008's Power Steering Fluid Change
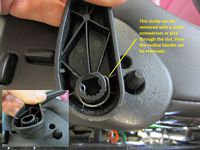
DSvettes Driver Door Handle Installation- Great detail around driver door panel removal
DSvettes Passenger Door Handle Installation- Great detail around passenger door panel removal
CF cclive's C6 Key Fob Programming Instructions
Ray's (kawal.net) Corvette C6 Dash Replacement
Ray's (kawal.net) Corvette C6 Ignition Controlled Power Outlet
CF VIPNiSS's Outside Door Switch Fix
Lieblweb's Rocking Seat Fix (pdf HERE)
racerxr's C6 Low Beam Headlight Fix (.pdf)
David Farmer's Torque Specs and DIY Page
C6 Corvette Gas Tank/Fuel Pump Removal and Replacement Guide (PDF Version)
CF Kokopelli's Guide to Disable F55 (PDF version HERE)
CF JKbride's DIY Fix for "Loose Gas Cap" indicator aka code P0449 w/Pics (PDF version HERE)
Forums and Clubs:


Other Corvette Sites: