INSTRUCTION MANUAL
Window/Sunroof remote control module for
v1.1
Further information and manuals for all products can be found on our web site
w w w . m o d s 4 c a r s . c o m
PLEASE READ THE COMPLETE MANUAL CAREFULLY BEFORE USING THIS PRODUCT.
INSTRUCTION MANUAL |
|
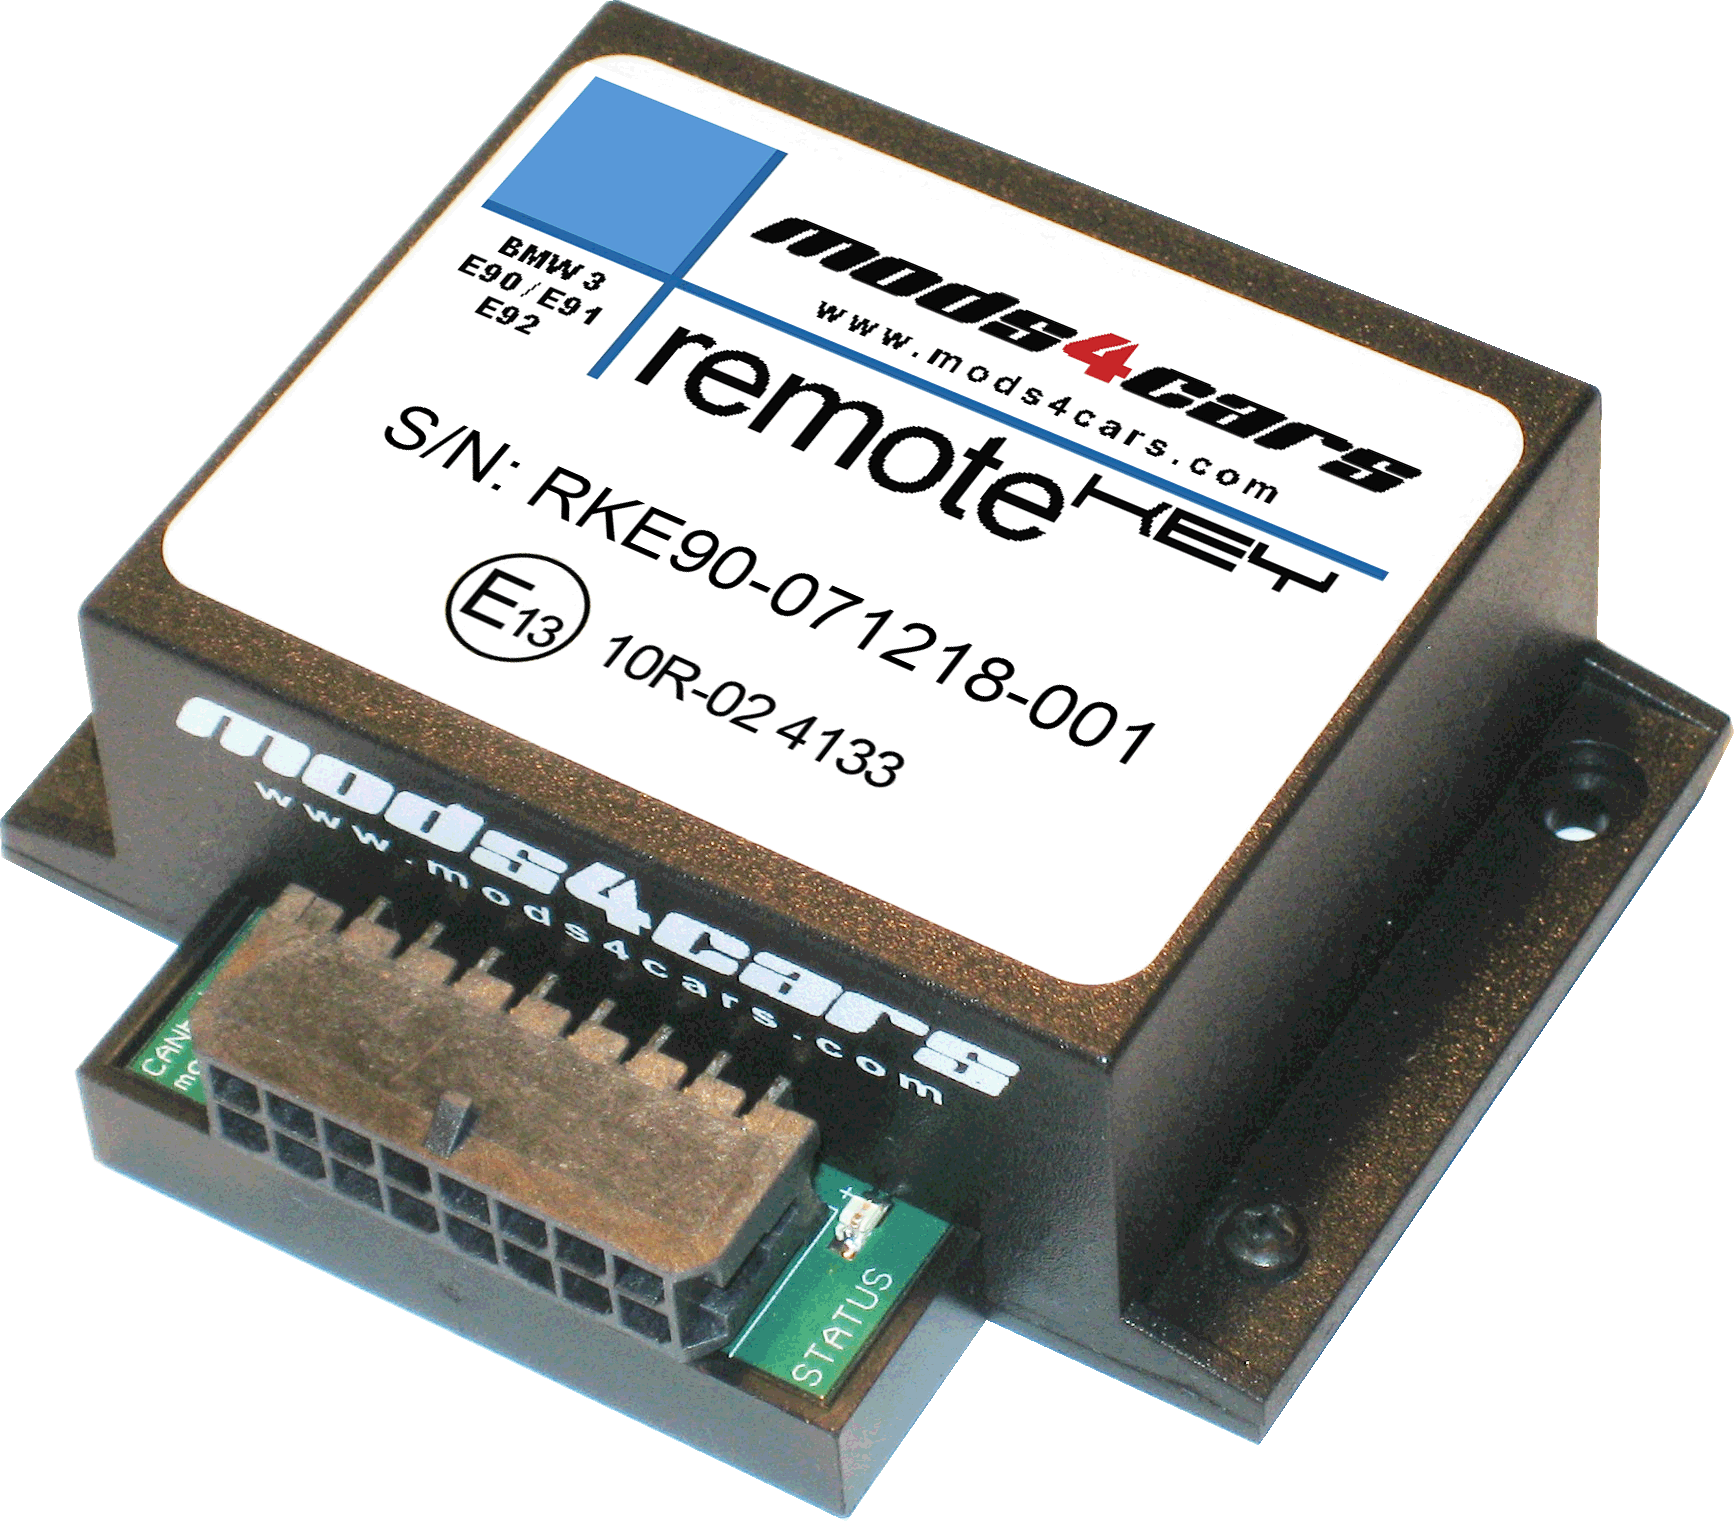
Window/Sunroof remote control module for v1.1 |
Further information and manuals for all products can be found on our web site w w w . m o d s 4 c a r s . c o m |
| We
explicitly point out that all functions of this control unit should
only be used while exercising caution and responsibility. We can NOT be
held liable for any damage or injury caused by installing or using this
product. PLEASE READ THE COMPLETE MANUAL CAREFULLY BEFORE USING THIS PRODUCT. |
|
Detailed function description (* = Factory Setting): Function 1 - Module Mode ( 0=OFF / *1=REMOTE / 2=REMOTE+UNLOCK ) When disabled (setting 0), the module becomes completely inactive and behaves as if it was not installed. This is useful if you need to take the car to the dealer or garage for inspection or repairs. The module can not even be seen by and does not interfere with the manufacturer's workshop tester. For well known reasons we still have to suggest uninstalling it completely if you are not sure about your dealer's policies on aftermarket installations. Setting 1 allows remote operation of the windows and the sunroof by using the original factory remote fob: Additionally to the remote operations, setting 2 allows automatic unlocking of the doors when the ignition is turned off. This removes the requirement to pull the door handles twice to get out of the car. Function 2 - Compatibility ( *0=Sedan / 1=Coupe ) This function allows setting of different compatibility modes for the module. If switched OFF (factory default), the module uses a programming sequence known to be "more compatible" but activation of the windows and sunroof may take a couple of seconds after the remote button is released. Setting 1 allows for a quicker reaction and simultaneous closing of sunroof and windows but may only raise the front windows half-way on the 4 door sedan. It is perfetly safe to try both settings and depending on the result choose the one that works best. Function 3 - Folding mirrors ( *0=OFF / 1=AUTO / 2=MANUAL ) This function allows remote control of the motorized mirrors (factory option motorized mirrors required). Setting 1 (Auto) will fold the mirrors automatically uplon locking/unlocking the car by remote. Setting 2 (Manual) allows manual folding/unfolding of the mirrors by remote by double-tapping the LOCK button on the remote. IMPORTANT: Please note that the module can only toggle the mirror position, just like the driver's door button does. If the mirrors get out of sync (unfolding while locking or folding while unlocking), hit the door button once to bring them back in sync. InstallAID™ LED: This module is equipped with our unique installation help and status indicator LED. The LED signals a correct installation and shows the status of the module in a clear and easy to understand way. LED OFF LED permanently ON LED blinks |
| Installation - Steps 1-3 | |

| 1. IMPORTANT: Turn ignition off, and pull key from ignition lock before installing the module! Open the glove box and remove the back panel by twisting the two latches (1) and (2) 90 degrees while pulling. |

| 2. Behind the glove box is the fuse
panel and a wiring harness directly attached to the metal bracket in
front of you. Detach the harness, remove about 10 inches of the fabric
tape, then use the supplied T-Taps on the following wires found in the
harness:
|

| 3. Connect the module harness to the T-Taps. Thin Orange/Green (1) connects to Orange/Green (CAN-H), thin Green (2) connects to Green (CAN-L), thick Red/Yellow (3) connects to Red/Yellow (+12V), thick Brown (4) connects to Brown (Ground). In case the supplied wiring harness has more than the 4 described wires, tie the rest of the unused wires in a knot (5) or remove them (cut off). Now tap the UNLOCK button on the remote and check the LED according to the InstallAID LED chapter. |
| Installation - Step 4 | |

| 4. Tuck the module into the space to the right behind the glove box, then reinstall the glove box backpanel. DONE. |
| Programming | |
| This module is equipped with our interactive setup feature to allow easy setting of the desired options. | |

| All programming is done by using the blinker stalk (3) and the two green turn signal (indicator) arrows (1,2). Functions are indicated by the left arrow (1) and their settings are indicated by the right arrow (2). Navigation is done by pushing the stalk down (next function) or pushing it up (next setting). After selecting the last function or function setting, the setup automatically jumps back to the first function / lowest setting. Each time either a new function is selected or a function's setting is changed, the arrows will indicate the new status by first blinking the function (left arrow) and then the current setting (right arrow). |
|
To enter programming mode, first make sure the key is not in the ignition lock.
Tap the UNLOCK button on the remote fob, then push and hold the blinker
stalk DOWN (only into the first position, not all the way!) until the
left arrow blinks once to indicate function 1. Now let go of the stalk.
From this point on you can navigate through the functions by pushing
the stalk down and once the arrows are finished indicating the function
and setting, change the setting by pushing it up. The new settings are
active immediately. To end programming mode, either wait for 30 sec. or insert the key into the ignition lock. End of programming mode is indicated by both arrows lighting up simultaneously for 1 second. Examples: |