DOWNPIPE INSTALLATION INSTRUCTIONS
(OFF-ROAD USE ONLY)
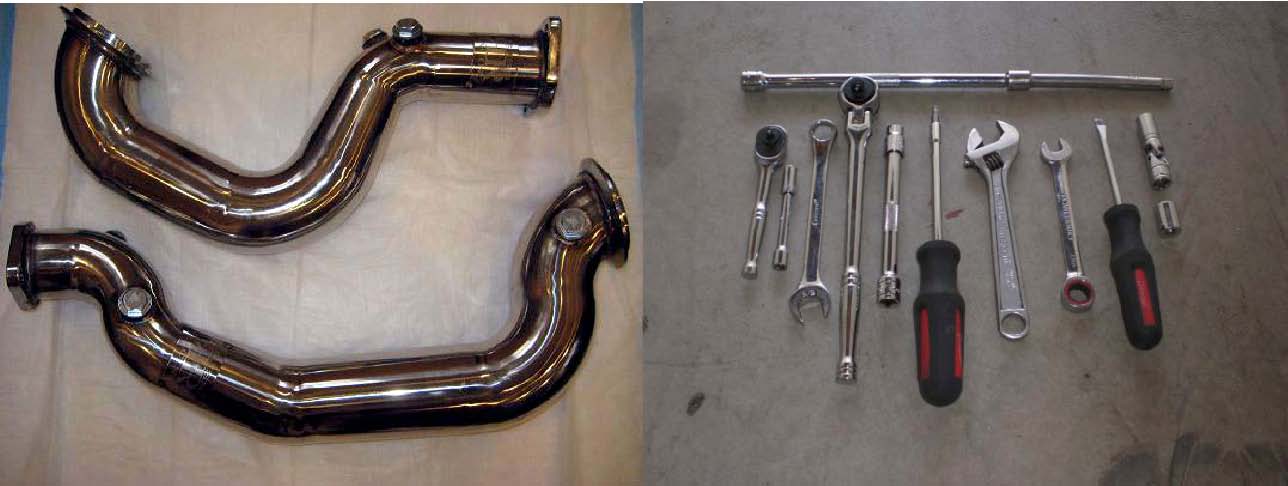
Tools:
-1/4 Ratchet -3/8 Ratchet -3/8 Long Extension -Flat Head Screw Driver -8mm Socket -T25 Torx Driver -E10 Torx Socket -E12 Torx Socket -3/8 Swivel joint -12mm Socket and wrench -13mm Socket and Wrench -Crescent Wrench Time Required: 2-3 Hours
Removal:
1. Raise the car on ramps, jacks with jack stands, or a lift. Always use jack stands if not using ramps. Also make sure the car is secure with the safety brake fully engaged and blocks behind the rear wheels.
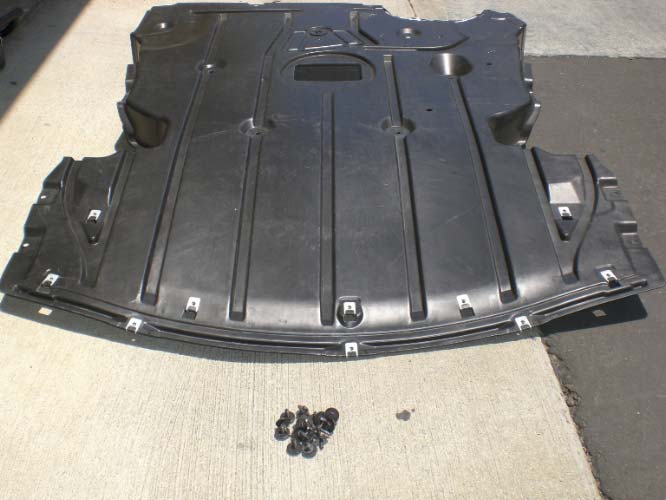
2. Using an 8mm socket on a wrench, remove the 16 bolts that hold on the shroud.
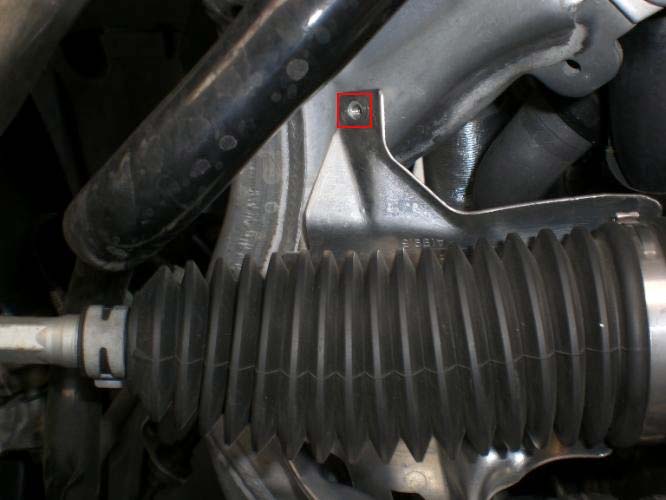
3. Use a T25 Torx driver to remove a single bolt from the heat shield and press back to make space.
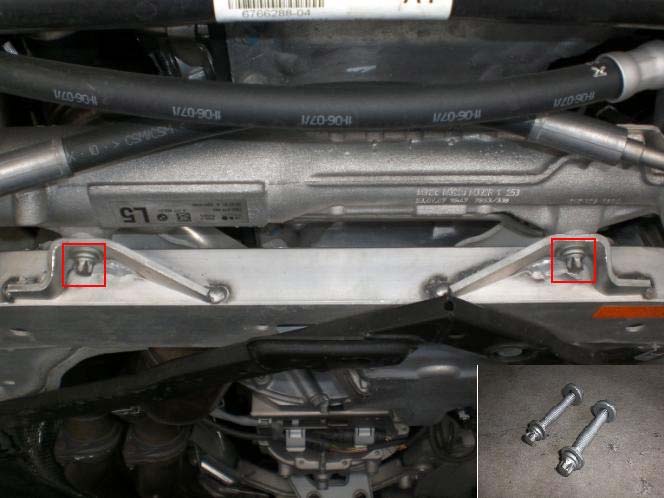
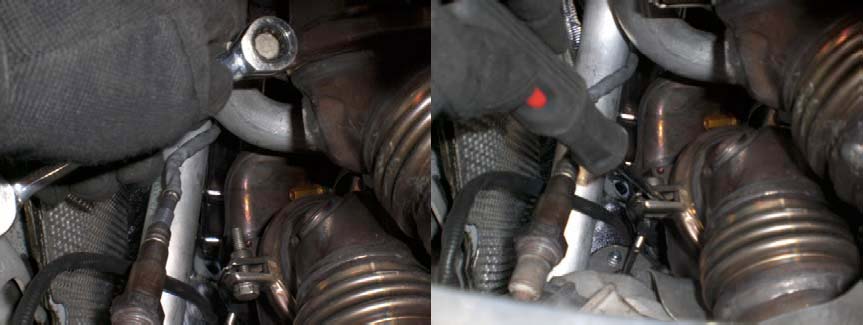
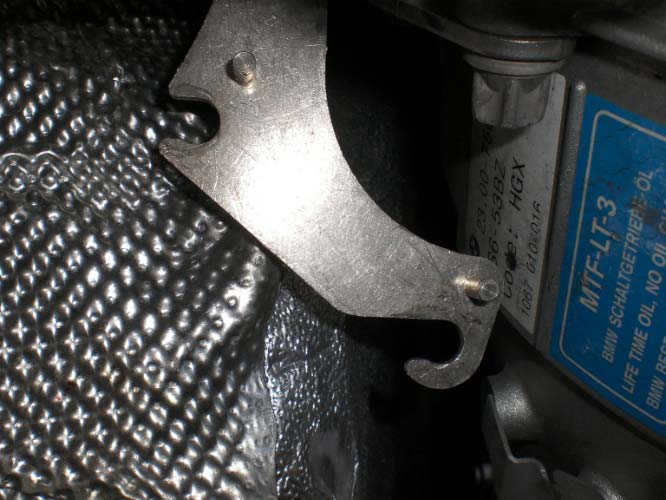
4. Use an E12 Torx driver and 5/8 wrench to remove two bolts securing the steering rack – pull the rack towards the front of the car to make space.
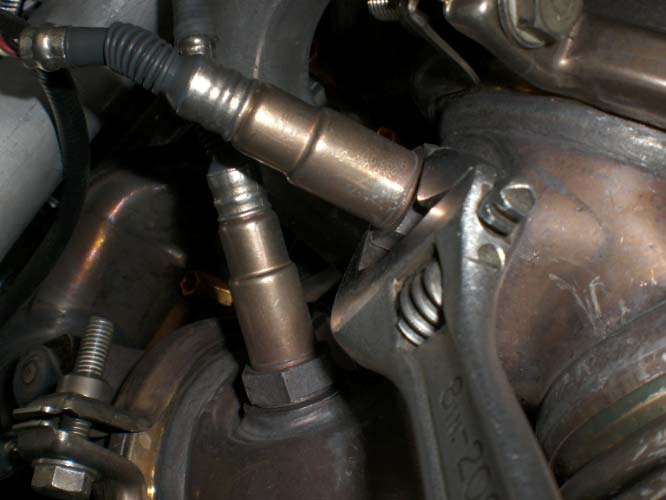
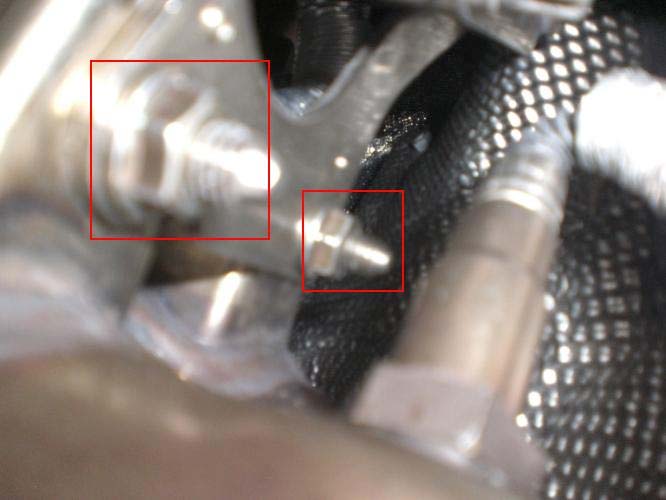
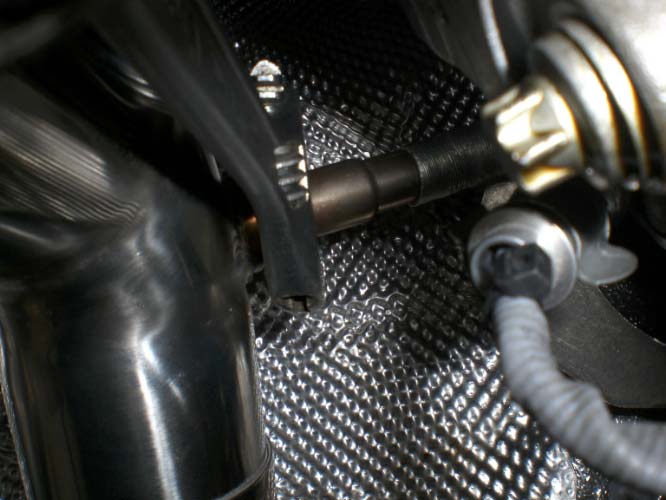
5. Use a crescent wrench to break loose the front sensors and then proceed to unscrew by hand. Each wire is color coated – grey wire = short pipe, black wire = long pipe.
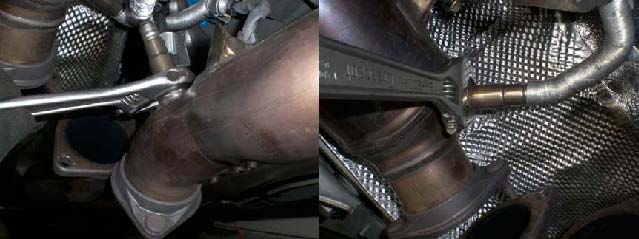
6. Use a 13mm wrench to remove bolts from each turbo clamp. After the removal of the bolts, the clamps should still be tightly in place. Wedge a flathead screwdriver in the clamp opening to break it loose.
7. Use a 12mm socket to remove four bolts securing the stock downpipes to the cat-back.
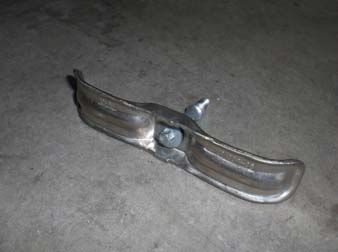
8. Use an E10 Torx socket to remove muffler brace
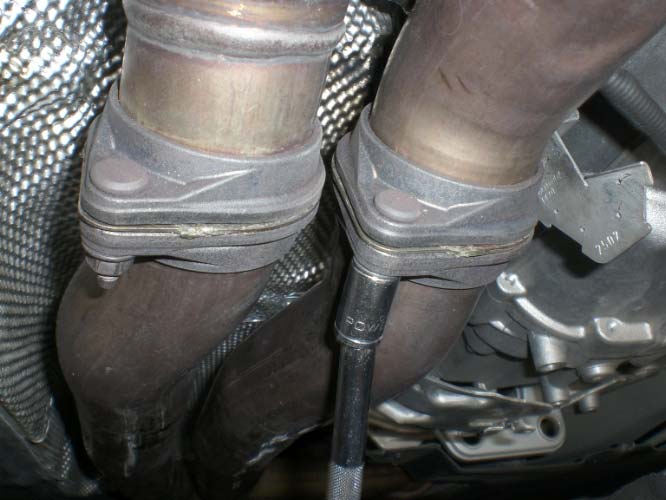
9. Use a 12mm socket and swivel to remove 2 nuts securing the downpipes to a hanger just in front of the rear sensors.
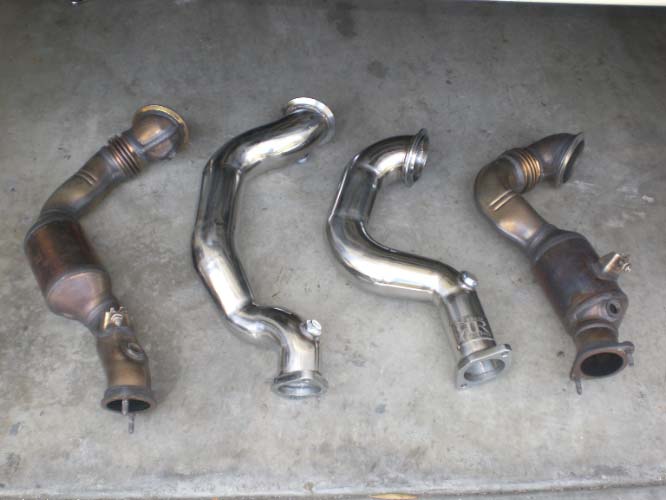
10. The downpipes are completely loose now. Use a flathead to pop them out of the hanger and drop down. Take note that the rear sensors are still in place. Pull the long pipe out first and remove the rear sensor with a crescent wrench. Then do the same with the short pipe.
Installation:
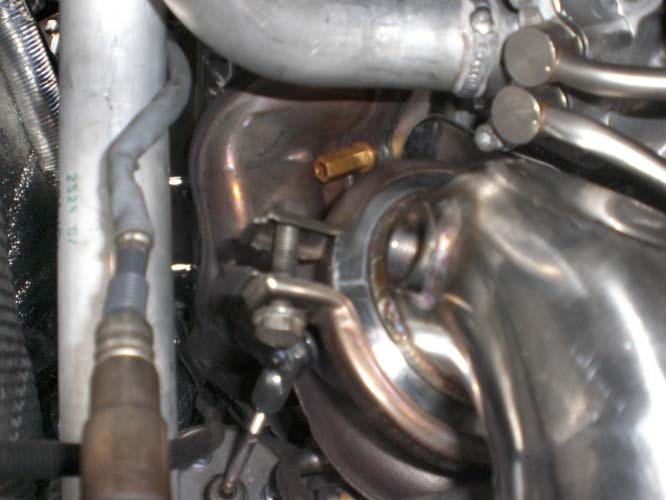
1. Start with the short pipe. Make sure the plug for wideband O2 is snug and the bungs for the front and rear sensors are unplugged for both pipes.
2. Push back or remove hanger.
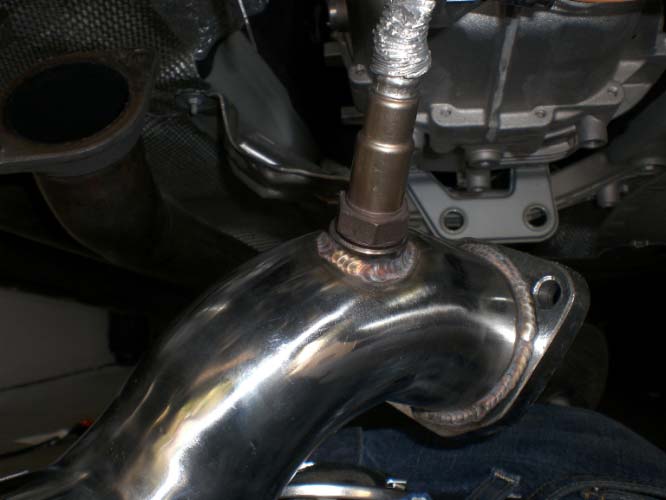
3. Use a crescent wrench to install the rear sensor in place (should be a grey wire)
1. Clamp the short pipe up to the turbo and loosely hand tighten the 13mm bolt so there is still play in the pipe.
2. Now, for the long pipe. Use a crescent wrench to install the rear sensor in place (should be a black wire)
3. Clamp the long pipe up to the turbo and loosely hand tighten the 13mm bolt so there is still play in the pipe.
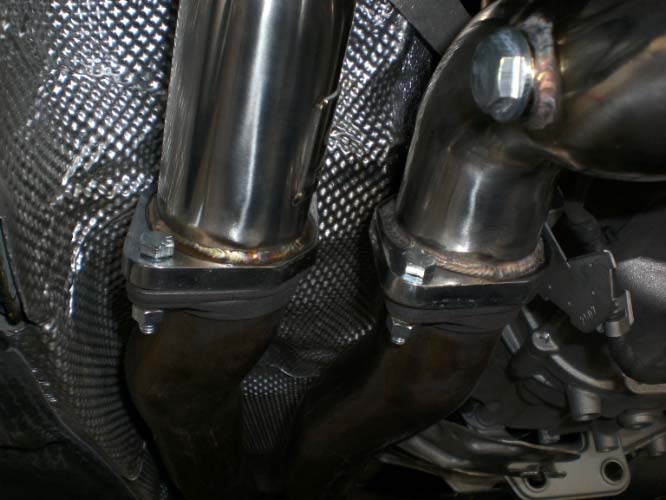
4. Use the gaskets from the stock pipes and the hardware included to bolt the downpipes up to the cat-back using a 13mm socket and wrench.
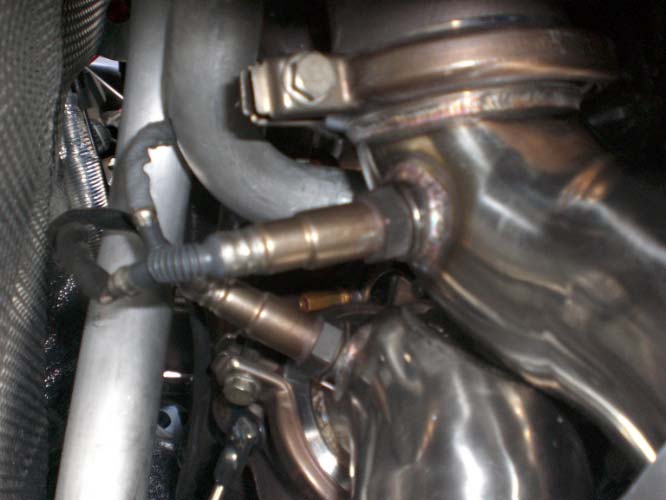
5. Use a 13mm wrench to securely tighten the front turbo clamps. Also, reinstall the front sensors (grey = short pipe, black = long pipe) (if more slack on the wire is needed, release the wires from a clip up above – visible from the top passenger side of the motor)
6. Double check to make sure everything is fastened right. Start the car to make sure that there are no exhaust leaks.
7. Pull the heat shield back into place and use the T25 Torx driver to bolt back up.
8. Put the steering rack into place and securely bolt it up on both sides using the E12 Torx and 5/8 wrench.
9. Reinstall shroud using an 8mm socket.