![]()
Installing DDM Works Cold Air
Intake in an R53 Mini Cooper S
I started
out with a drop-in aFe air filter but didn’t want to cut plastic or mod the OE
airbox any further than this……but I also wanted to hear the sound people rave
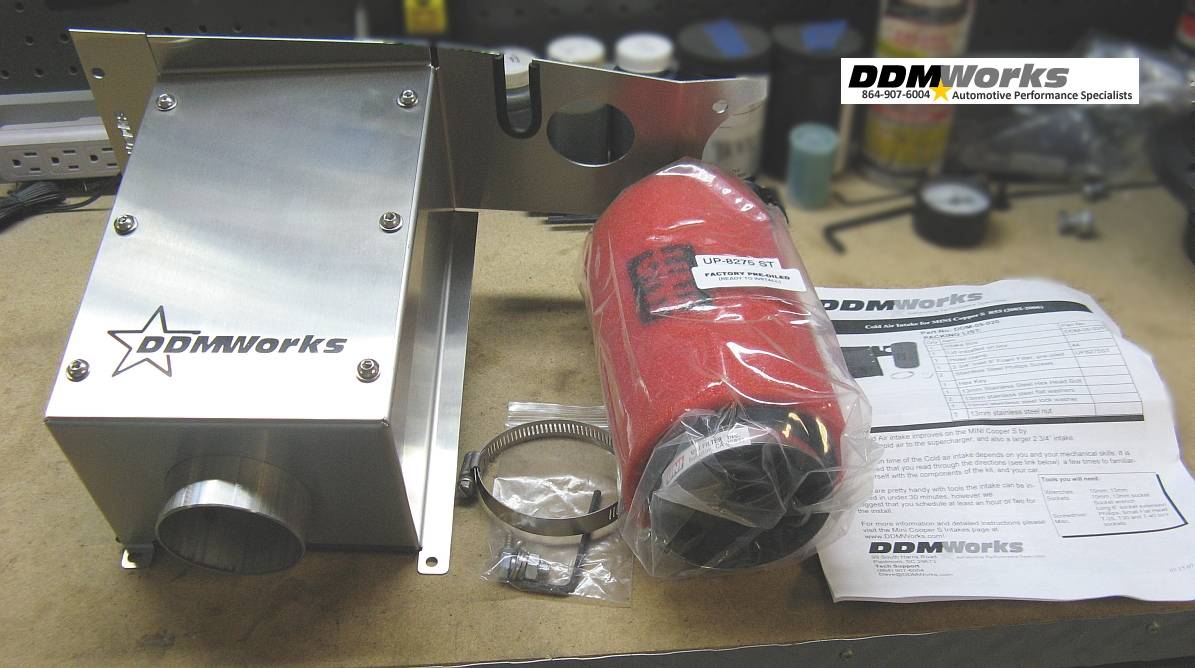
about so I decided to install a DDM Works CAI and see how it performed. The CAI
package contains the stainless steel enclosure, a UNI air filter with clamp, a
clamp to replace the OE intake hose clamp, mounting hardware, a HEX wrench for
the lid, and installation instructions.
Standard
Disclaimer: ANY USE OF THIS INFORMATION
BY YOU IS AT YOUR OWN RISK.
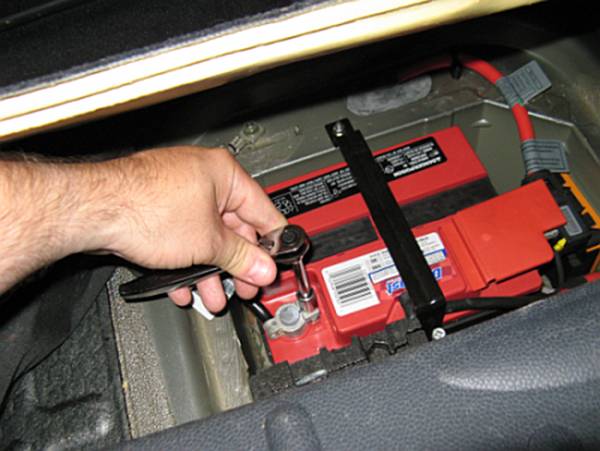
To start,
I disconnected the battery by removing the ground cable using a 10mm
socket/ratchet. You may want to place a rag over the latch so the hatch will
not lock, if it does you will have to use the manual release under the rear
seat:
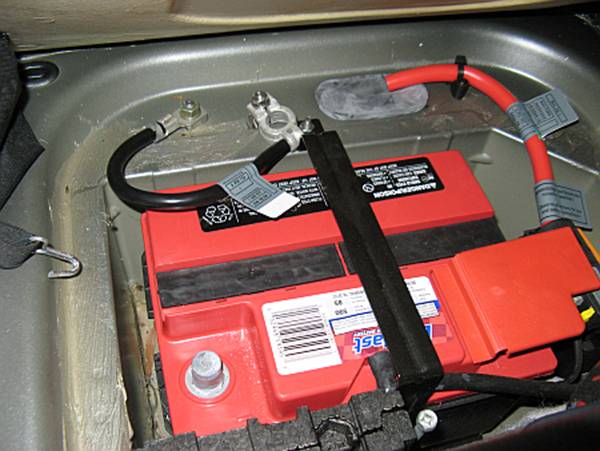
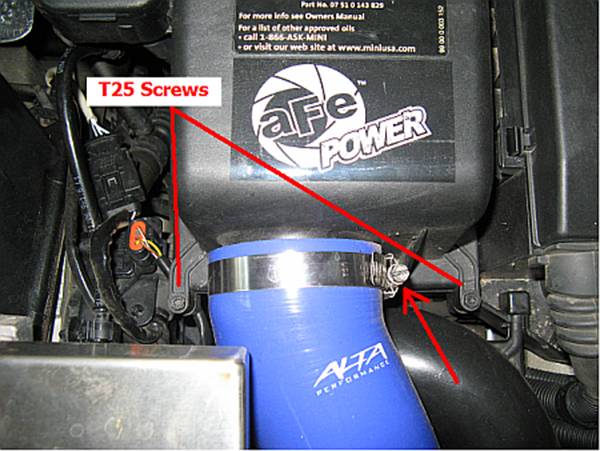
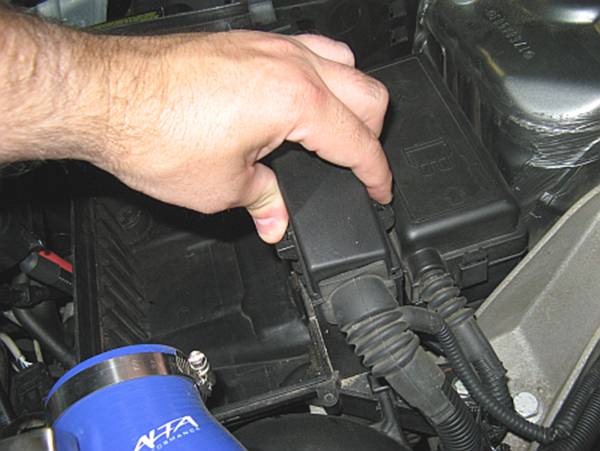
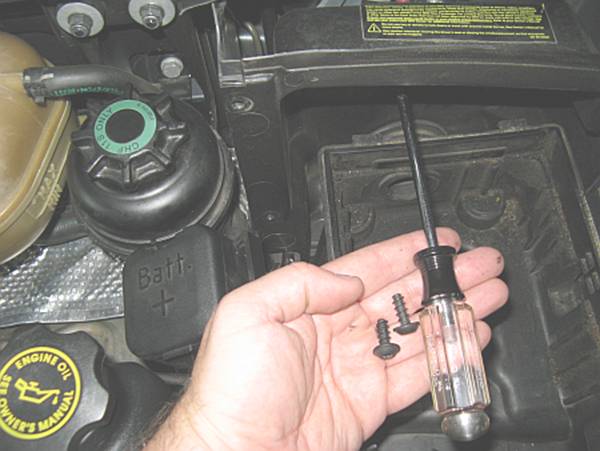
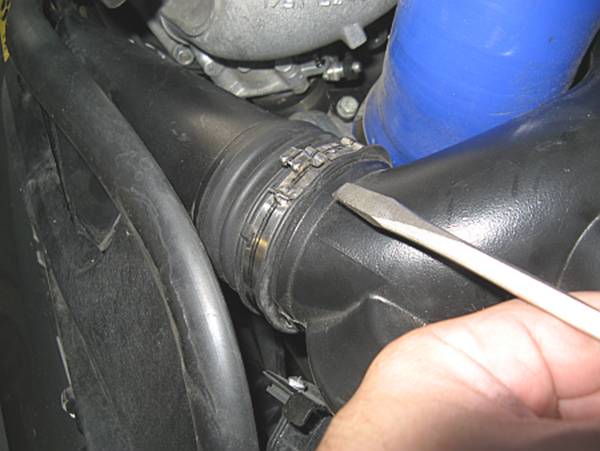
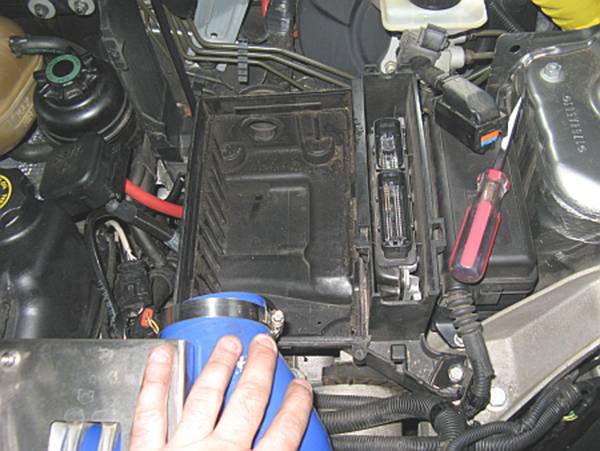
The hose clamp
for the intake tube should be released (OE clamp can be removed using a small
flat blade screwdriver to twist apart) and the two Torx T25 screws at the front
of the airbox lid can be unscrewed. Prior to removing the airbox lid the
battery terminal will need to be lifted up and over the retainer slot to
separate it from the airbox lid.:

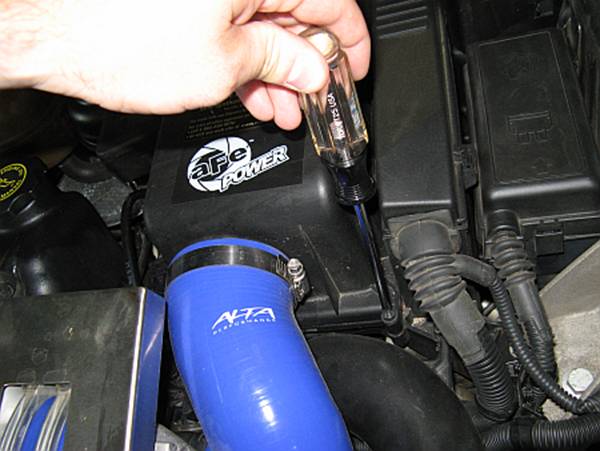
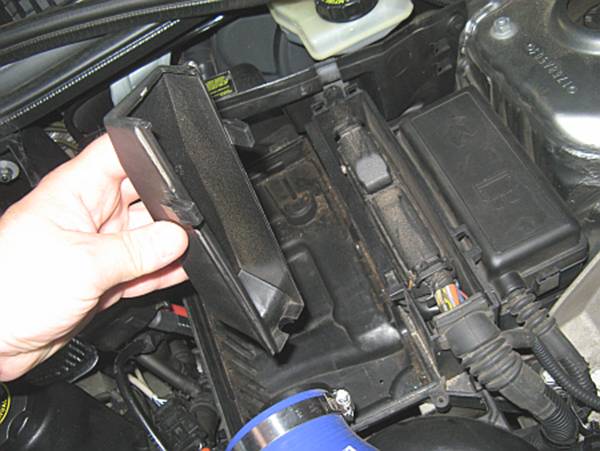
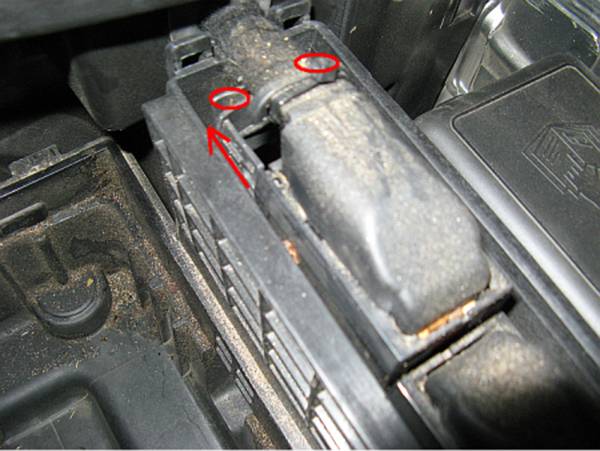
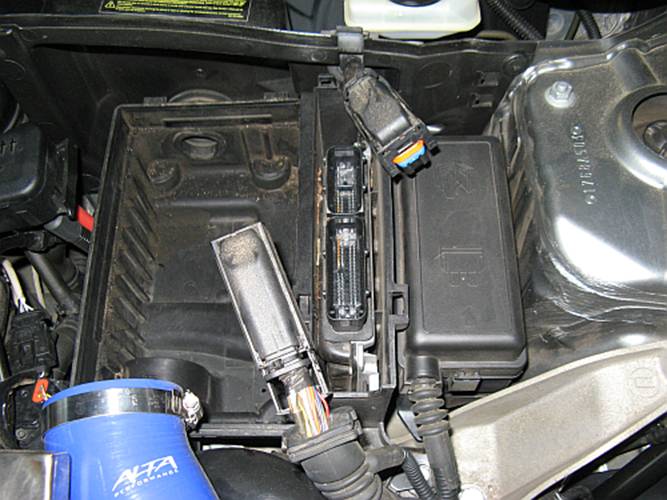
Remove the
ECU cover by pushing the two tabs at the front, lifting up and pulling out. The
wiring plugs can be removed from the ECU by pulling the locking tabs out (you
DID disconnect the battery, right?), the locking tabs use cams and as they are
pulled out will separate the plug from the ECU- you will notice two indentions
in the tab for fingers, for the rear plug pull the tab to the rear and for the
forward plug pull the tab to the front to separate. When reinstalling plugs,
the connectors are placed in the socket and the clips pushed back in to pull
the plugs down on to the ECU connector:
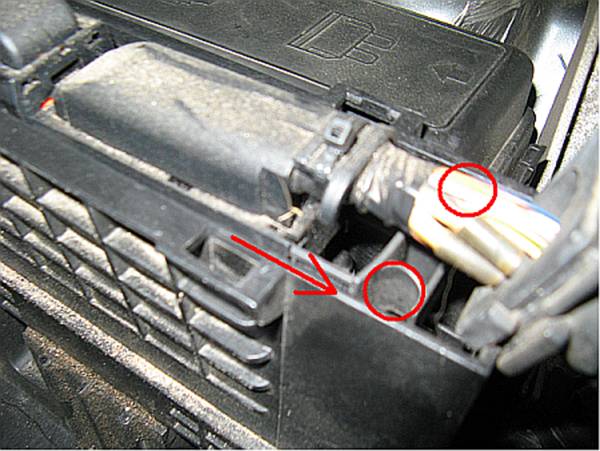
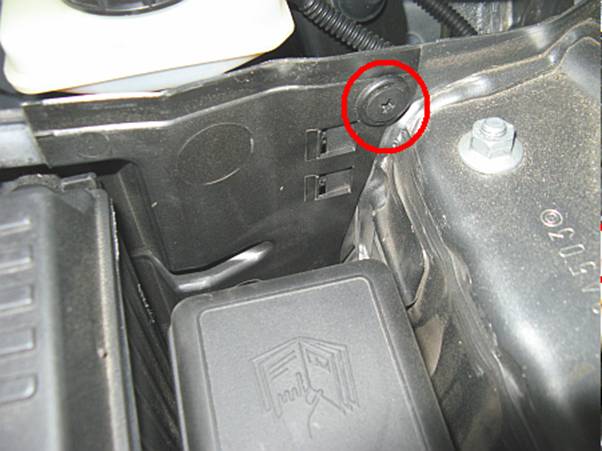
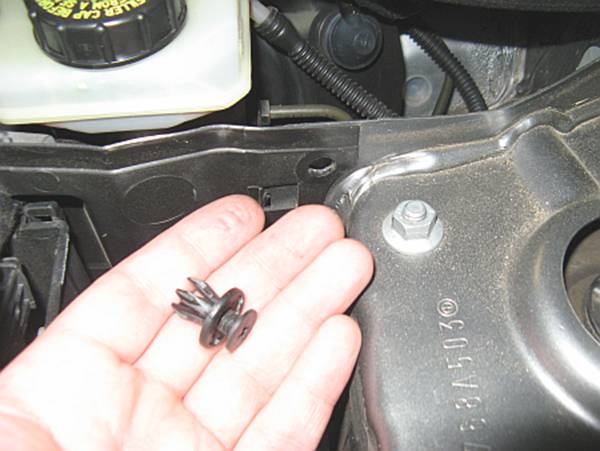
Looking
directly behind and to the right of the ECU, you will see one Philips head
plastic screw retainer, this can be removed:
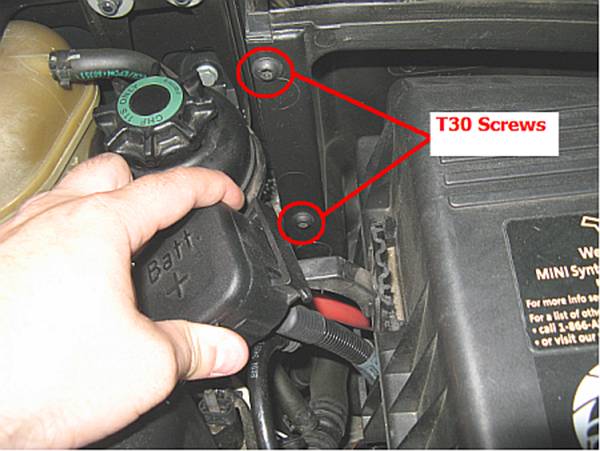
The two
Torx T30 screws on the left side can now be removed:
The
weather-stripping can be carefully pulled up and placed out of the way, it does not need to be removed:

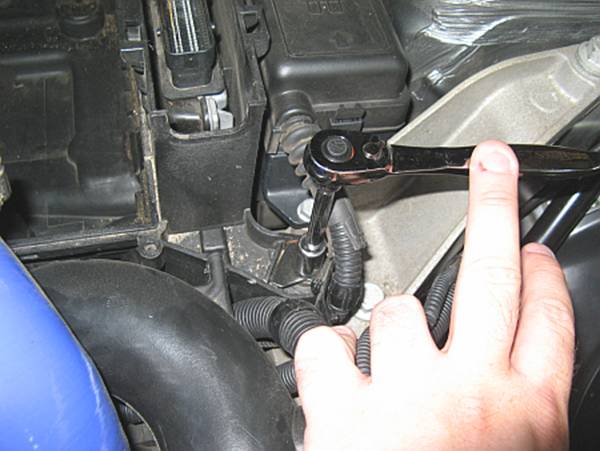
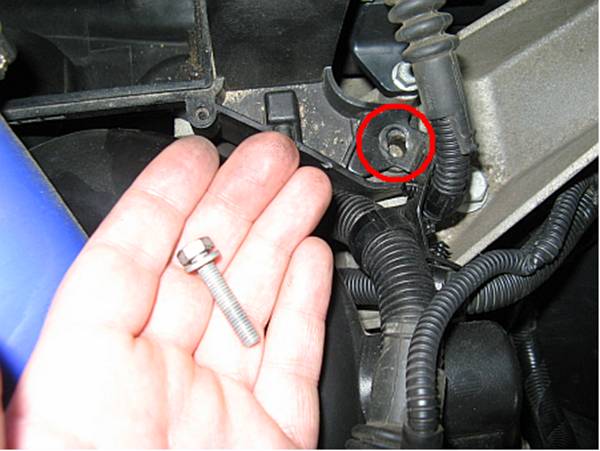
The lower
portion of the box is held in place in one corner by a bolt, removed with a
10mm socket wrench:
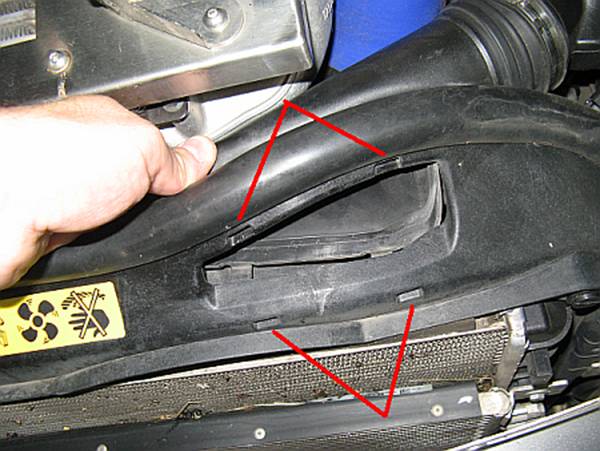
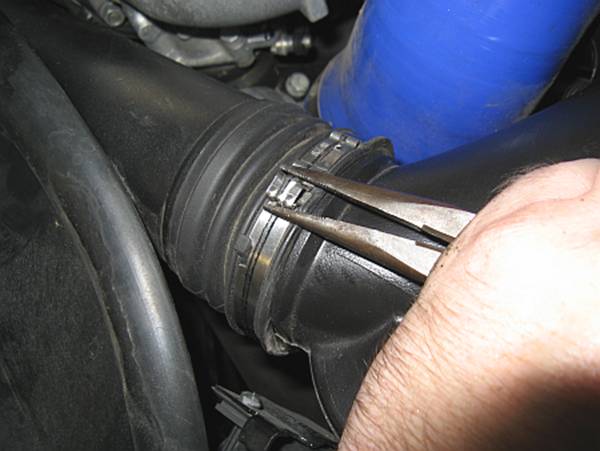
The front
plastic intake/air supply tube will need to be removed. I found this easiest to
do with the front piece removed from the radiator core support, released by
using a flat blade screwdriver on 4 tabs. This front intake piece can be
separated from the rest of the intake tube by inserting a screwdriver and
twisting back to carefully release the clamp, this will be reused so it should
be done carefully to avoid clamp damage. Once separated, the rest of the intake
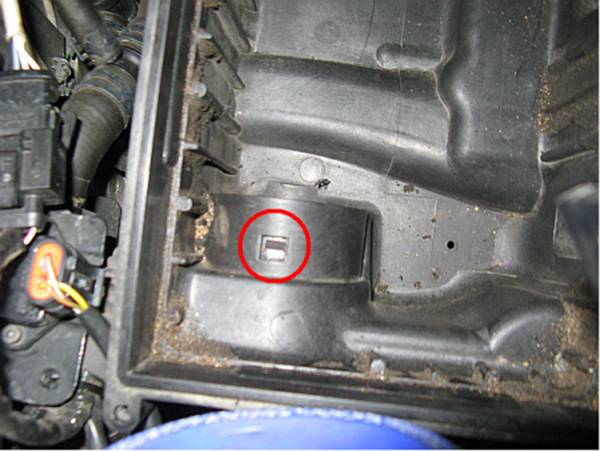
tubing can be carefully twisted out and removed from the lower airbox housing, you may need to release the retainer in the airbox using
a screwdriver. It is somewhat challenging to get the piece out since the noise
suppressor tubing is long and goes down in between some pieces, there is also a
plastic retainer on the right side that needs to be pulled out as the tubing is
removed:
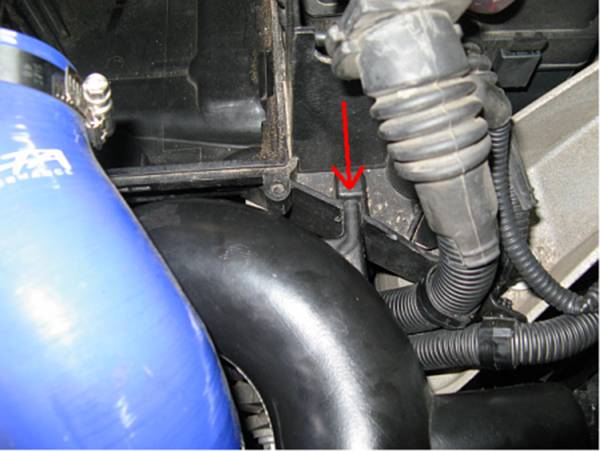

The lower
airbox/ECU housing is pulled up and off the two Torx pins it is press fit down
on to:
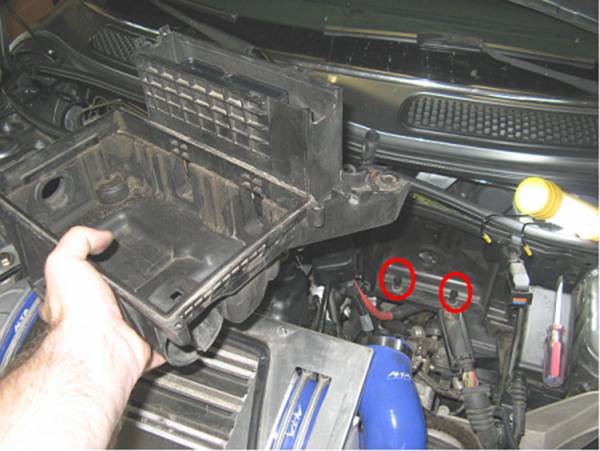
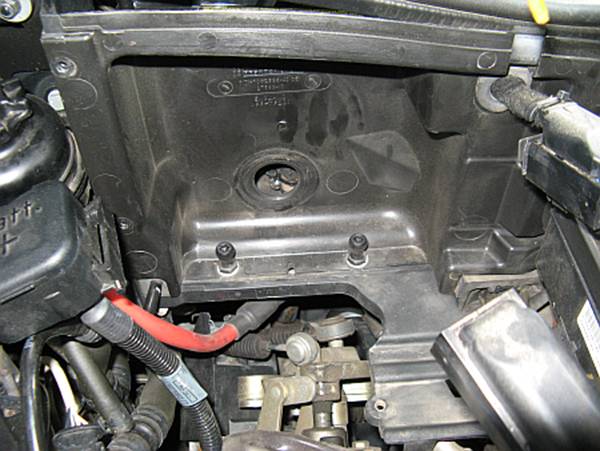
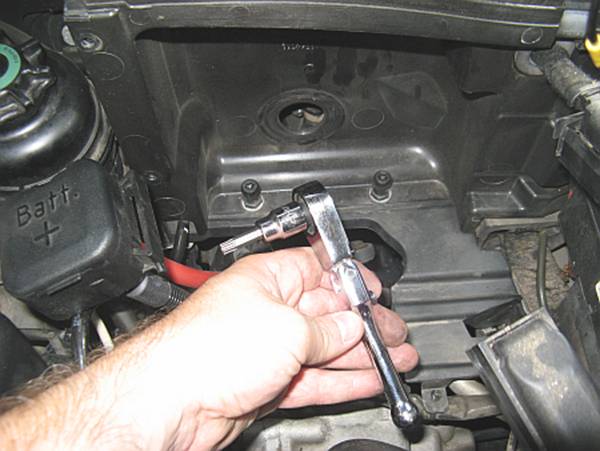
These two
Torx head bolts are removed using a T40 Torx socket wrench:
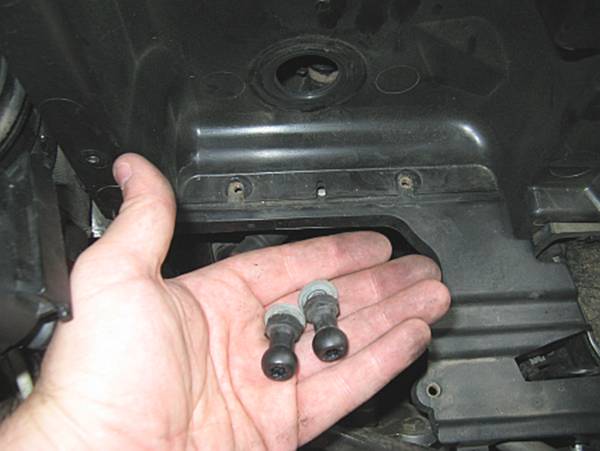
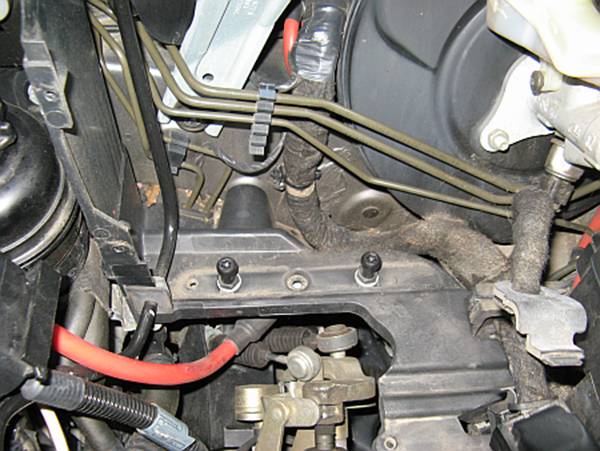
The rear
airbox/ECU wall can be removed and the Torx bolts removed above can be
reinstalled:

The lower
airbox/ECU housing is reinstalled along with the front plastic air intake tube, I found needle-nose pliers work perfectly to snap the
OE tube clamp back together:
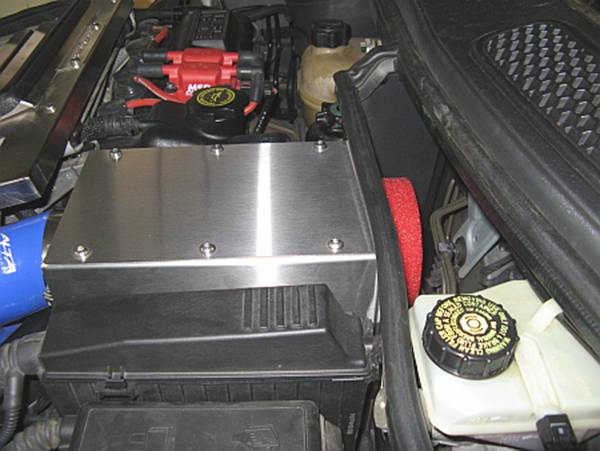
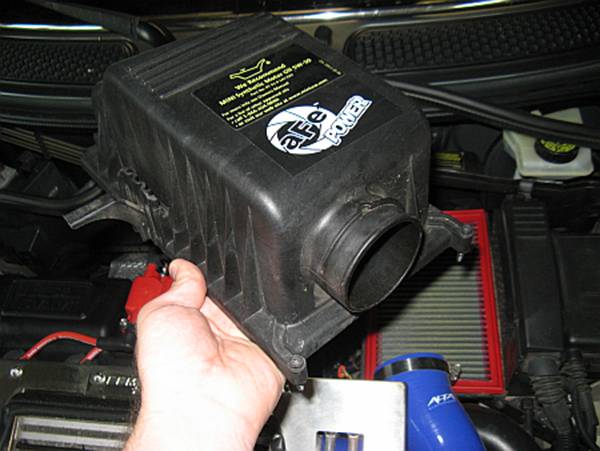
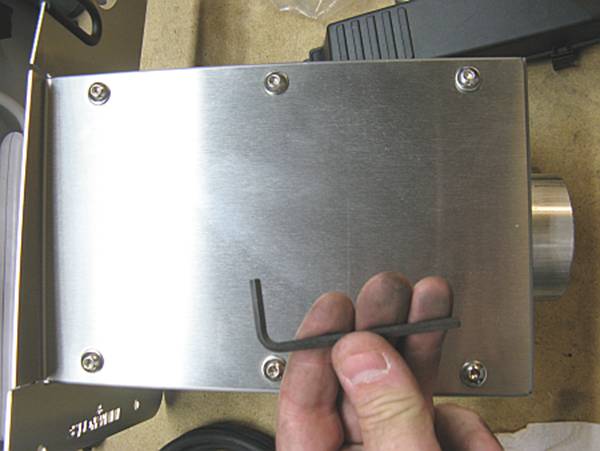
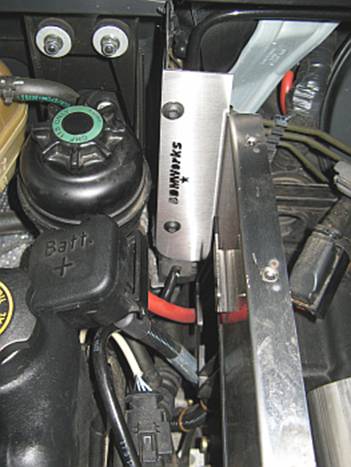
In
preparation of installing the DDM CAI, the airbox lid is removed using the
supplied HEX wrench:
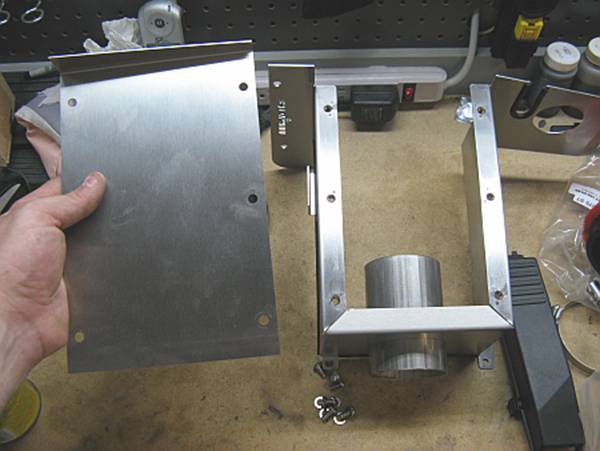
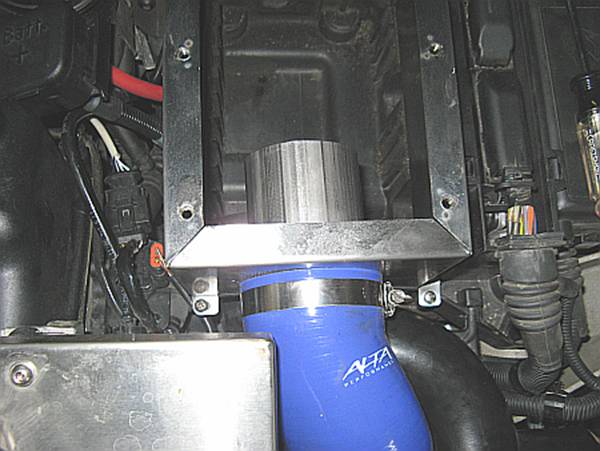
The DDM
intake is placed in to position and the T30 Torx screws installed. The supplied
Phillips head screws are installed up front and the air intake tube reinstalled
and clamp tightened. The plugs for the ECU can also be reinstalled, the rear
connector goes through a rubber grommet that can be pulled back/down since it
is not used with this intake, the wiring harness is
placed into the slot on the CAI:
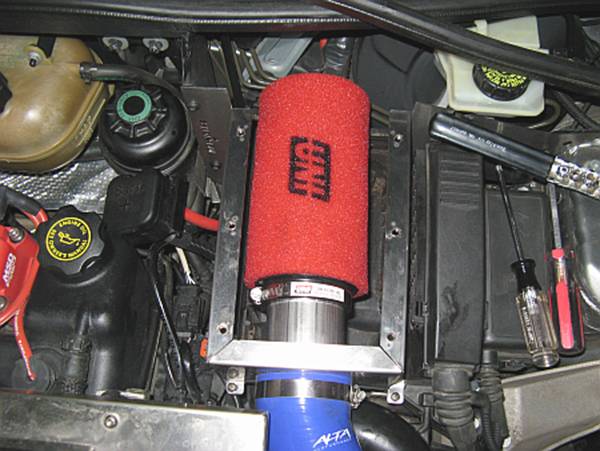
The UNI filter
is installed and clamp tightened, ECU cover is installed. With the UNI filter I
found using brake cleaner sprayed on a shop towel can be used to clean the
intake tubing in the box and the inside of the air filter seal to help the
filter clamp on without sliding off:
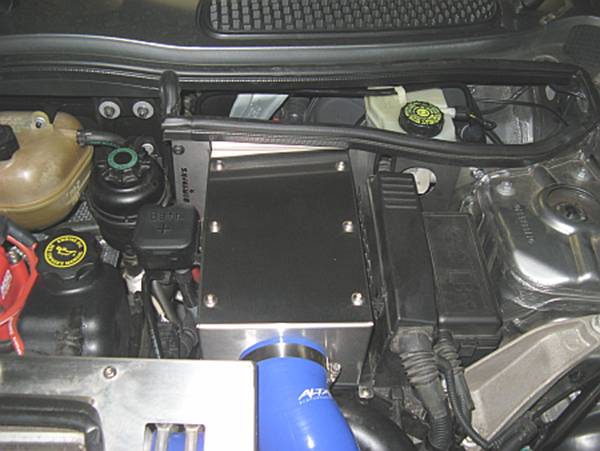
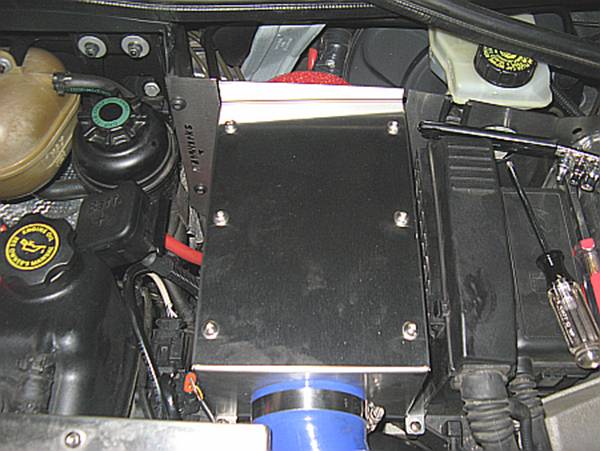
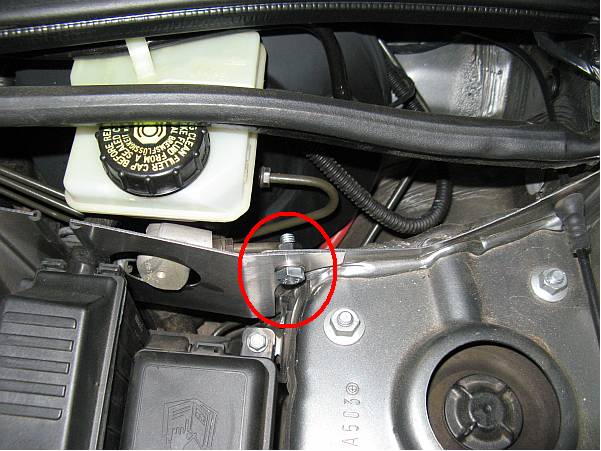
The airbox
lid is installed, you may have to flex the CAI housing
to get the screw holes to line up. The supplied right side bolt is also
installed using 13mm wrenches. The airbox bolts should all be tightened now
that they are all started; the two left T40 bolts, the airbox HEX screws, and
the right side bolt/nut:
The
weather-stripping is reinstalled and the battery terminal placed on the
retainer slot, time to go listen to the supercharger now: