![]()
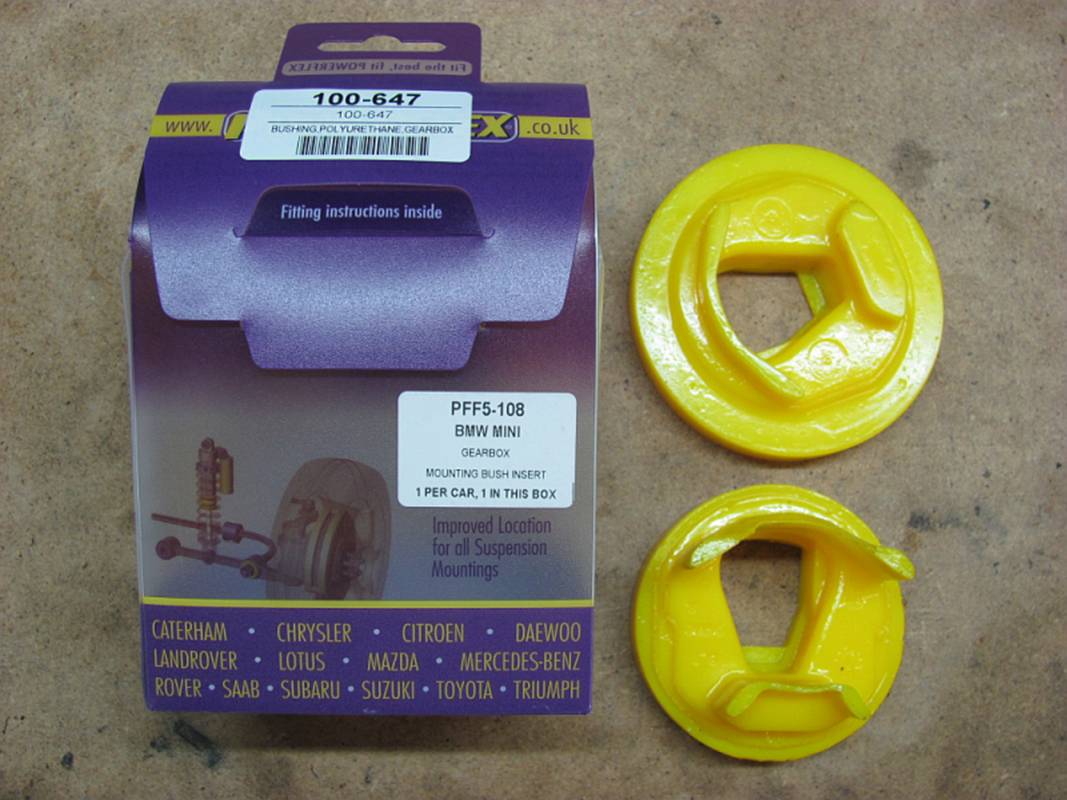
Installing MINI Cooper PowerFlex
Gear Box (Transmission)
Bushing Inserts
After some
mixed reviews on the forums I decided to try these out-
they were cheap and fairly easy to install at under $30 and about 1 hour of
time. Some said these bushings caused a LOT more NVH and just to do the upper
and lower engine mounts while others felt they were fine.
Way
Motor Works stocks these and he is a big proponent of PowerFlex
bushings.
I already
had the ![]()
Standard
Disclaimer: ANY USE OF THIS INFORMATION
BY YOU IS AT YOUR OWN RISK. I ASSUME NO LIABILITY FOR YOUR USE OF THE BELOW
INFORMATION.
Installation:
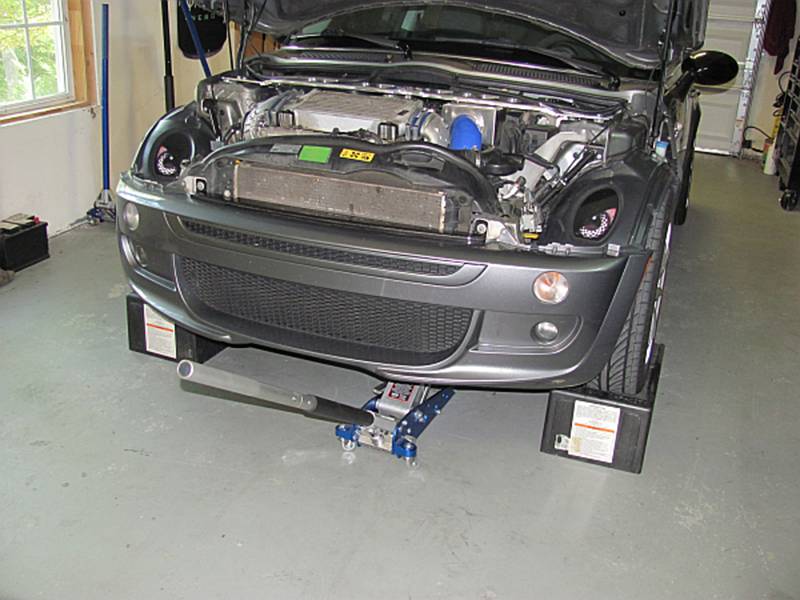
First step
is to get the front of the car up on ramps or jack stands:
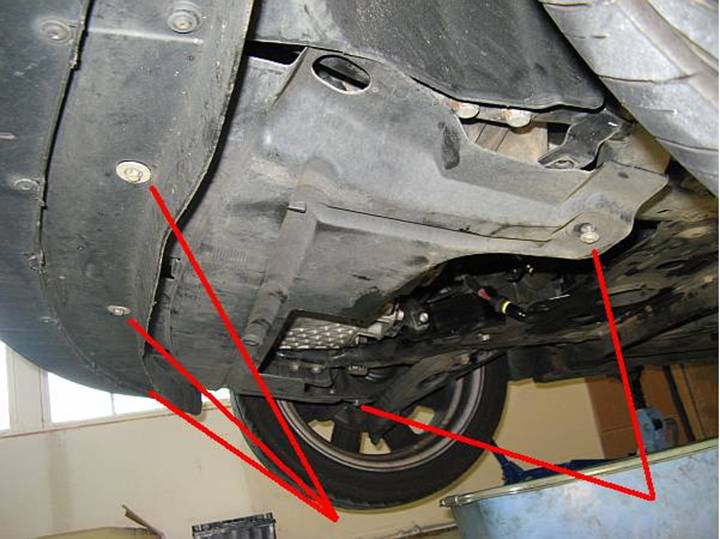
The
plastic engine shield will need to be removed so that a jack can be used to support
the transmission; two Phillips screw retainers will need to be released after
removing three bolts up front with a 10mm wrench:
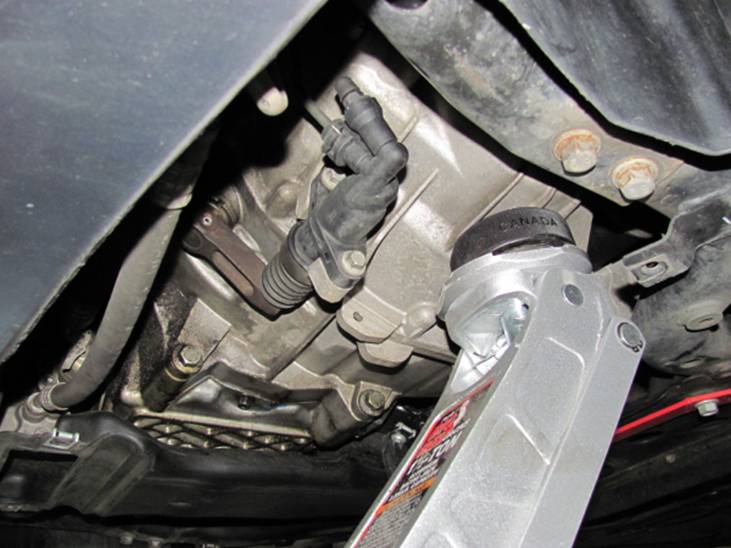
The jack
in the 1st picture above is supporting the transmission (not lifting
it, supporting it- if you see the transmission or car start to lift you have
gone a bit too far). I use a hockey puck to pad the jack:
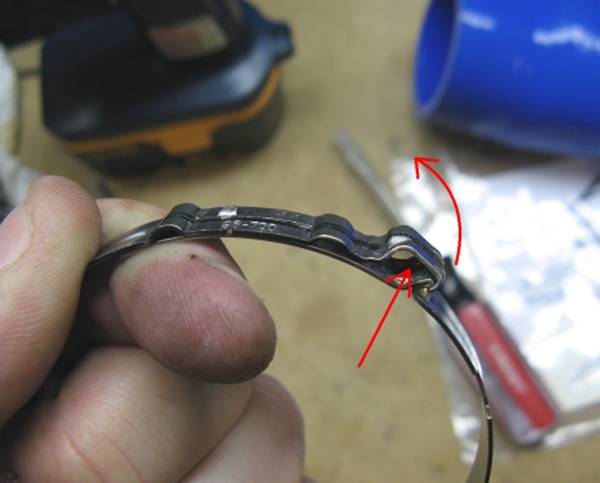
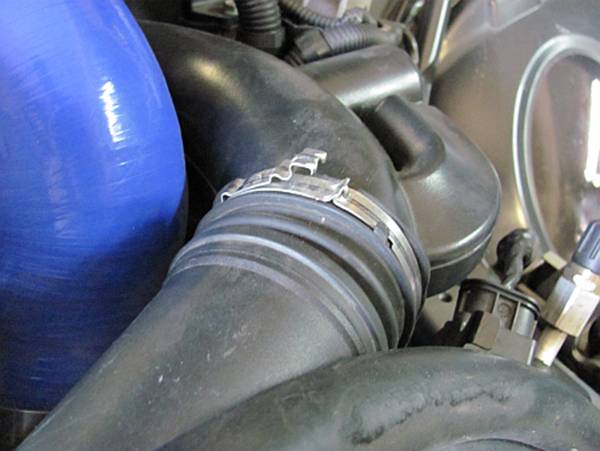
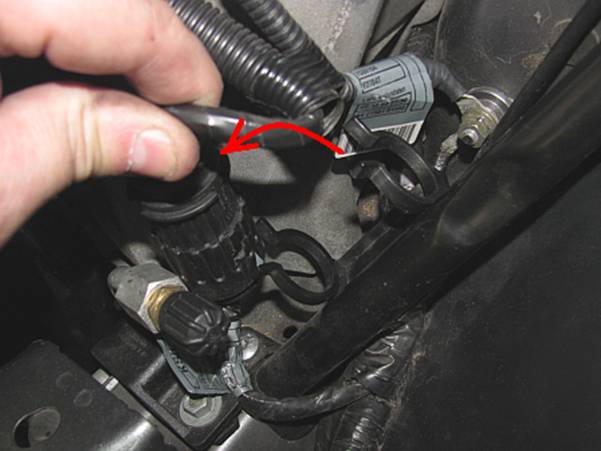
Use a
small screwdriver to release the clamp by placing in the space and twisting. It
can be re-clamped using large arc-joint pliers. This same type of clamp is also
used with the air intake hose and this process can be used there as well on the
airbox side- no need to remove it from the throttle body:
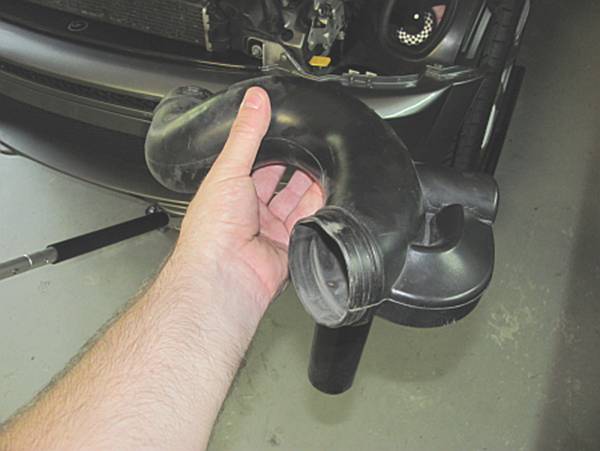
The
plastic intake tube is removed, it is pulled free from the lower airbox after
the above clamp is undone and the tube removed from the intake scoop:

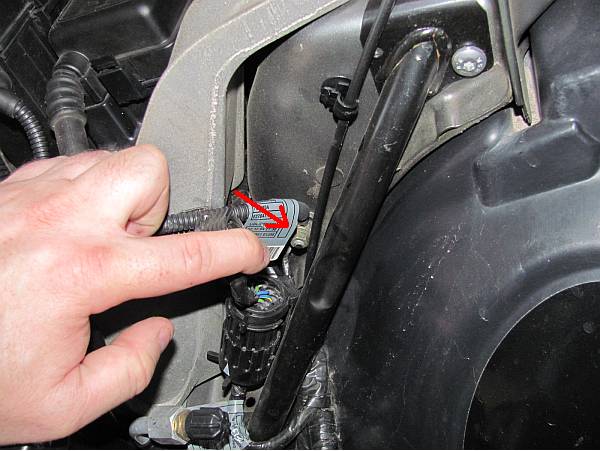
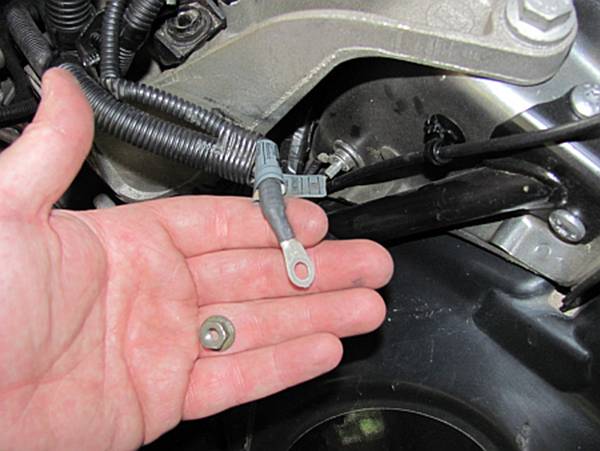
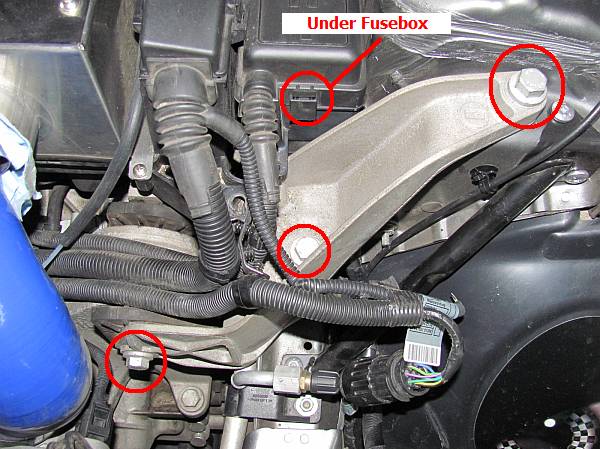
Remove the
ground wire nut beside the mount- you will need some slack here to remove the
mount:
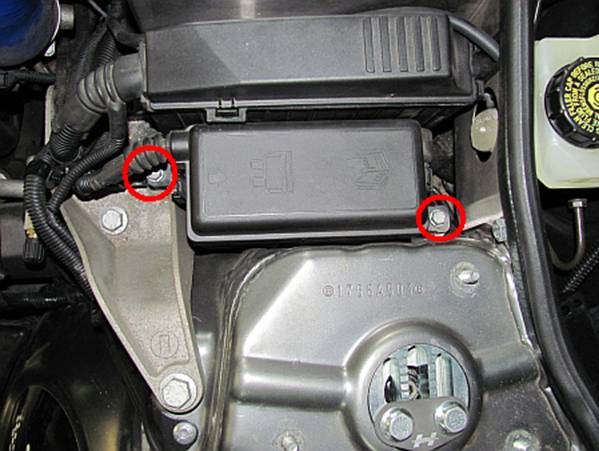
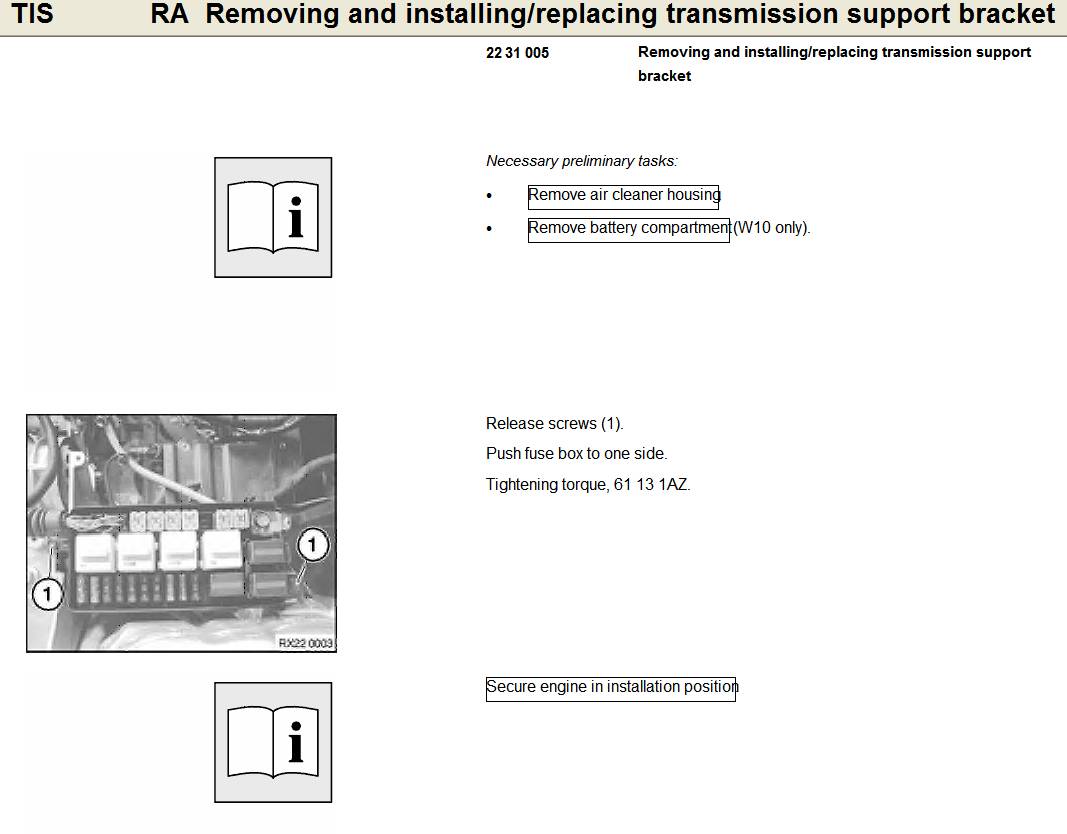
Using a
10mm socket wrench and extension, remove the two bolts holding the fuse box in
place:
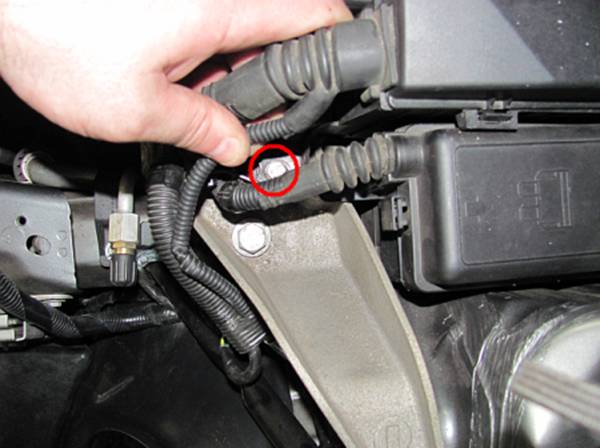
Using a 10mm
socket wrench also remove the bolt for the wire harness holder and lower
airbox:
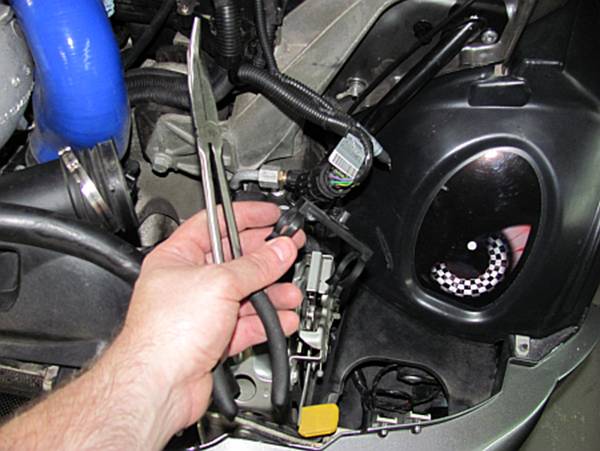
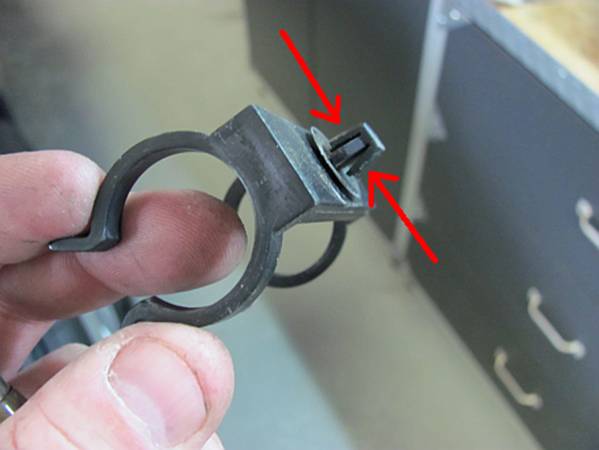
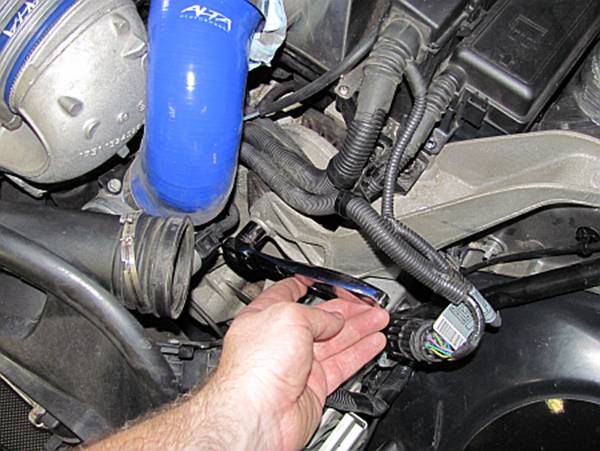
There is a
wiring harness plug and holder next to the mount. You can just unclip the plug
from the holder, I also elected to remove the holder to avoid breaking it and
to provide a bit more room using needle nose pliers to compress the retainer
ears and pull out:
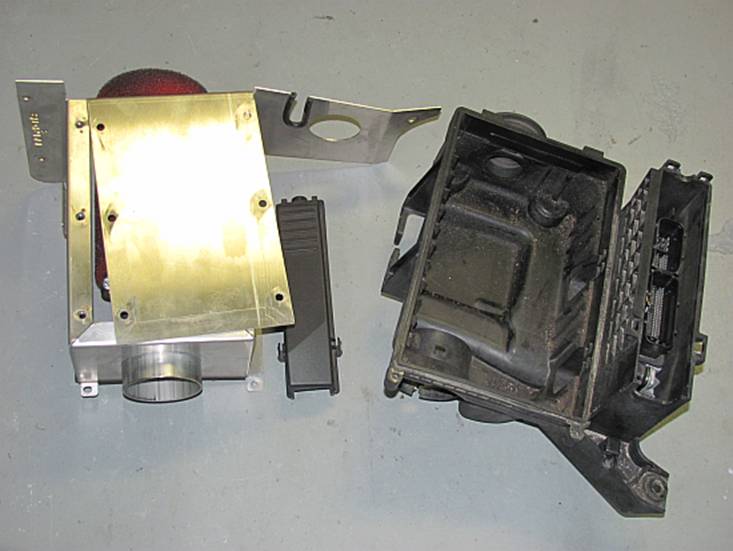
I thought
I might be able to workaround the airbox removal but that was not the case- go
ahead and take it out after disconnecting the battery ground cable. If you need
help with the airbox/ECU removal see my write-up for details http://www.billswebspace.com/MiniR53DDMCAI.htm
:
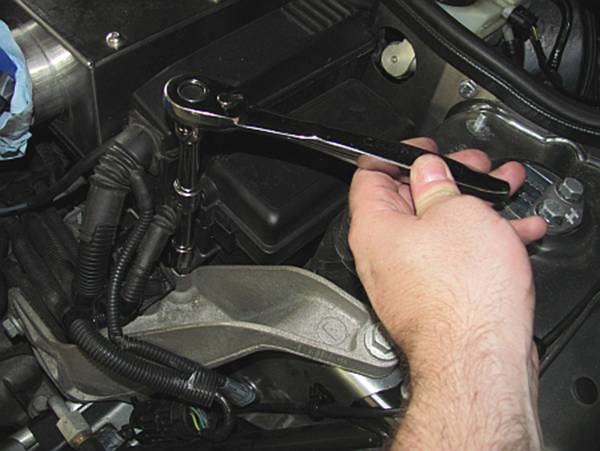
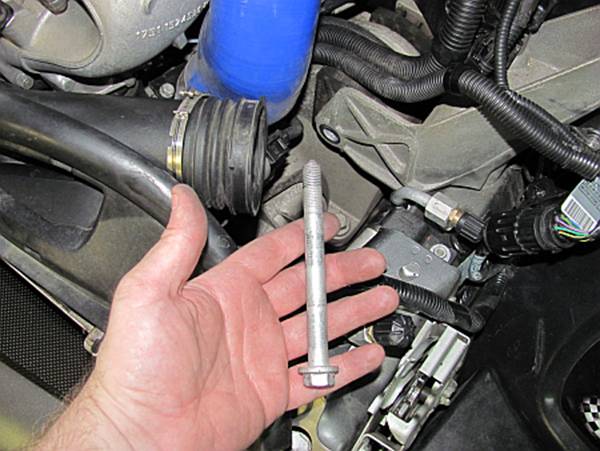
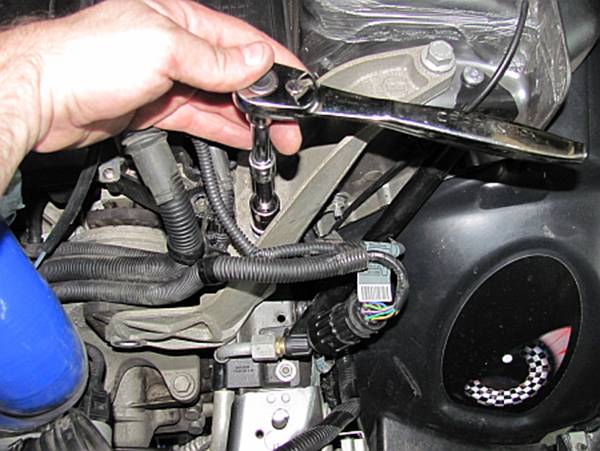
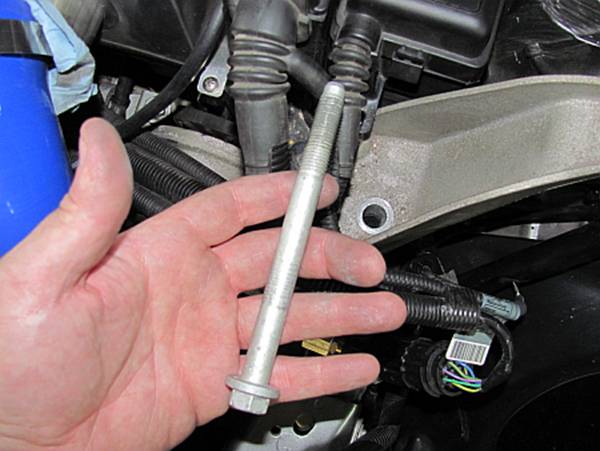
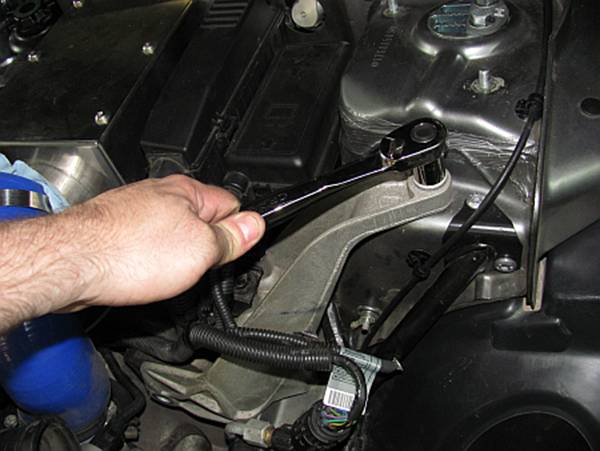
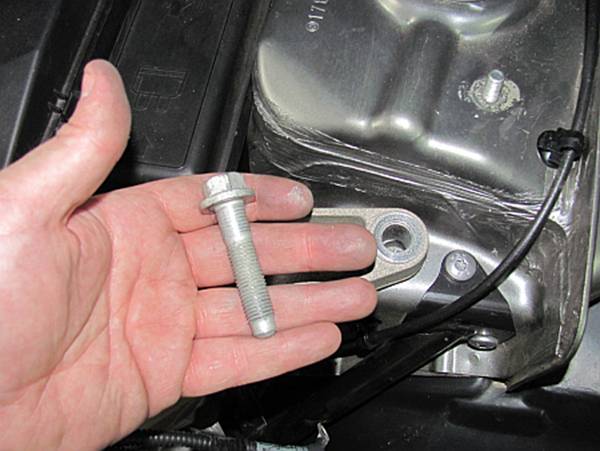
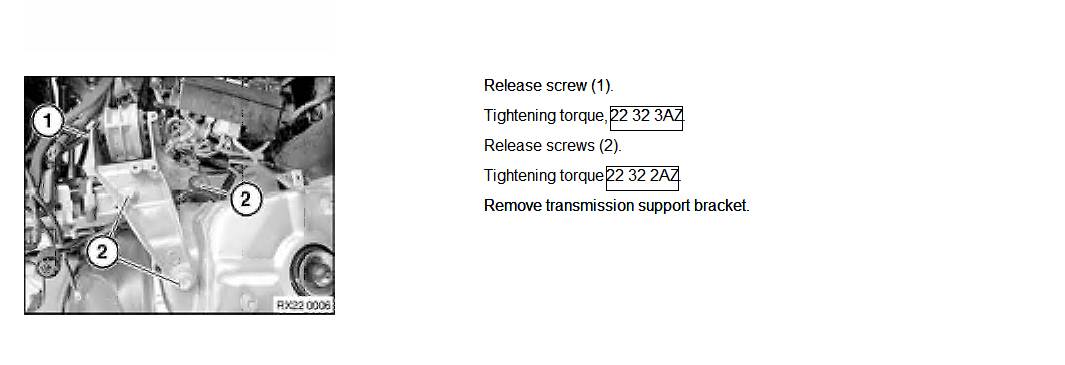
Next up is
the four bolts holding the mount in, removed using a 16mm socket wrench with
extension(s):


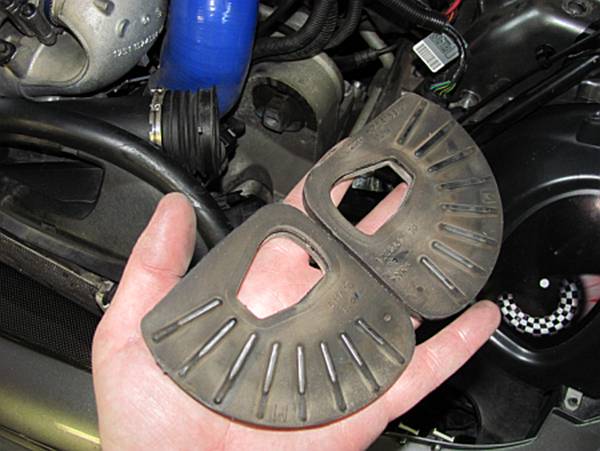
The rubber
inserts are thin and you might have seen that there was some airspace between
the mount and these pieces. Remove them:
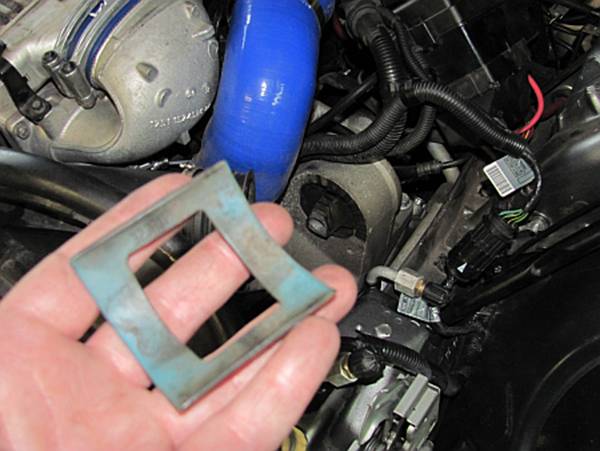
There is also
a piece of plastic that need to be removed:

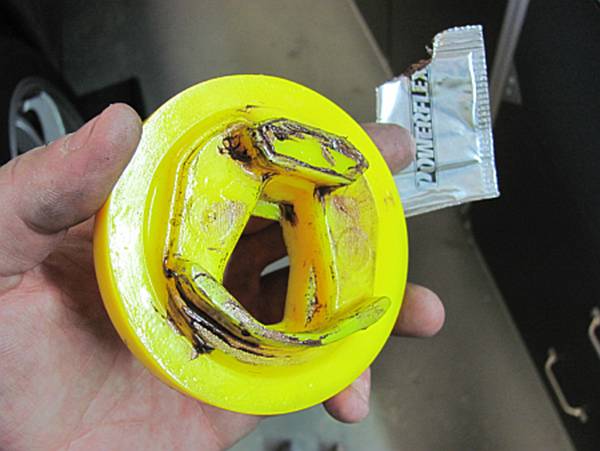
I had read
these inserts were tough to install and since I had some Powerflex lube left
over from past bushing installations (none came with these), I lubed the points
that would be inserted in to the OE bushing:
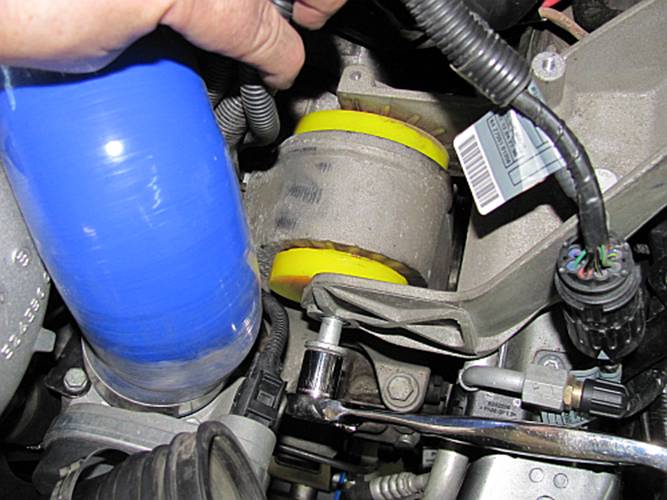
The
bushings are two different sizes, I put the smaller diameter on at the front
and the larger diameter one at the back:

The mount
is carefully slid back through the wires and over the new bushings- remember
how the wires go and on which side of the mount they belong. Go ahead and start
the bolt for the mount/bushing and run it almost up to the mount, not tight.
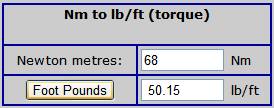
The three remaining mount bolts are loosely installed and tightened to TIS
torque specs (specs at the end of this write-up). You may have to use the jack
to get the transmission and mount positioned just right so all of the bolt
holes line up. All other reassembly is opposite of removal ![]()
![]()
1
2![]()