![]()
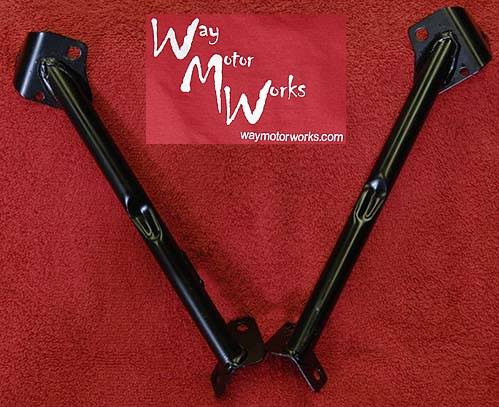
Installing Cabrio
Braces on an R50/R53 Mini Cooper
Cabrio
braces came installed on Mini convertibles to stiffen the chassis and eliminate
rattles. These braces can only help the hard top and at the price of ~$45 they
are hard NOT to buy and install just to know you have done all you can do. I
purchased mine from Way’s online store (Way
Motor Works), he includes both braces and the eight Torx Head bolts
required. Some early build Minis do not have the required bolt holes so I would
check your pre-2004 build car before ordering.
Standard
Disclaimer: ANY USE OF THIS INFORMATION
BY YOU IS AT YOUR OWN RISK.
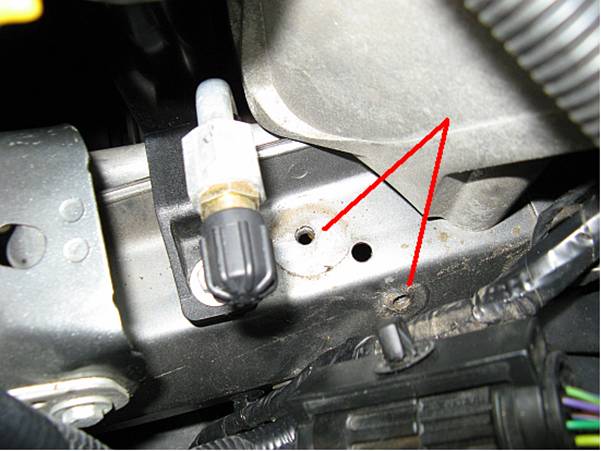
You can
see, looking at both sides, the plastic plugs where the bolt holes for the
brace are:
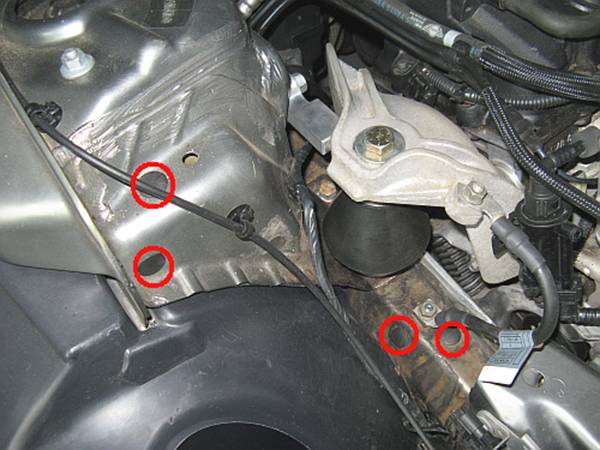
The driver
side (left side
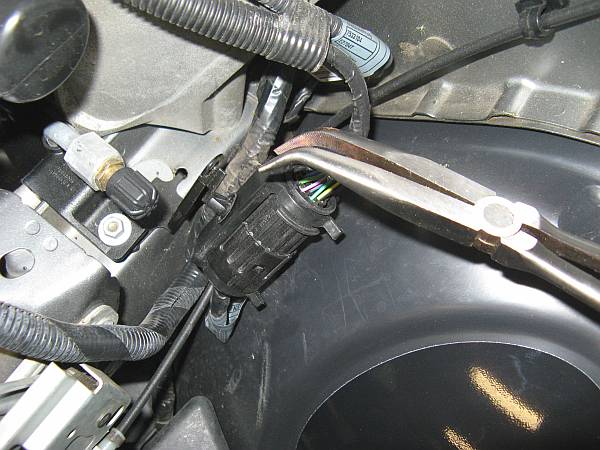
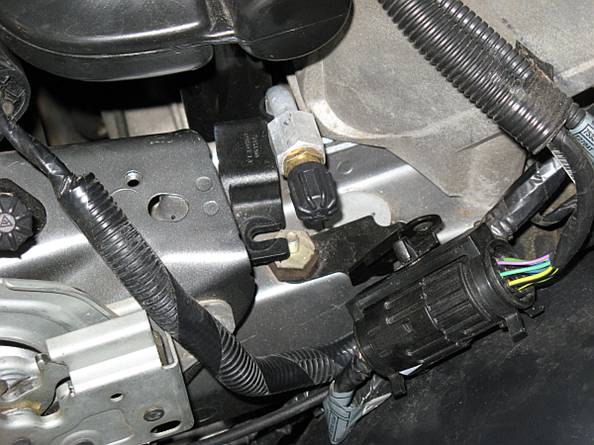
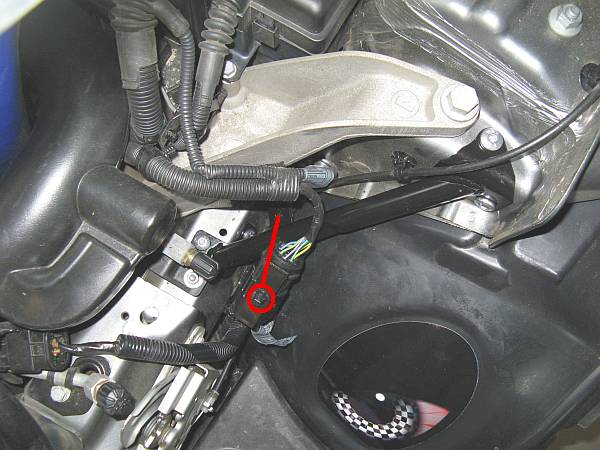
There is a
wiring plug that is attached to a metal bracket, using angled needle nose
pliers the retainer ears are pressed down and the plug is released from the
bracket:

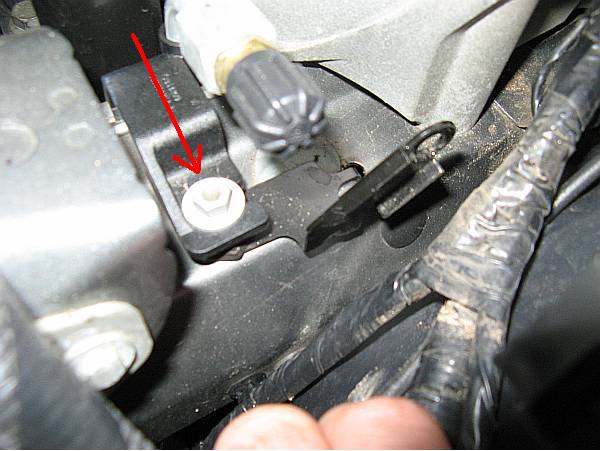
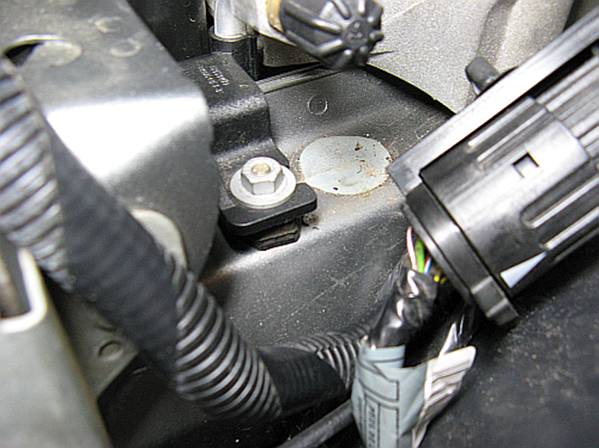
Using a ¼”
ratchet with an extension and 10mm socket, I removed the single nut holding the
plastic hose bracket down to the rubber spacer on top of the metal bracket we
want to remove. After the nut is removed and the plastic hose bracket moved to
the side, the rubber spacer can be unscrewed by hand (or maybe with a little
help from some pliers); it is screwed into a bolt hole in the car. The bracket can
now be removed.

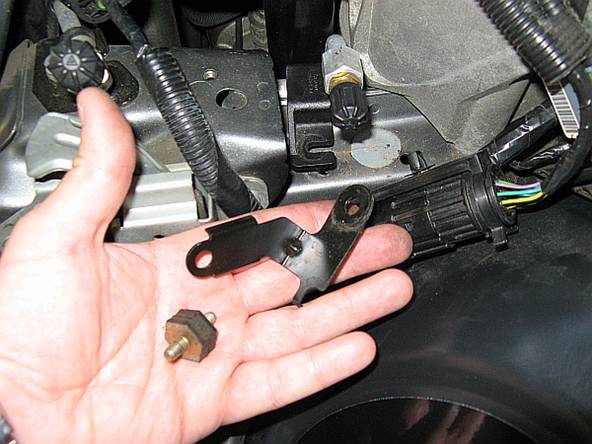
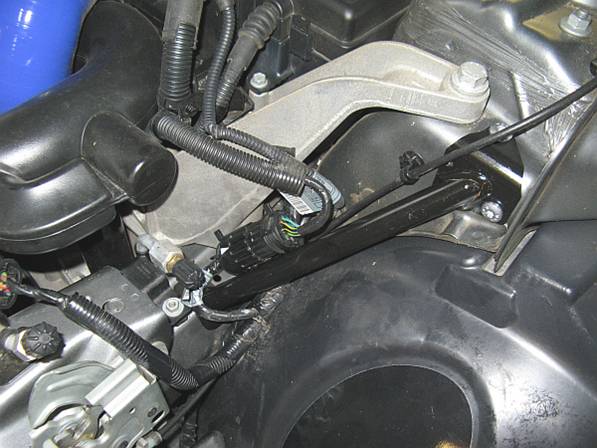
The rubber
spacer is screwed back into the car and the bolt holding the plastic hose
bracket down is replaced and retightened:
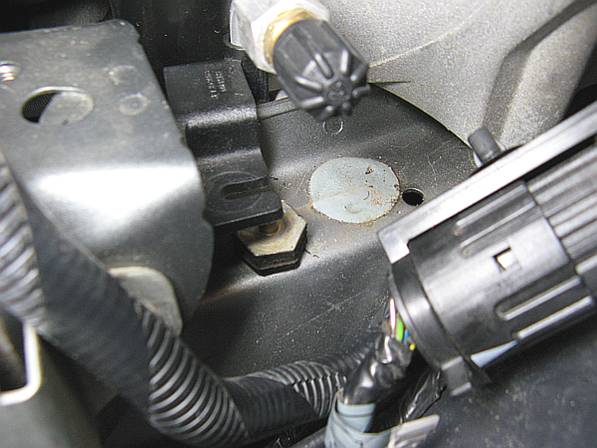
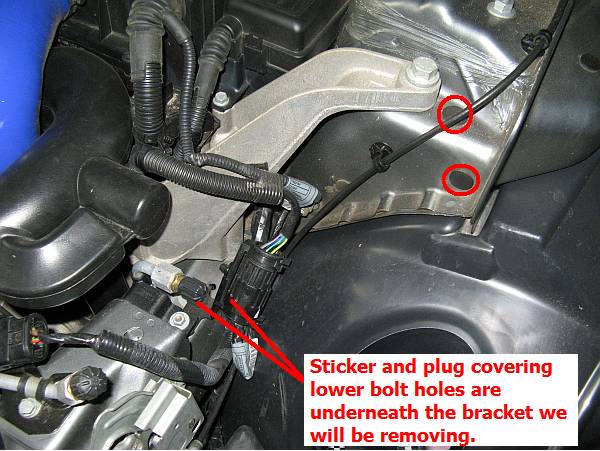
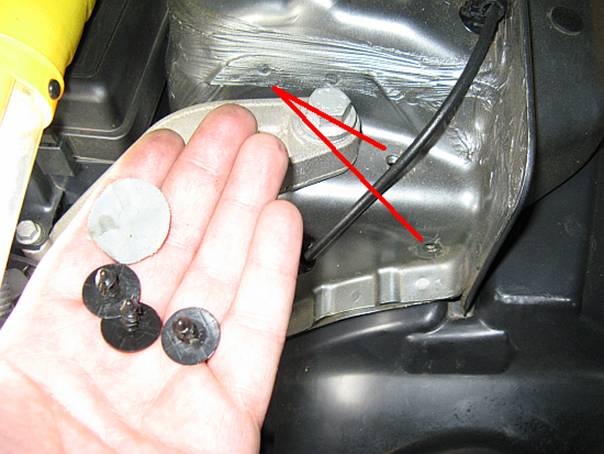
The
sticker is peeled off and the three plastic plugs are removed carefully using a
screwdriver and/or needle nose pliers:
NOT
PICTURED STEPS- I also removed the plastic caps on the passenger side (right
side
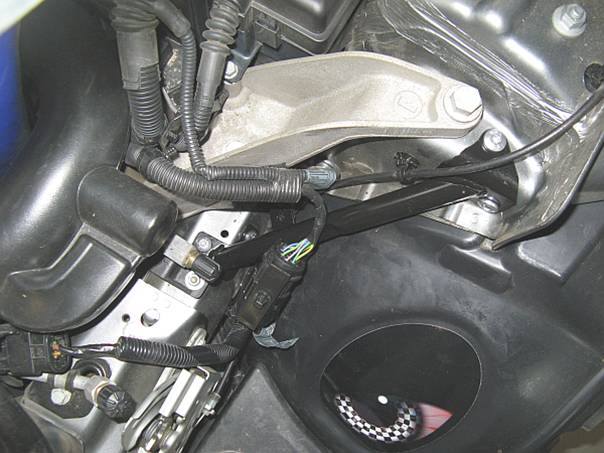
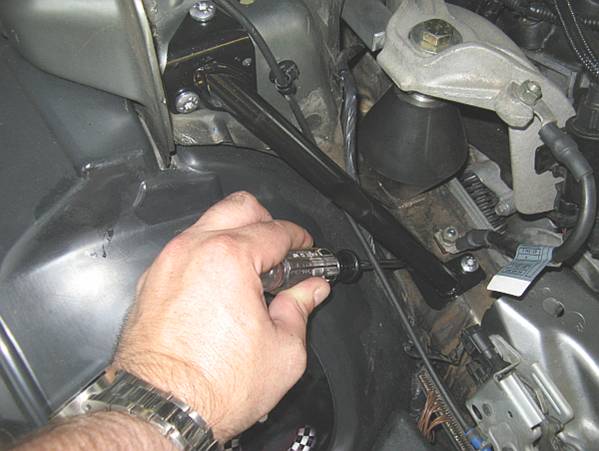
The brace
on the driver side has to be located among some wiring looms so carefully feed
it through using pictures below as a reference. You might note that the brace
for this side has a bracket with a hole that replaces the bracket we removed
earlier. The Torx bolts are started by hand in all holes and tightened
gradually moving from bolt to bolt using a T30 Torx driver until hand tight.
The bolt on the side of the lower rail is a PAIN to get to when hand starting
and even more painful to tighten. You will be able to reach this bolt to
tighten it by carefully maneuvering the driver through the wires and pressing
the handle against the plastic fender piece (the piece that is behind the
headlights when the hood is closed), it will flex
enough to give you some room to turn the handle until the bolt is tight. After
all bolts are tight, the electrical connector retainer can be pushed into the
brace bracket.

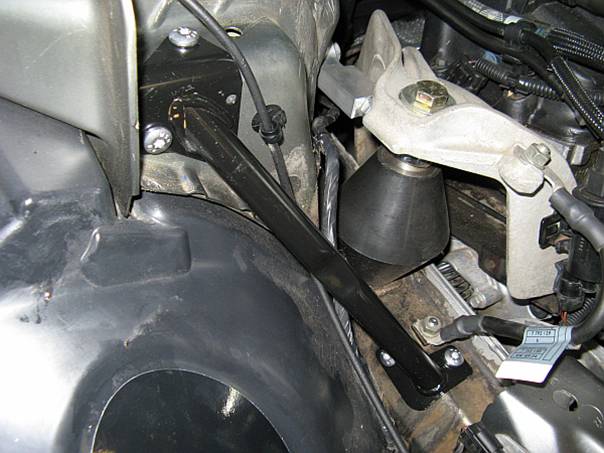
Moving to
the passenger side, the installation is much easier without the wires to work around
although the lower side bolt is still a little harder to get to than the others
in order to tighten:
Completed
installation on the dirty car:
