![]()
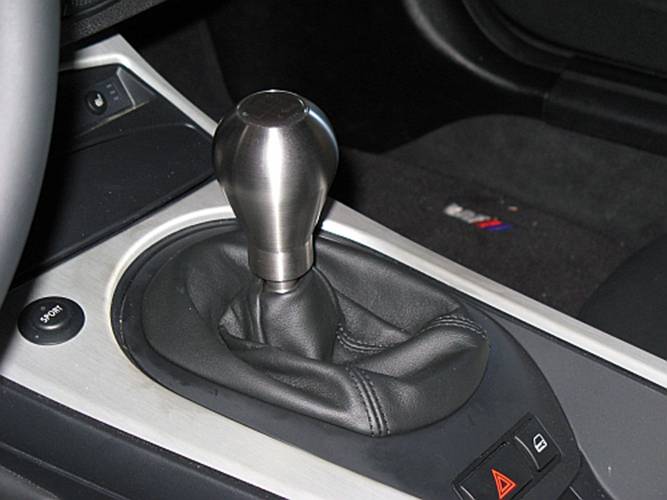
BMW E85/86
Z4 M Coupe : UUC EVO 3 Short Shifter Installation
The UUC
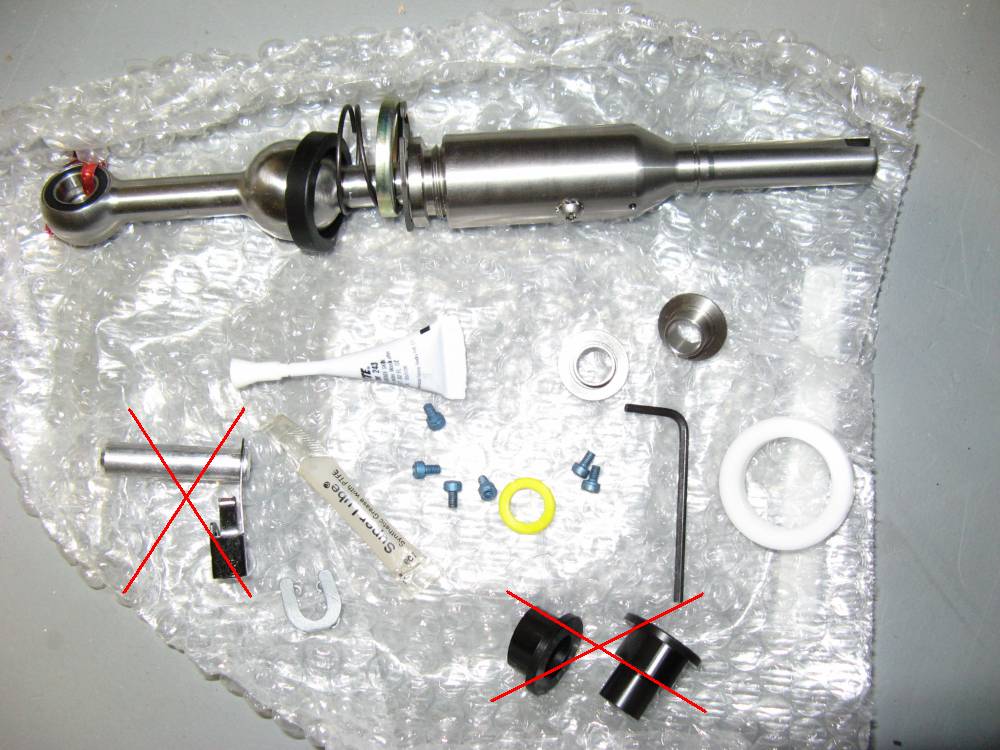
shifter comes packaged with all the pieces needed to install their Evo 3 short
shifter (and some parts you don’t need that are crossed out in the pic below-
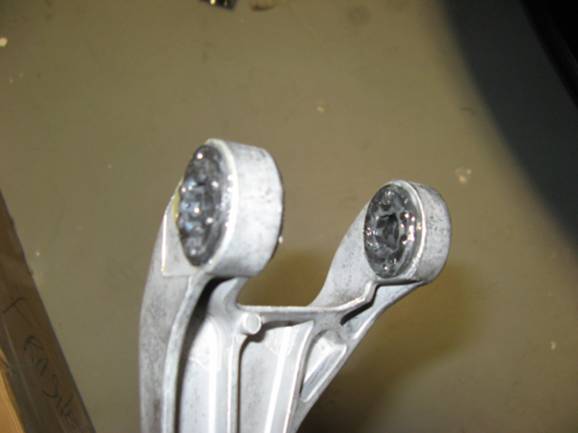
the 6 speed transmission in the MZ4 and some other models has a dual pin mount
at the front of the shifter carrier and these included parts not needed are for
the single pin carriers):
NOTE: The following is provided for information only and any use of
this information by you is at your own risk- the information here is designed
to supplement the UUC supplied instructions so read those carefully before
proceeding:
http://www.uucmotorwerks.com/pdf/shifter_install.pdf
I also have
some more detailed pics and different approaches that may supplement this
information in my 335 write-up HERE , some
similarities.
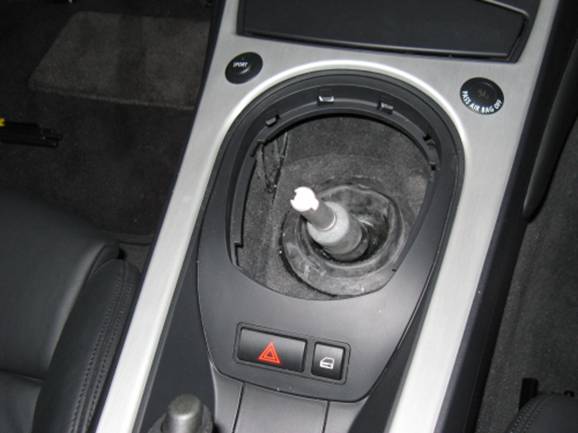
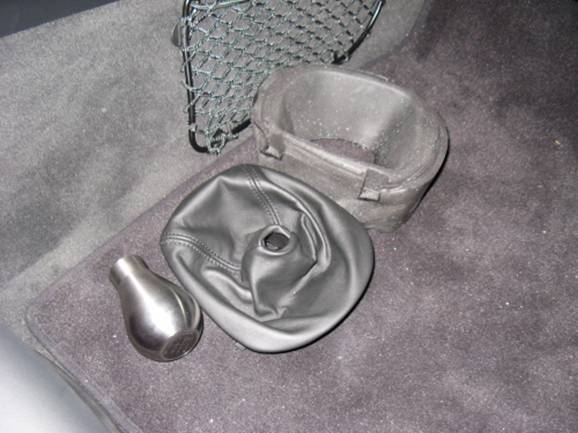
The first
thing I did was to remove the shift knob, the shift boot, and the foam insert
around the shifter. The OE shift knob can be removed by putting the car in 4th
gear and pulling back (don’t forget to unplug it). The shift boot has four
clips that hold it in place, by pinching a corner of the boot and lifting up
you can unsnap it form the console. The foam is just pulled out while
compressing it:
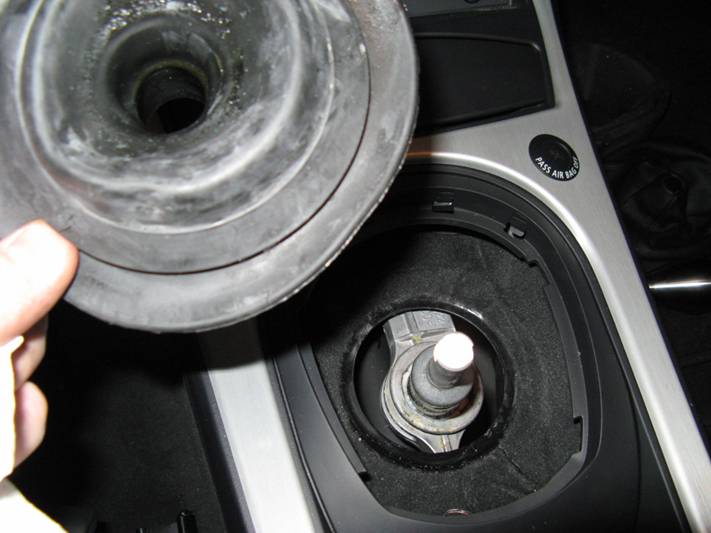
The rubber
boot can be carefully removed as well:
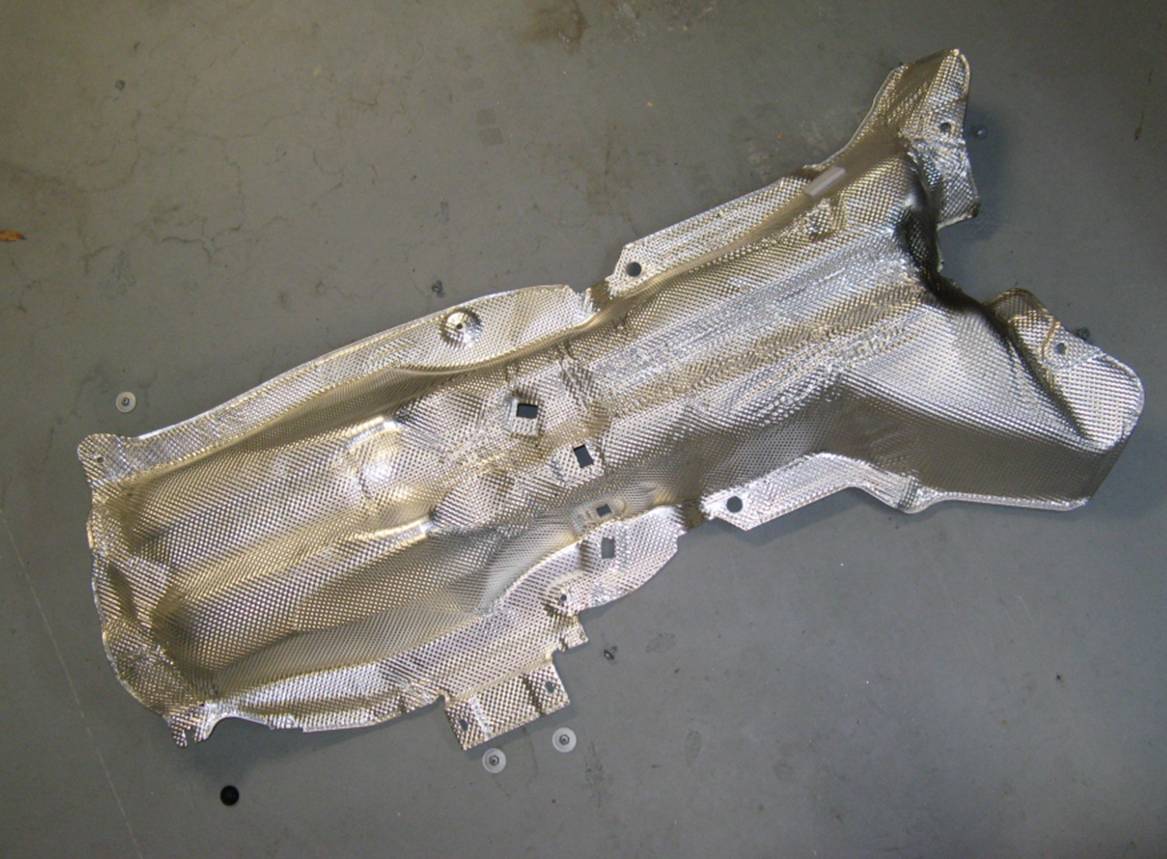
After
exhaust system removal (see guide HERE), the
heat shield will need to be removed to access the lower part of the shifter:
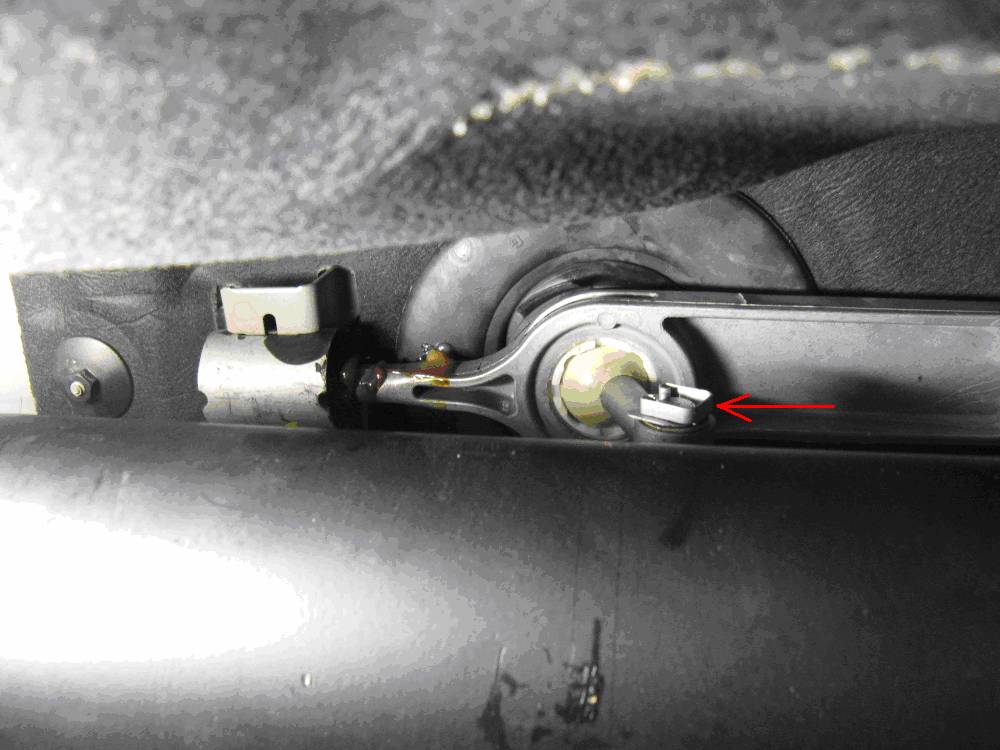
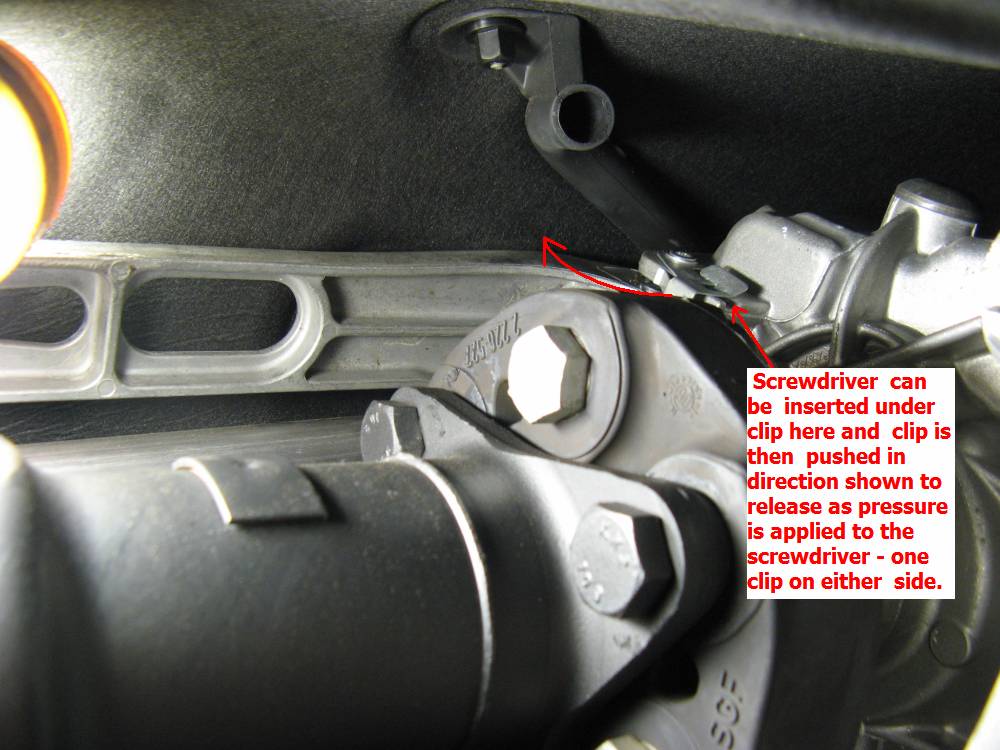
The
shifter is held to the shift rod with a C-Clip, it can be removed with the help
of a screwdriver:
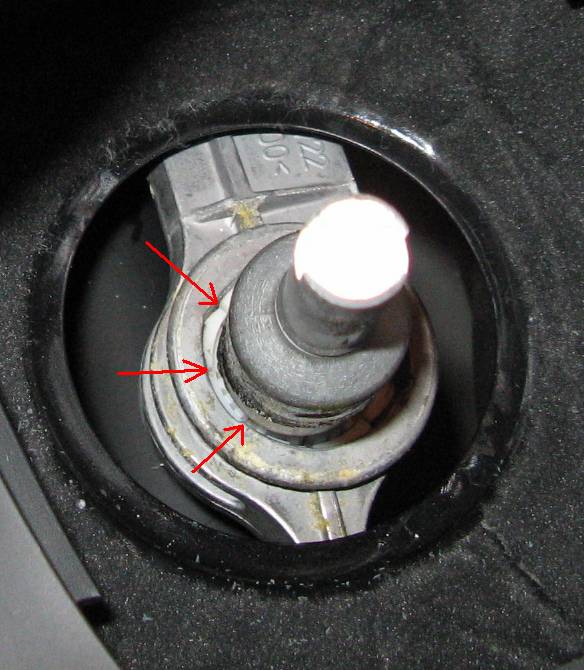
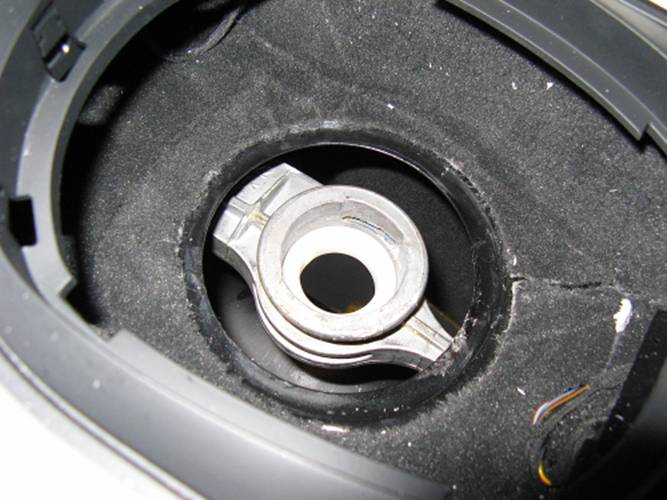
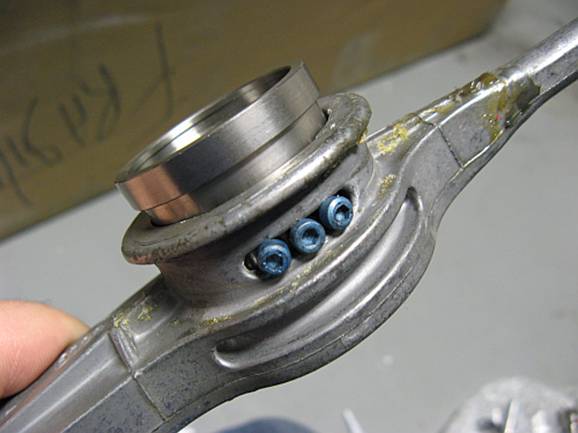
The
shifter is also held to the carrier with a plastic collar, it needs to be
rotated clockwise to release from the carrier slots it locks into. This plastic
collar can be turned by inserting needle nose pliers or a small standard
screwdriver into the slots located around the perimeter of the collar (arrows
show three of many) and rotating clockwise ~90 degrees to release. I was able
to get the collar turned easily with two small flathead screwdrivers on
opposing sides. I have some more pics of this method in my 335 write-up HERE:
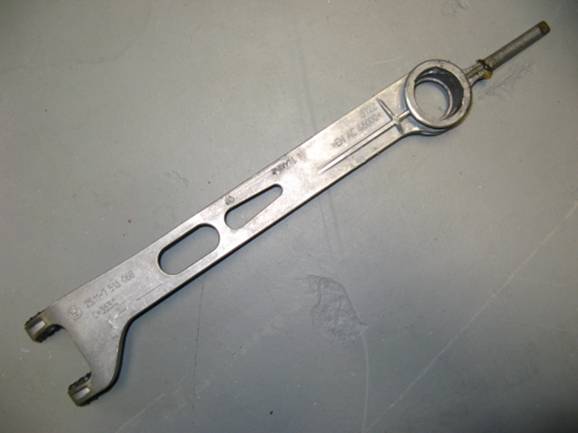
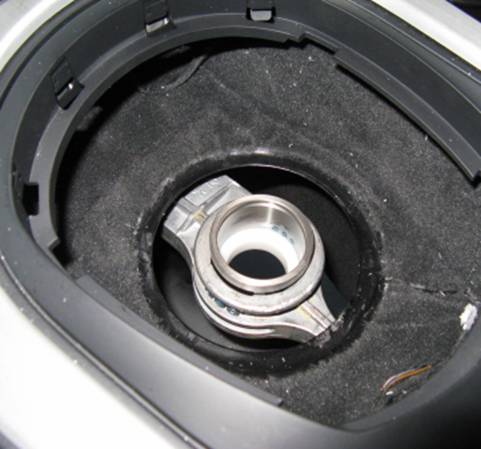
The
carrier does NOT need to be removed but I removed mine to take some pics- it
only took me about five minutes to release the clips on both sides with a
screwdriver, push the mount up and forward to release the rear pin, and
carefully maneuver the carrier out around the driveshaft and transmission (I
didn’t have to drop the transmission to do this):
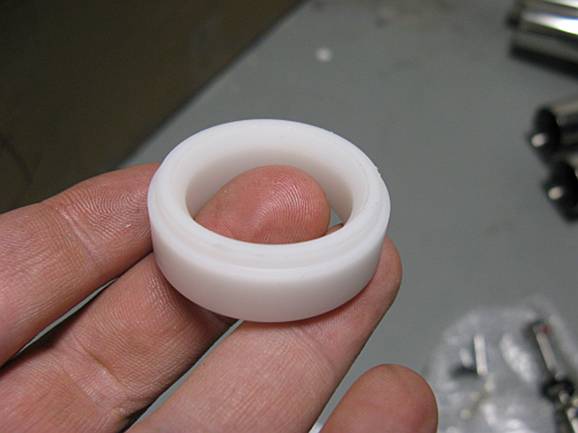
Next the
white ring bushing is placed in the carrier with the lip and cup towards the
top, pics with the carrier removed shown for clarity:

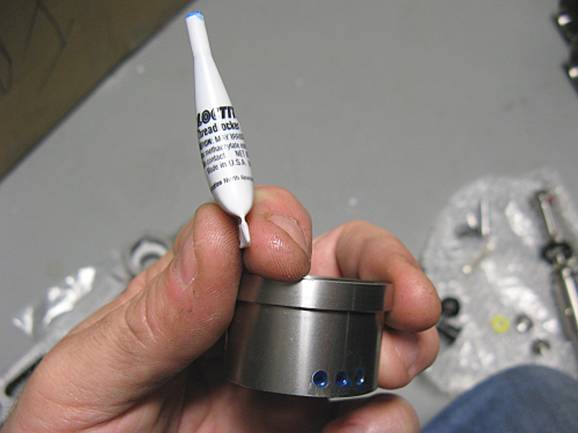
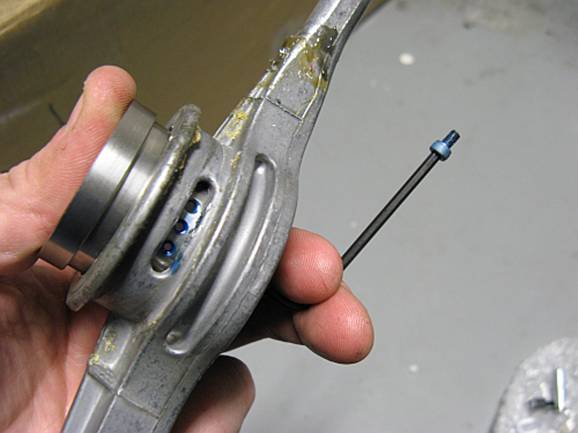
The pivot height adapter is installed next, it should sit
flush with the plastic bushing installed prior and the screw holes should line
up with the slots in the carrier. The supplied LocTite should be used in the
screw holes before inserting into the carrier. Screws are installed loosely and
then tightened alternating sides. Pics shown with carrier removed for clarity.
(HINT: I found the screw holes a pain to access with the carrier installed in
the car and the transmission would most likely require some drop for the assembly
to be done with the carrier removed and then reinstalled. My solution was to
remove the carrier front clips so that it could be tilted to the side of the
transmission allowing one side to be easily accessed from the bottom and the
other side to be easily accessed from the top).
Alternatively, the hex wrench can be cut down to avoid
carrier pin removal as detailed in my 335 write-up HERE:
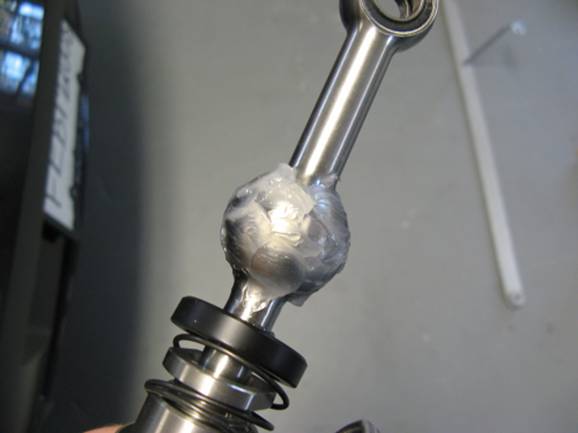
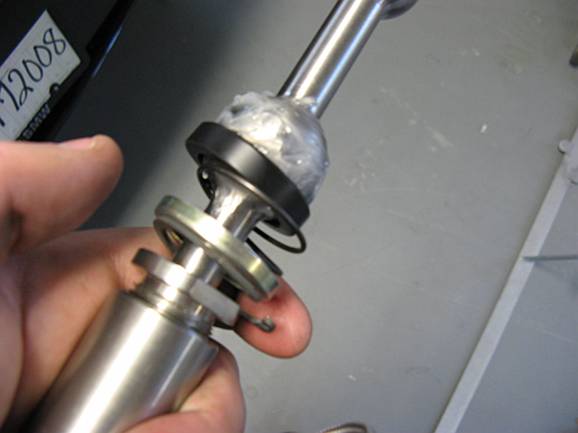
Supplied grease is then applied to shift ball, second pic
shows order of components for installation into carrier:
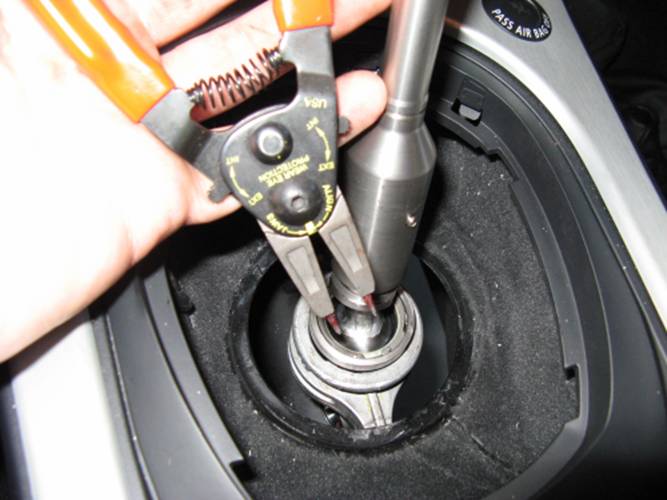
To install shifter in carrier, snap ring pliers are used to
insert snap ring into adapter after shifter is placed in carrier:
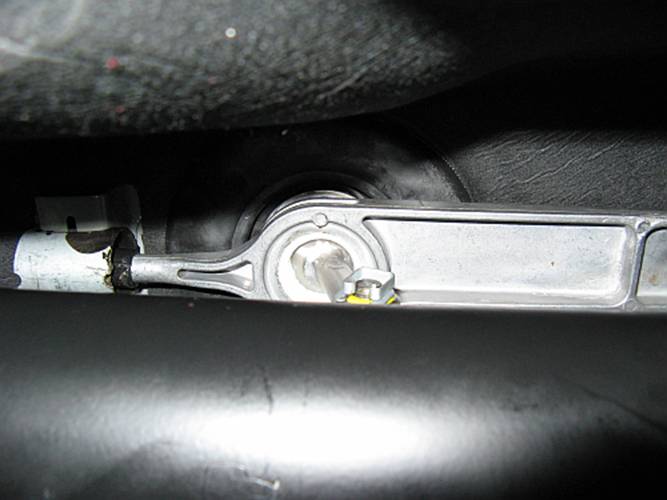
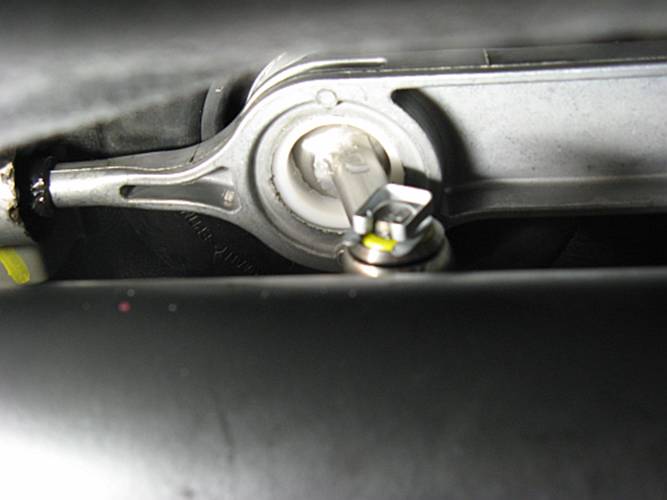
Shifter is then connected to
shift rod by placing bearing liners into bearing on either side, sliding rod
pin through bearing, installing yellow plastic washer, and finally installing
the C-Clip:
Heat shield and exhaust
components are reinstalled and shifter rubber boot, foam, shifter leather boot,
and knob are reinstalled. When reinstalling the rubber boot, the lower seal for
the smaller ring on the carrier around the shifter can be done by feel through
the rubber boot after the larger lip has been press fit into the console body
hole. The arrow on the rubber boot should also point towards the front of the
car. I have some more pics of these
pieces being reinstalled in my 335 write-up HERE.