![]()
Installing an R53 Mini Cooper
Header
I had read
on the forums that as the factory exhaust manifolds
aged they had a tendency to develop cracks, and this was a good enough reason
for me since I wanted a header anyway. I found a GREAT deal on a slightly used
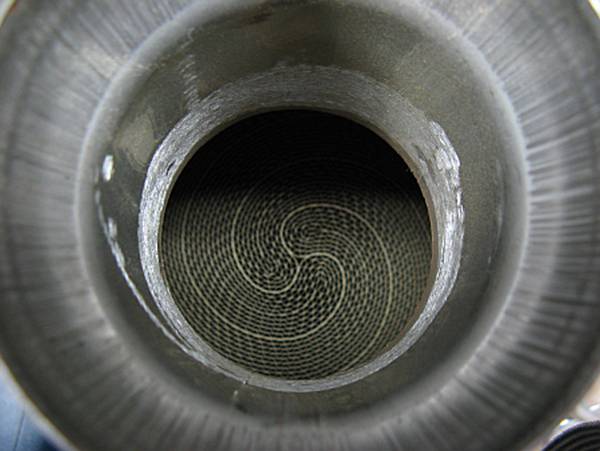
(few weeks) SuperSprint Header and new high
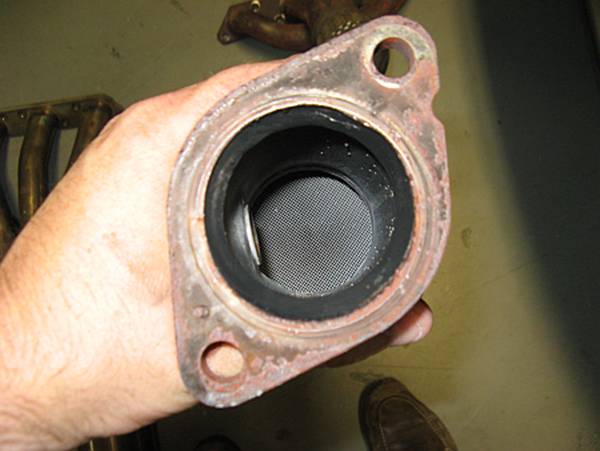
performance metallic cat and that clinched it- out with the old exhaust
manifold and restrictive pre-cat/cat and in with the new SuperSprint
header and performance cat.
Standard
Disclaimer: ANY USE OF THIS INFORMATION
BY YOU IS AT YOUR OWN RISK.
I used
Randy’s DIY guide HERE
to get a feel for what was required and involved.
You may
also find the TIS instructions helpful: Exhaust System R&R HERE,
Exhaust Manifold R&R HERE
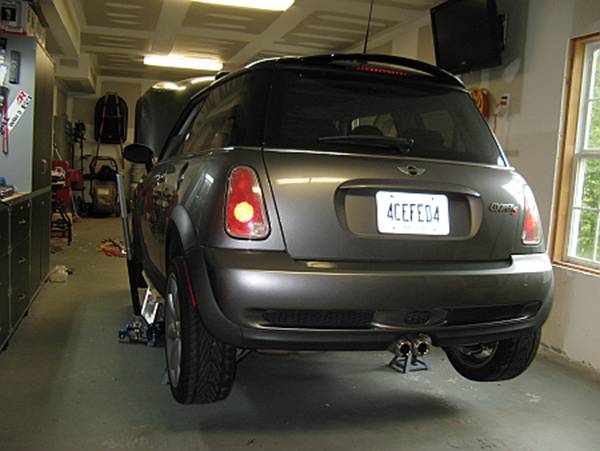
Since I was
also removing the OE exhaust and installing a new system, I raised the car up
at all four corners using four jack stands. You only need to really raise the
front with a header only installation.

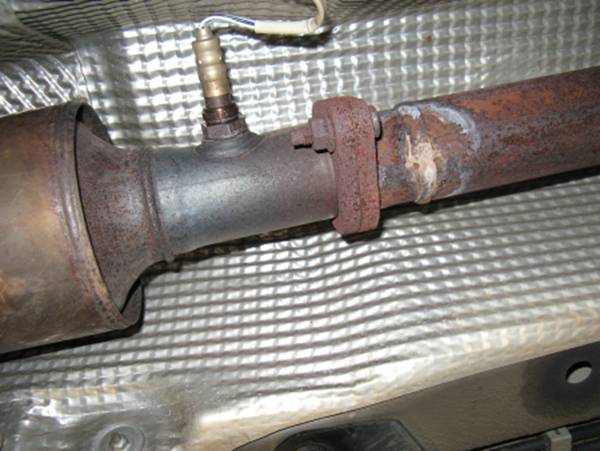
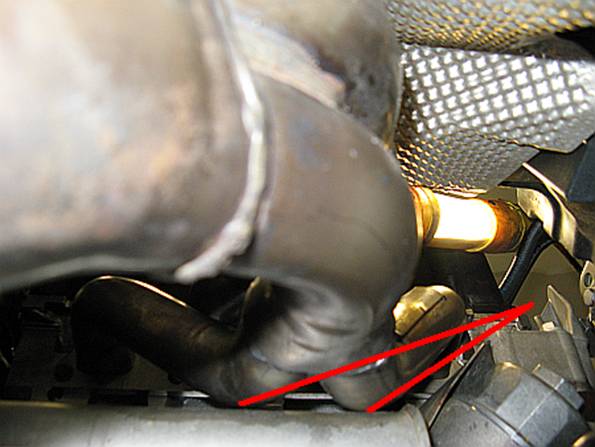
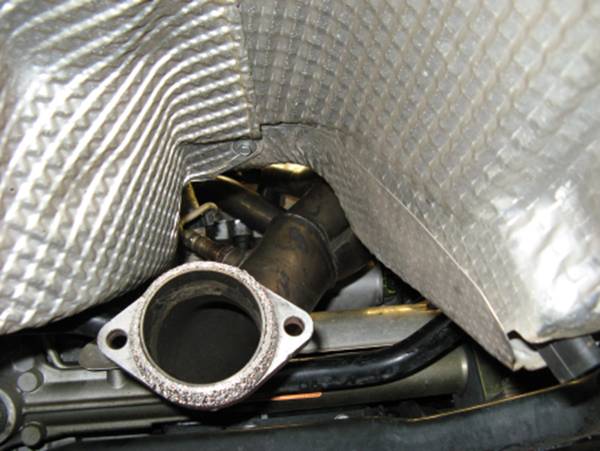
The
exhaust is disconnected from the exhaust manifold/catalytic convertor assembly
using a 15mm wrench. I have read that some Mini Coopers do not have the same
pressed-in stud and nut setup I had so you may need to adapt this step to fit
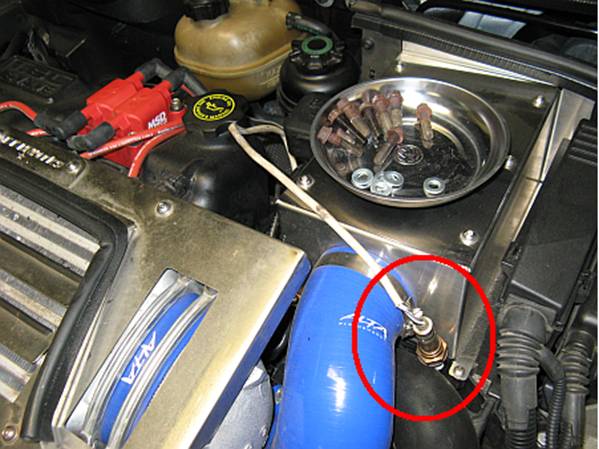
your specific scenario. Now is also a good time to remove the post-cat O2
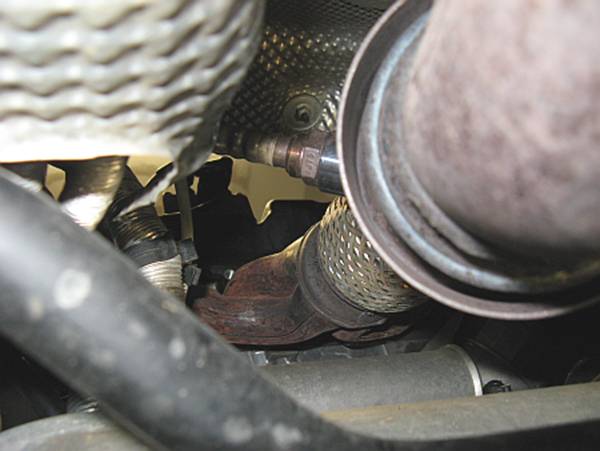
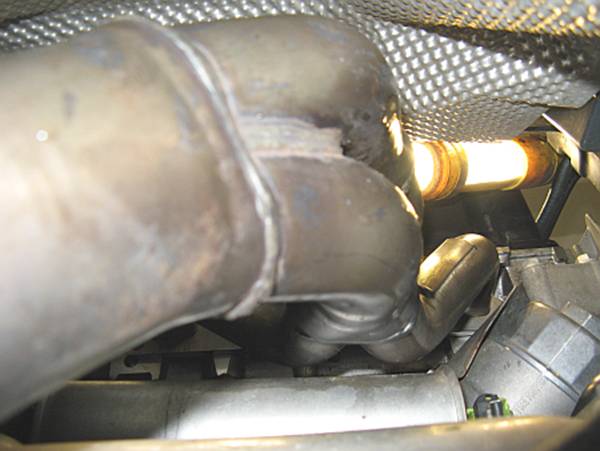
sensor using a 22mm wrench. Looking above the pre-cat
you will see the pre-cat O2 sensor, also removed with a 22mm wrench- this one
is a little tougher to access, you just have to figure out the angle of attack
and it may be easier to do with the driver side heat shield removed.
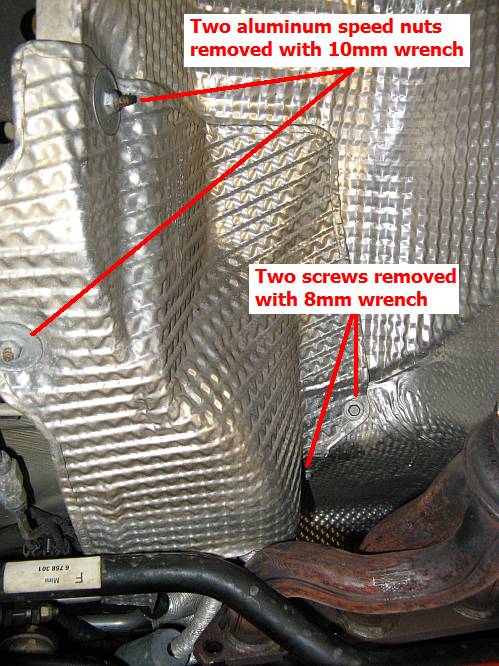
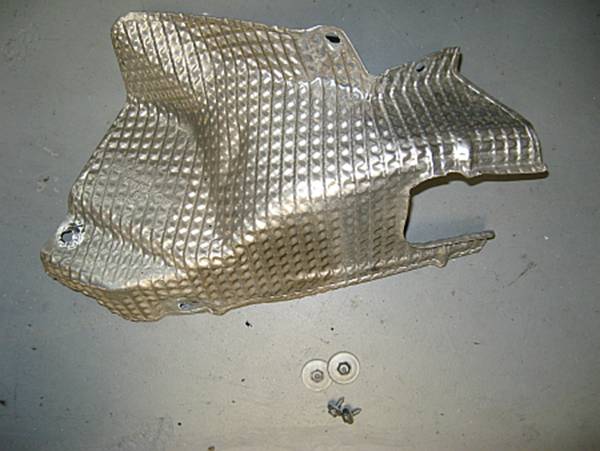
I went
ahead and removed the driver side heat shield, two speed nuts removed with a
10mm wrench and two screws removed with 8mm socket wrench. Removing this heat
shield not only allows easier access to the top/pre-cat O2 sensor but is a MUST
for getting the exhaust manifold out of the car.
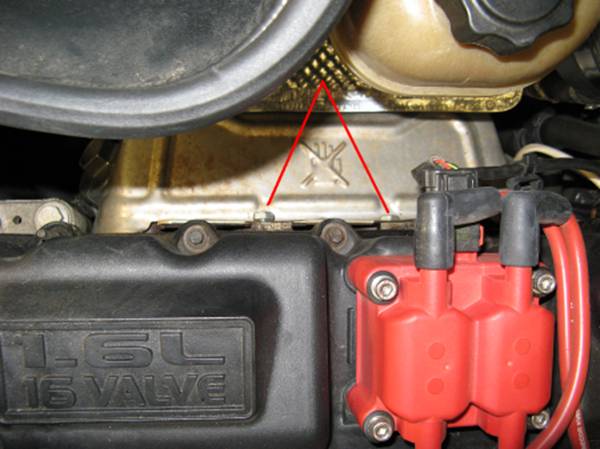
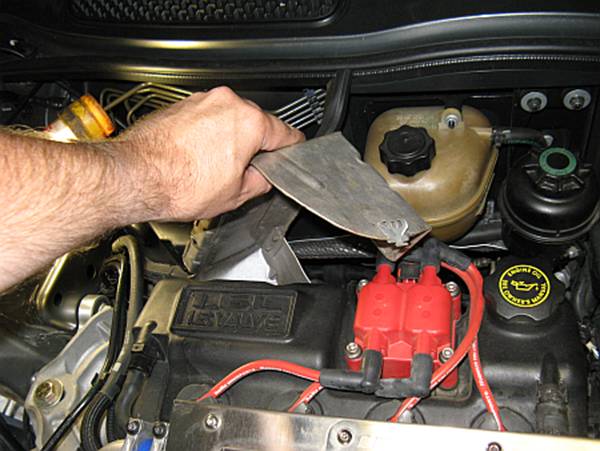
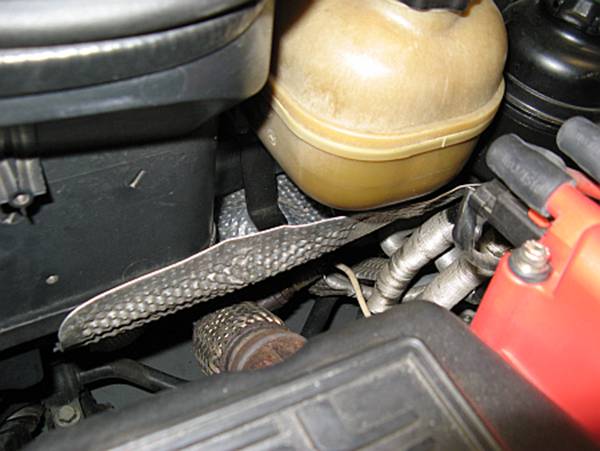
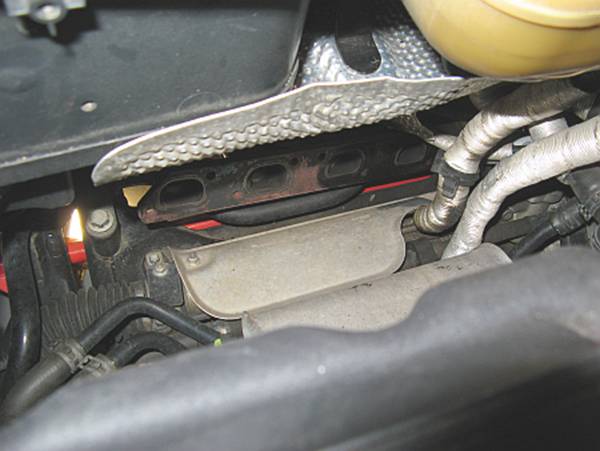
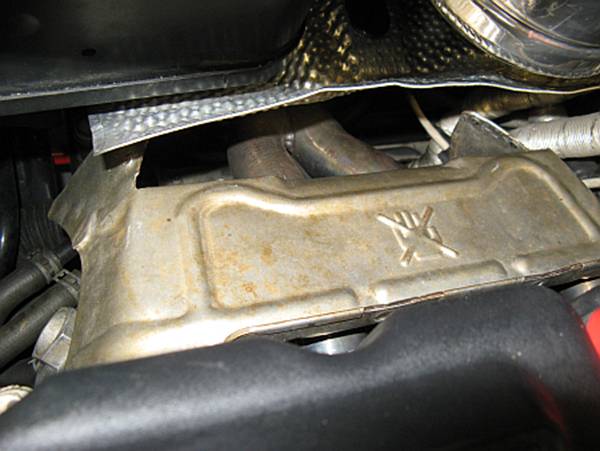
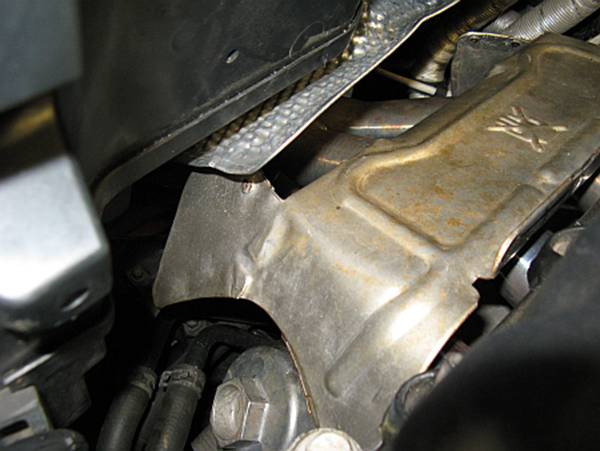
Back up
top, there is a heat shield that needs to be removed- two bolts removed using a
13mm wrench and it helps to bend the rear heat shield up and out of the way:
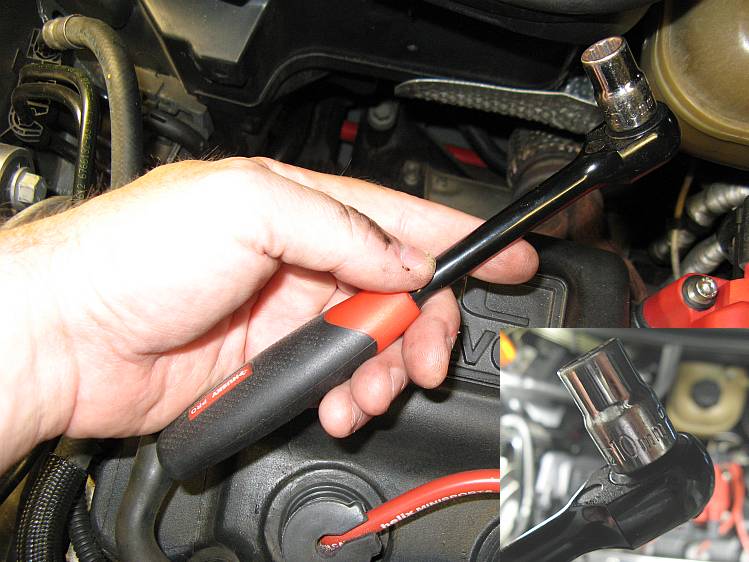
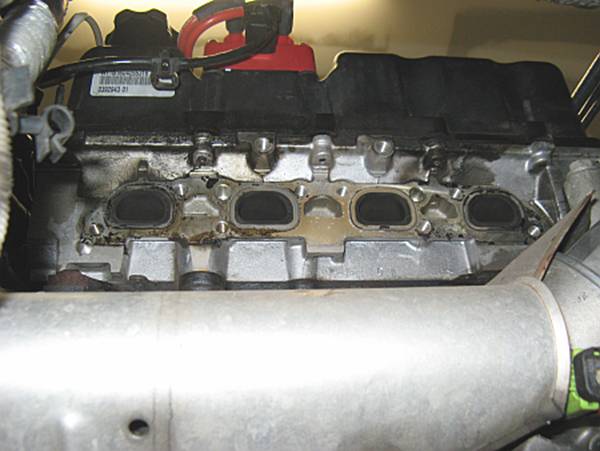
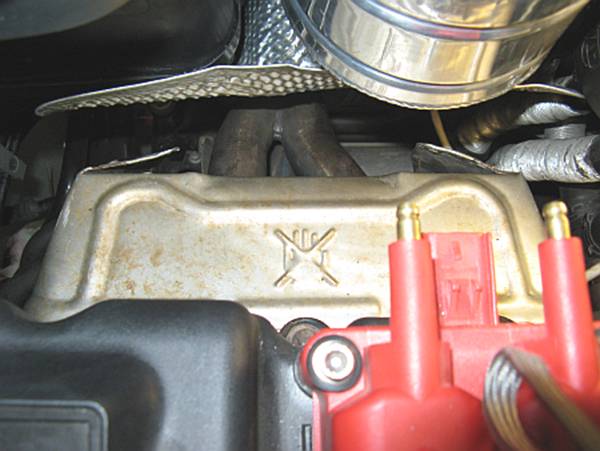
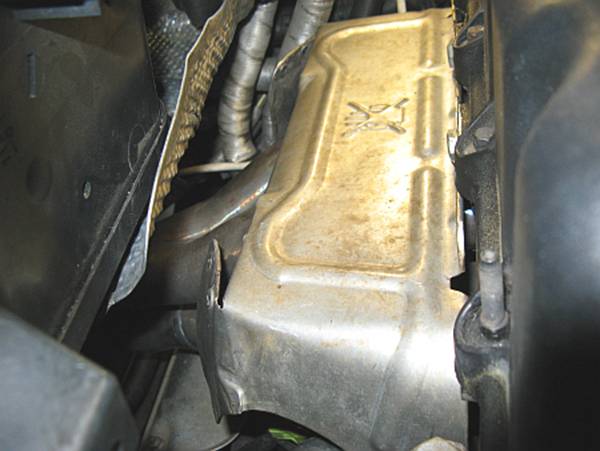
Now you
can see the OE exhaust manifold and the eight bolts you will need to remove
requiring a 10mm socket wrench- a narrow headed wrench is much easier to use
because space is tight:
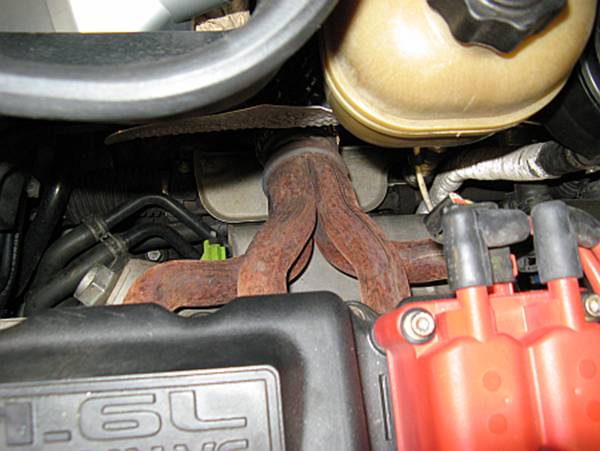

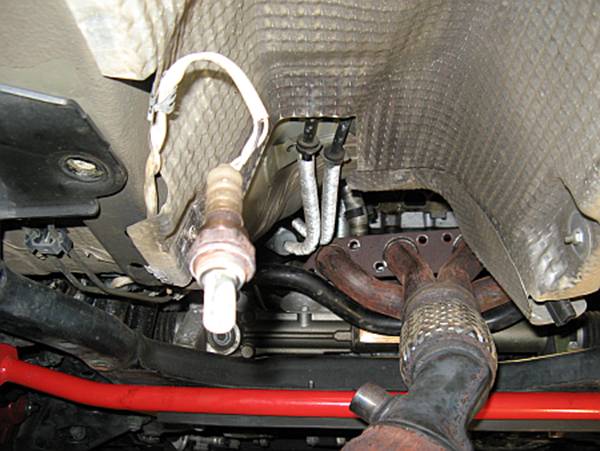
The
exhaust manifold can be carefully lowered until you get to a stopping point- I
also moved the upper O2 sensor out of the way before lowering and carefully
placed it to the side:
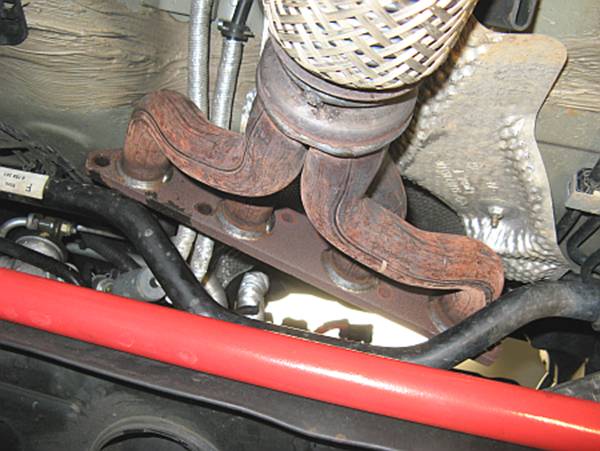
Getting
the exhaust manifold out around the front sway bar is a little tight but
doable, the trick is to push it as far to the right as possible while hooking
the left side over and around the sway bar- you may need to use a little force
since it is tight between the sway bar and body of the car:
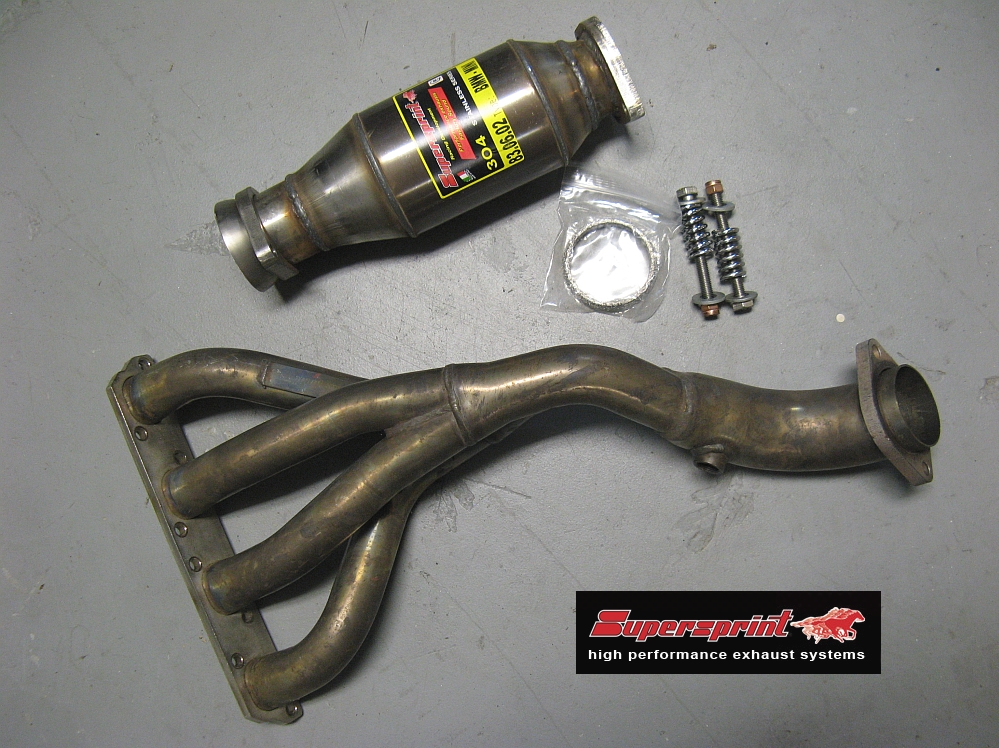
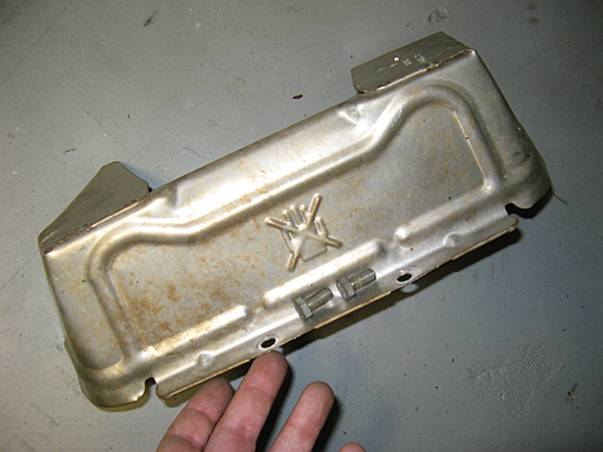
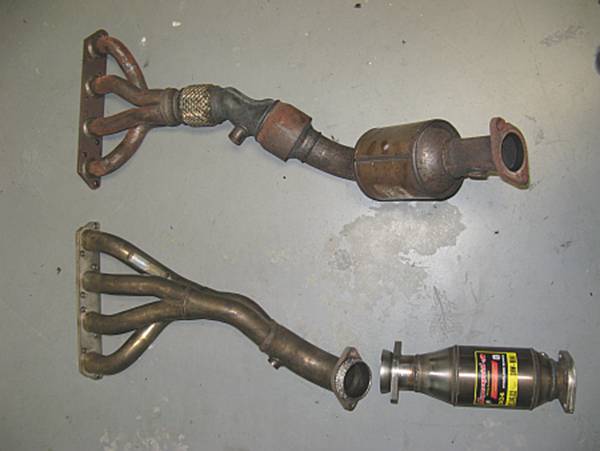
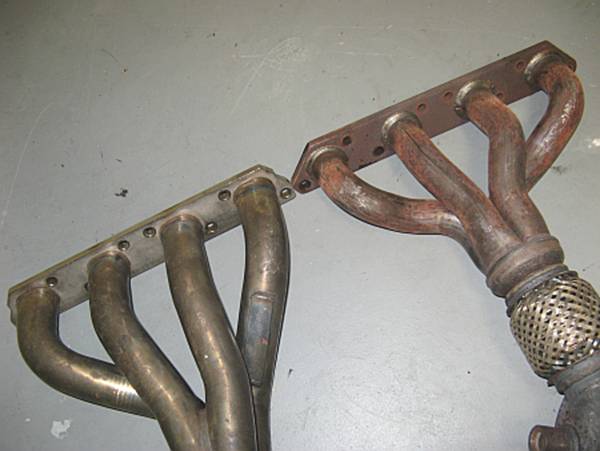
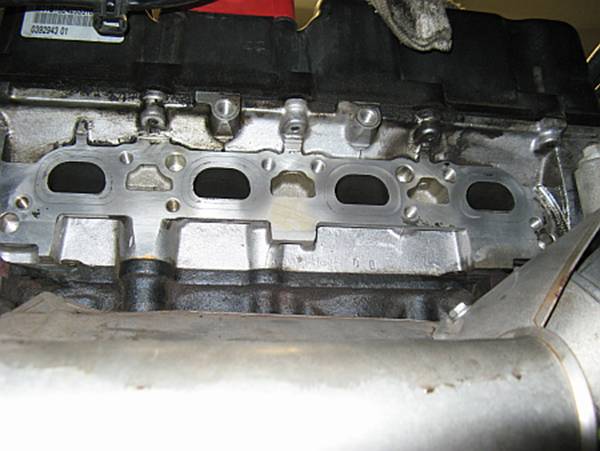
Comparing
the OE exhaust manifold to the new header, it is obvious to see where there was
room for improvement:
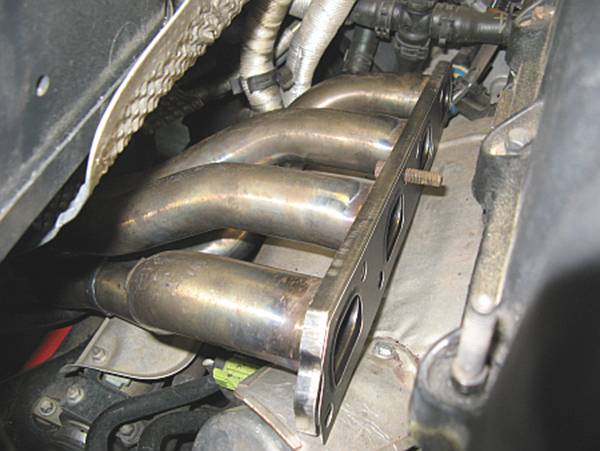
I cleaned
the head mounting surface and used a new OE Mini exhaust manifold gasket before
bolting down the new header. I used an alternating pattern to tighten bolts
starting with the center bolts and working out on each side. The torque spec is
in the TIS document linked at the beginning of this write-up:
I had to
modify the heat shield, some have cut theirs but I removed the rivets and bent
it into a more header friendly shape after bolting back in. I made sure there
was plenty of room for vibration/movement without possible contact so no
rattles:

Don’t
forget to bend the rear heat shield back down:
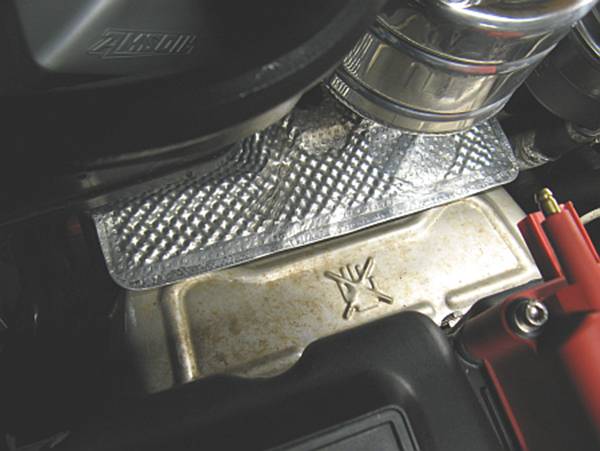
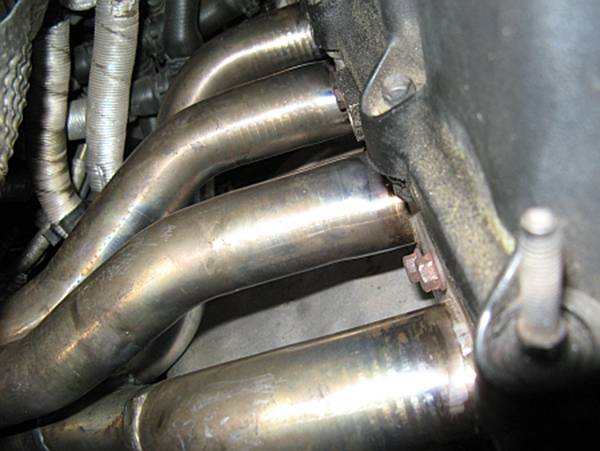
I had to adjust (bend) the heat shield above the power steering pump slightly so
that it did not contact the header. Some of the other
heat shields may need massaging as well:
The
upper/pre-cat O2 sensor was installed:
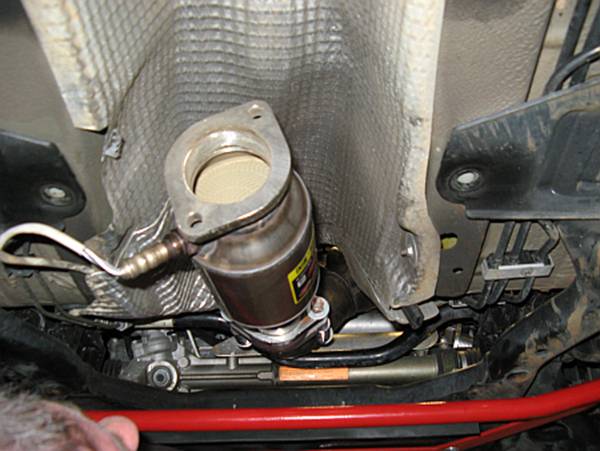
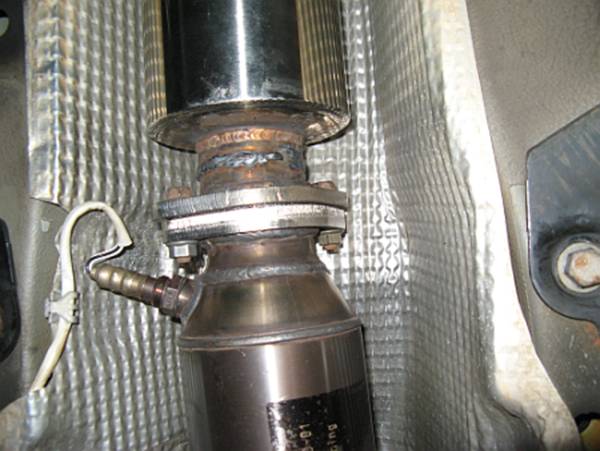
Next the performance metallic cat was installed- the donut gasket and then the
cat and post-cat O2 sensor:
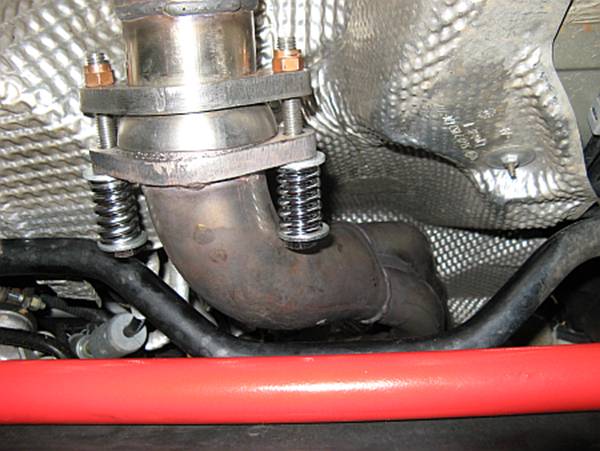
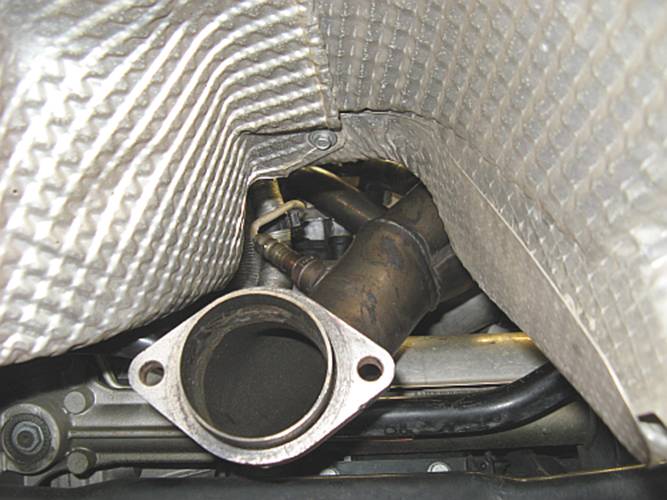
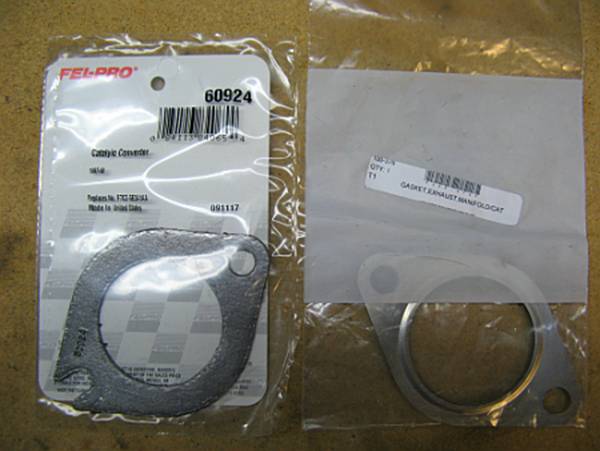
Finally
the exhaust can be connected using a new OE Mini cat gasket or a thicker cat
gasket with a larger inside diameter. I could not find one that was perfect but
did find one that was close- I made it perfect (a little larger ID) by placing
it on the exhaust mid-pipe flange and using a ball peen hammer around the
inside hole to cut away the excess before installing. I had some bolts in my “mystery
box” that were from an old car exhaust that worked perfect here, I have read
M10x35 should work:
Enjoy a little more sound and
power…………..