![]()
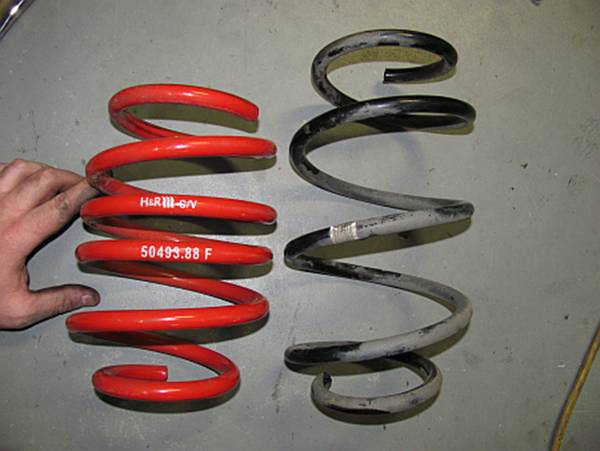
BMW E92 M3: Installing H&R
Sport Plus (Race) Springs
The M3
comes with very capable suspension; ours has EDC (Electronic Damper Control) so
it can adjust to suit most conditions/people. However, I was looking for a bit
more road feel and sharpness and H&R provided this in the form of Sport
Plus (Race) springs. This installation is the EASIEST spring swap ever, the DIY
guide I used to do this can be found at http://www.m3post.com/forums/showthread.php?t=183011
Start to
finish with breaks and stopping to take these pictures took me about 2.5 hours,
but allow more time if you are not an avid DIYer.
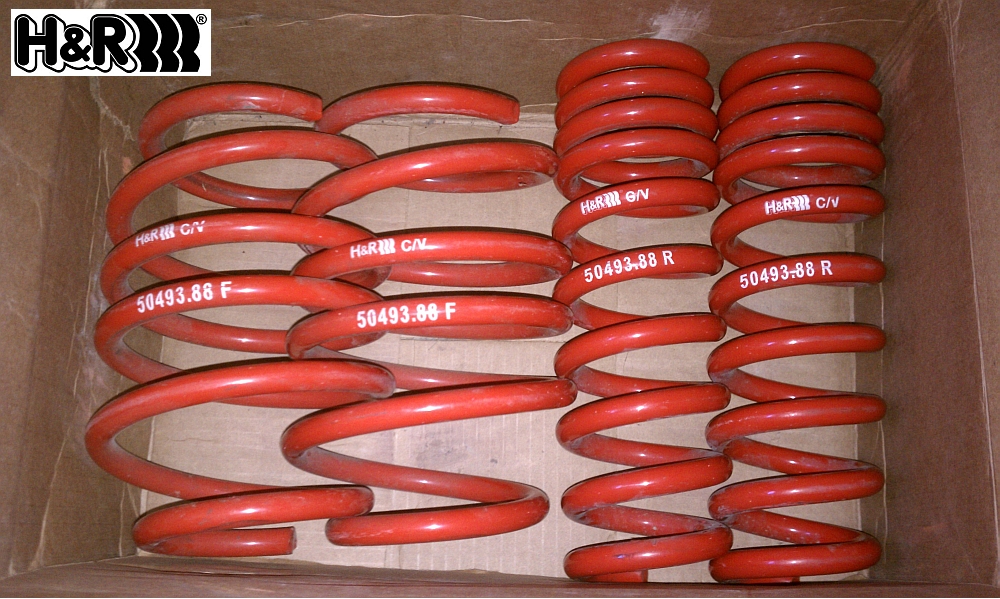
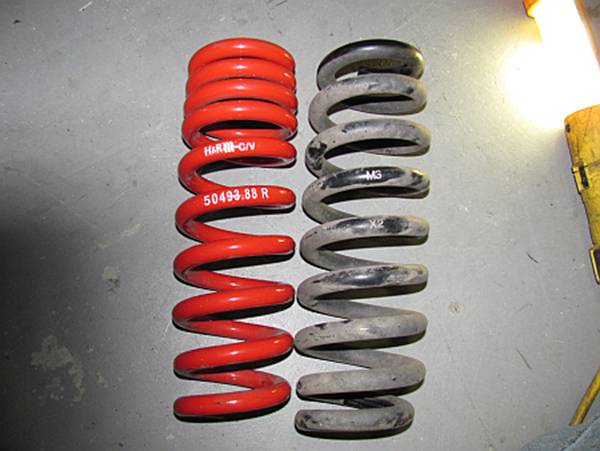
I found
some lightly used springs in the forum classifieds for a deal, they are a GREAT
place to save on mods before buying new.
Also, if
you are installing springs and have not done so already, you may want to remove
the factory strut alignment pins to allow max negative camber, detailed on my
M3 page HERE.
Standard
Disclaimer: ANY USE OF THIS INFORMATION
BY YOU IS AT YOUR OWN RISK, I ASSUME NO LIABILITY FOR YOUR USE OF THIS
INFORMATION.
Front Installation:
I like to
tackle the most difficult part of an installation first so in this case it was
the front driver side. The driver side front and rear have headlight leveling
switches that need to be disconnected before dropping the suspension which adds
a step, and the front is considered to be more difficult than the rear.
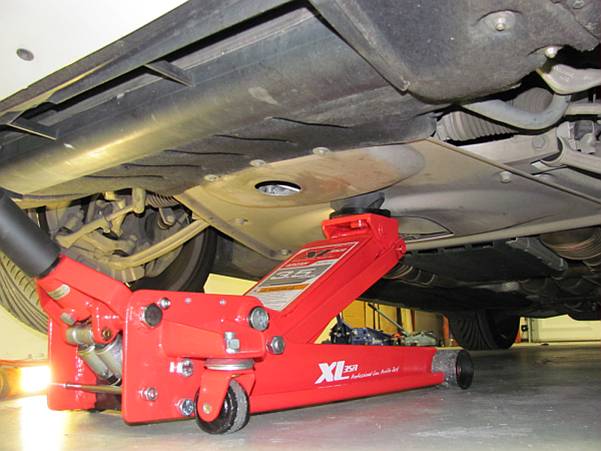
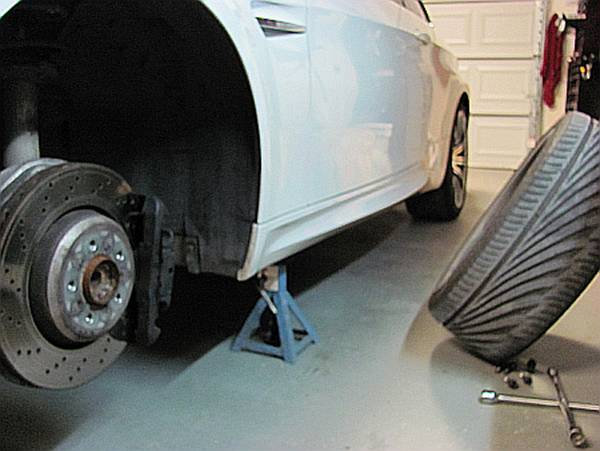
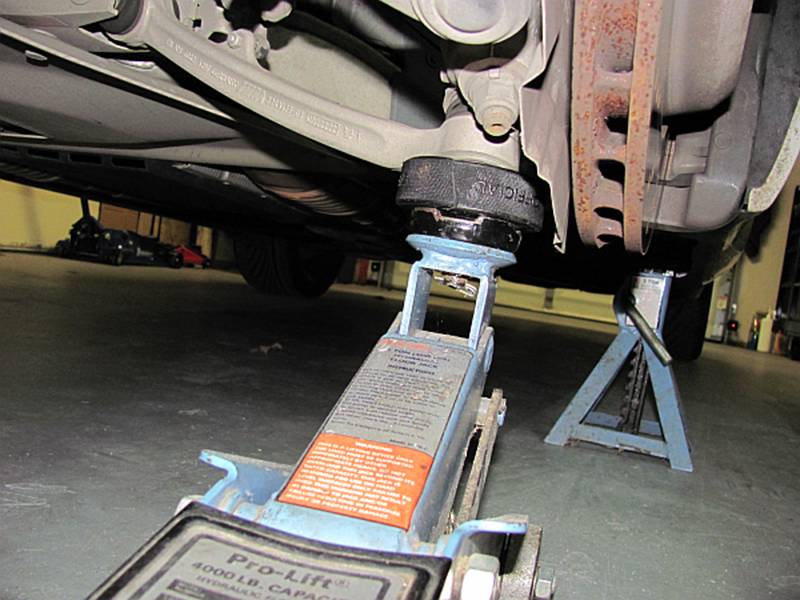
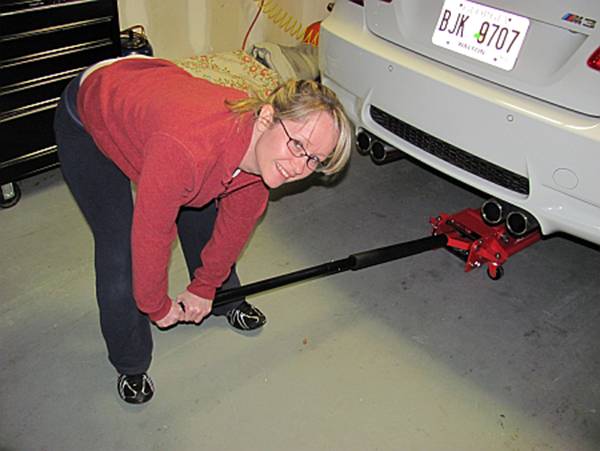
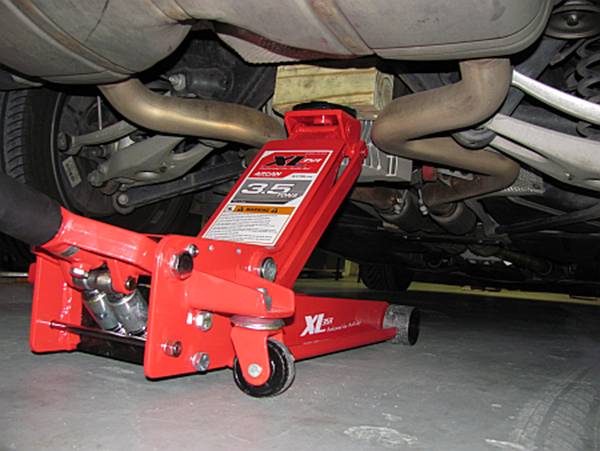
Before
lifting the car, break all of the front wheel lug nuts loose, but don’t remove.
The car can be jacked using the central jack point and then jack stands are
placed under the OE side jack points:
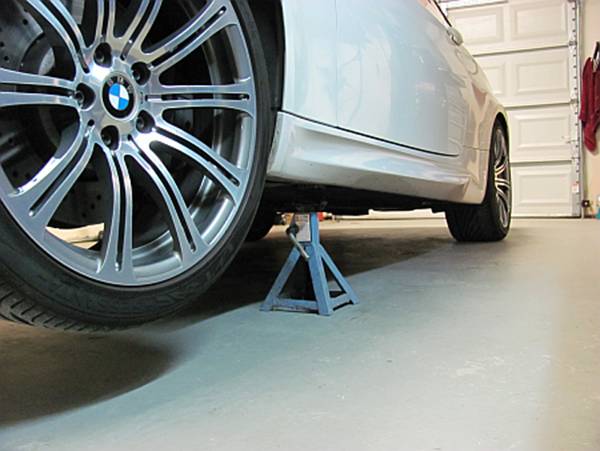
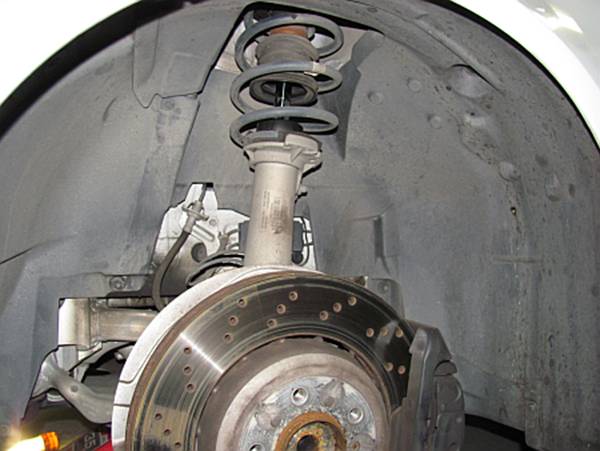
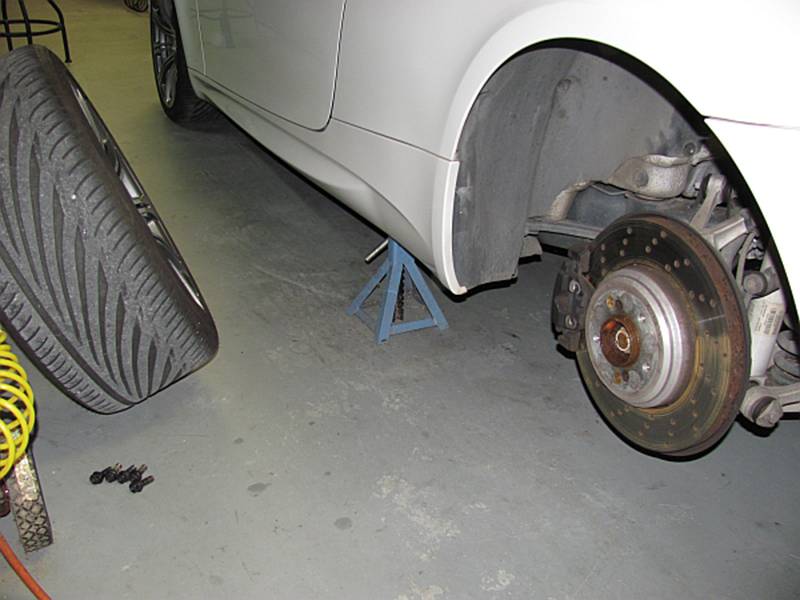
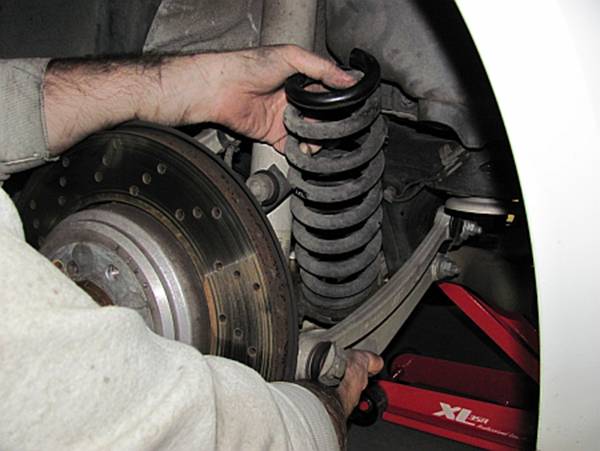
Once on
jack stands, the lug nuts and wheel can be removed and you will see what you’re
in for:
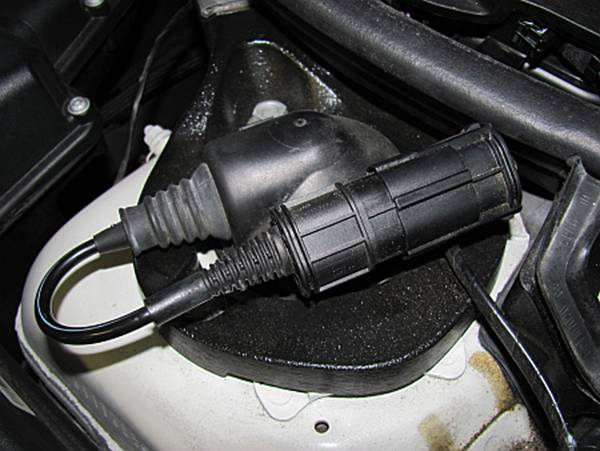
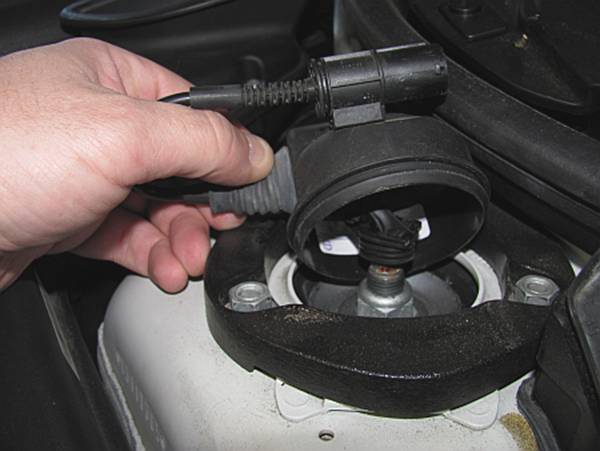
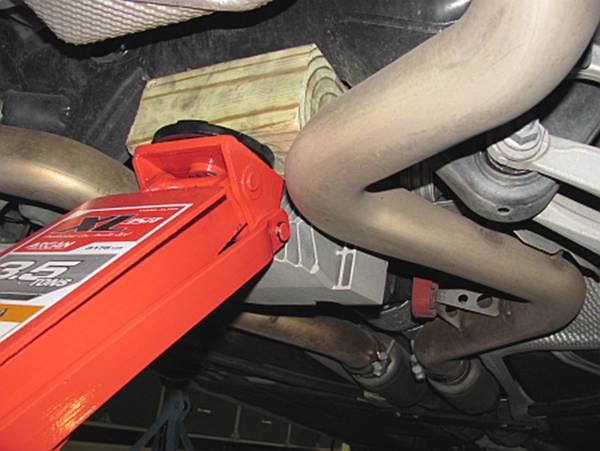
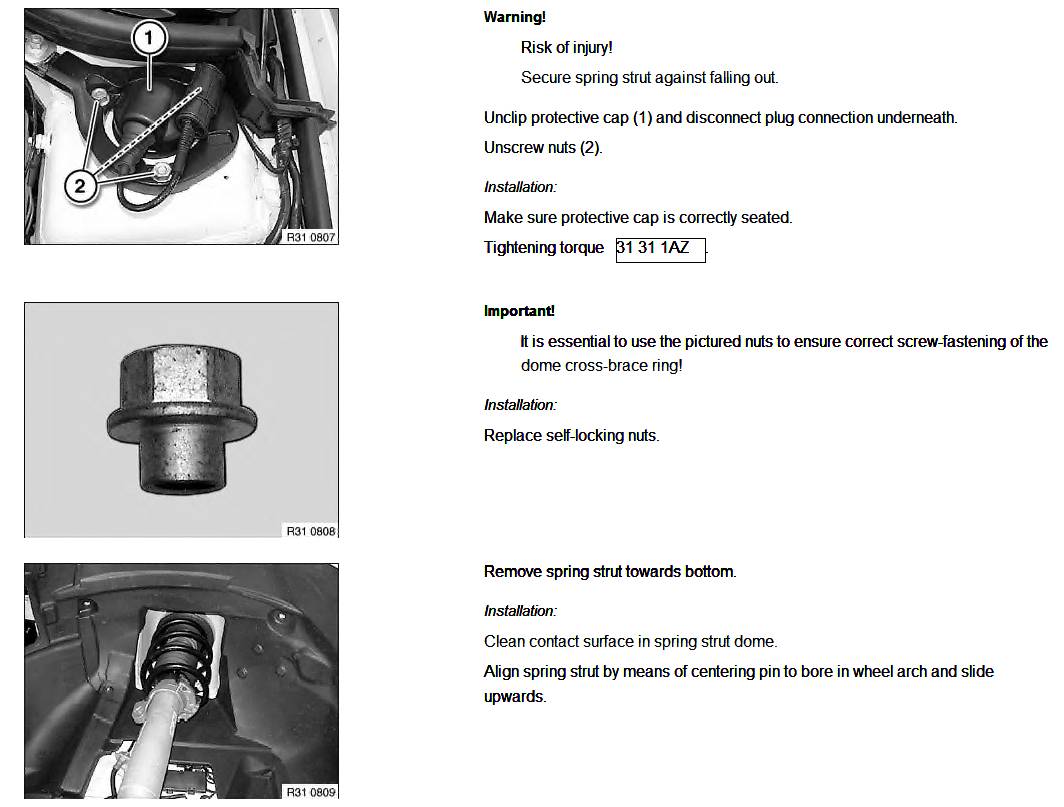
I started
under the hood by breaking the strut nut loose, the EDC controls have to be
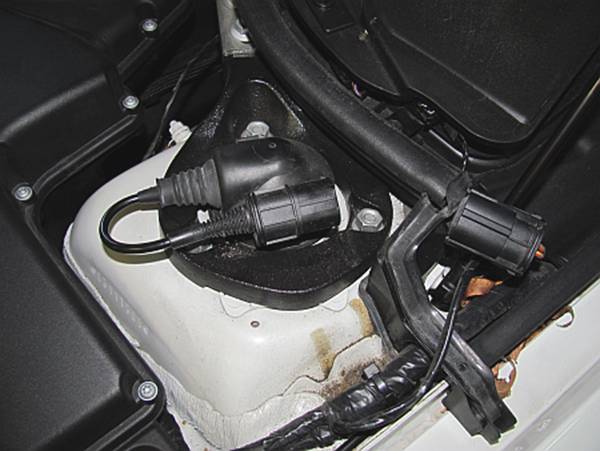
removed to access this. Unplugging the wiring harness by pressing the two
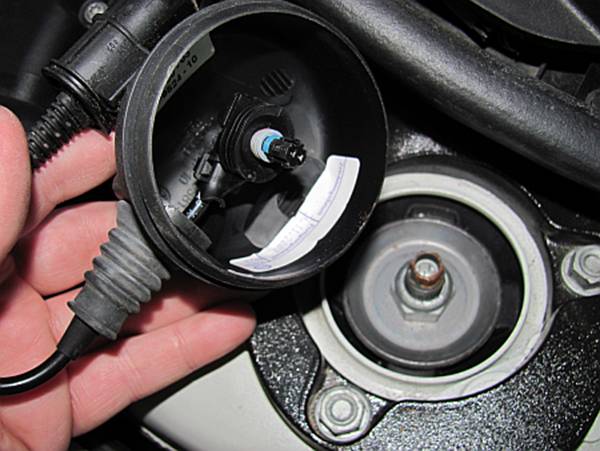
release tabs, and gently lifting the EDC cap up you
will see a small plug where it connects to the damper. This plug can be
disconnected by lifting straight up- no release:
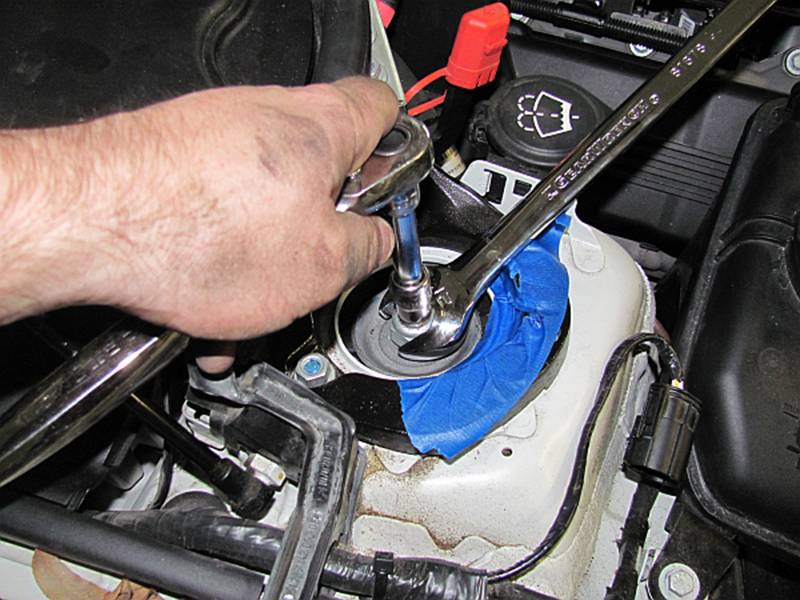
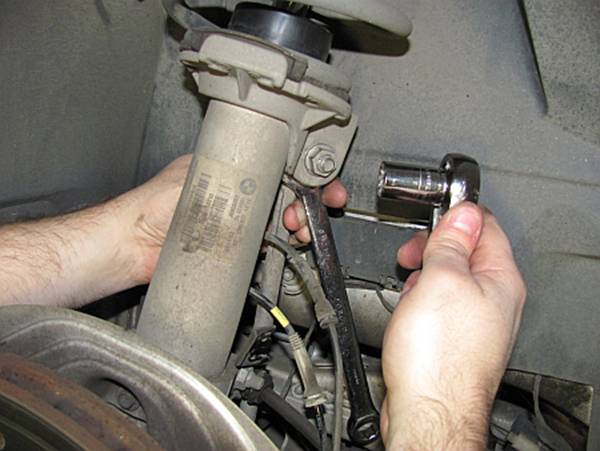
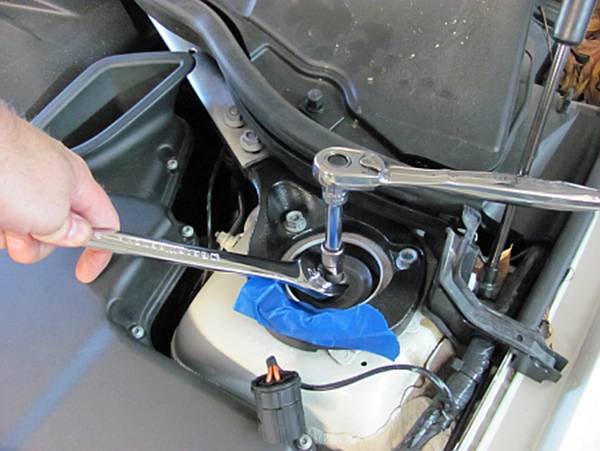
With the
EDC cover out of the way, the strut nut can be loosened (don’t remove yet)
using a 10mm socket wrench to hold the strut piston rod and a 21mm wrench to
break the surrounding nut loose. I attempted to use painters tape to prevent
the strut brace ring from getting beat up, even though the tape looks ripped it
did its job:
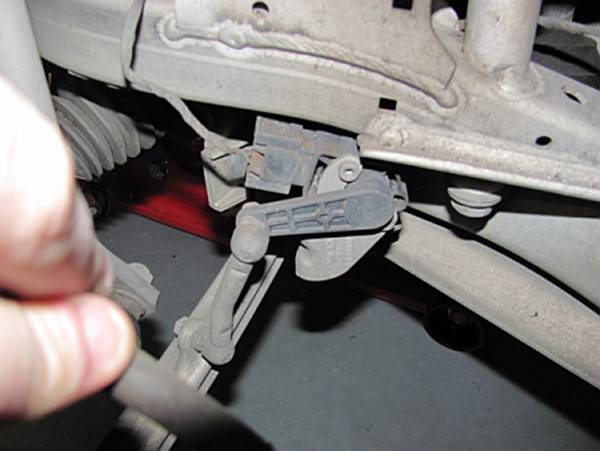
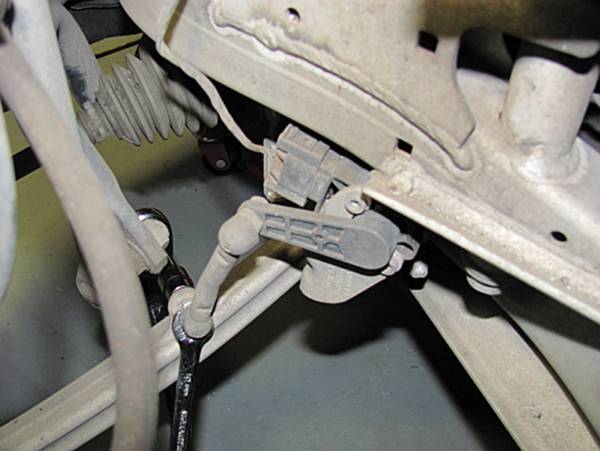
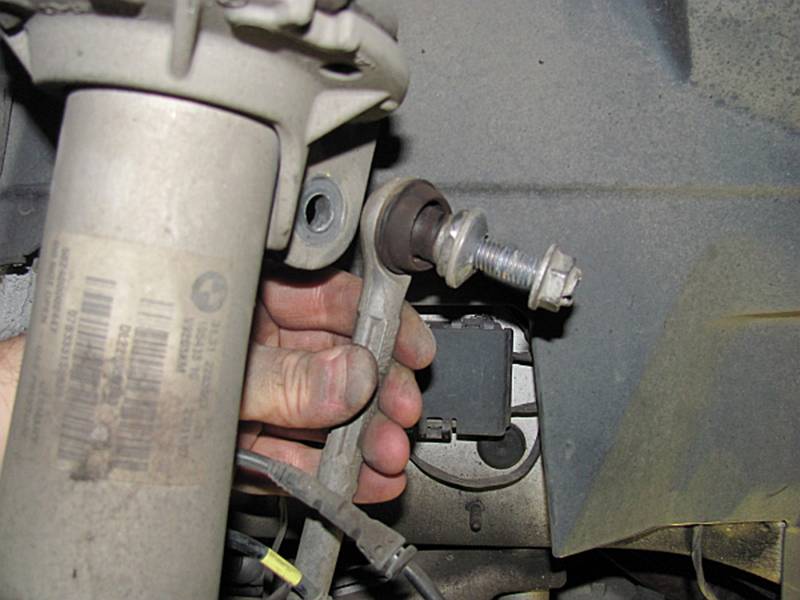
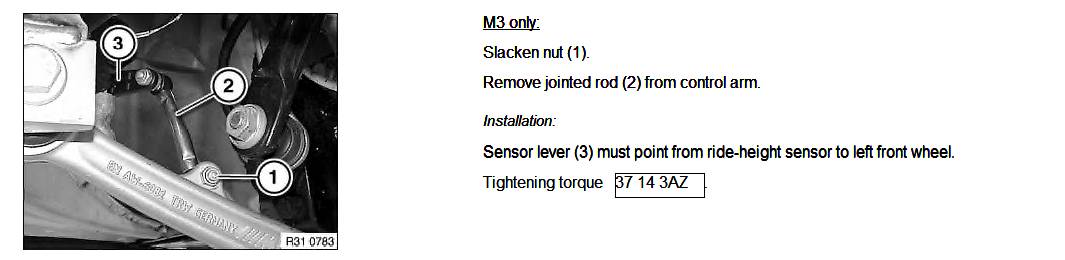
Back under
the car, the headlight leveling switch can be disconnected from the lower
control arm using a 10mm open end wrench on the flats behind the bracket and a
10mm socket wrench to loosen and remove the nut. I replaced the nut so it won't be lost
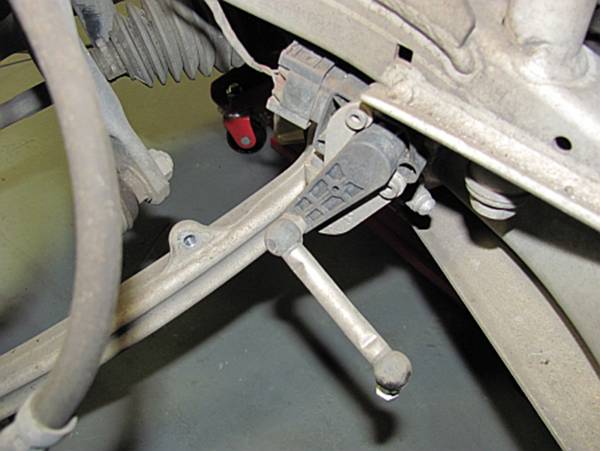
and tucked the switch arm up out of the way:
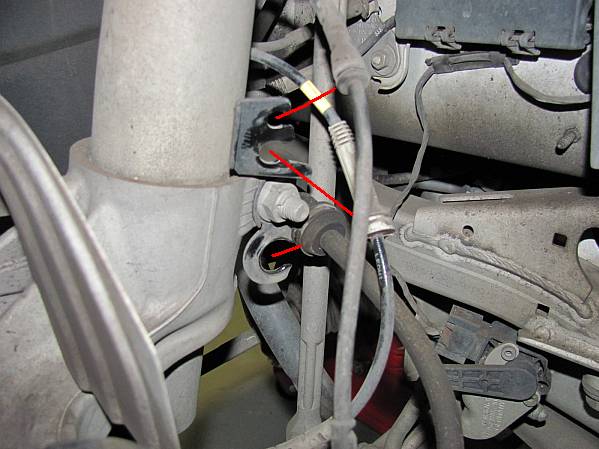
Sensor
wiring and brake lines are pushed out of their respective holders on the strut
tube:
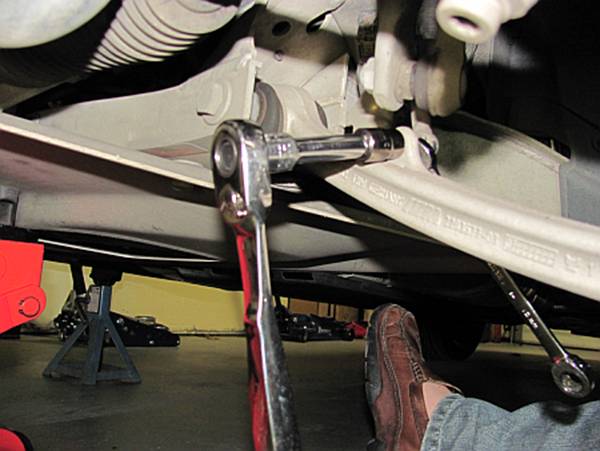
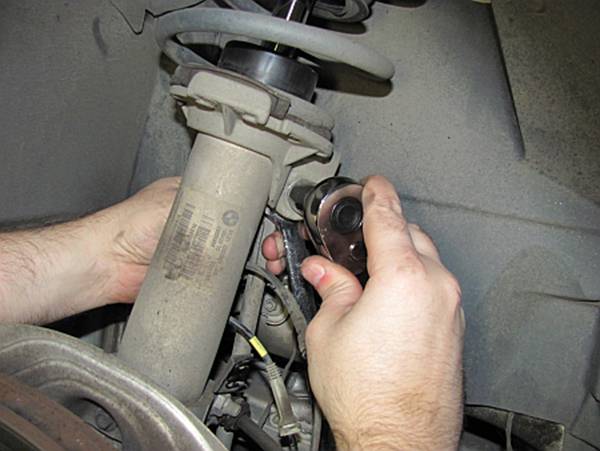
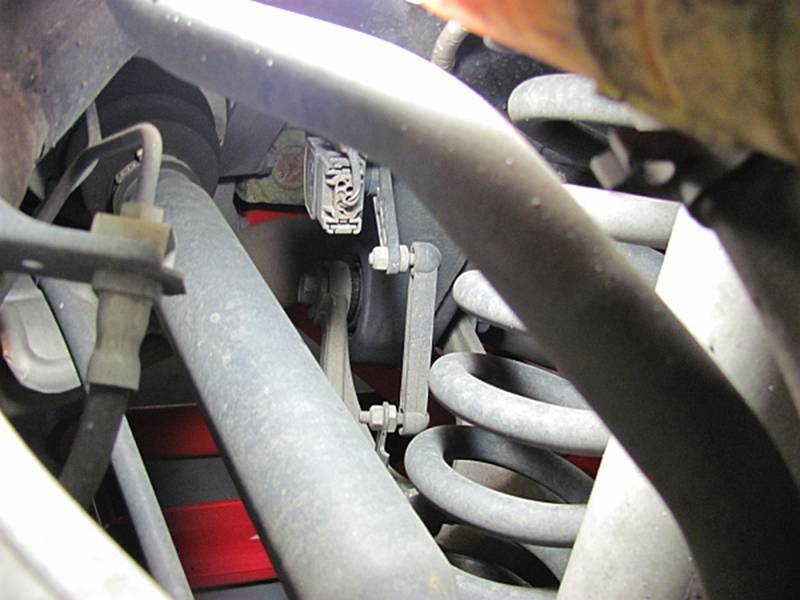
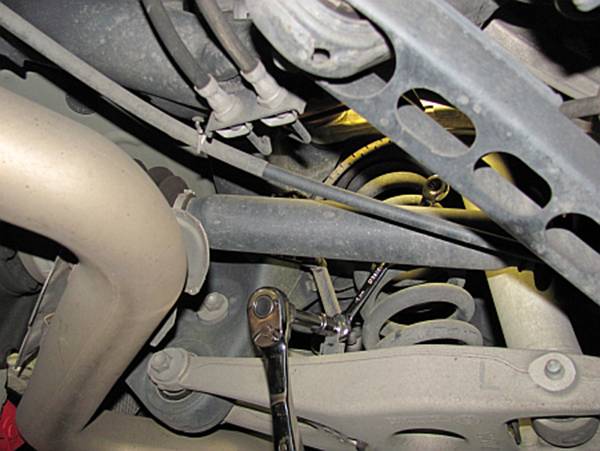
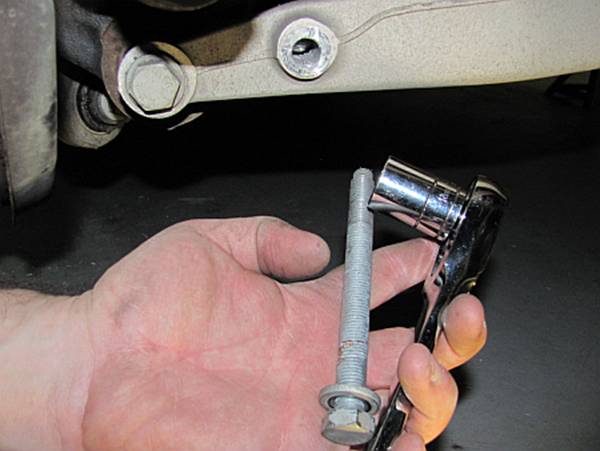
The sway
bar link is removed from the strut housing, a 19mm open end wrench is used on
one side to keep the ball joint bolt from rotating and a 16mm socket wrench is
used to remove the nut. The nut is replaced so it won't be lost and the link is
positioned out of the way:
[CAUTION: An
automotive spring can exert a LOT of force that can cause injuries- Please
proceed at your OWN RISK]
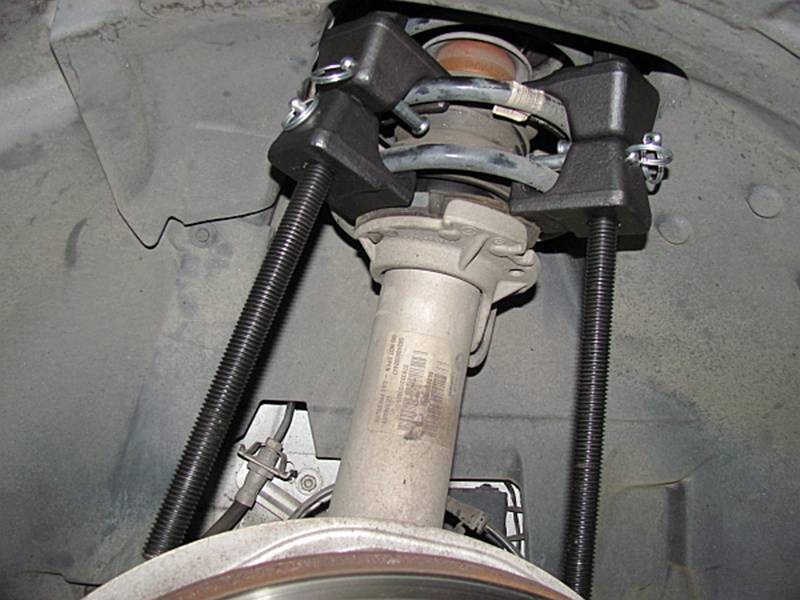
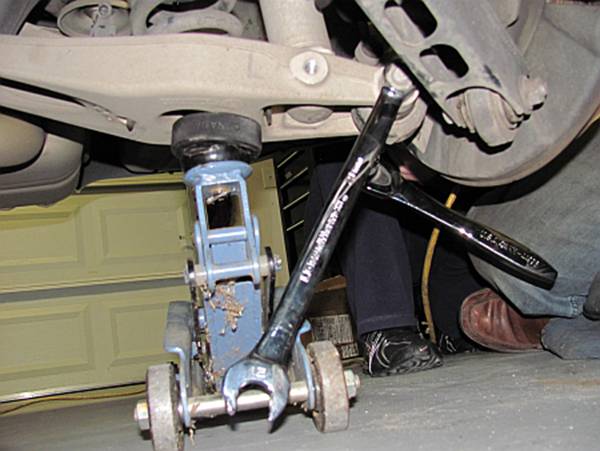
I
compressed the spring by placing a jack under the lower ball joint and jacking:
With the
spring compressed, spring compressors can be installed by hand and tightened on
two of the lower spring coils. The spring compressors seen here are available
through the FREE loaner tool program at AutoZone:
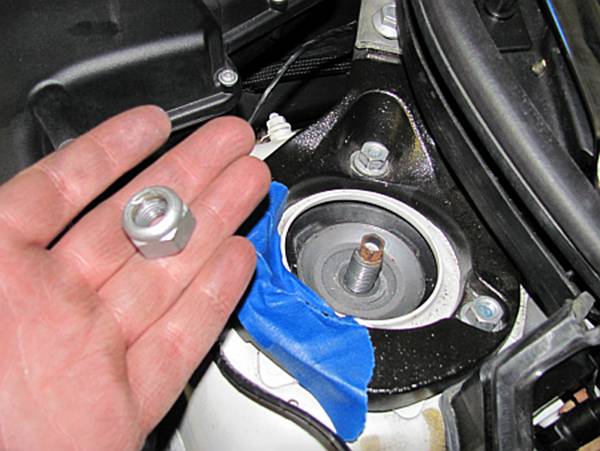
The 10mm
socket wrench and 21mm wrench are again used on top to completely remove the
strut nut:
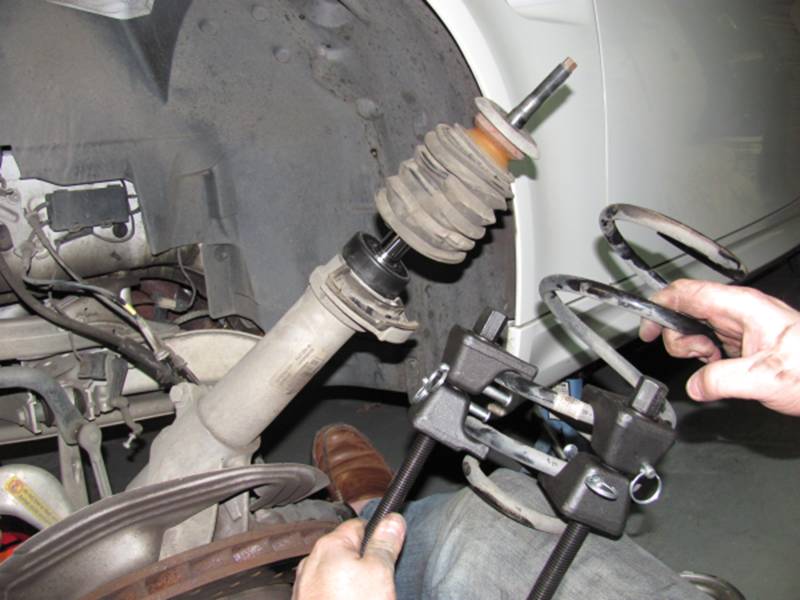
The
jack can be lowered to allow the strut to drop down/free. You may have to use
your hands to push the strut piston down to allow it to be pulled out to the
side and clear the fender, the spring might need a little help as well. If the
strut bearing cover comes out with the assembly it can be reinstalled by
pushing up and back into place. The spring compressors can be carefully removed
from the spring, you will not need these to reinstall the strut with the
H&R springs:
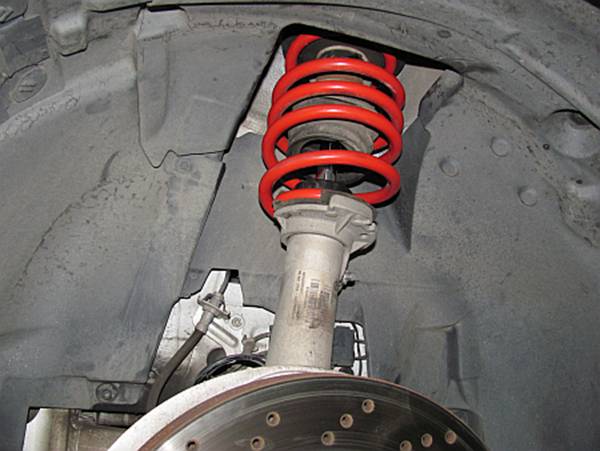
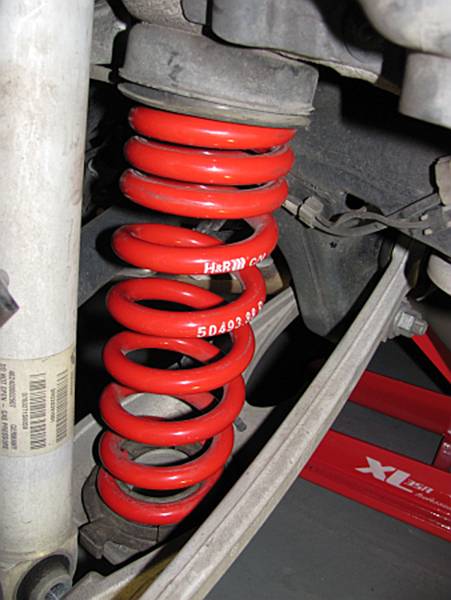
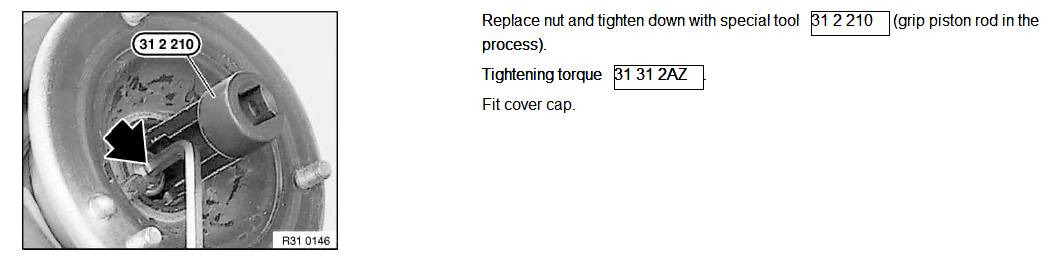
Front
spring is installed, making sure the spring ends line up with the upper and
lower spring stops, and all above reassembled and installed: strut piston rod
nut (using jack to raise/hold in place as the assembly is aligned and
reinstalled), anti-roll bar link, all hoses/wiring clamped back into strut tube
holders, and for driver side the headlight leveling switch is reconnected to
the lower control arm. Passenger side can be completed using the same steps.
TIS Torque specs and instructions at bottom.
Rear Installation:
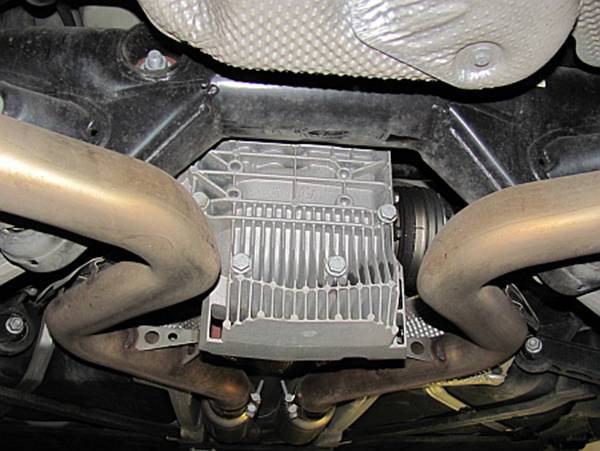
Similar
to prep steps used in front, the car is jacked at the rear center support and
jack stands are placed under the side rear jack points. It is NOT advisable to
jack using the differential. ALWAYS USE WHEEL CHOCKS IN FRONT OF THE FRONT TIRES (you can't see them in the pics because they are some small collapsible chocks from an old 280Z but they are there):
Once on
jack stands and with the parking brake on, the wheel lug bolts can be removed
along with the wheel:
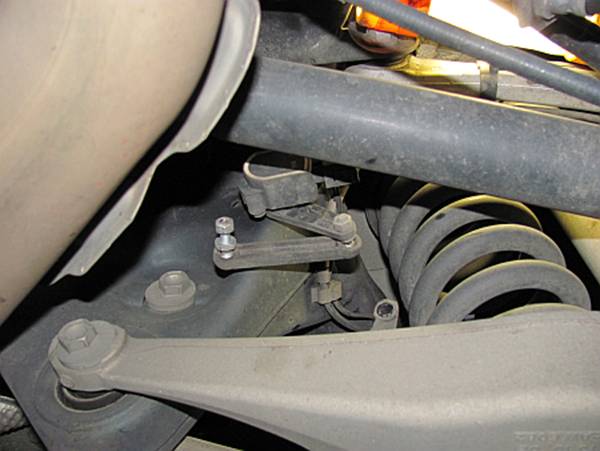
The
driver side has the headlight leveling switch; it can be removed as in front
using a 10mm wrench and a 10mm socket wrench and placed out of the way after
the nut is reinstalled so it won't be lost:
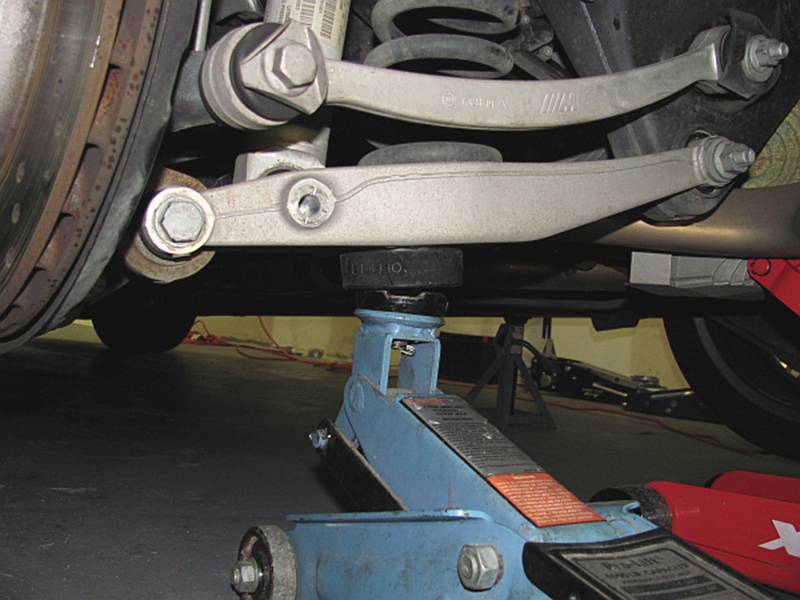
The
lower control arm is supported with a jack under the solid area below the
spring:
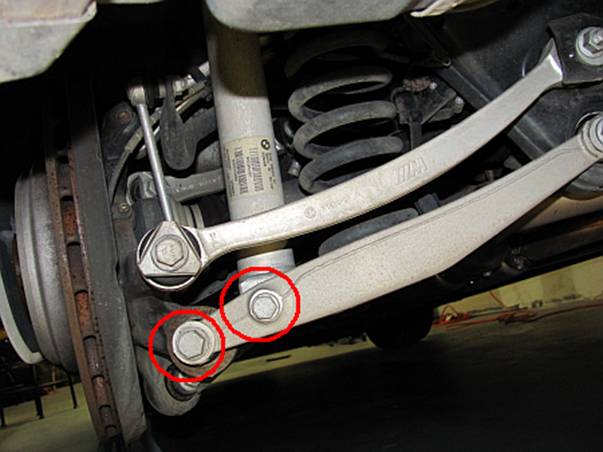
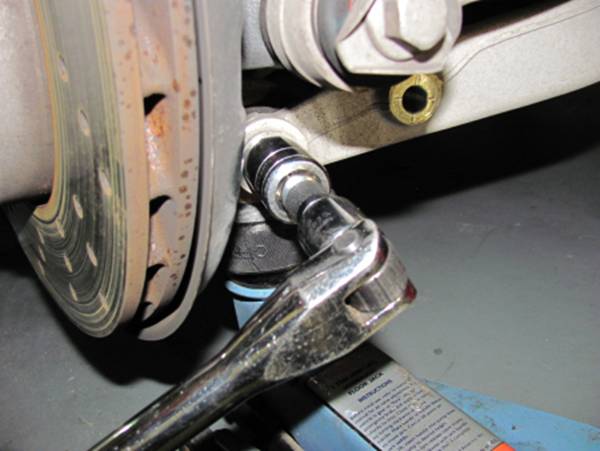
The
lower control arm has two bolts that will need to be removed, the shock bolt
and the wheel hub bolt. FIRST, the shock bolt can be removed using an 18mm
socket with a breaker bar at first and then a socket wrench. NEXT, the wheel hub
bolt is removed using a 21mm wrench on the nut to hold while a breaker bar then
socket wrench are used with a 21mm socket to remove the bolt:
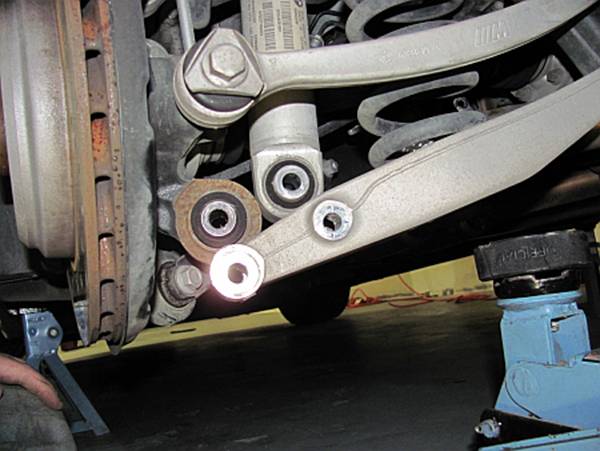
The
jack can be lowered once both bolts have been removed. The lower control arm is
pushed a bit further down with one hand while the spring is removed with the
other. I did this by pushing the spring down and out of the upper cup, and then
lifting up and out of the lower control arm:
The
new spring is installed making sure the lower and upper rubber stops are
aligned with the spring ends. The lower rubber insulator has two tabs, the
smaller tab fits through a hole in the control arm and the larger tab fits the
larger rectangular hole facing toward the side of the car:

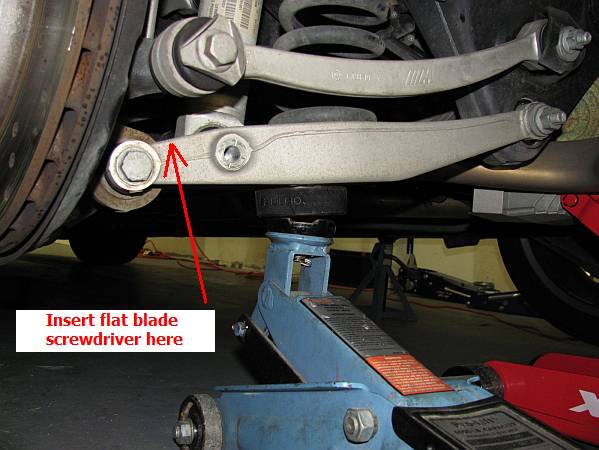
The jack is
used to jack the lower control arm back into place; you will have to play with
it a bit to get the optimal height and alignment to get the bolts through.
Install the hub bolt/nut FIRST (a little tricky to align, once you figure it
out the other side will be easy), and NEXT the shock bolt (careful not to cross
thread the bolt). You can use a screwdriver in between the hub mounting point
and shock base to get it aligned. The final tightening to specific torque
values should be done with the suspension at normal height; this can be done
with the wheels remounted and the car backed on to ramps- TIS torque specs and
instructions at bottom:
Don’t
forget to visit your tire shop for a 4-wheel alignment…………….
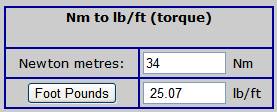
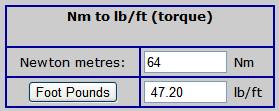
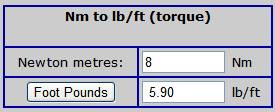
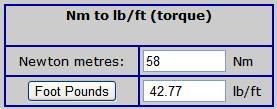
TIS Torque Specs: TIS instructions below with torque
specs-
FRONT:

![]()
![]()
![]()


![]()

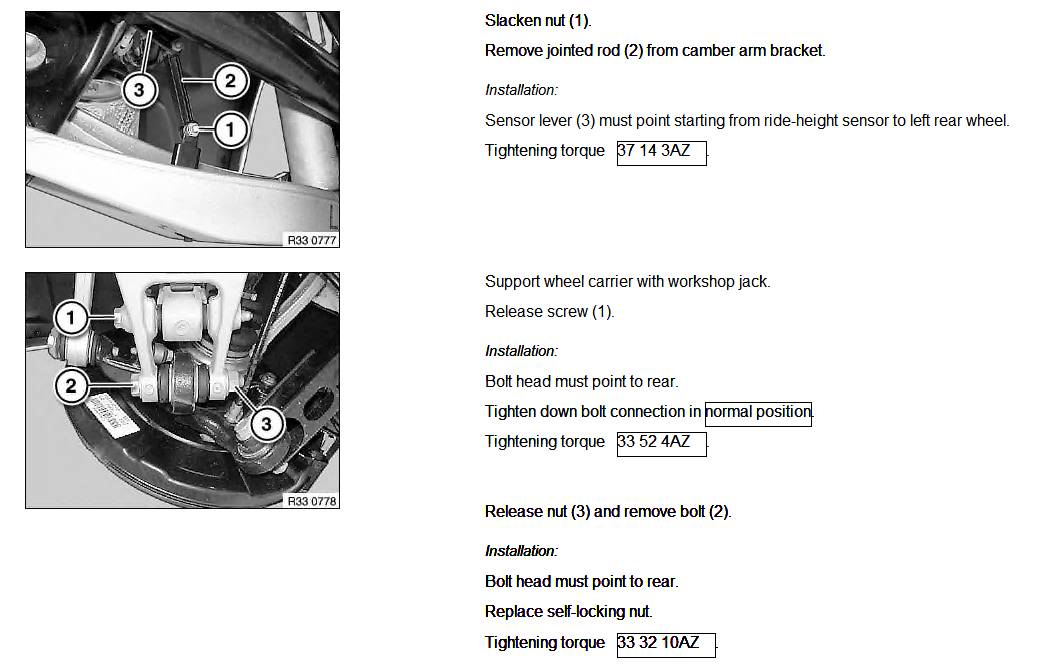
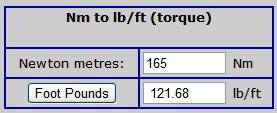
REAR:

![]()
![]()

![]()