![]()
2011 Lotus Elise: Installing Cup
Airbox
I debated for a while if I
was just going to do the snorkel delete like I had in the 2005 Elise, modify
the OE airbox, or just go ahead and get the Lotus Cup airbox (P/N ALS3E0157) . I decided to go with the Cup airbox because it was
relatively cheap and Lotus felt it was worthwhile for their cup car, so it
should be good enough for me. It also provides more filter surface area so it
theoretically should provide better airflow with less dirt. The Cup airbox kit
I ordered from Sector111 consisted of the adapter plate, pre-filter part of the
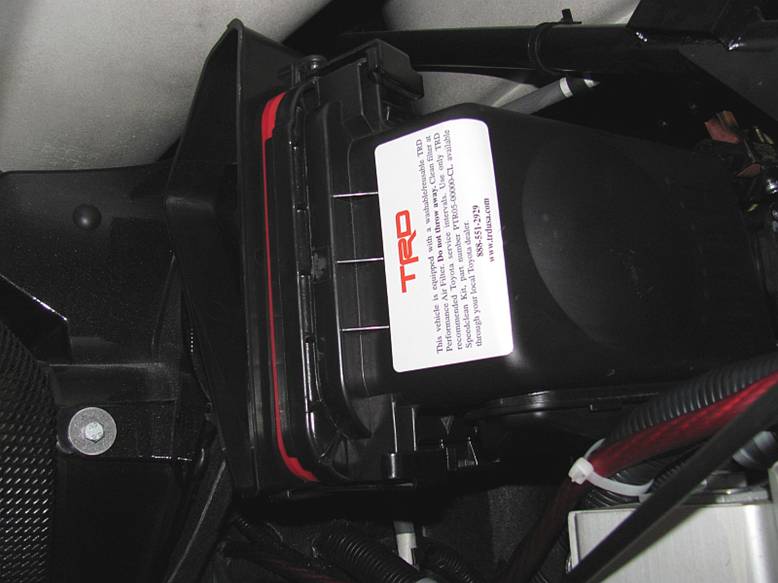
airbox, and OE filter. I also opted for the TRD air filter that fits the Cup
airbox (P/N PTR05-06990-01).


Standard
Disclaimer: ANY USE OF THIS INFORMATION
BY YOU IS AT YOUR OWN RISK. I ASSUME NO LIABILITY FOR YOUR USE OF THE BELOW
INFORMATION.
Installation:
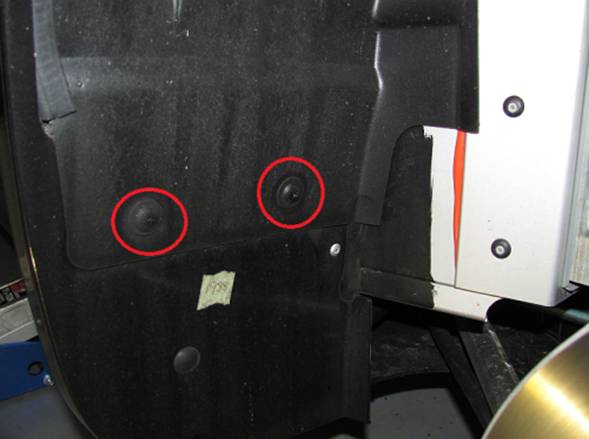
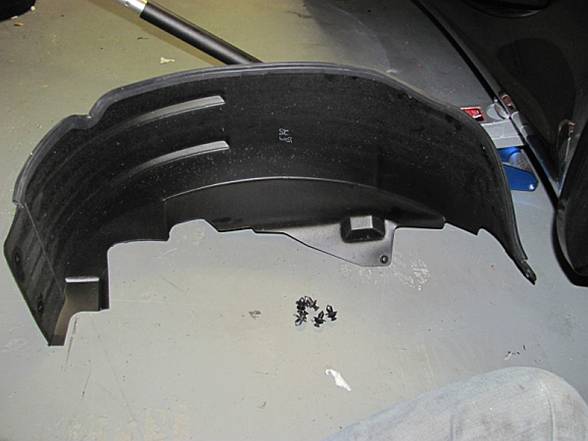
First step
is to get the rear driver side of the car up on a jack stand and remove the
wheel so that the wheel well liner can be accessed. To remove the liner there
are several plastic screw-rivets that will need to be removed- simply unscrew
and pull the rivet out of the hole:
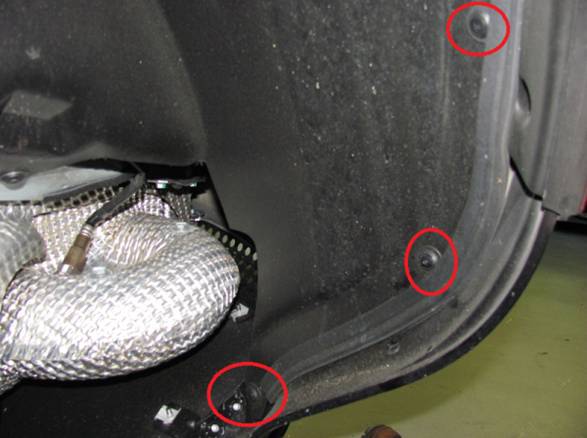
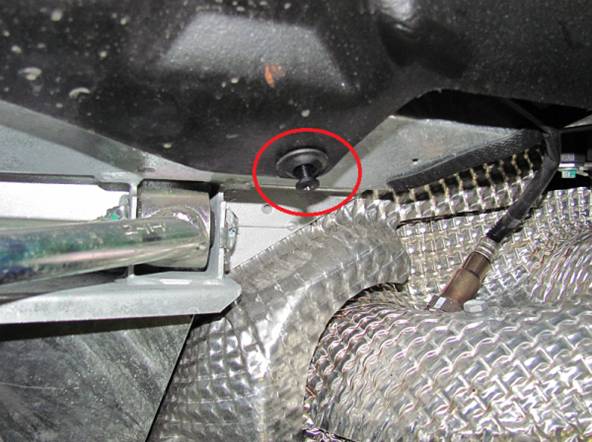
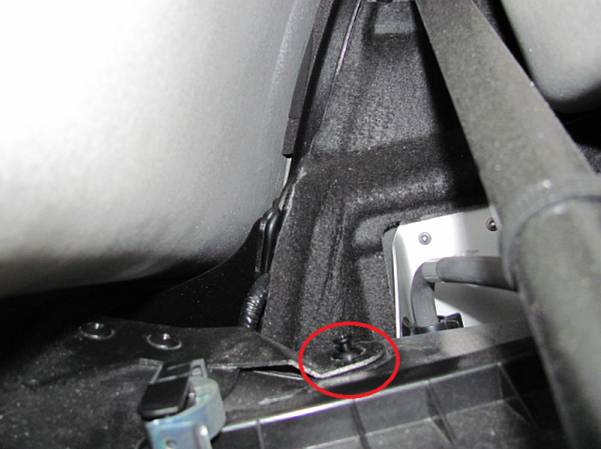
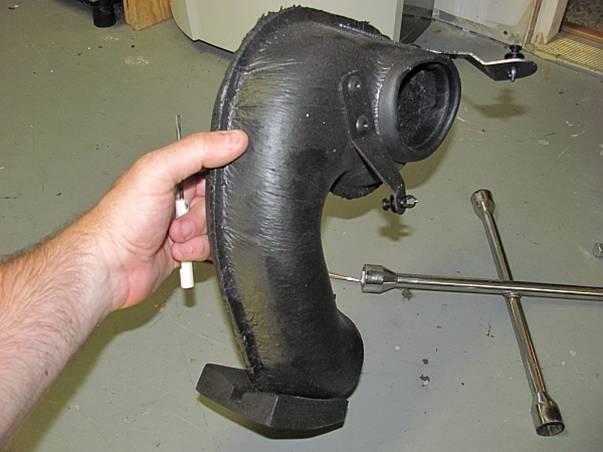
With the
fender liner out of the way the snorkel can be removed, a few more plastic
screw rivets holding it in place have to be removed:
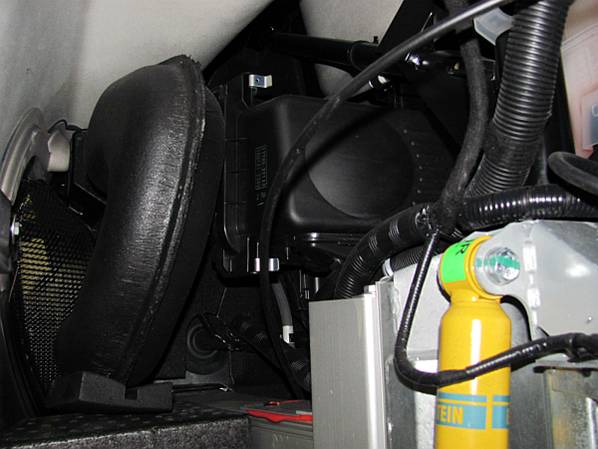
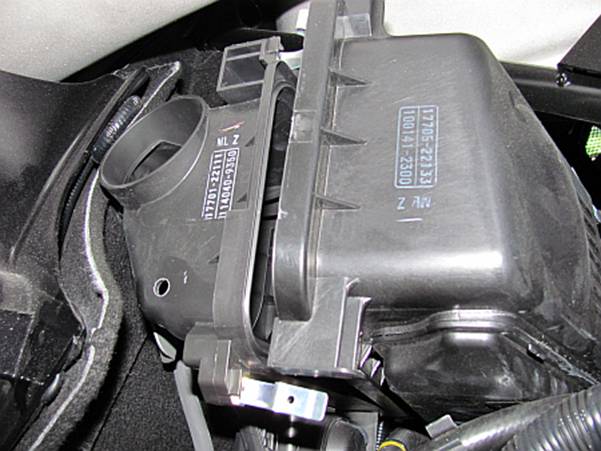
The airbox
can now be removed (or if you are having second thoughts you can at least replace
the air filter and enjoy a bit more sound with no snorkel). The two clamps can
be unclipped to release the airbox :
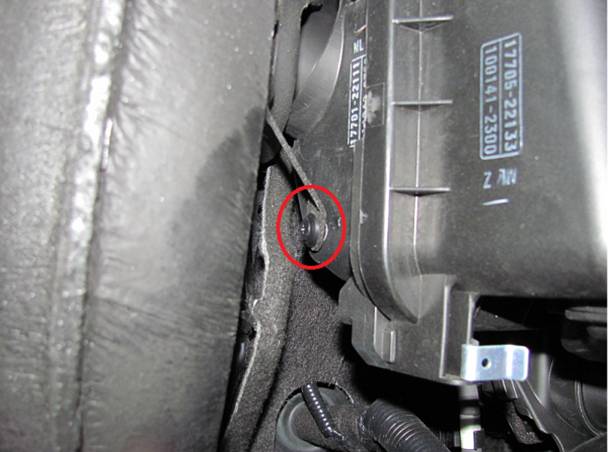
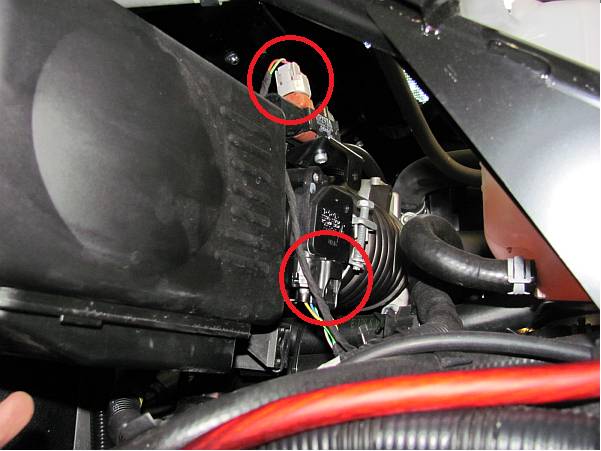
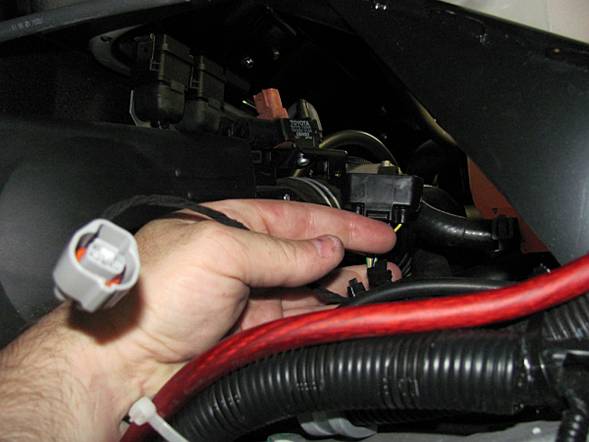
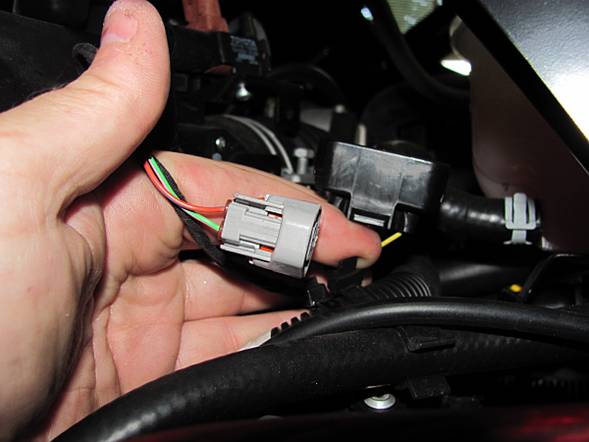
Unplug the
electrical connectors at the airbox, push the release and pull out of the
connector- it is tight getting in there to push the release and pull the plug
at the same time but your persistence will pay off:
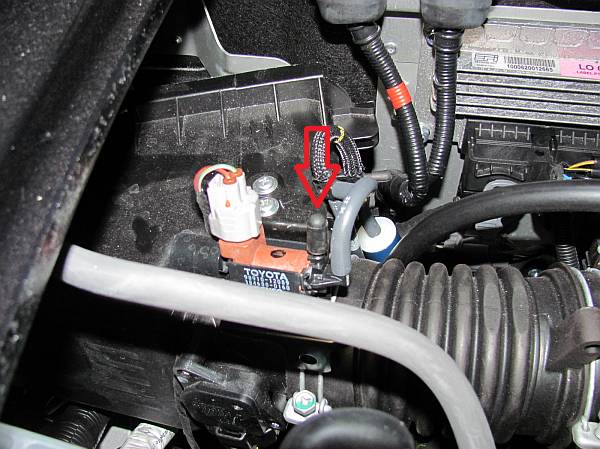
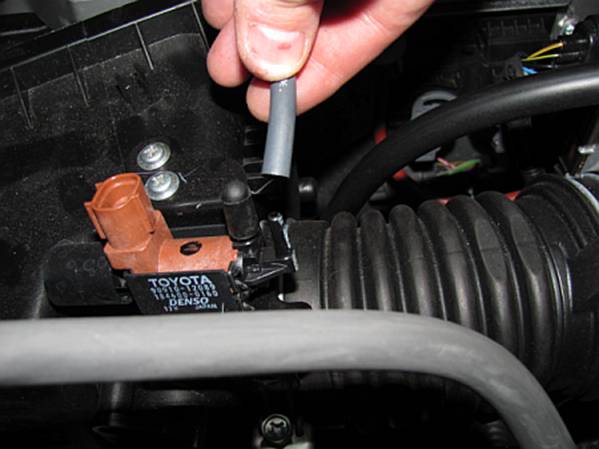
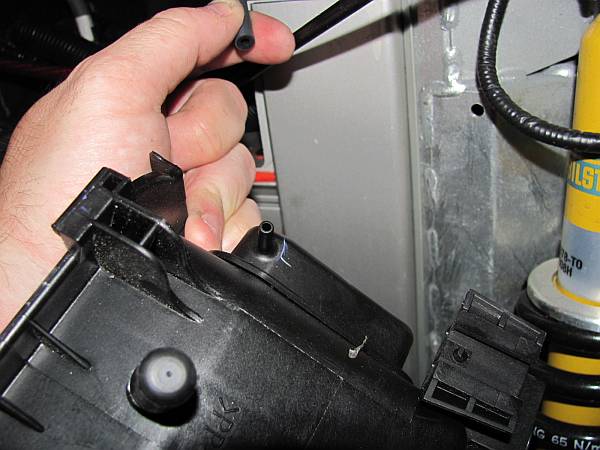
The vacuum
line to the left can be removed and replaced with a vacuum cap,
this line goes to the valve on the airbox piece that is replaced with the new
Cup airbox piece which does not have this valve. The vacuum line on the right
side can be removed for now, label it if you will not remember where it goes
later. The two screws seen in the second picture below can be removed so that
the valve control can also be removed, this makes it a
little easier to remove the airbox section:
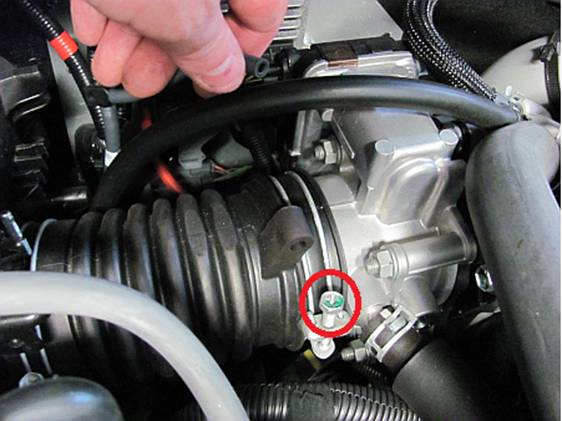
Loosen the
airbox hose clamp at the throttle body:
The airbox
can now be pulled out, you will need to unplug one
more vacuum line that can be accessed with the airbox pulled out:
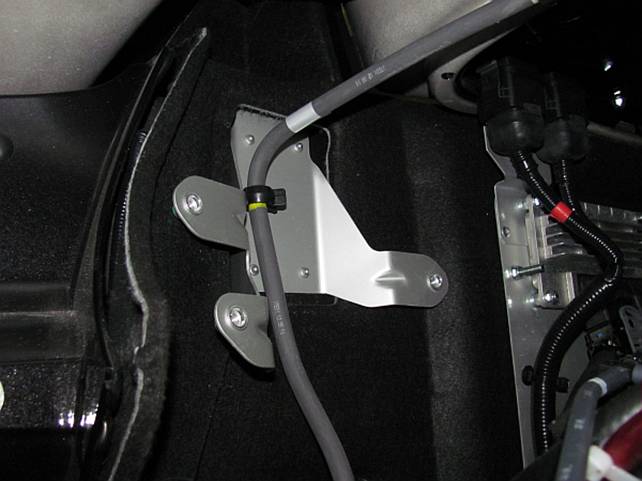
With that
section of the airbox pulled out, the front section can be removed- three bolts
hold it to the firewall mount. You can also see the valve that the vacuum line
we capped off connected to in this picture:
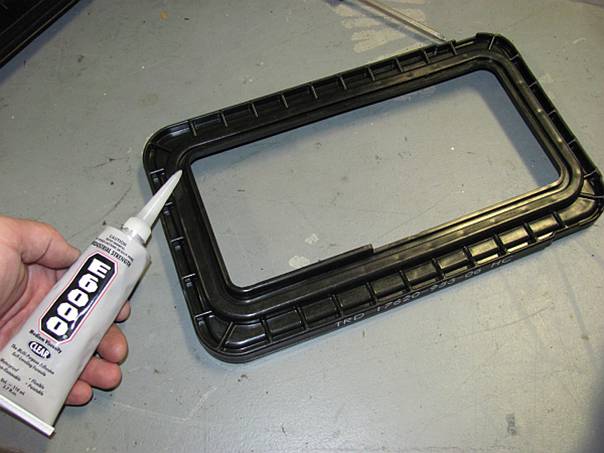
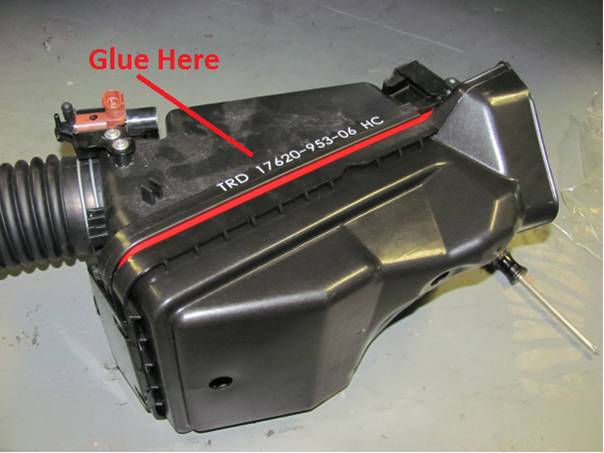
A few
choices for the adapter- 1) leave it as is (or use a gasket) and it may leak
and I would imagine will be painful when it comes time to change the filter
trying to line everything up while you clamp it together or 2) use silicone (I
like E6000 adhesive) to "glue" the adapter to the post-filter airbox
half and seal it up good. If going this route it is a good idea to clamp the
entire assembly together and let the adhesive or silicone dry overnight before
installing:
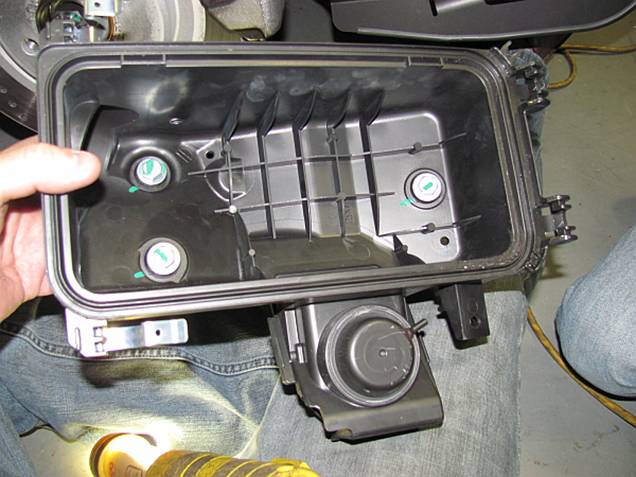
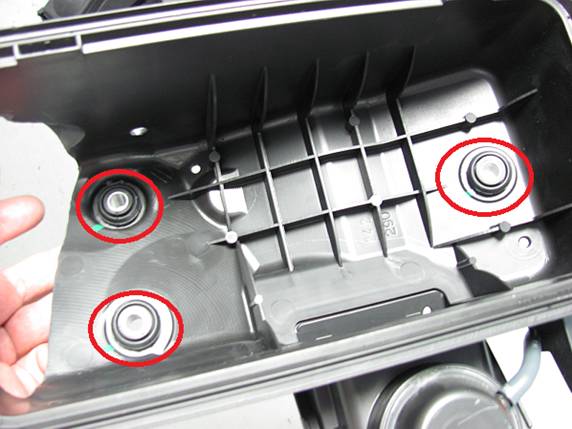
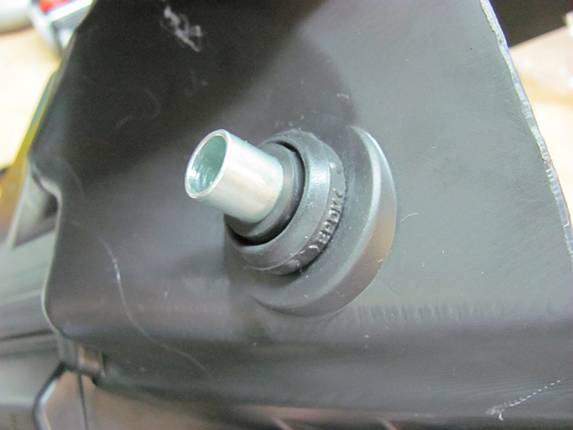
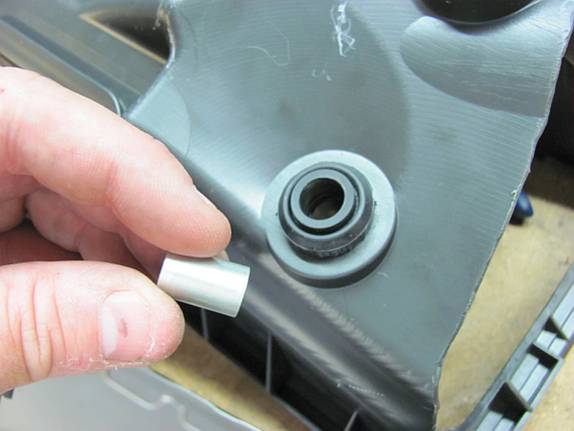
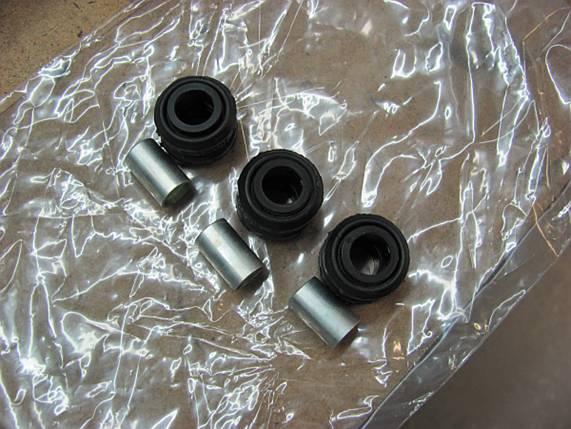
The bolt
insulators will need to be removed from the old pre-air filter part of the
airbox. This can be done by pushing the metal barrel out of the rubber piece,
and then compressing the rubber to remove. Installation in the new airbox piece
can be done by reversing these steps and can be done while the airbox is assembled/drying:
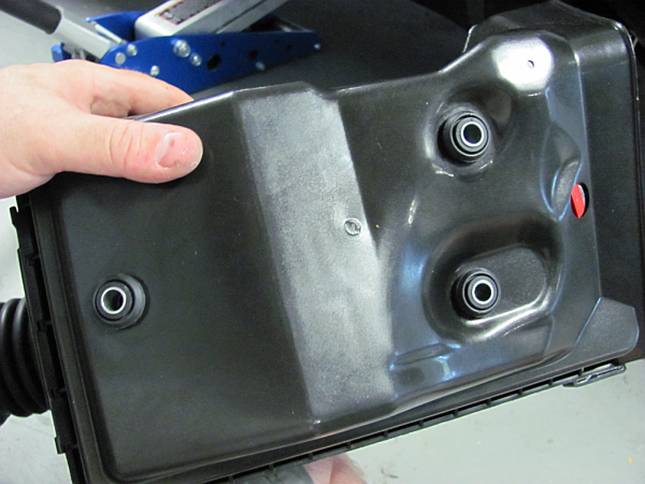
Airbox
assembled, the metal plate is positioned over the tabs in the new pre-filter
airbox piece and locked in place by sliding down into the tabs- it can then be
clamped onto the post filter piece :

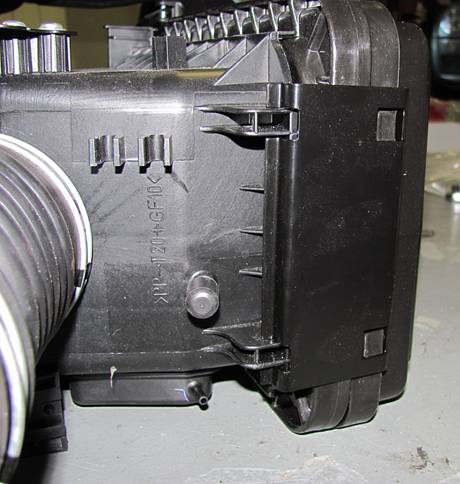
Now for the
fun part- adjusting the metal firewall mount to work with the new Cup airbox.
Start by unclamping the airbox pieces and then begin bending the right arm of
the mount in until the airbox holes line up, you may also have to adjust the
left two arms as well but that should be minor. Picture below is before the
"adjustments" were made:
Installation
is reverse of removal, be sure to reconnect the plugs and vacuum lines from
where they were removed, after installation you should only have the old
pre-filter airbox piece, old air filter, and the removed vacuum line left over.
Enjoy the new sound: