![]()
My ![]() Elise Anti-Roll Bar Installation
Elise Anti-Roll Bar Installation
(Original
Installation Text by BWR, additional comments and pics
by Bill ,
Standard Disclaimer Applies: The following is provided for
informational purposes only, any other use is at user’s own risk. )
Installation
Time: 2-3 hours
BWR
Adjustable Anti-Roll Bar Installation Instructions:
1. The BWR
adjustable anti-roll bar was designed to utilize the Elise’s existing mounting
points.
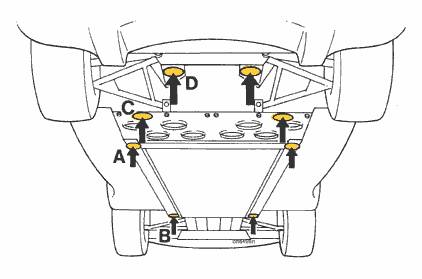
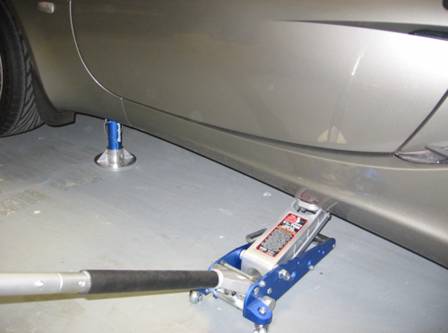
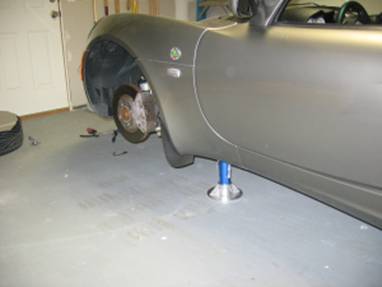
2. The
Elise needs to be jacked up with both front wheels in the air. It is best to
use the forward chassis jack points rather than the front suspension, as you
will want full range of motion on the suspension during this install. (Always
use jack stands when working under a car.)
[BH] I used the B points in below diagram- the stickers were gone but
the circle of adhesive let me know where the jacks needed to be placed. I broke
all of the lug nuts loose before jacking- alternatively a helper could apply
the brakes and this could be done once the front end is off the ground.

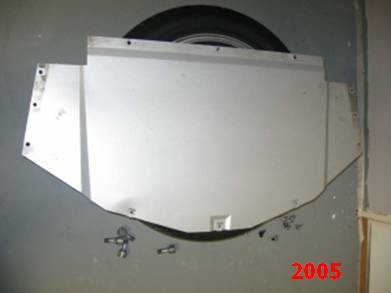
3. Remove
both front wheels, and the front under-tray panel.
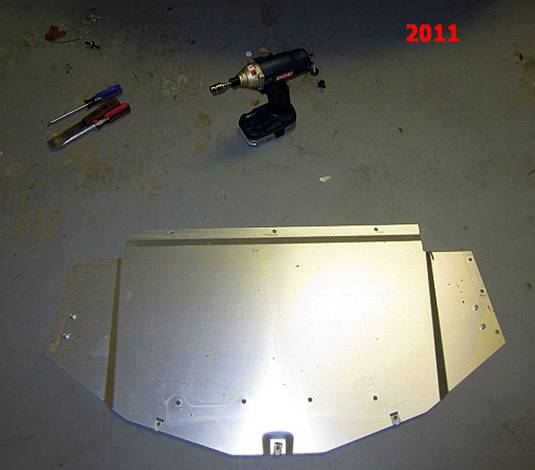
[BH] The 2005 and 2011 under-panels are slightly different.
4. Remove both
front shock/spring assemblies. (This step is not strictly necessary, but is
quick and makes other steps easier.)
[BH] I elected to make a new tool and avoid this step- see step 6.
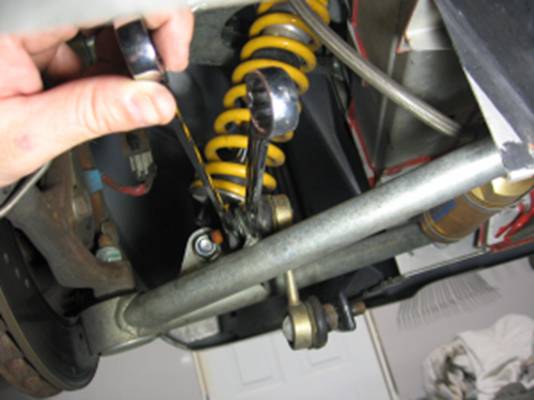
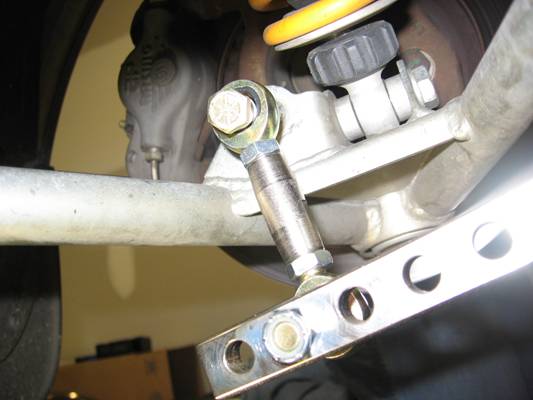
5. Un-bolt
the end-links from the lower suspension arm.
[BH] Using two 17 mm wrenches, there is a flat spot on the metal piece
next to the grease boot that needs to be held with one wrench while the other
wrench is used to loosen/remove the bolt. Repeat this step for top and bottom
for both sides.
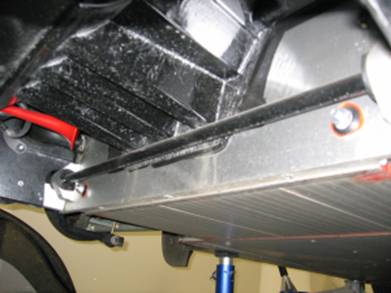
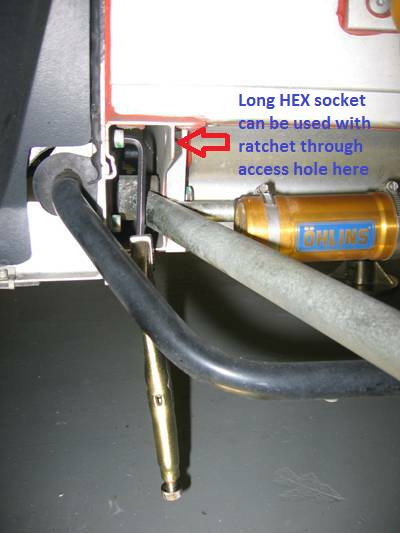
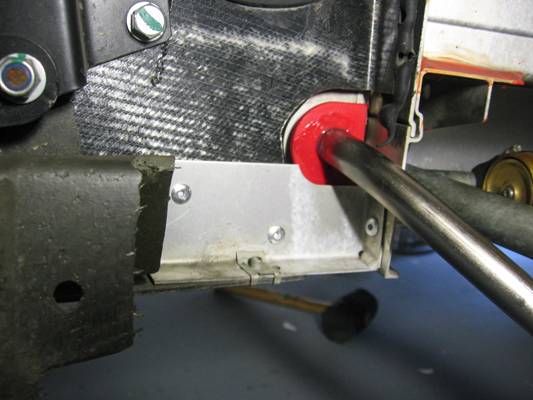
6. Now for
the tedious part… Un-bolt the anti-roll bar mounting brackets from the chassis.
There are 2 button head screws on each of the two brackets. They use a 6mm
Allen key, and are exceedingly annoying to remove. The top bolt is accessible
with a long Allen key from a small hole in the aluminum extrusion in front of
it. The lower bolt is accessible by lifting the lower suspension arm up and out
of the way. (This is why we removed the shocks.) We found it necessary to place
a 6mm box wrench on the Allen key, and use a breaker bar on the 6mm wrench to
get sufficient leverage to break these bolts loose. You may find it slightly
easier to do with the anti-roll bar rotated down and out of the way.
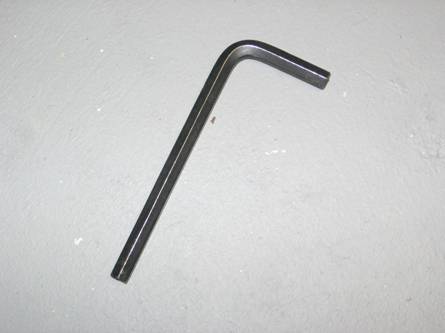
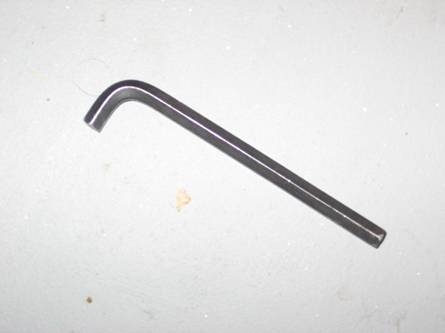
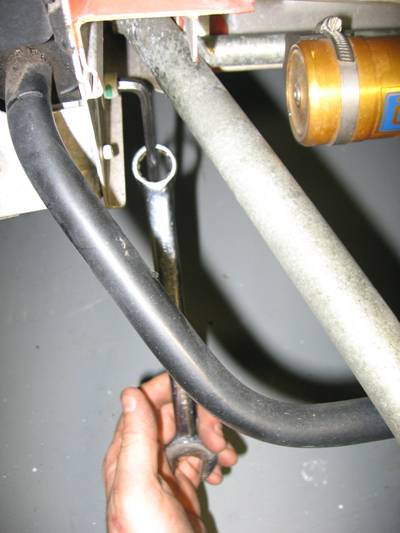
[BH] To make jobs a little easier I sometimes have found it necessary to
fabricate tools. I have a bag of cheap tools just for this purpose. For this
job I found it much easier to modify a 6 mm HEX wrench by cutting the short end
down with a grinder so that it would fit in the Allen-head bolts without using
the access hole and without removing any suspension components. To break the
bolts loose I grabbed a large box end wrench (disregard the pic with the
ViceGrips- they don’t work as well) and placed it on the long end of the hex
wrench for leverage, once broken loose they were removed with the HEX wrench-
this was tedious due to the Allen-head bolt design and limited space but the
good part is you won’t be using these again. There is an access hole for the
top HEX bolt so I used a ratchet and long HEX socket for this one, custom tool
used for bottom HEX Bolt.
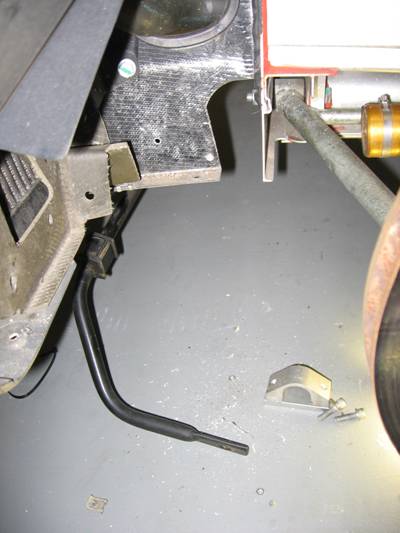
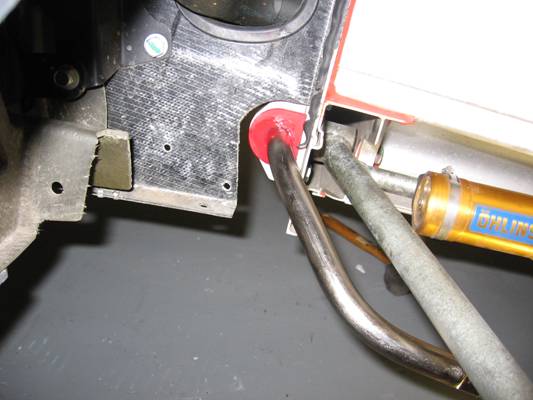
Before: After:
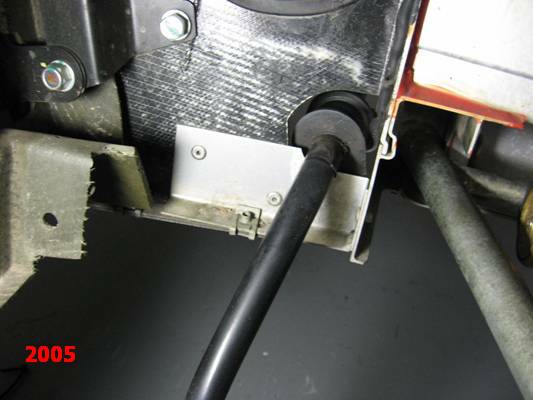
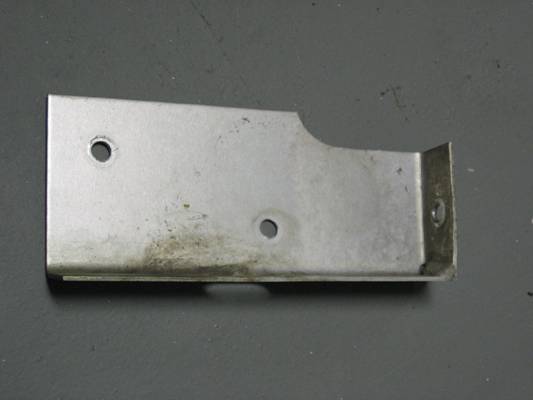
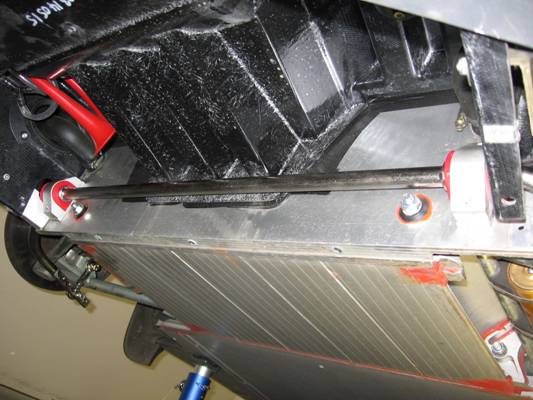
7. Once
all 4 bolts are out, the bar is now loose. However, in order to remove the bar,
one of the aluminum end panels needs to be removed. It is secured with 3 rivets
which can be drilled out or cut off with a Dremel.
[BH] For the 2005 that had this plate I found that a Dremel with a
carbide cutting tip worked the best. The mounting clip for the under-tray also
needs to be removed, it just pulls off. Once the piece on one end is removed
the sway bar can be twisted to maneuver the other side out.
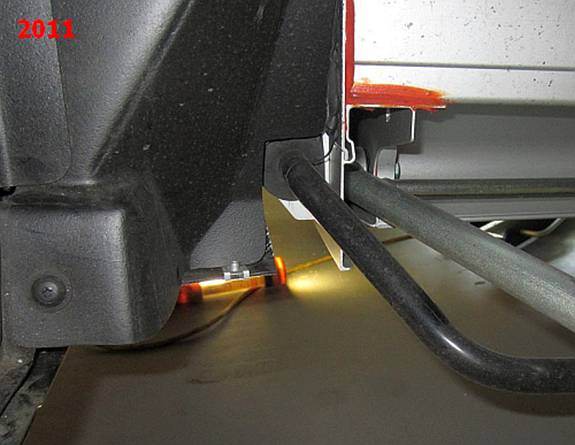
The 2011 did not have this plate and may have been part of the 2006
design update that uses a different under-panel for reinforcing this area in
place of the plate- so plastic fender liner did not have to be removed for
R&R.
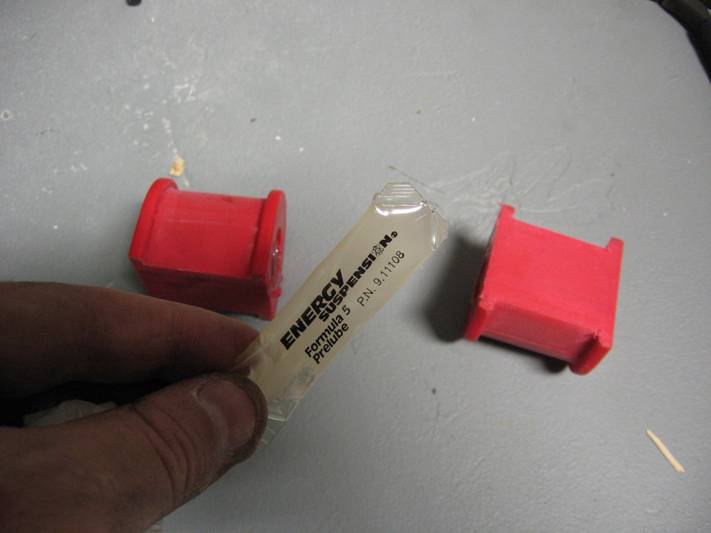
8. Remove
the stock bushings from the bar and install onto the BWR bar using the lithium grease
included for this purpose.
[BH] BWR now ships the bar with poly bushings. I gave these an initial
coat of grease; there are recesses inside the bushing that hold grease. Once on
the bar, I used the grease hole in the bushings to try and get more grease
inside, squirting the grease directly in the hole and then packing it in with
my finger. I may at a later point drill the metal mount for a Zerk fitting
since the bushing is equipped for this so that these can be greased
periodically without removal.
9. Bolt
the new bar into place using the original brackets. We have included standard
hex head bolts to replace the original button heads. The arms of the bar should
dip downward and point towards the rear of the car when installed properly.
[BH] I re-used the OE washers with the new provided BWR hardware for the endlink nuts and the bushing bracket bolts.
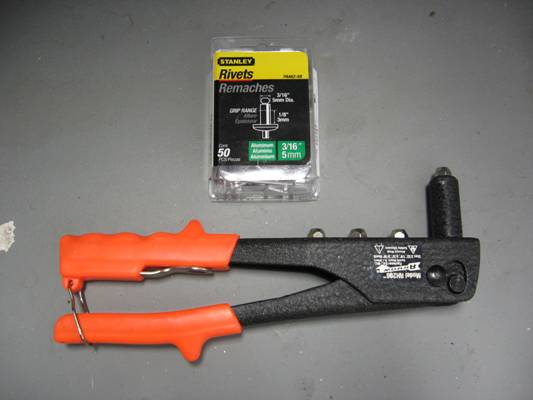
10. The end
panel can now be riveted back into place. Small bolts and lock nuts can be used
if you don’t have access to a rivet tool.
[BH] I used 3/16” x 5mm rivets, worked perfectly although it is hard to
access the rear rivet hole with the rivet gun.
11.
Re-install the front under tray.
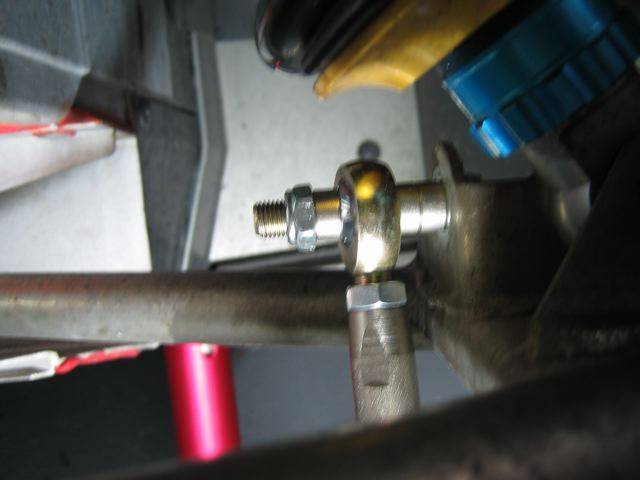
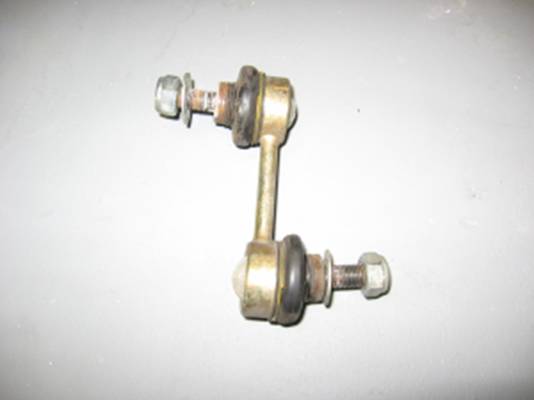
12. Attach
the end-links at this time. On one side, attach top and bottom, but only bolt
the other side to the suspension arm for now. For easy adjustment later,
install the adjustable end-links with the wrench slot closest to the ground.
(See the end of this document for setting recommendations.)
13.
Re-install the shocks (if applicable) and wheels, and lower the car to the
ground.
14. Before
fastening the final end-link, you’ll need to roll the car back and forth to
settle the suspension, and sit in the driver’s seat while someone bolts the
last
end-link
to the bar. This is to remove any pre-load on the anti-roll bar. Don’t run over
your assistant in your haste to test your new toy.
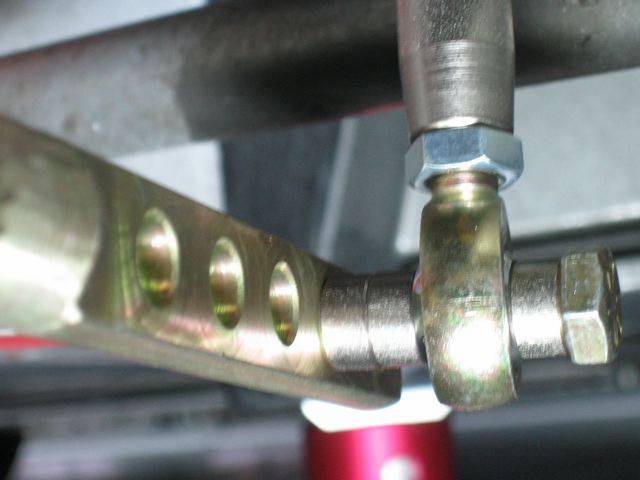
Recommended Settings:
The BWR
adjustable anti-roll bar has 5 settings. #1 is softest (at the end of the arm),
#5 is stiffest. The #2 setting is approximately 60% stiffer than stock, and
each hole is approximately a 2% change.
#1 -
Stock Elise with A048s should start here, and go stiffer if you are still
experiencing too much oversteer.
#2 –
Stock Elise with wider front street tires should start here.
#4 –
This is where we like the car when using the current crop of R-compound tires.
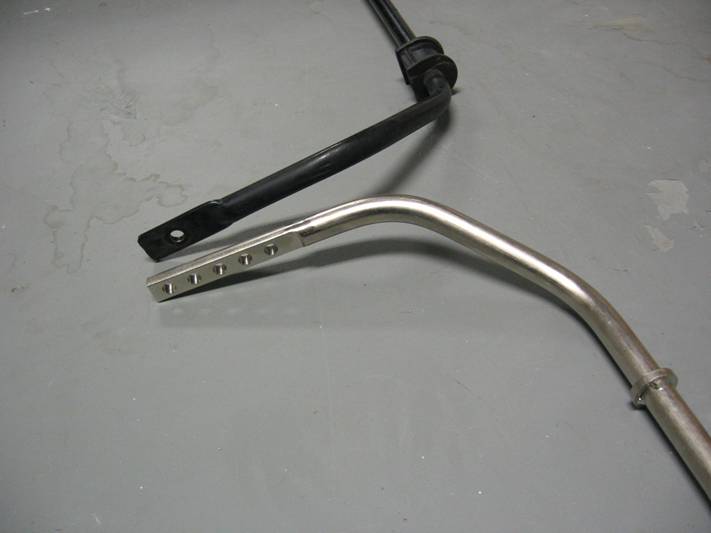
Comparison Pics- OEM vs
BWR:

UPDATE: Jim was kind enough to email some pics of the new
installation of the endlinks, BlackWatch
now includes an extra spacer so that the endlink is
more vertical (but no worries, Robert assured me that those of us with the
original setup are fine)