![]()
BMW 335i Riss Racing
Downpipes Installation
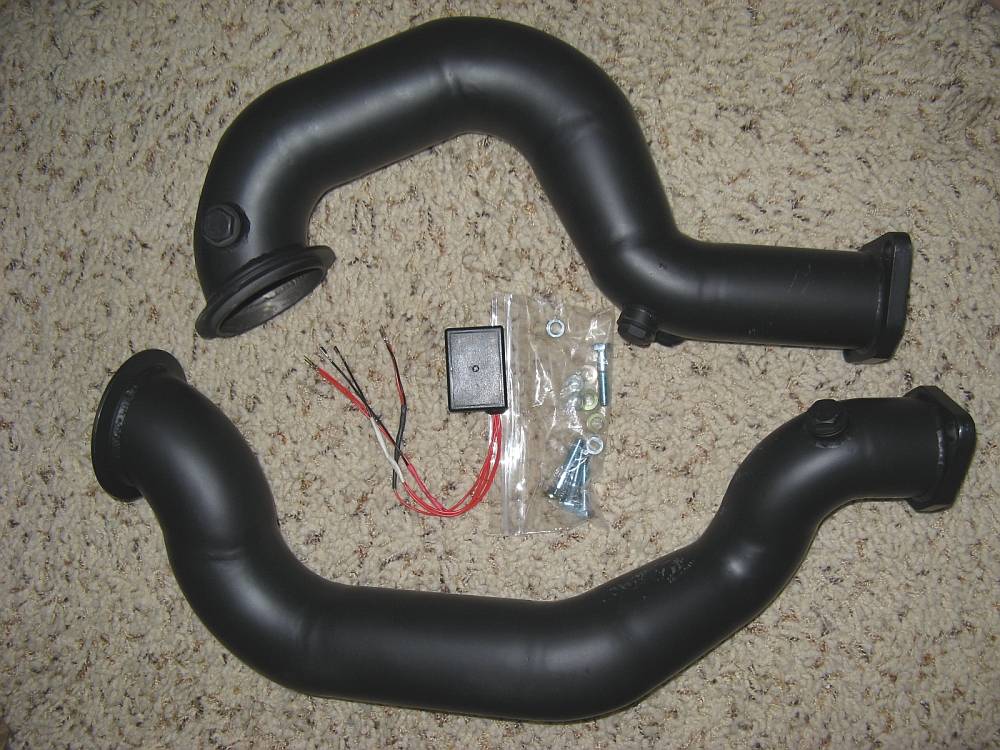
These Riss
Racing downpipes were purchased new from someone on the E90Post.com classifieds
that decided they wanted to do something different. The pipes come with an O2
simulator and hardware but no gaskets (maybe now they do come with gaskets
though). These downpipes are version 1 (aka V1) and have since been replaced
with a newer design for better fitment and easier installation.
My car is
an E92 so your mileage may vary regarding installation notes:
NOTE: The following is provided for information only and any use of
this information by you is at your own risk. Please read the ENTIRE
process/results.
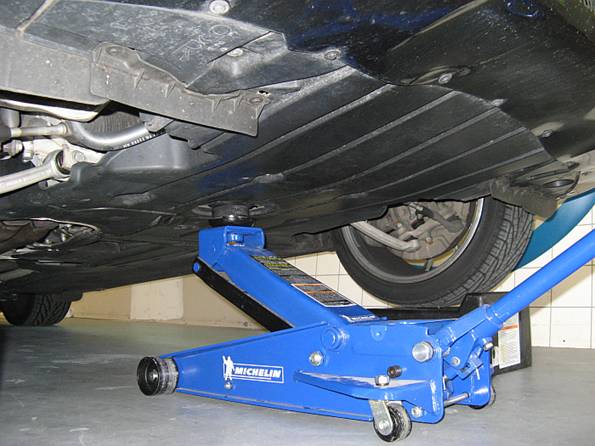
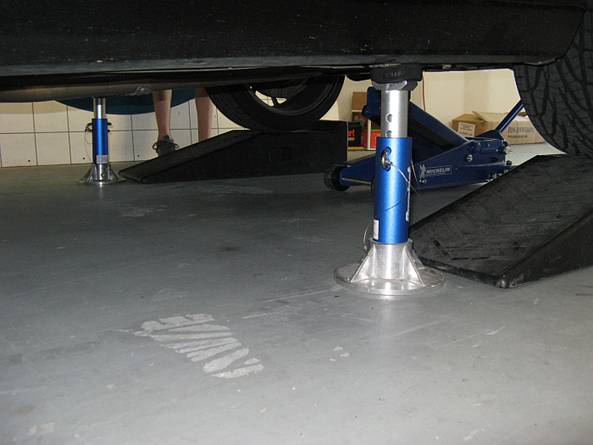
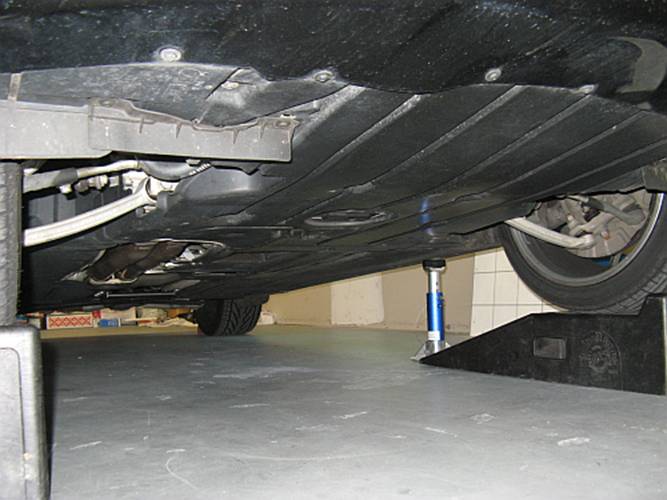
The first
thing I did was to drive the car up on ramps, apply the parking brake, and
chock the rear wheels:
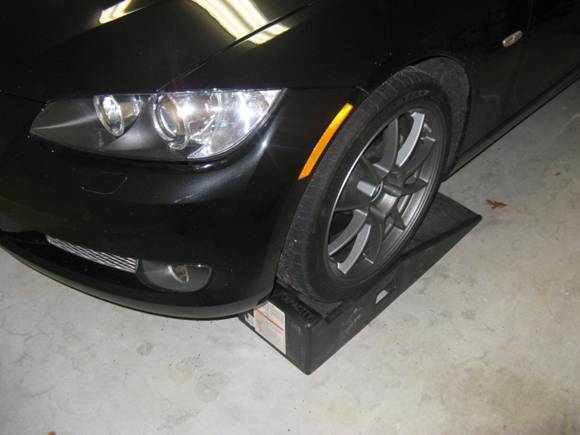
The ramps gave
me enough room to get the big jack under the front center jack point and lift
the car high enough to get jack stands under the factory front jack points, I padded the jack and stands with a hockey puck. The
jack stands were used to raise the car a bit higher than the ramps and work in
parallel with the ramps, ramps left in place for added safety.
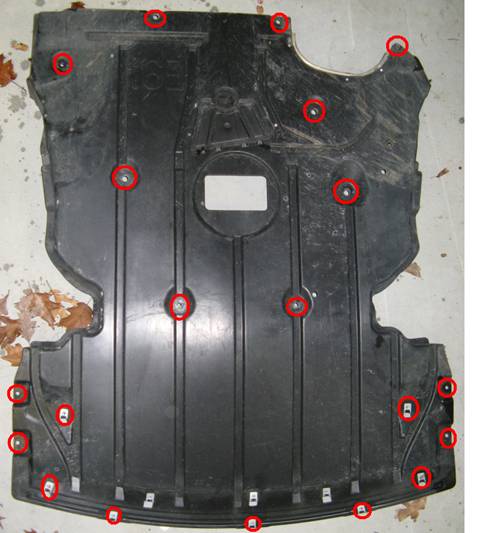
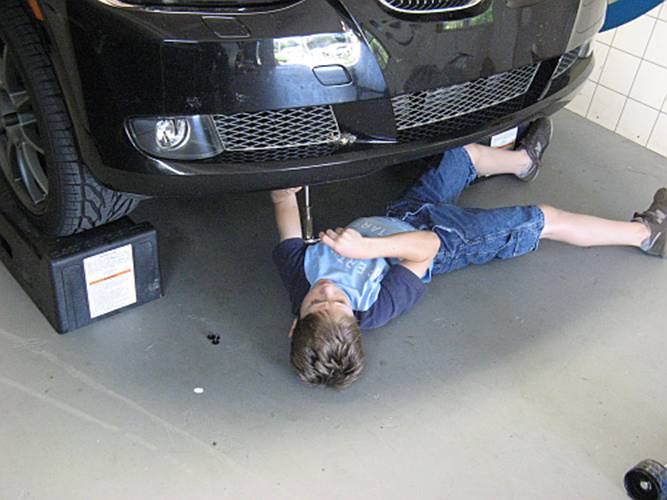
The
plastic shield under the front of the car has to be removed to access the
downpipes (it is just a few screws, about 20 ![]() ). My son/helper
took care of this using a ratchet and 8mm socket:
). My son/helper
took care of this using a ratchet and 8mm socket:
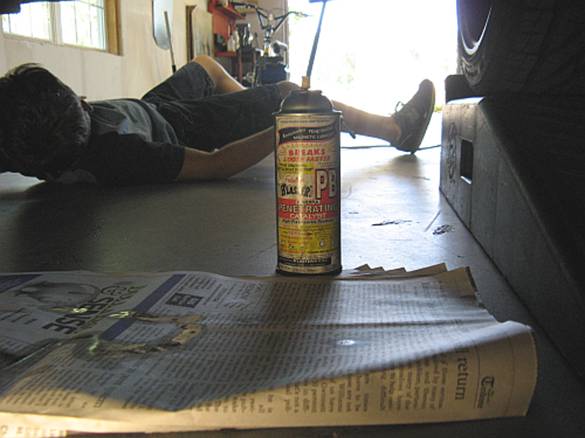
While my
son worked on the front under panel, I soaked the downpipe to exhaust bolts
with PB Blaster so that they would come loose easily:
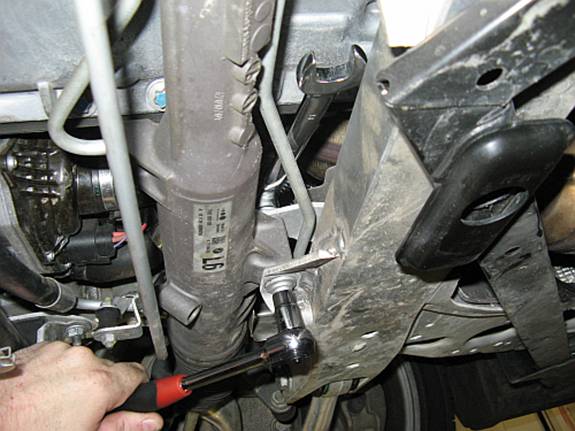
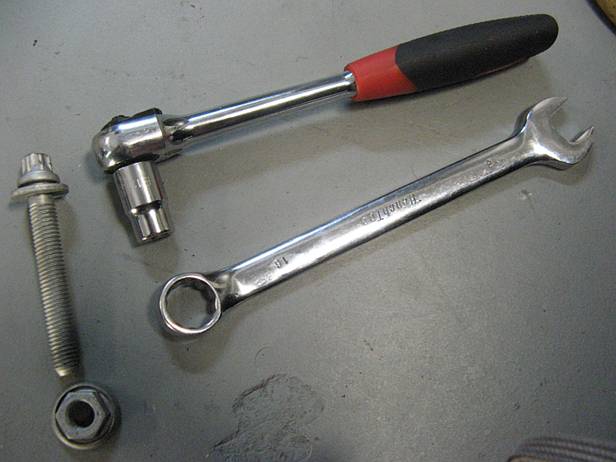
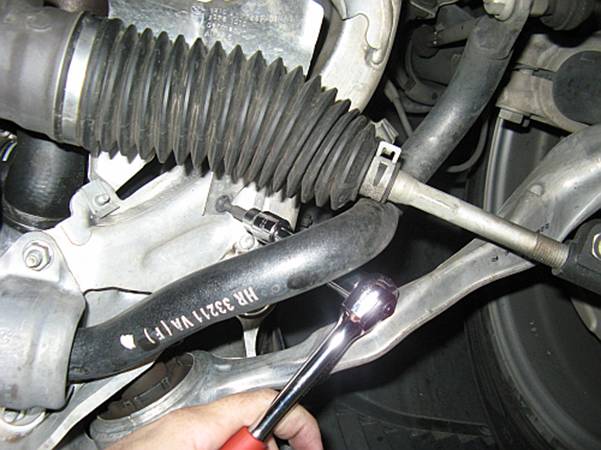
Next, the
steering rack bolts were loosened using a 16mm (or 5/8”) wrench and an E12
External Torx socket- the driver side bolt is just loosened but the passenger
side bolt is completely removed. Prior to loosening these bolts, I traced the
Torx head bolt on the rack mount with a fine point Sharpie so that when I
tightened it I would know the steering rack was in EXACTLY the same position as
when I loosened and removed them, there is some play (maybe only a few mm), but
that’s just me:
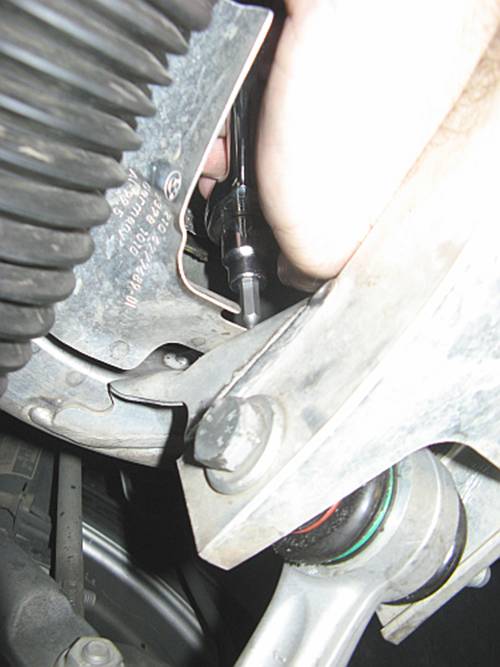
The
steering rack can then be pushed forward for about ¼” more clearance, doesn’t
sound like a lot but it is:

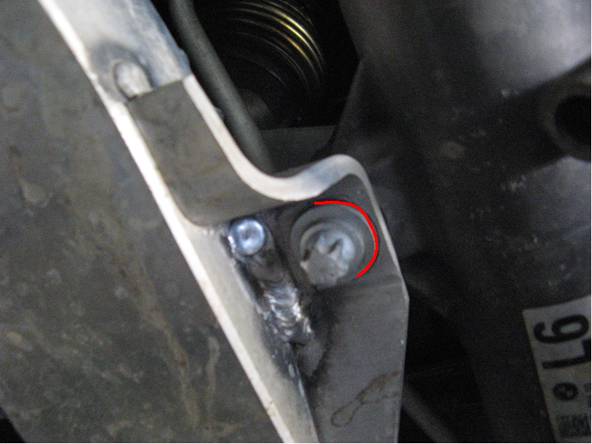
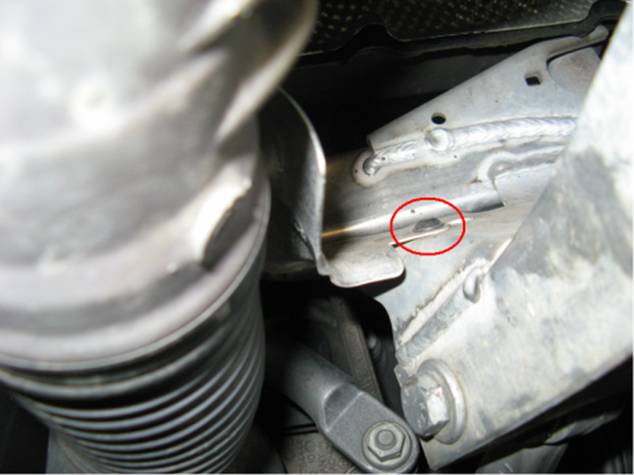
The
passenger side steering rod heat shield can then be partially removed and bent out
of the way using a T25 Torx socket. One screw is accessible from below and one
is accessed from the top, a small gearless ratchet makes the top one a little
easier. The third one holding the heat shield to the car is IMPOSSIBLE to get
to so the heat shield is carefully bent out of the way. Picture below shows
first bending attempt, I ended up bending it completely out of the way to the
right and under the frame (be careful not to rip the shield at the third
remaining bolt point). Also keep in mind when bending this piece that you will
need to bend it back to the original shape so that it protects but does not
make contact with the steering tie rod/boot, the less radical you are bending
this piece out of the way now, the easier it will be to reform to the correct
shape later:
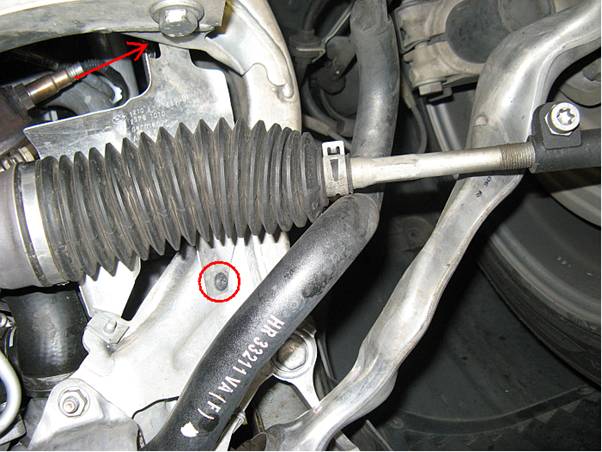
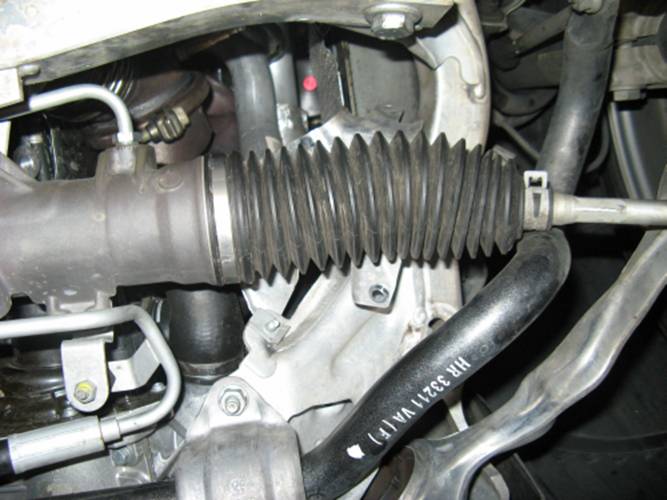
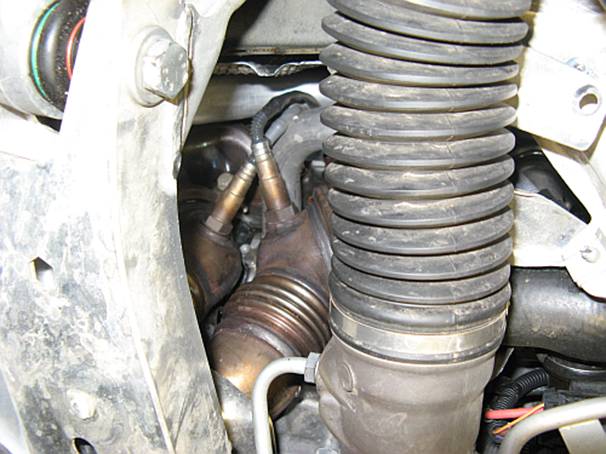
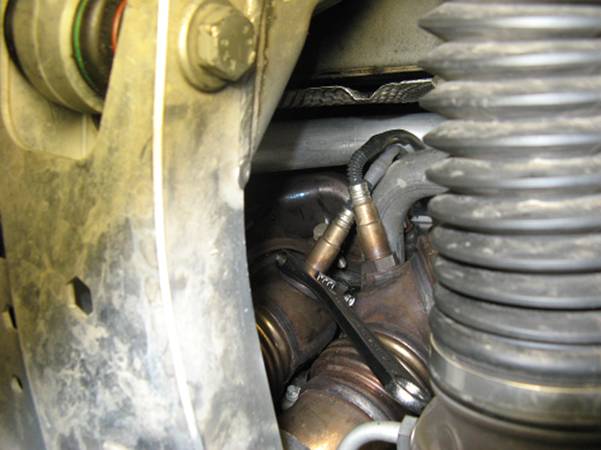
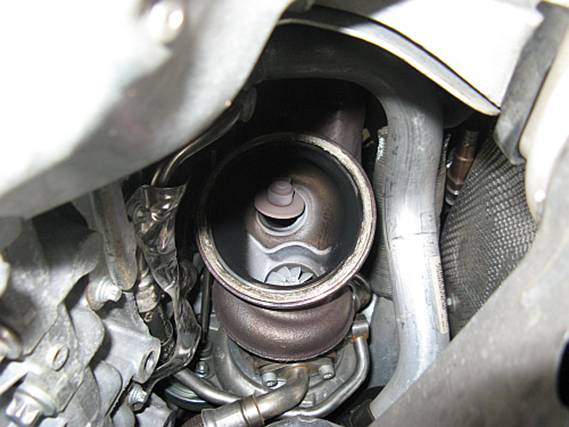
Here is
the amount of room you will have to remove the turbo DP mounts and pre-cat O2
sensors… ![]() :
:
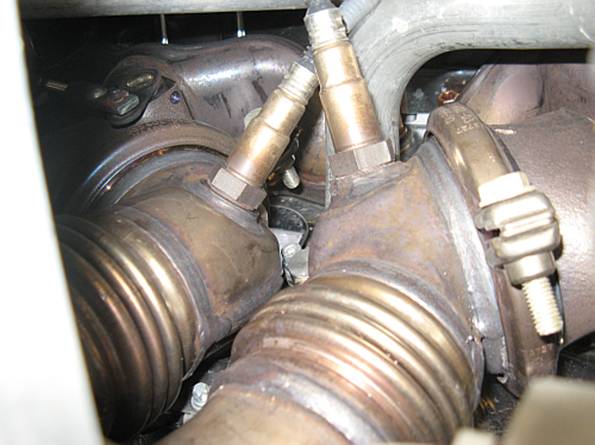
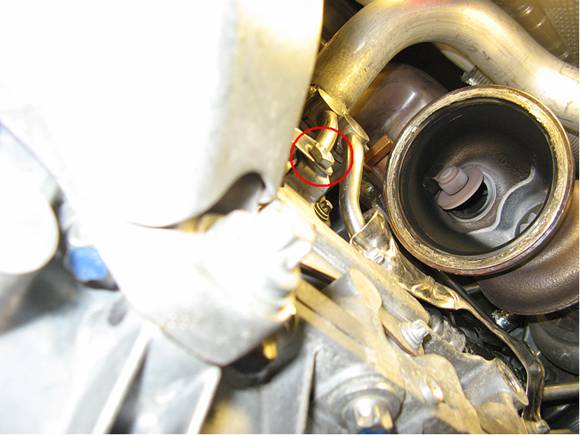
The
pre-cat O2 sensors are removed first using a small adjustable wrench (8
in/200mm), once broken loose they can be CAREFULLY removed by hand and placed
out of the way. WARNING: These O2 sensors are NOT
cheap so be careful with them.
There
is really no need to mark them, the rear turbo DP sensor has a GRAY protective cover, the front turbo
DP sensor has a BLACK protective
cover:

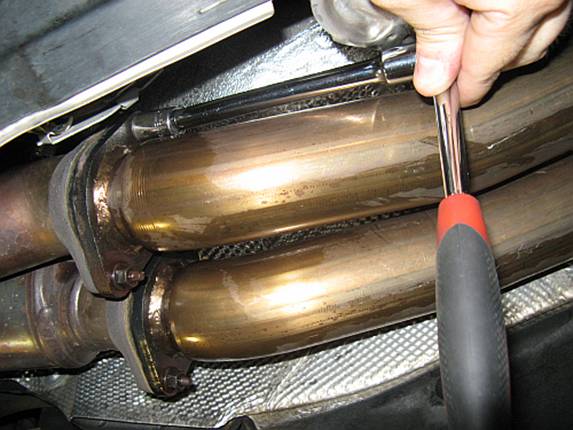
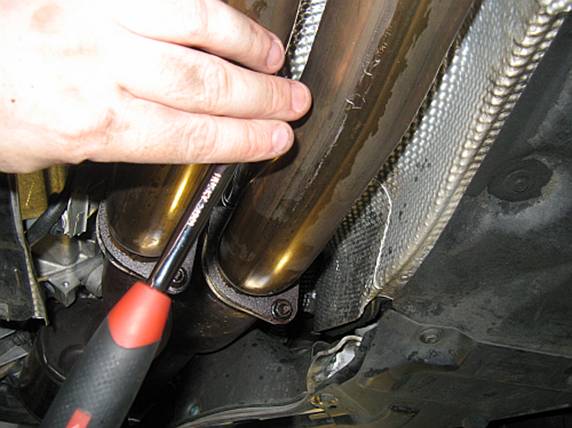
The band
clamp bolts are then removed (micro gearless ratchet works great here too)
using a 13mm socket, they can be loosened by prying apart the band clamp with a
flat head screwdriver:
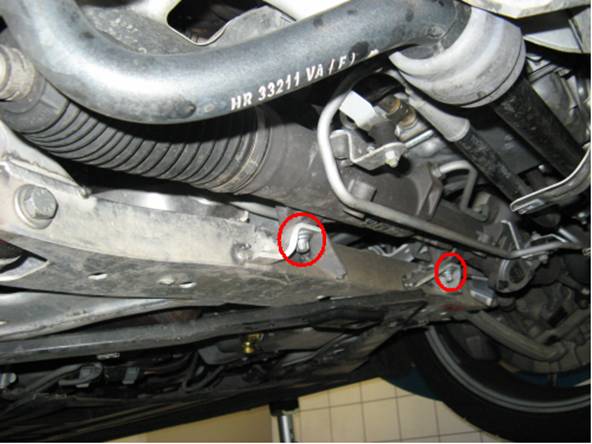
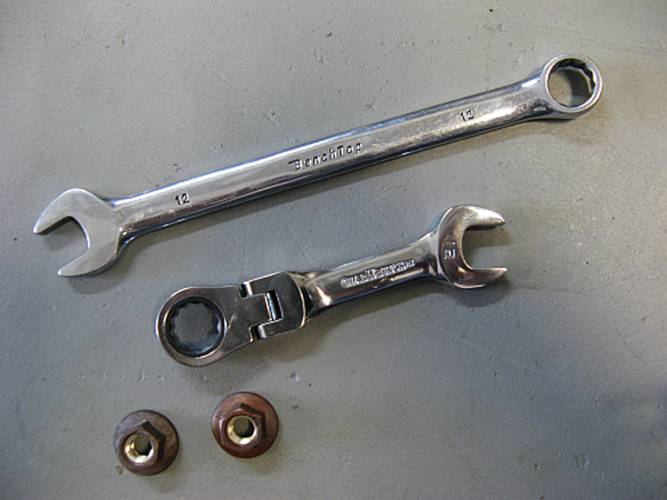
The
bracket bolts for the OE DPs are removed next with a 12mm wrench, for the one
that is hard to get to a stubby 12mm with a flex head works great:
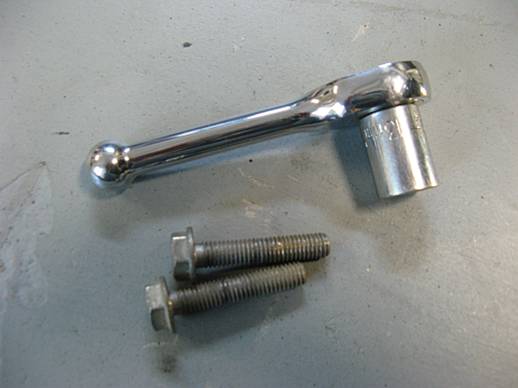
A wobble socket extension is then used with a 12mm socket to
remove the top (2) DP to exhaust nuts, it provides enough “wobble” on either
end to get at an angle in tough spots, the lower two can be removed using just
the 12mm socket and ratchet-
Next the forward exhaust support is removed using an E10
External Torx socket for OE exhaust, for my Borla mid-pipes it was a 13mm
socket:
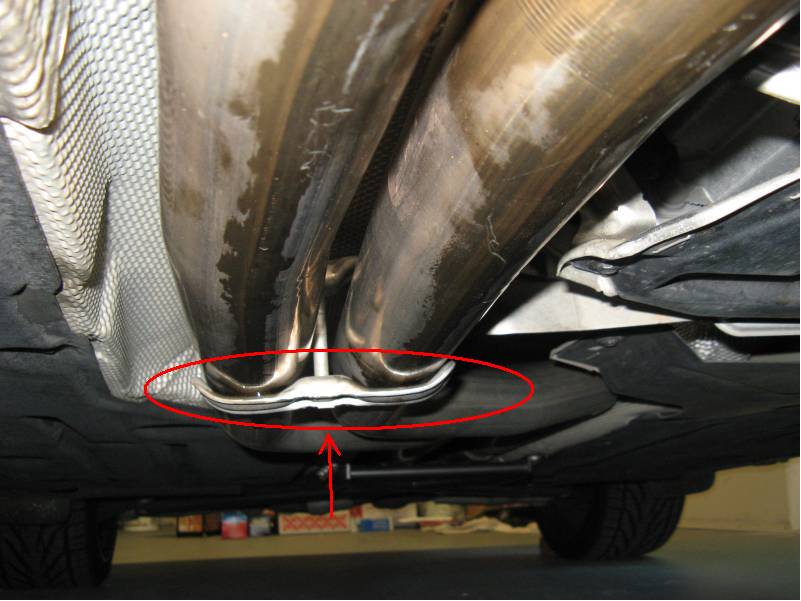
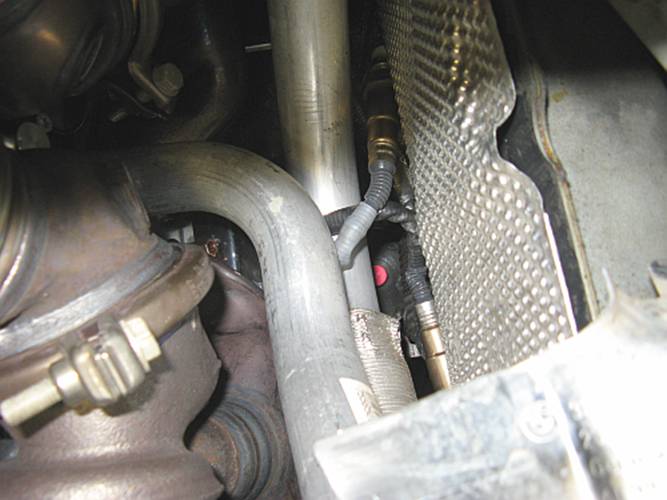
The rear O2 sensor wires
can be unclipped from their holders to make the wire harness a little longer
and aid in DP removal and reinstallation:


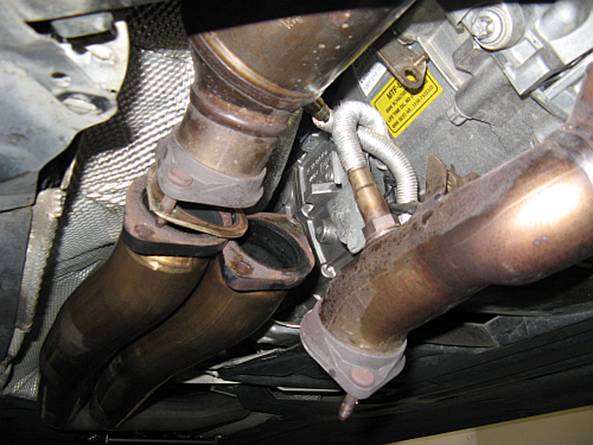
The DPs can now be removed
(you may need to bend the bracket out of the way to pull the locating pins for
the downpipes out) and the O2 sensors removed, again no real need to mark them, the rear turbo DP sensor has a GRAY protective cover, the front turbo DP sensor has a BLACK protective cover. The longer
front DP is removed first and then the shorter rear DP:

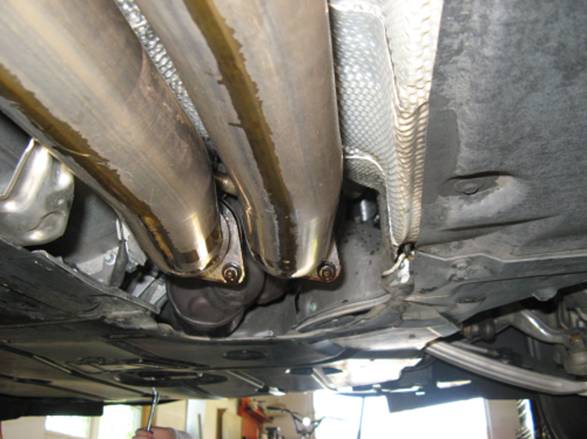
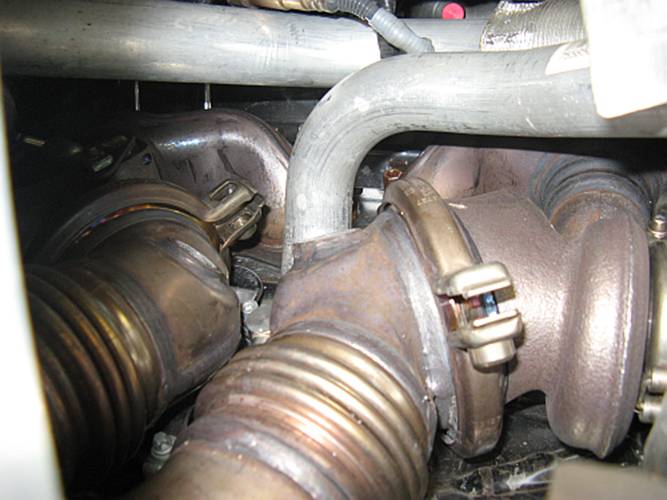
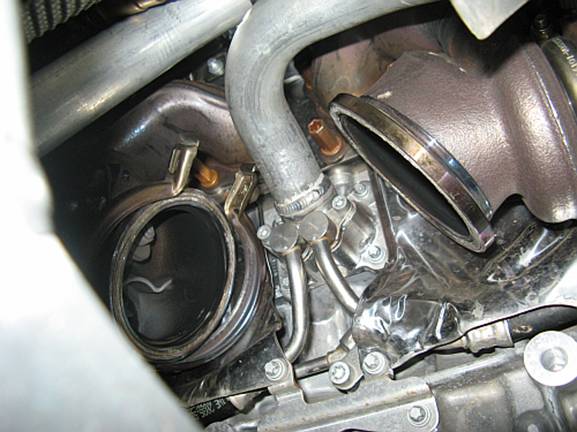
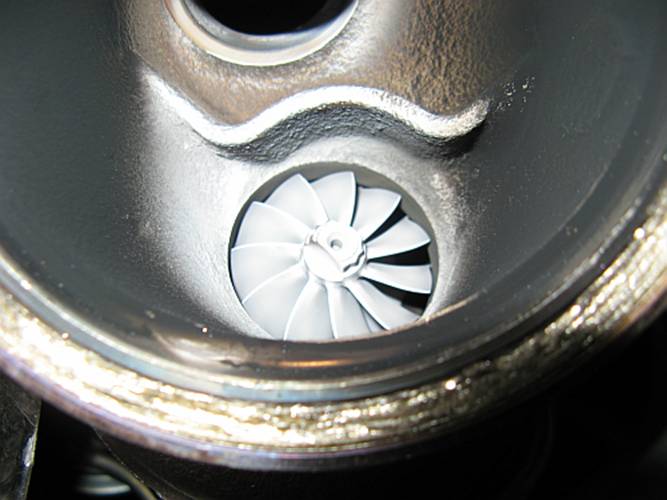
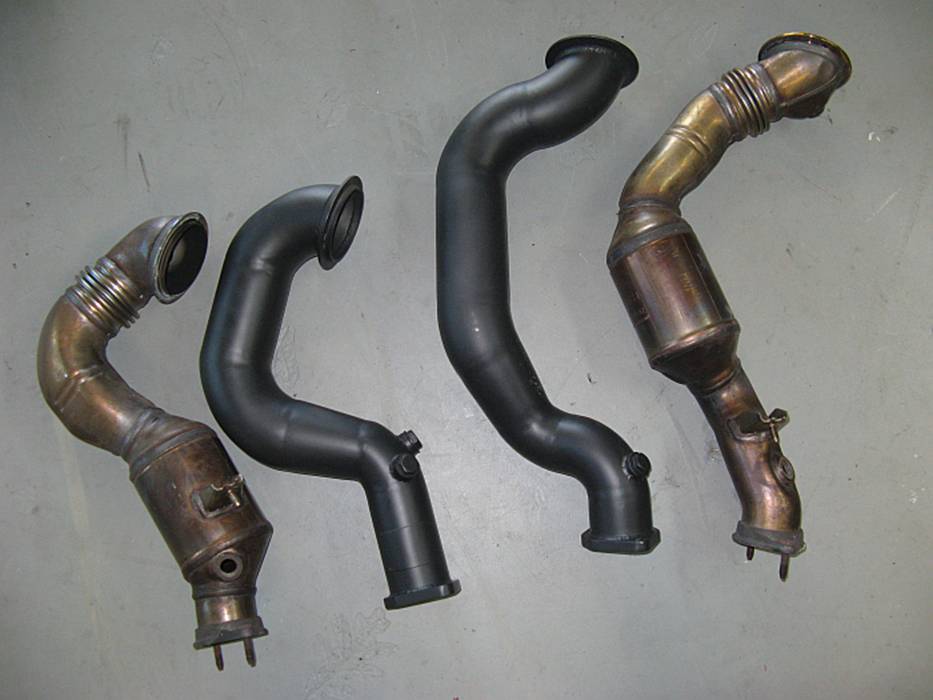
The downpipes are now out
of there, and you can look and see how tiny the OE turbos
are. Mine had no axial or radial play at 44k miles. Comparison pic of the DPs
helps you visually see how much better the car will be ![]() :
:
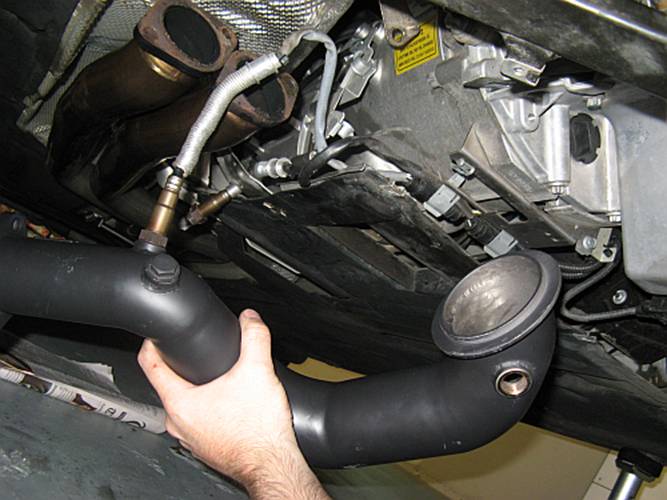
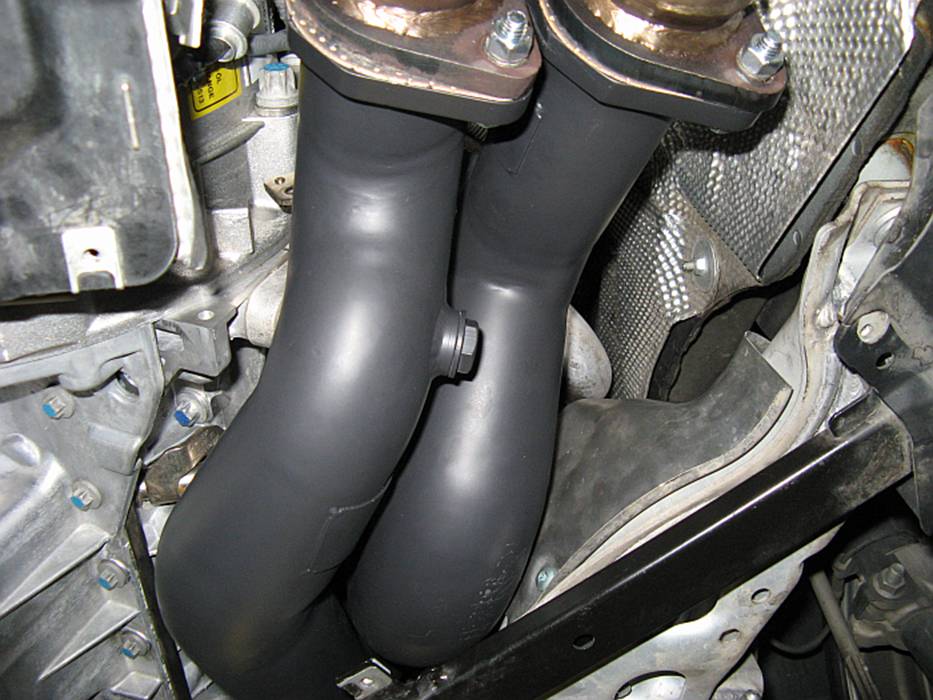
Time to
install the new DPs, start with the short rear DP and install the rear O2
sensor before installing the DP. Also, install the band clamps loosely on the turbo, they will not go on once the DP is in place against
the turbo. Once the DP is seated on the turbo housing, loosely install the band
clamp bolt. Repeat for the longer front DP, again loosely installing the band
clamp bolt once it is seated.
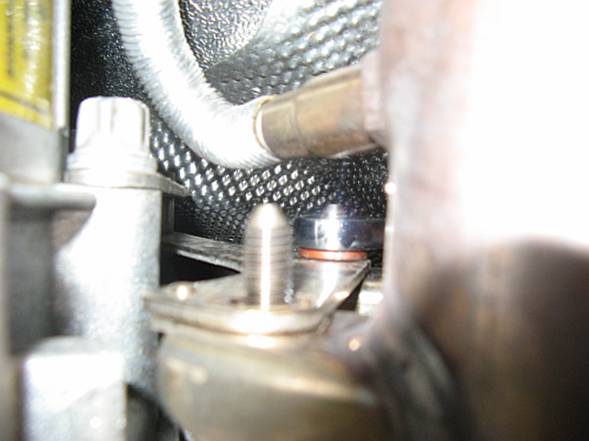
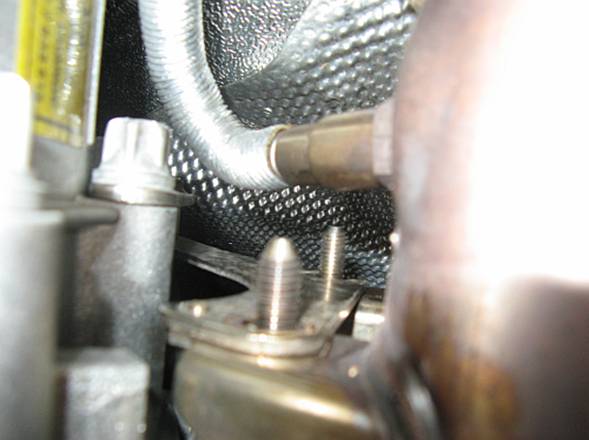
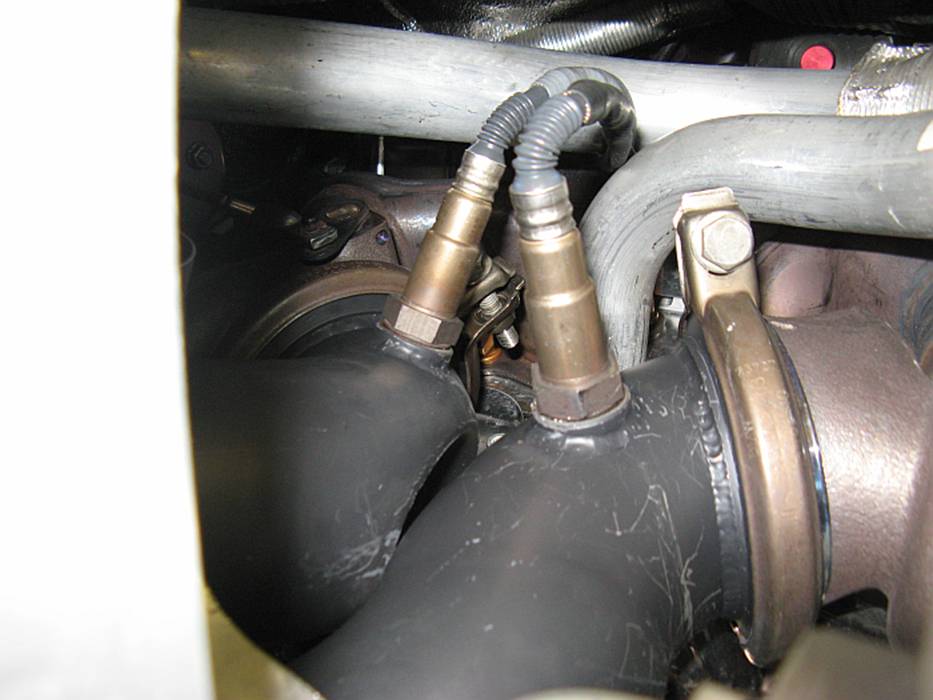
Both pipes have an extra
O2 sensor bung for gauges or dyno sensors, to figure
out which ones needed to remain plugged (verify they are tight before
installing), I tried to use the bungs that were most closely matched to the OE
location and angle. For the short pipe I discovered this would not work, as pictured
below installed in the bung closest to the OE location, the O2 sensor was too
close for comfort to the car so I swapped them out and all was well. When test
fitting your pipe AND PRIOR to installing, do a quick visual check to make sure
the O2 sensor will not make contact with anything and allow some room for
movement since the motor and exhaust do move under torque load.
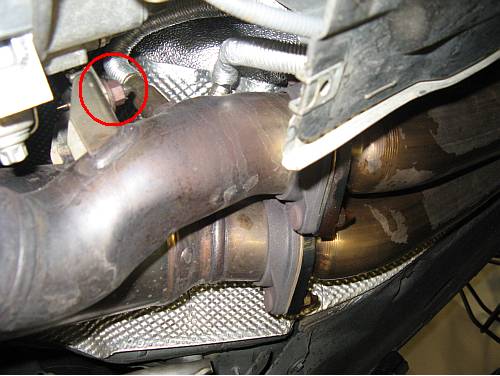
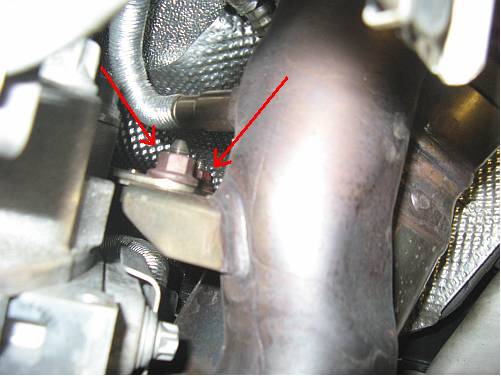
{NOTE} I had some
clearance issue with these RR V1 pipes, the heat shields covering the motor
mount and the turbo oil lines had to be massaged a little. I also replaced the
Torx head bolt holding one corner of the Turbo oil line heat shield with a more
flush hex head bolt:

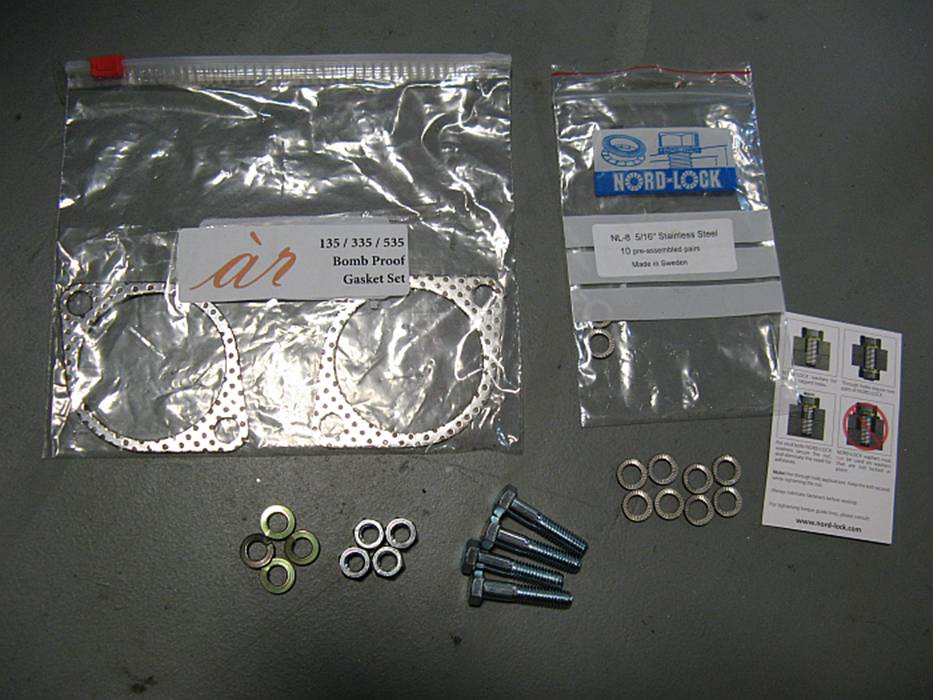
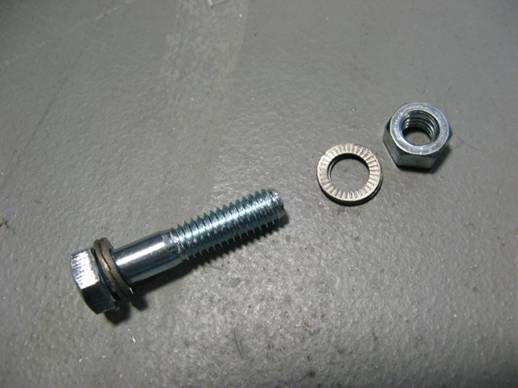
Using the new gaskets and
hardware, bolt the exhaust to the DPs. I replaced the lock washers provided with
Nordlock, one on each side of the bolt and nut. If the OE DP mount bracket is
in the way it can be removed or bent out of the way. Now is also a good time to
rotate the DPs within the band clamp to get the best fitment and make sure
nothing is touching or rubbing, either the other DP or the car:
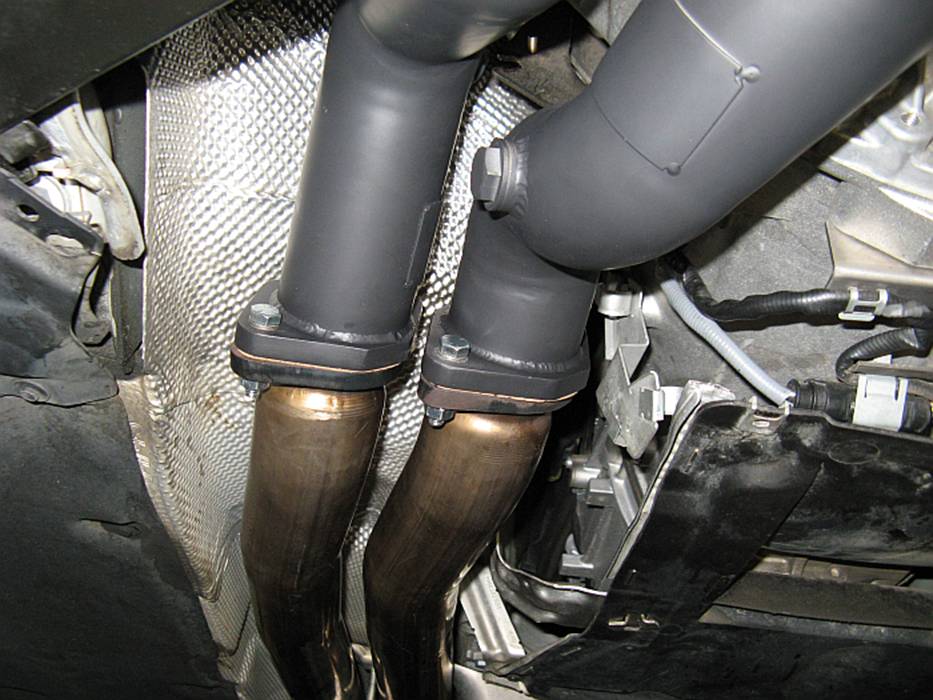
The front exhaust support
is reinstalled:
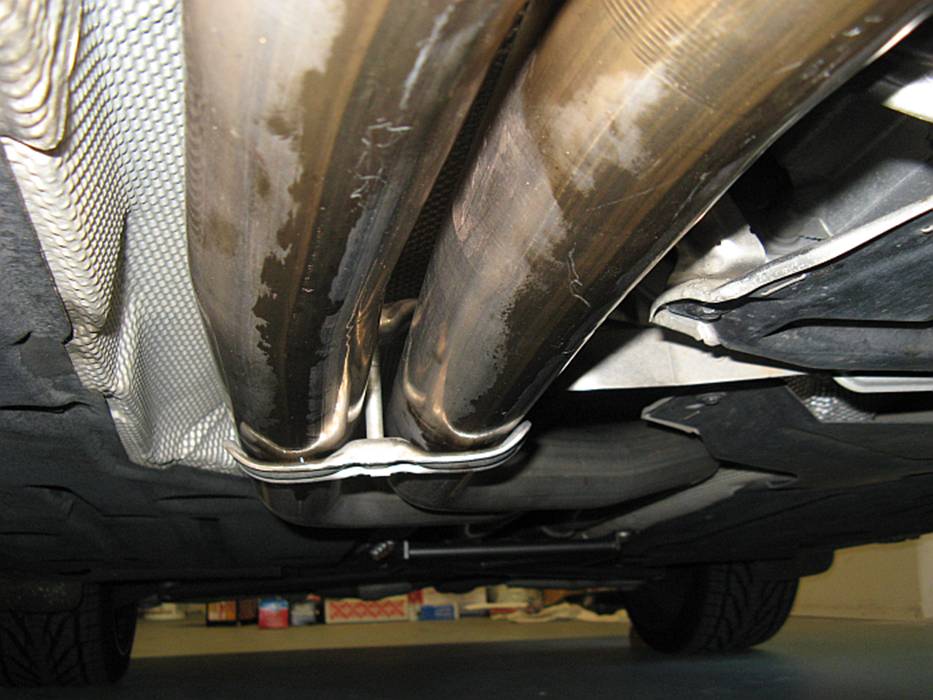
The turbo/DP band clamp
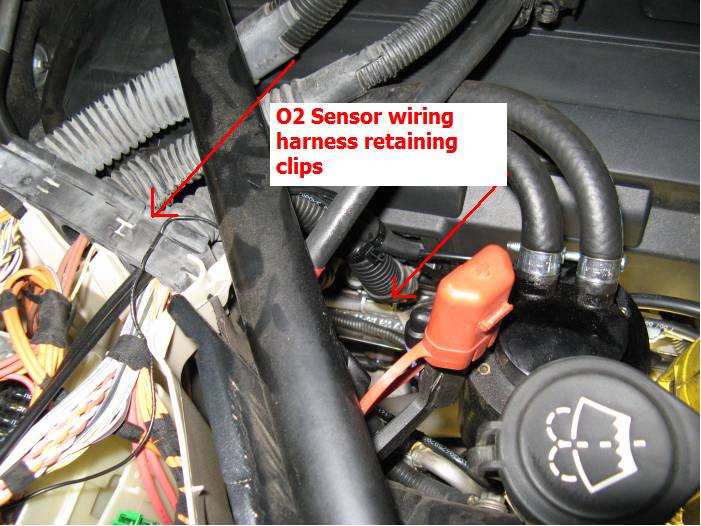
bolts are tightened and the pre-cat O2 sensors are reinstalled. If some slack in
the O2 sensor wiring is needed, the wire can be removed from the retaining
hook(s) located on the passenger side of the motor above the turbo manifold:

FINAL CHECKS: I was quite
anxious to hear and feel how the DPs worked but it is important to make sure
the job is completed:
1. Are all the bolts for the DP and
exhaust now tight?
2. Are the O2 sensors tight- all four?
3. Are the wiring harnesses for the O2
sensors organized and out of the way so that they are not pinched and or making
contact with the exhaust or other moving parts?
4. Did you straighten the steering tie
rod heat shield, bolt it back down, and visually make sure it would not contact
the tie rod/boot?
5. Did you replace and tighten the
steering rack bolts?
All that’s left to finish is to
reinstall the plastic under tray, and clean up tools- Enjoy the new sound and
power ![]()