![]()
Scirocco
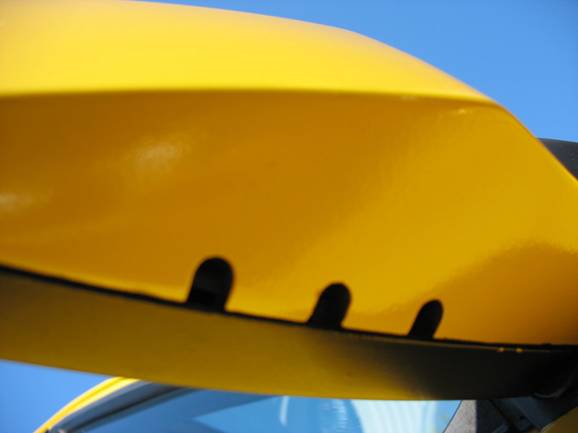
Power Mirrors: Removing Glass to Access Motors and
Disassembly/Cleaning/Assembly of Switch BY VW Vortex’s ginster86roc
http://forums.vwvortex.com/zerothread?id=2521663
http://forums.vwvortex.com/zerothread?id=2523191
*NOTE* This
information is provided for informational purposes only, any use of this
information is at your OWN risk.
One
of the things I want to do is get my rear-views working correctly. Anyone know
how to open them up so I can lubricate the motor and gears?

I always want to help others,
and b/c it's slow as molasses here @ work today, I found an old power mirror
switch and went about tearing it down. So come take a look, if you care that
is...and see how it's done.
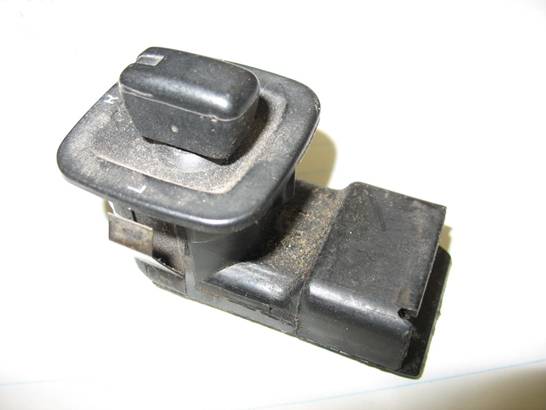
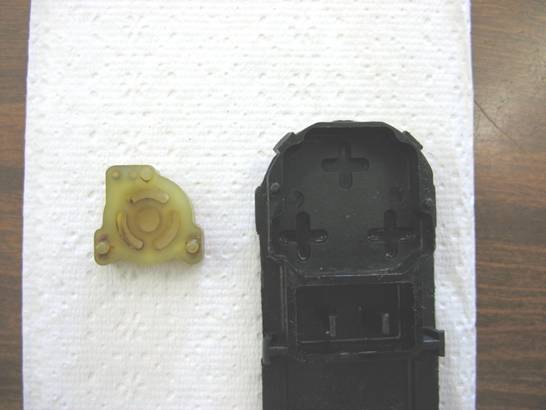
Begin w/ your troublesome,
works when it wants to power mirror switch. This was a spare that I had
laying around, hence the dusty appearance:
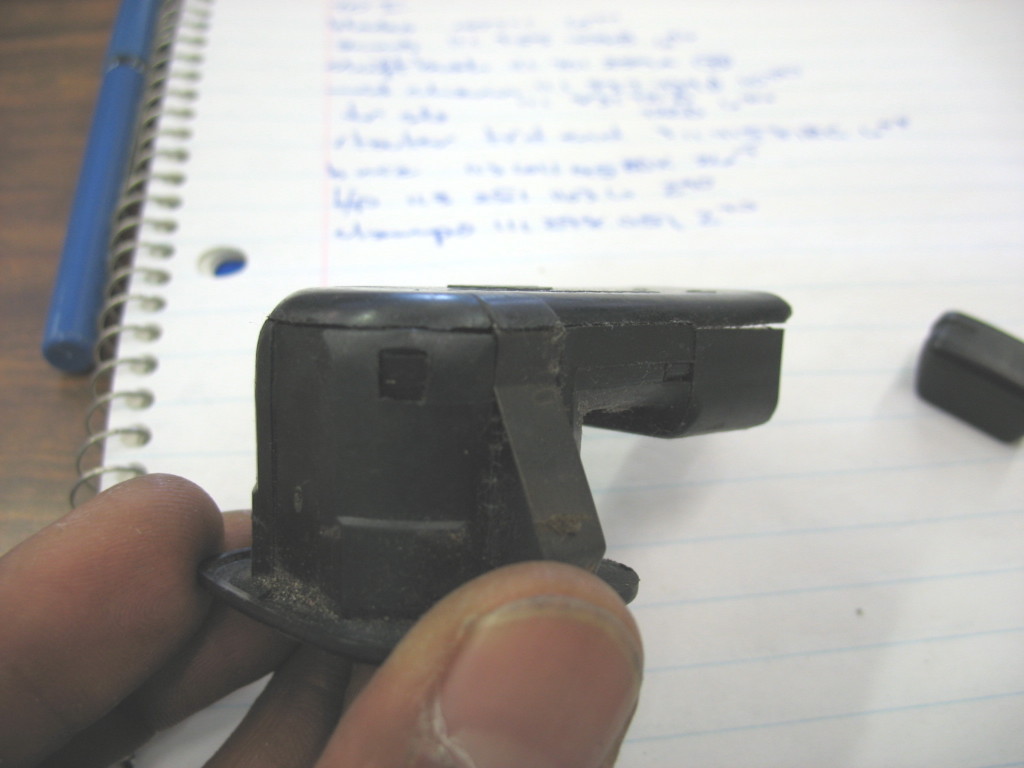
The knob pries directly
off, by pulling straight up. Then if you look closely at the switch you can see
that it is held together @ 4 little tab/groove type joints. Carefully pry them
apart w/ a small s/driver or your handy dandy Swiss army knife. Do this over a
clean, well-lit surface and proceed s-l-o-w-l-y, as there are little parts to
get lost if you're not careful.
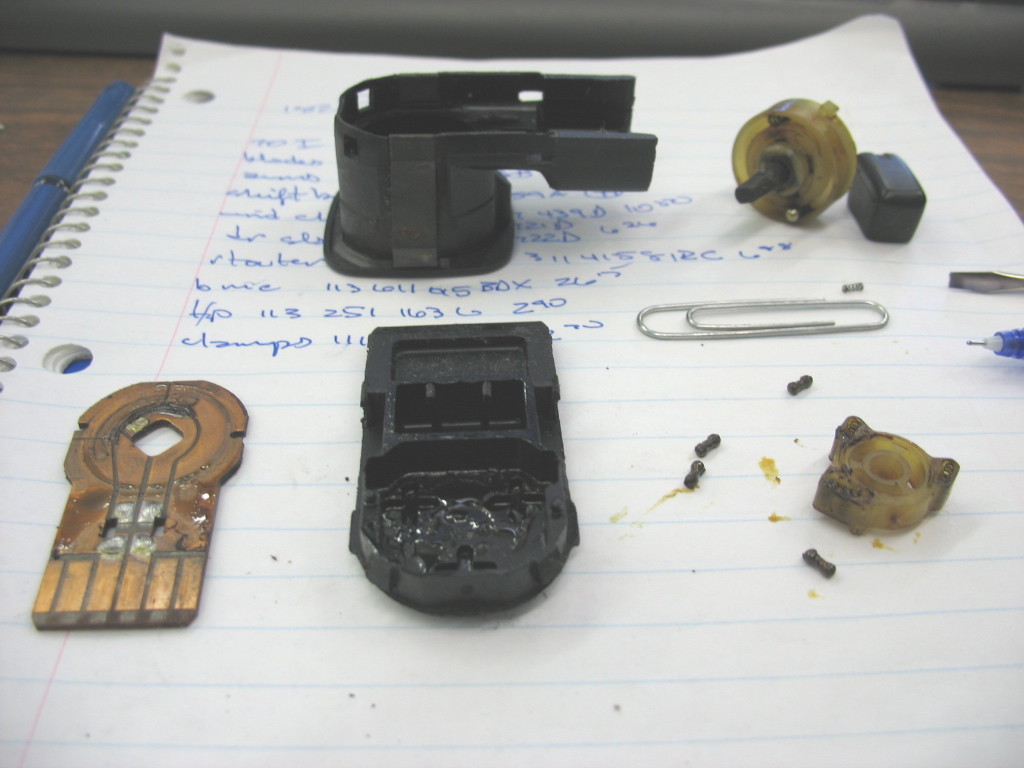
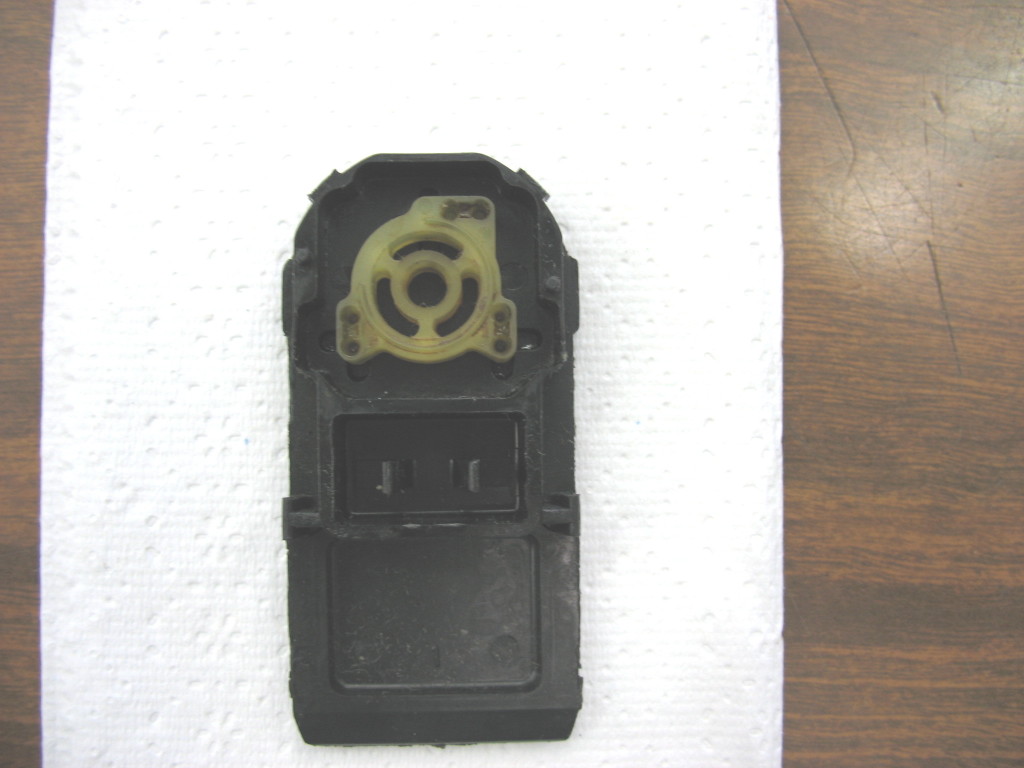
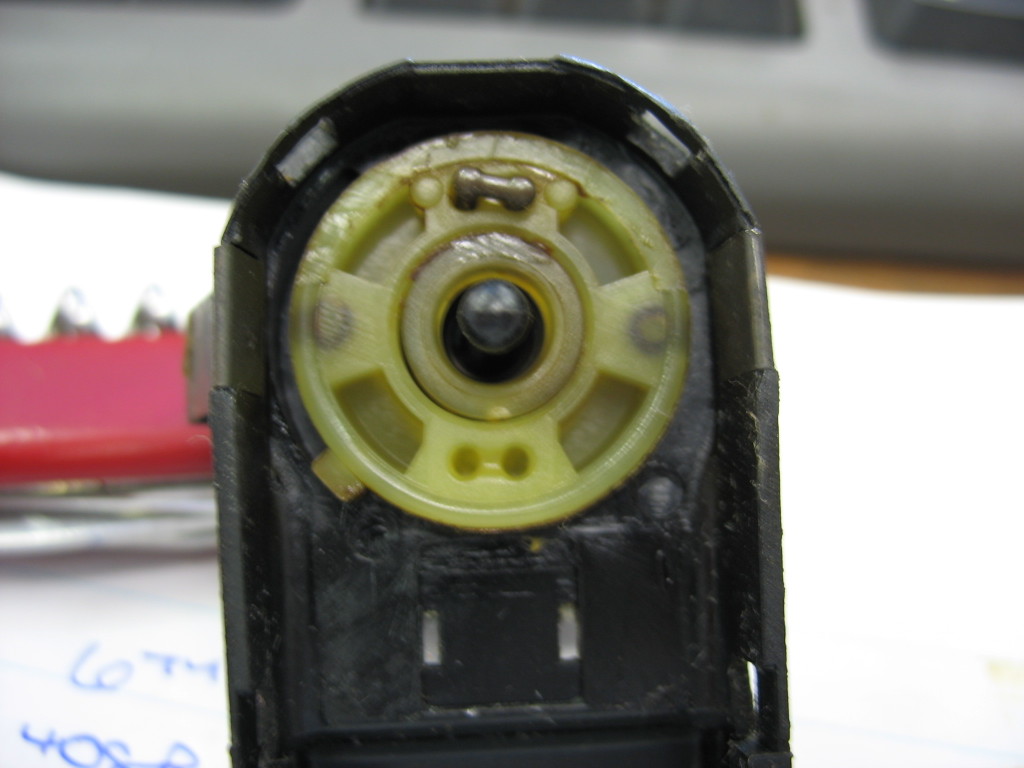
Here’s the exploded view
of the innards of the switch and those "little parts" I was talking
about. When you first pop the cover off you'll be looking at the backside of
the PC board that IS the heart of the switch. There are 2 little locking tabs
that need to be gingerly bent in order to free the PC board. Bend the tabs (but
do not release them) and get the board loose. Now, turn the switch so the PC
board faces down and remove the board from the switch. The white piece in the
lower right corner is the tricky little bugger. It contains springs and little
barbell shaped contacts. Do not lose any of them. In most cases the switch is
so gooped up inside nothing will fly away on you. Just use caution. See how
sticky/messy everything is?
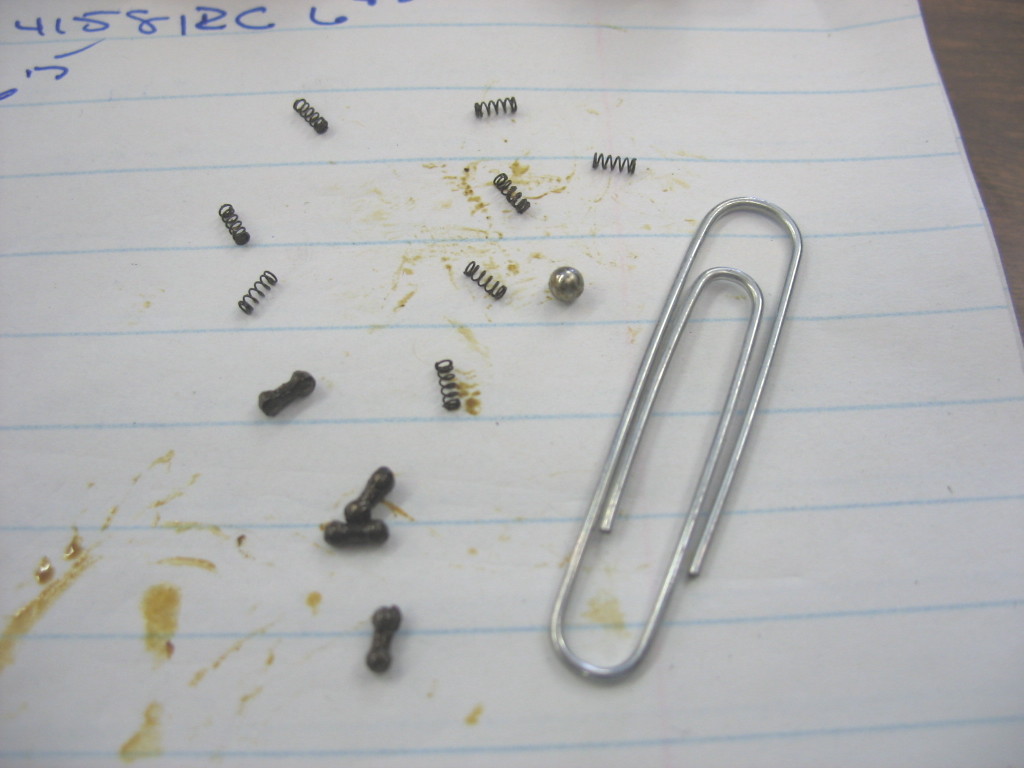
Close up of the springs
and barbells. Paperclip for scale reference. Again these parts need to be
cleaning (non-sticky) for the switch to properly function. Clean them however
you may...just don't lose any. I used some paper towels, WD40 (as a
solvent...dissolves the old grease) a fine tipped screwdriver and more paper
towels. Just get it all clean.
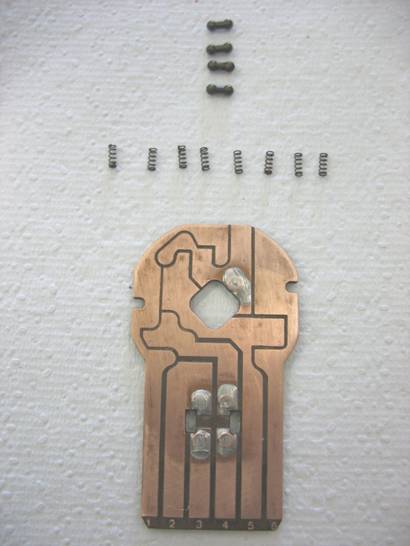
Here are all the springs
and barbells cleaned up. I also would recommend cleaning the PC board. I
brightened up both sides by sanding with 4oo grit sandpaper.
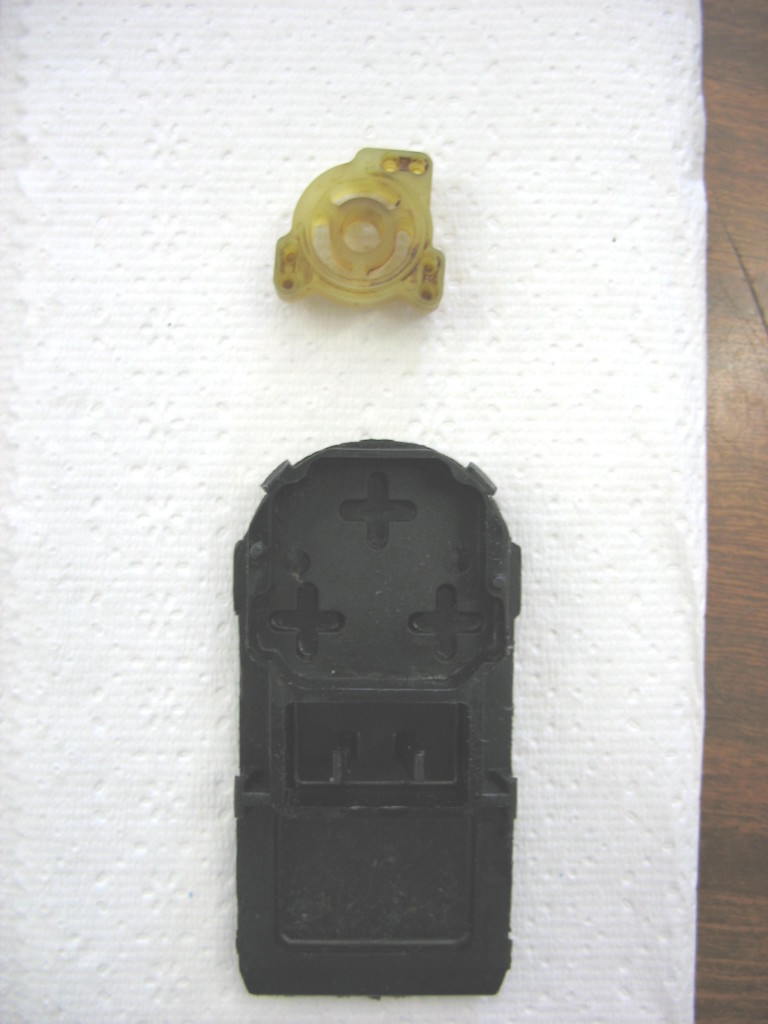
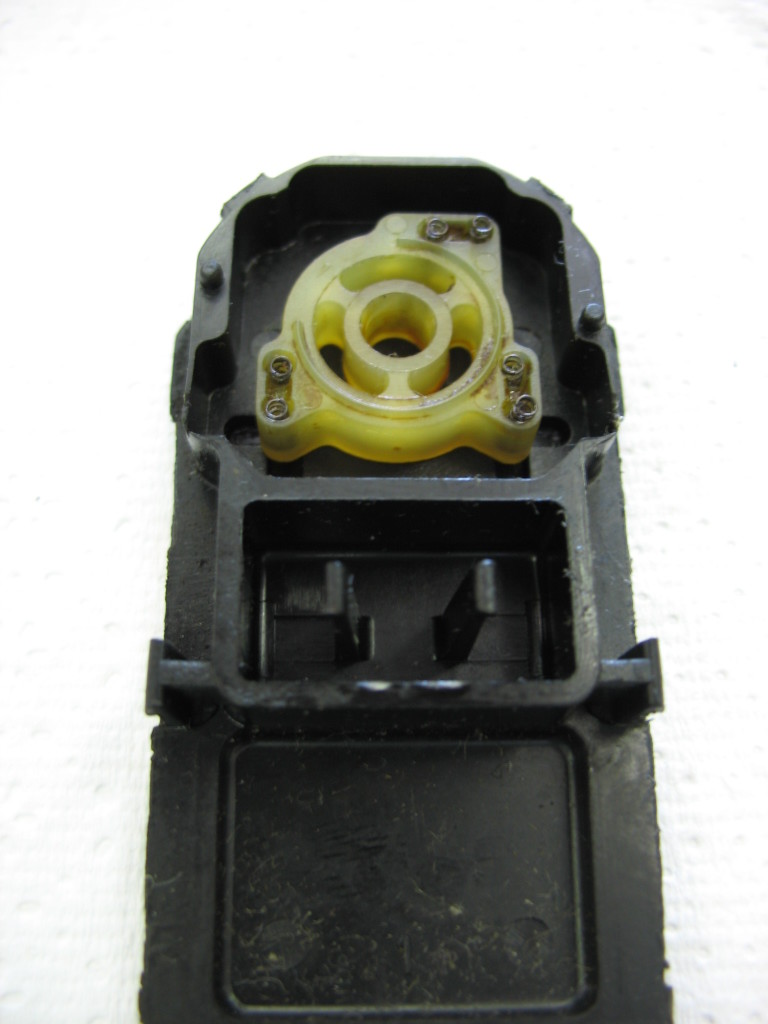
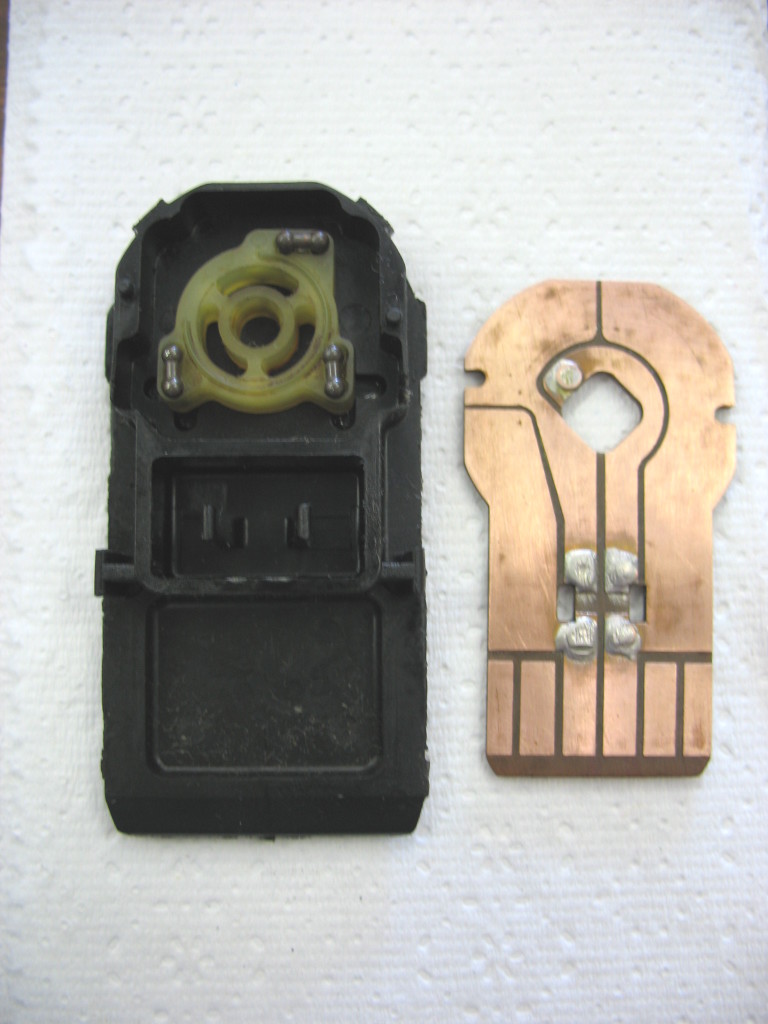
This is the back half of
the switch housing. The + shaped grooves are where the little raised tits of
the white piece (above) travel. Here you can also see the bores of the little
springs and the slots where the barbells live. Get as much of the old grease
and goop out as you can.
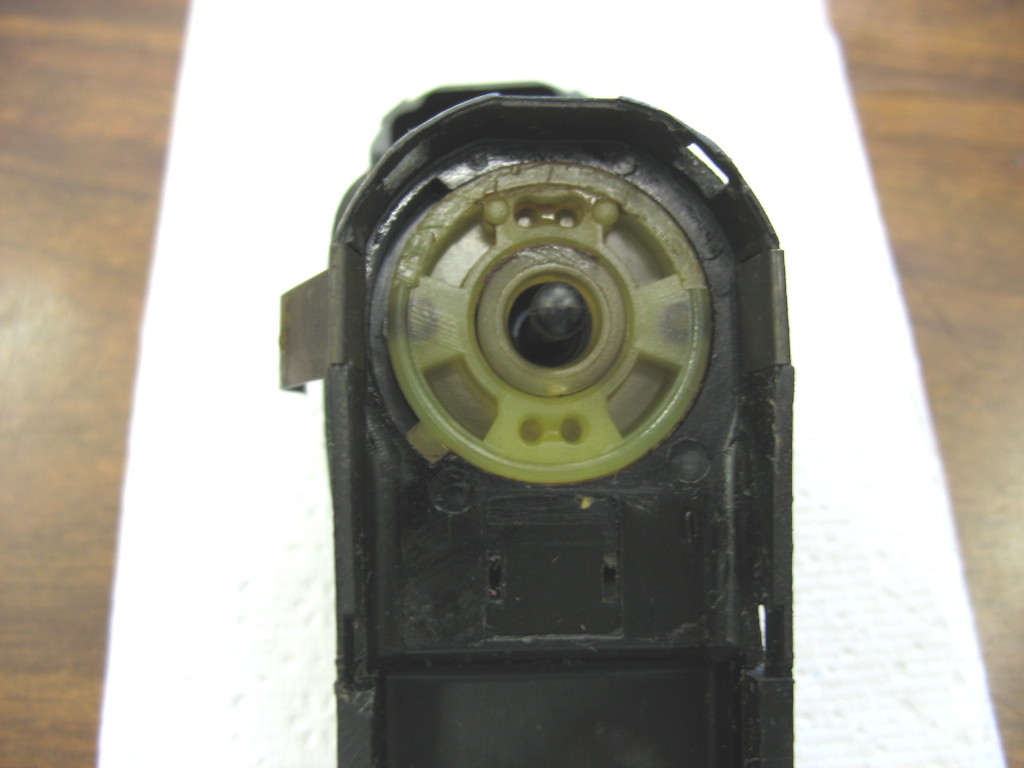
Close-up of the back of
the "joystick" of the switch...again showing the spring bores and the
barbell slot. This contact is what selects "left" or
"right" mirror operation. Be sure this is clean as well.
Showing the back of the
white piece and how they relate to the + shaped grooves...
White piece flipped over
and in place in the grooves...
Little springs in place...
Here you can see the
barbells back in place, laid g-e-n-t-l-y on top of the springs. The PC board is
all polished up and ready to snap back onto the 2 tabs @ center. You’ll notice
the 2 locating lugs that only allow you to put the PC board in one way....once
you carefully snap the PC board in place all the springs and barbells are held
captive in no danger of falling out.
The last step is to place
the last barbell in its' place on the joystick. Then
holding the top half of the switch housing so the joystick faces down (so the barbell
stays in place) you snap the 2 halves of the housing back together. It
simplifies things (the snapping together) if you center the white piece that
rides in the + grooves.
Now... feel free to work your "new" mirror switch. You’ll be
surprised at how much nicer it moves and how groovy it feels now. Lastly, go
plug it in and see if it works. It should. If not, you'll haft split the switch
again and look for displaced barbells.
And that concludes this
session of "everything you ever wanted to know about power mirror
switches".
Now get to it! ![]()