![]()
Installing Mini Cooper (R50/53)
Springs and Rear Control Arms
The Mini
Cooper S handles great from the factory, but the ride height is a bit too high
for some. Some will argue that putting lowering springs in a Mini will have it
riding on the bump stops and it will handle horribly. What they don’t
understand is that BMW designed the suspension in these cars with progressive
bump stops that are meant to be part of the spring travel to provide a smooth
ride but allow it to handle great as well. I have had no issues and did not
trim the bump stops since that would alter the progressive design intended by
the engineers.
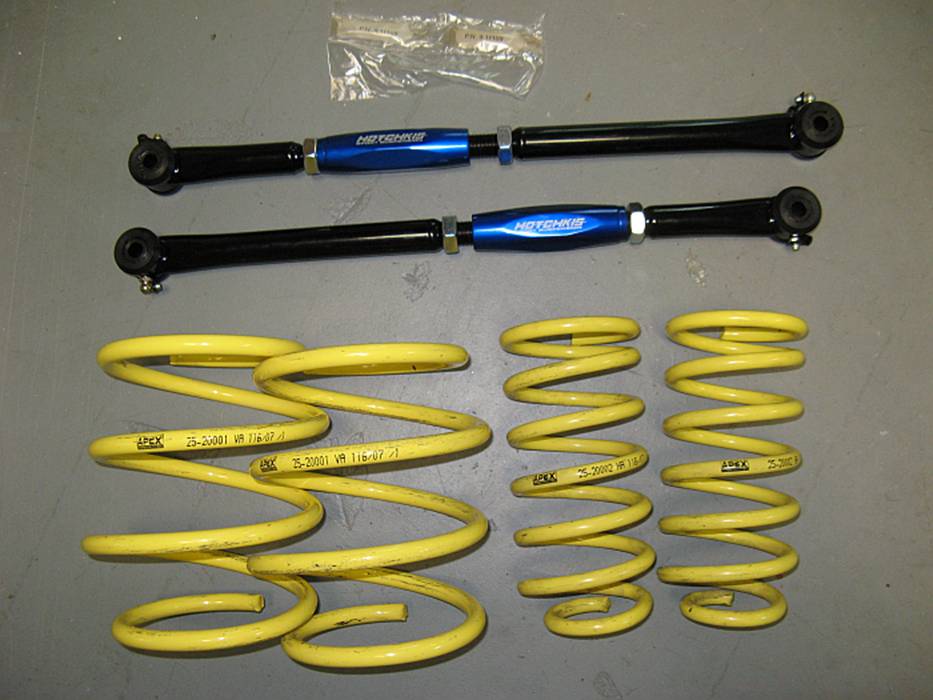
I chose APEX Suspension Systems springs for
their cost (mine were a low-mileage set found even cheaper on the forum
classifieds) and they have turned out to be a great value. Originally intended
as a stop gap for coilovers, I think they work so well that they will become
permanent. I also installed Hotchkis
adjustable rear lower control arms (aka rear camber links) from Way Motor
Works so I could adjust the camber back to spec during the wheel alignment.
This
write-up was helpful to me: http://www.minicooperspeed.com/mini-cooper-strut-springs-or-lowering-spring-installation
Standard
Disclaimer: ANY USE OF THIS INFORMATION BY
YOU IS AT YOUR OWN RISK. I ASSUME NO LIABILITY FOR YOUR USE OF THE BELOW
INFORMATION.
NOTE: TIS Instructions and torque specs at bottom of
write-up for reference.
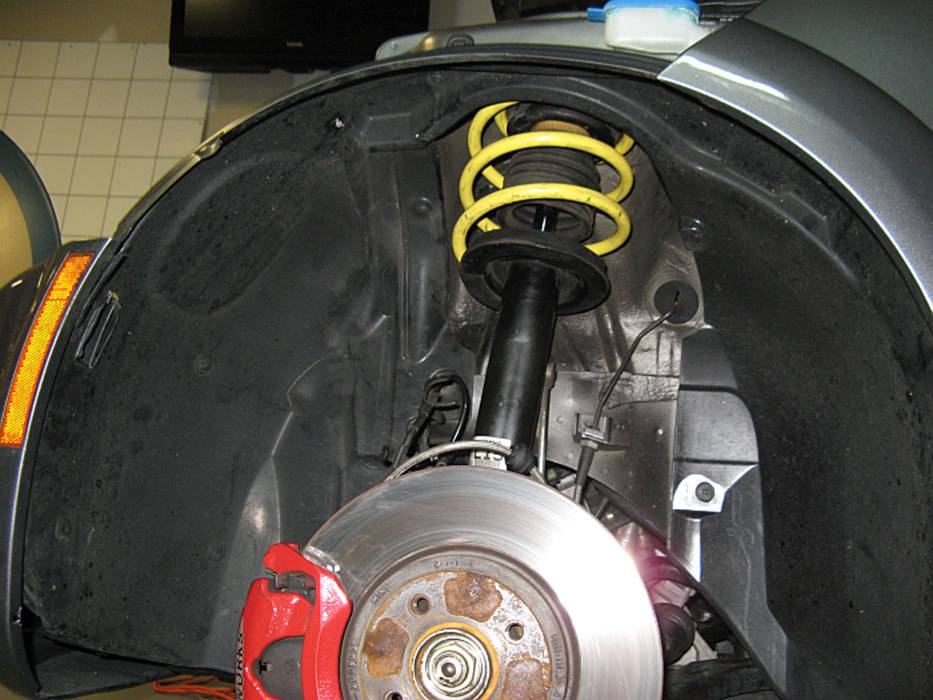
Front Spring R&R:
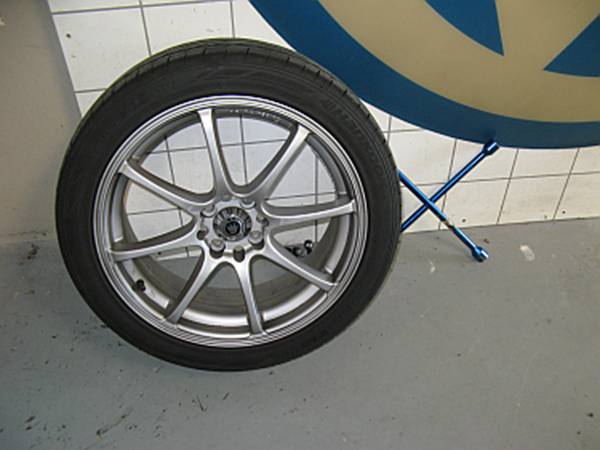
First step
is to jack up the front side that you will be working on (using jack stands of
course) and after placing jack stands under the car, removing the wheel/tire:
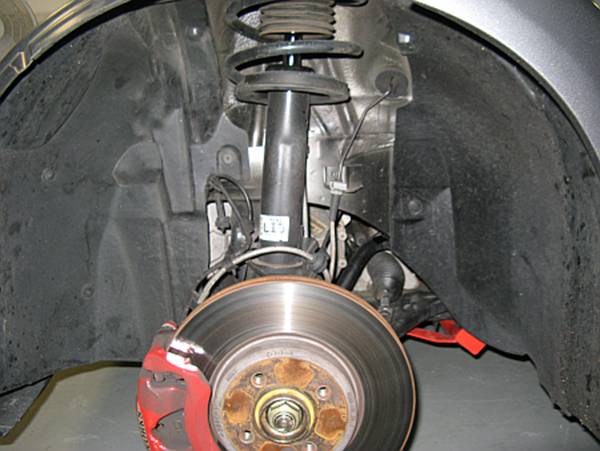
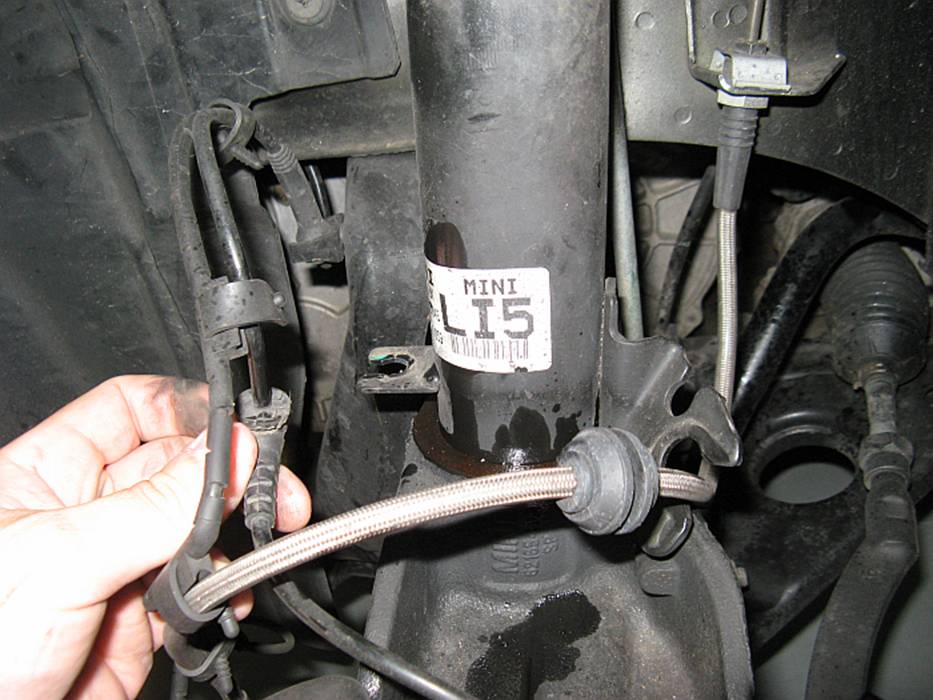
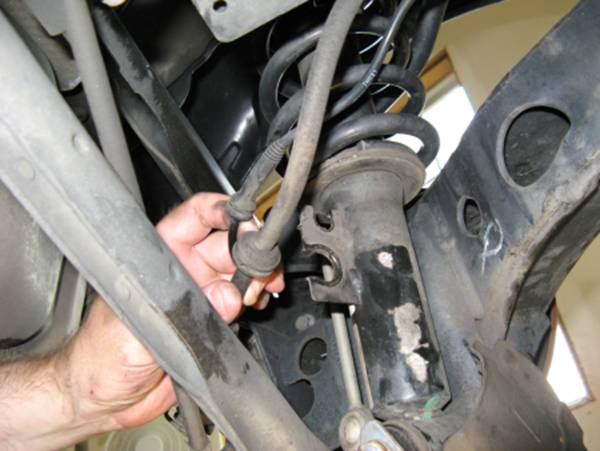
Remove the
brake line and brake sensor wire from the strut retainers carefully:
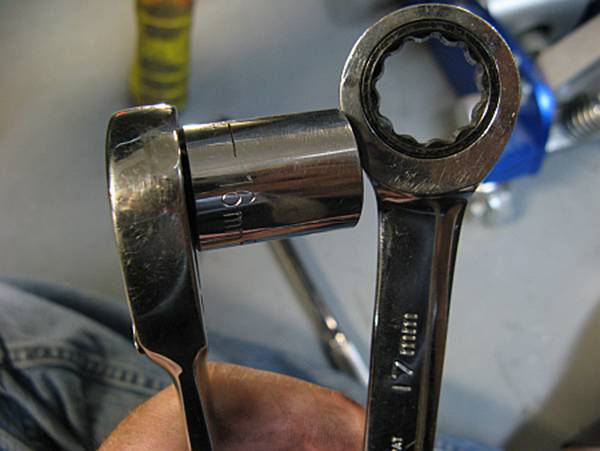
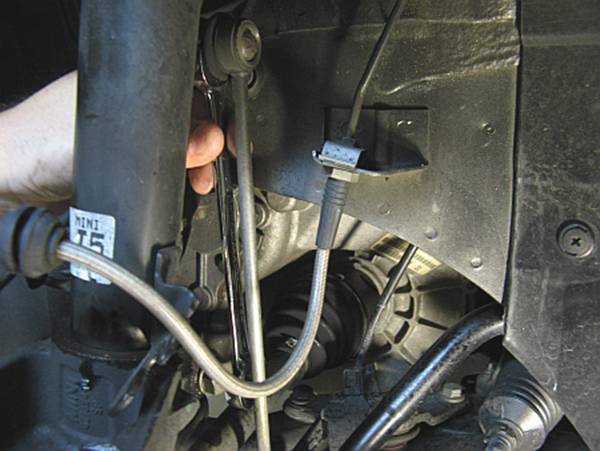
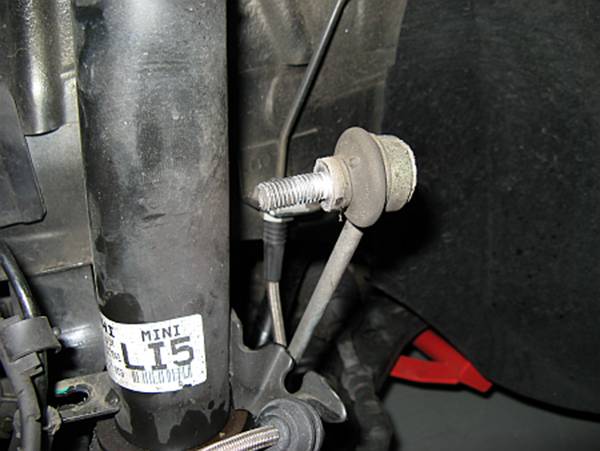
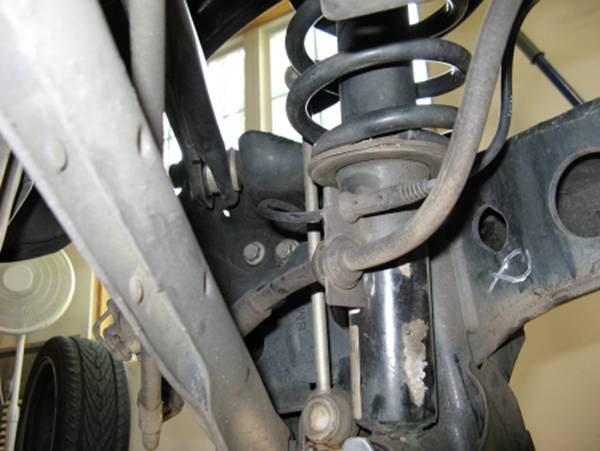
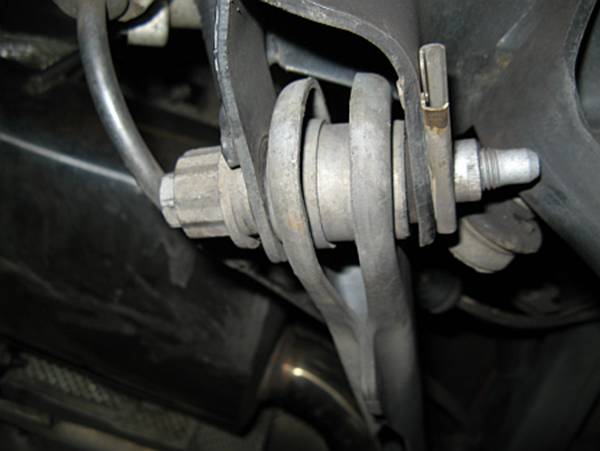
Remove sway bar end link from
strut: Use a 17mm open
end wrench on the flats behind the sway bar link joint to prevent rotation
while loosening the bolt with a 16mm socket/ratchet. Remove the sway bar link
from the strut mount after removing the bolt:
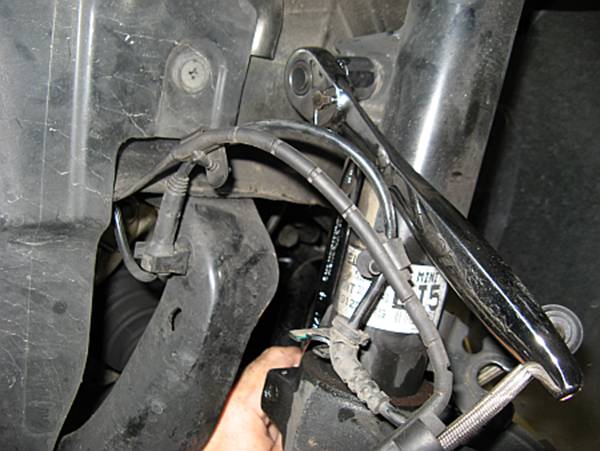
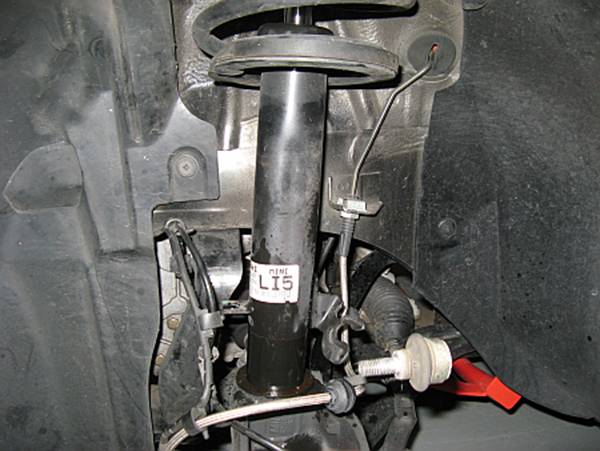
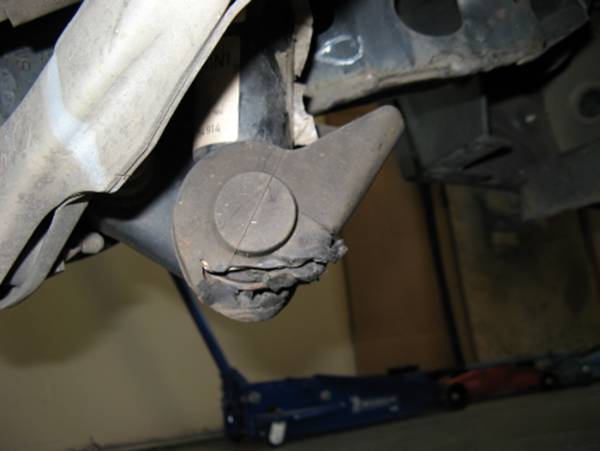
You may
want to soak the base of the strut to steering knuckle union with PB Blaster so
that it will come apart easily:

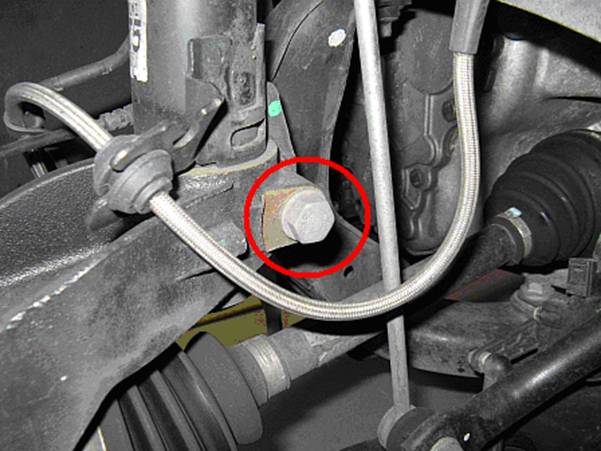
Remove the strut pinch bolt: After soaking both ends of the bolt
liberally with PB Blaster and allowing some time for it to soak in, I used an
18mm socket with a ratchet and/or breaker bar to loosen and remove the pinch
bolt. I also used anti-seize with this bolt on reassembly after reading some
nightmare stories on the forums of people breaking these off in the steering
knuckle due to rust-weld.

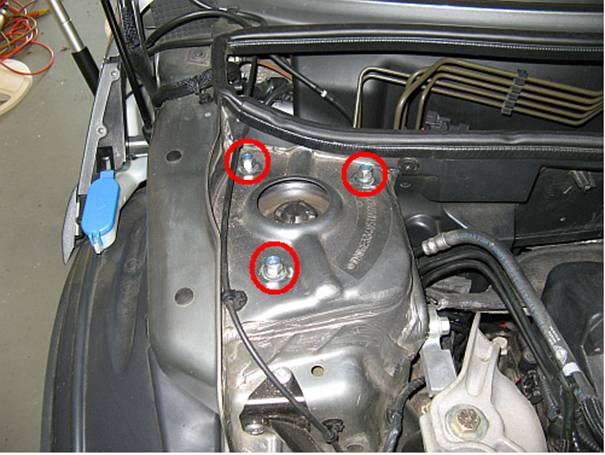
Remove the three upper strut mount nuts:
In my case this required a 13mm socket (OE nuts may be the same….or not):
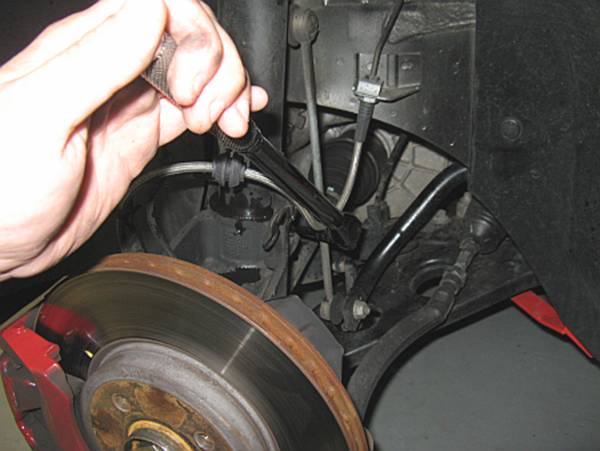
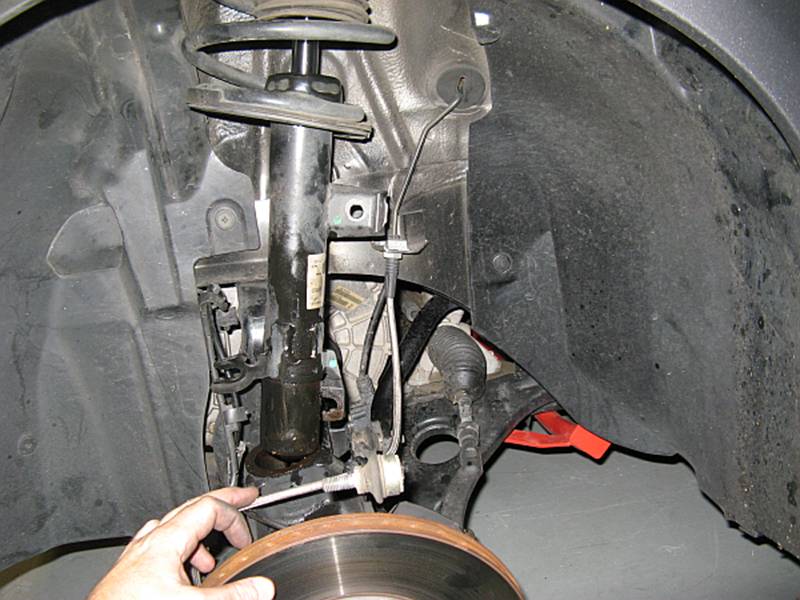
The
steering knuckle did drop but not enough to free the bottom of the strut- I had
to compress the suspension to remove the strut assembly after removing the
three upper strut mount nuts in order to get enough room to clear the knuckle.
This will require some creative thinking on your part or a spring compressor
that works with the strut installed. It also helps to twist the steering
knuckle while pulling the strut assembly out at an angle:
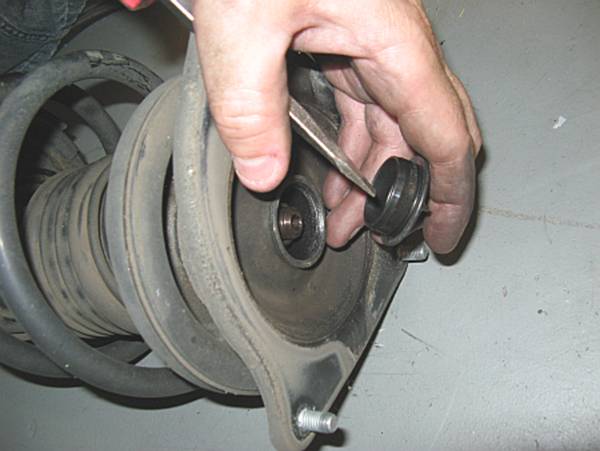
With the strut removed, the plastic cover can be removed using a standard
screwdriver to access the nut:
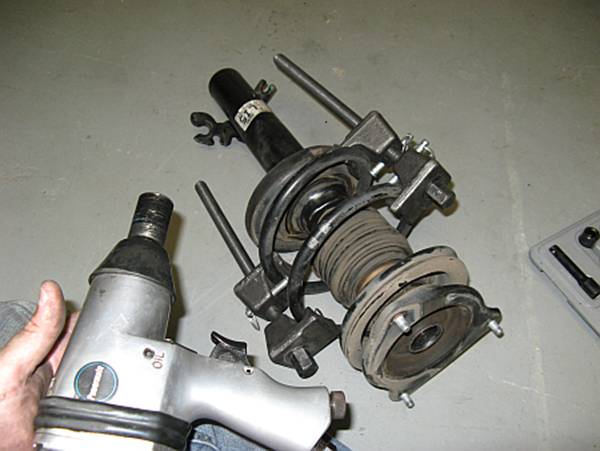
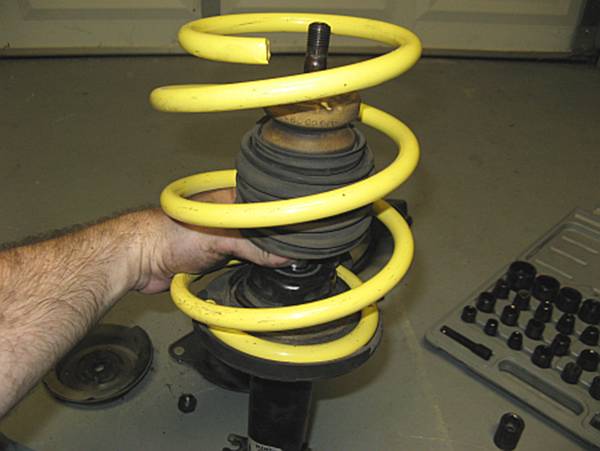
Compress
spring using a spring compressor (I have always borrowed one from a McParts store
like AutoZone using their tool loaner program) and remove strut assembly nut:
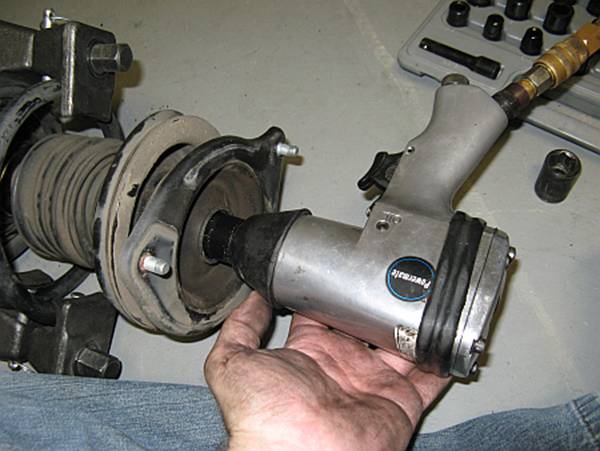
There are
some different ways to remove the nut from the strut but none work better for
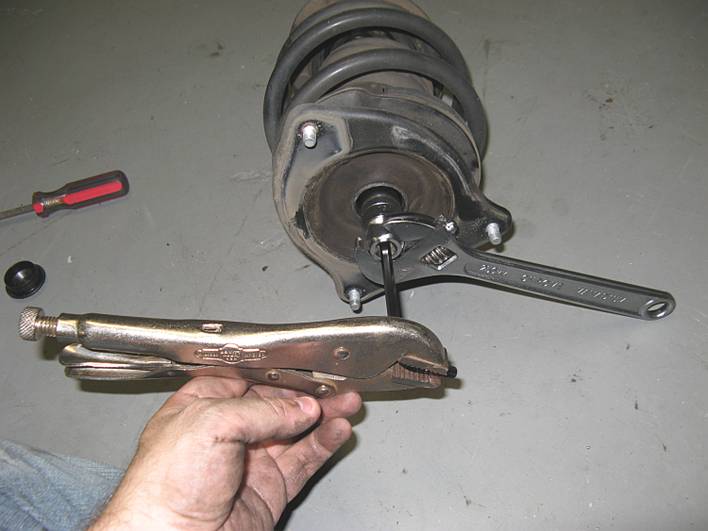
me than an impact wrench, I have air but electric works too. If you don’t have
access to one of these, I have used creative solutions like the one below in
the past- a 13/16 spark plug socket and the correct HEX wrench with Vice Grips,
no guarantees this will work for everyone or every car. Pic below is merely to
illustrate a potential alternative to an air wrench, in the past I would have
cut the hex wrench down so that the Vice Grips and the wrench on the spark plug
socket were closer together, and a closed end wrench on the spark plug socket
will always work better than an adjustable:
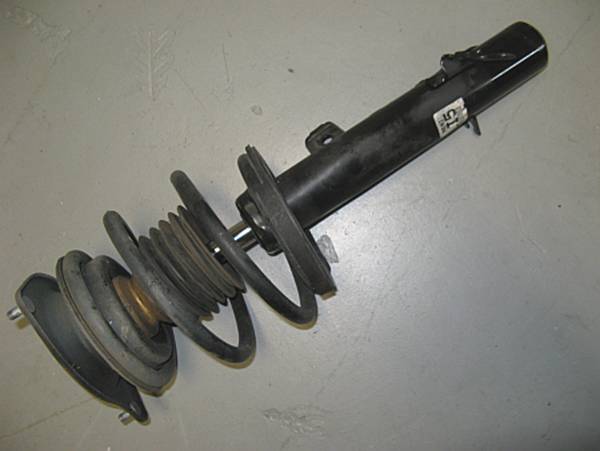
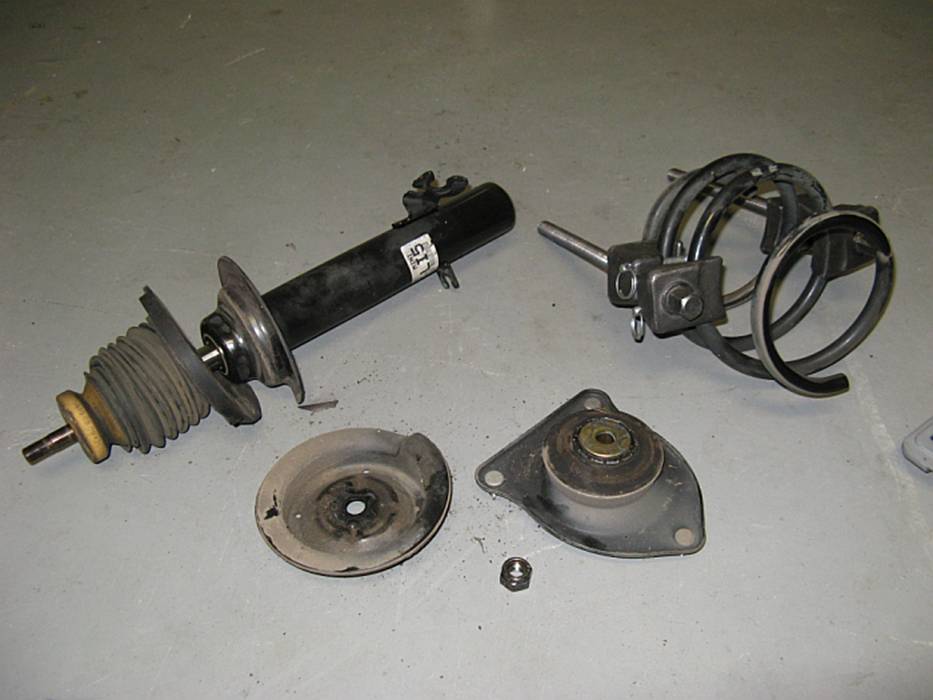
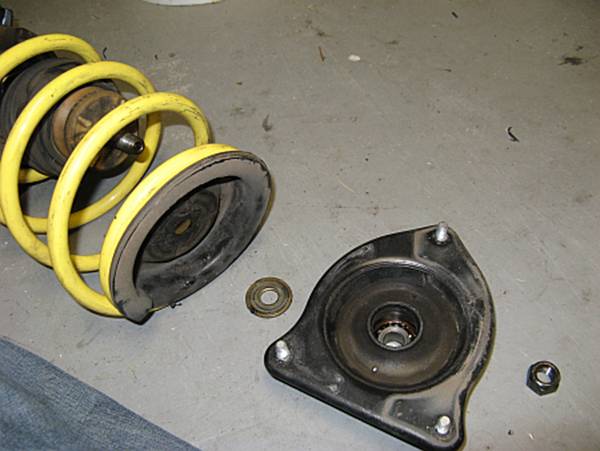
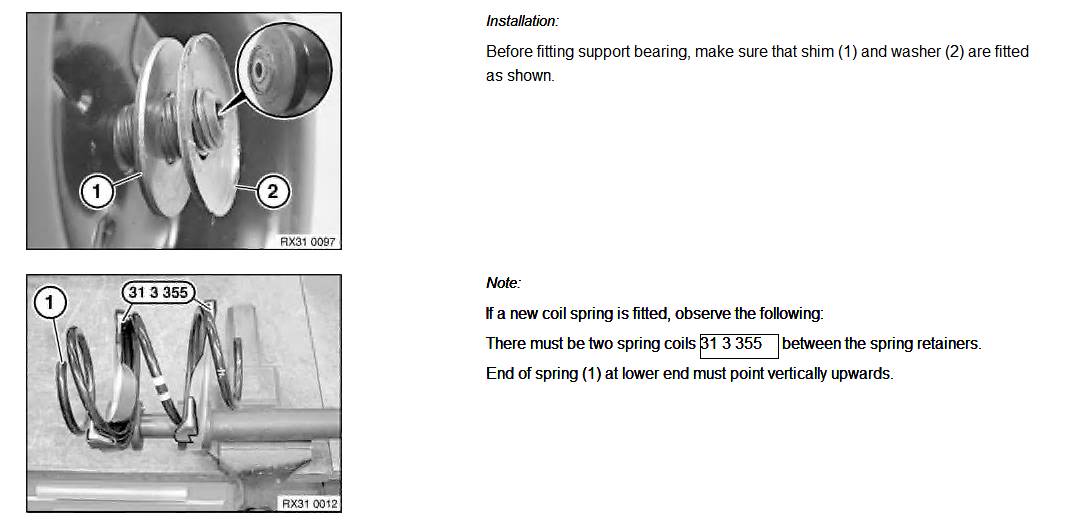
After
removing the nut you will see that there is the spring, rubber insulator, top
hat, washer, strut mount, and nut in that order:
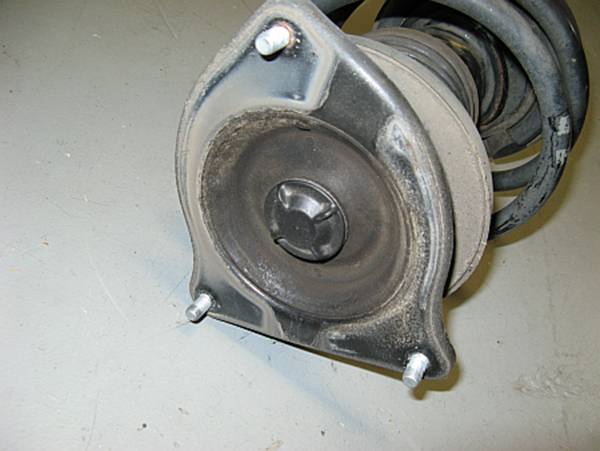
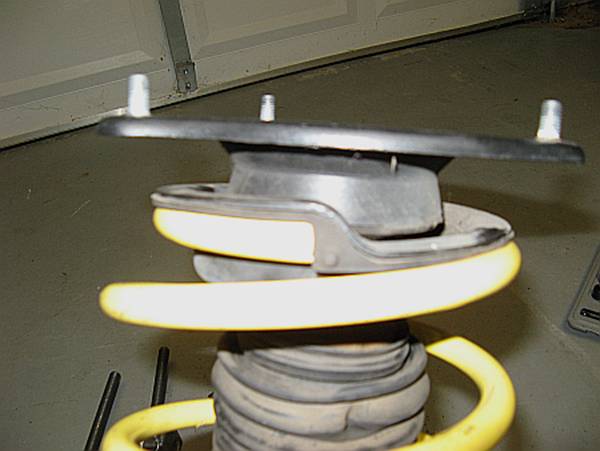
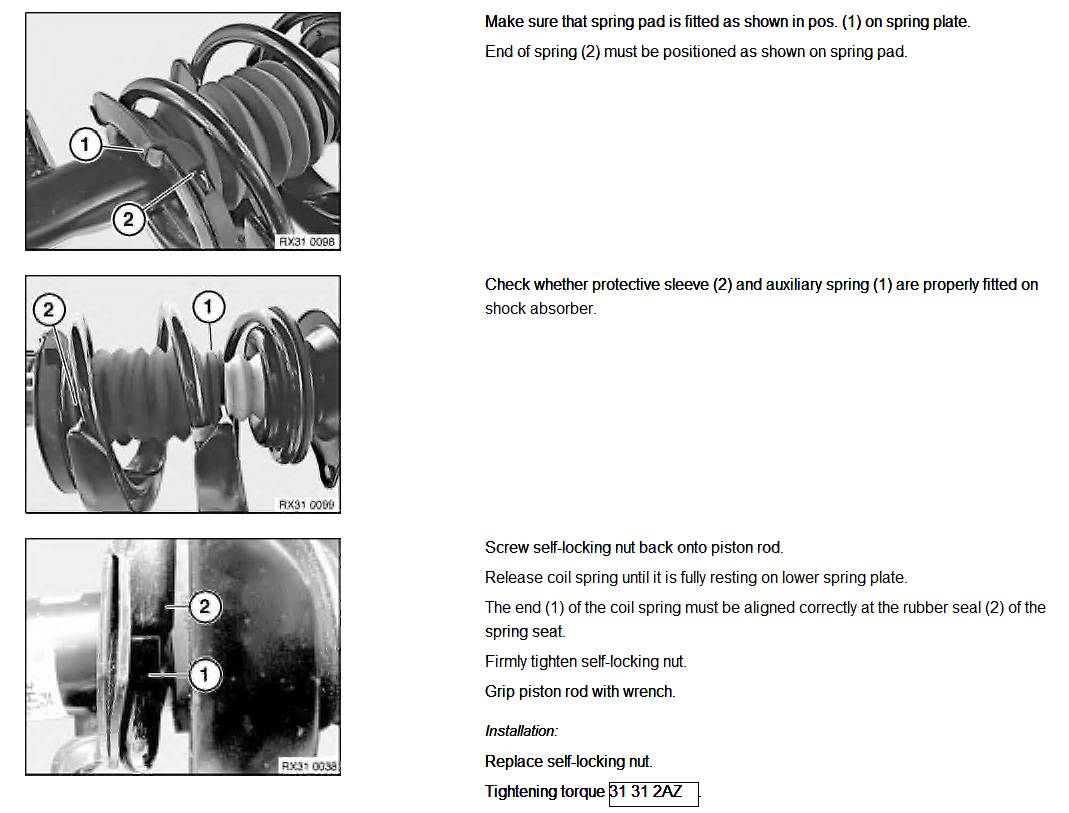
When
installing the front spring in the front strut assembly, make sure the spring
ends are positioned at the rubber pad stops and that the rubber pads are
positioned correctly on the lower and upper mounts. Assembly is spring, rubber
insulator, top hat, washer, strut mount, and nut in that order. I found that
the spring compressors were not required to reassemble the strut assembly, but
you may need a helper to start the nut while you compress the spring by hand:

Installation
is reverse of removal J Remember to reinstall brake lines
and brake sensor wiring in strut holders:
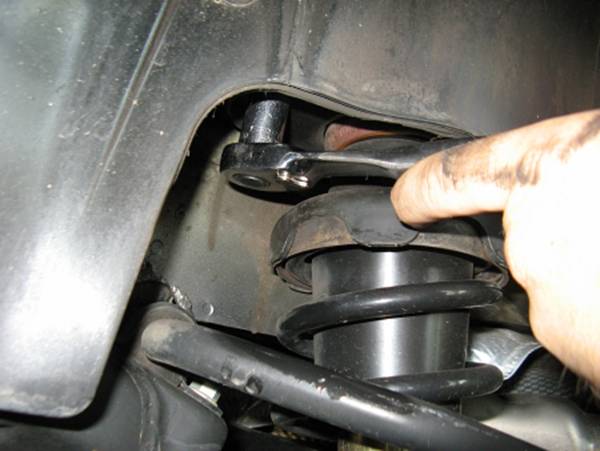
Rear Spring R&R:
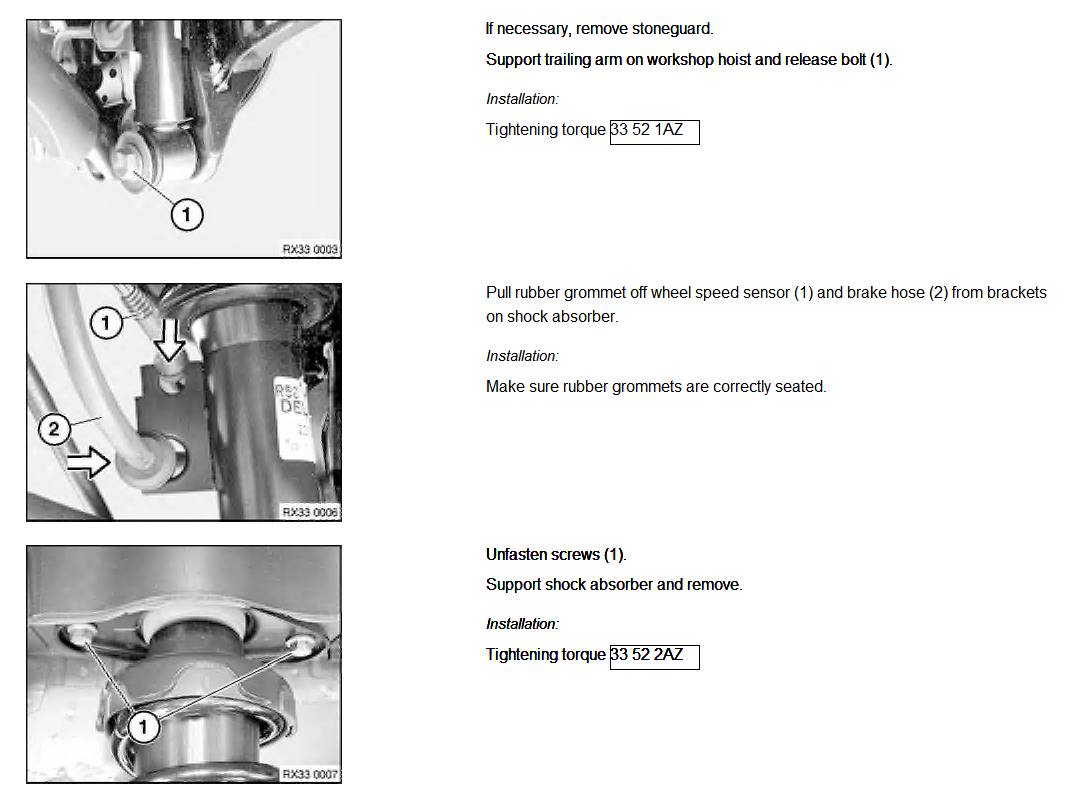
After jacking
and supporting the rear with jack stands, remove the brake line and brake
wiring from the shock holders:
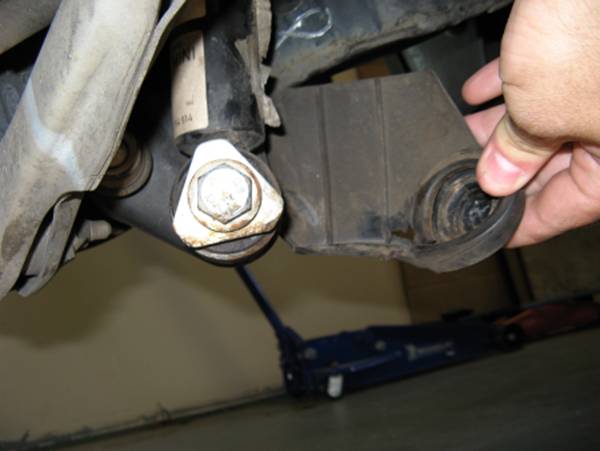
Remove the
lower shock mounting bolt using a 21mm socket with breaker bar at first and
then socket wrench:
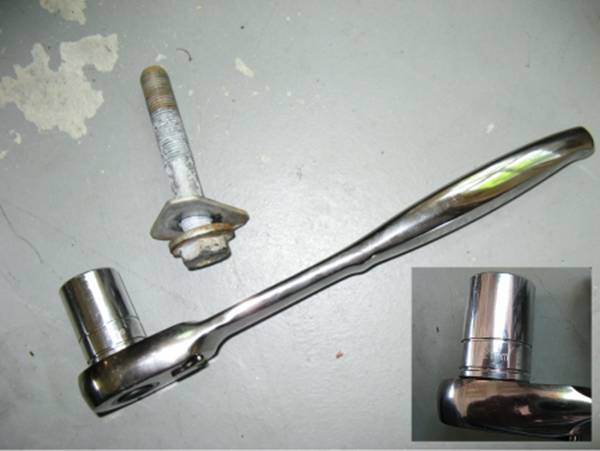
Remove the
upper shock mount bolts using a 13mm socket (extension optional):
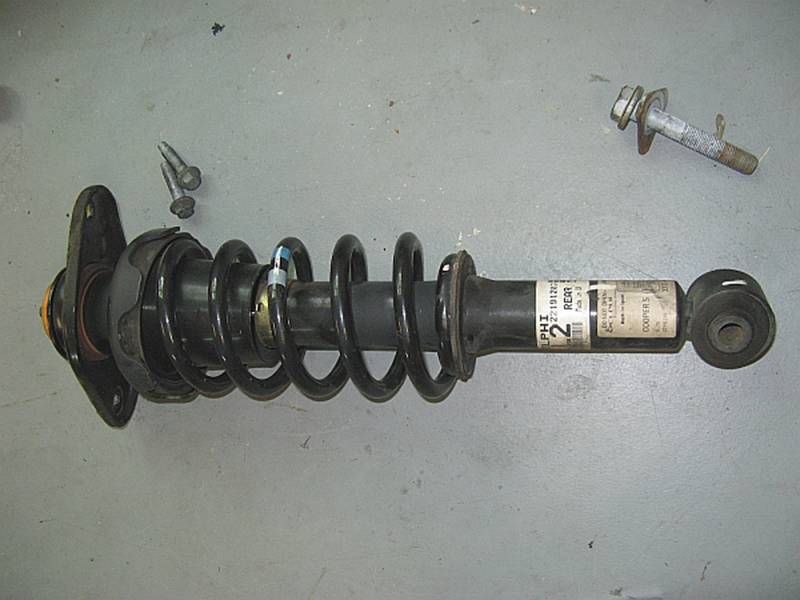
Disassemble
the rear shock assembly by removing the nut, using an air wrench (16mm socket)
or a 5mm HEX wrench/16mm box end wrench:
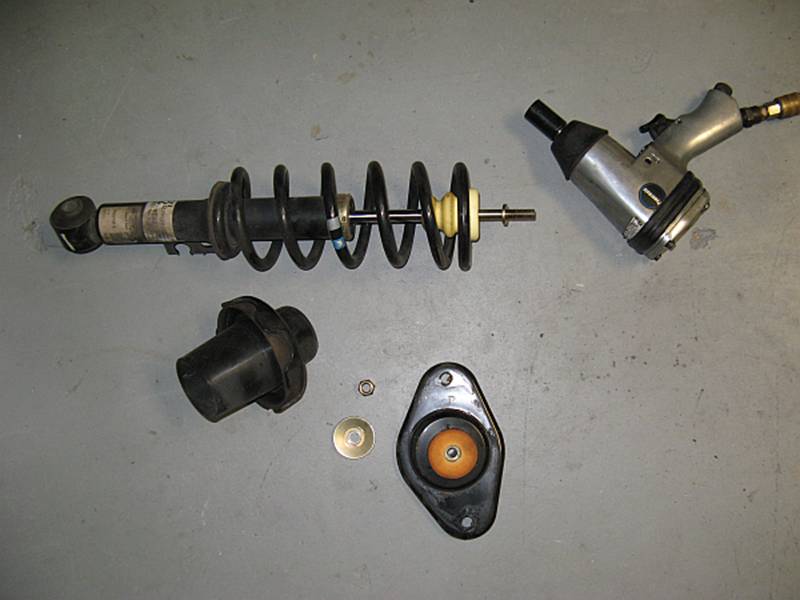
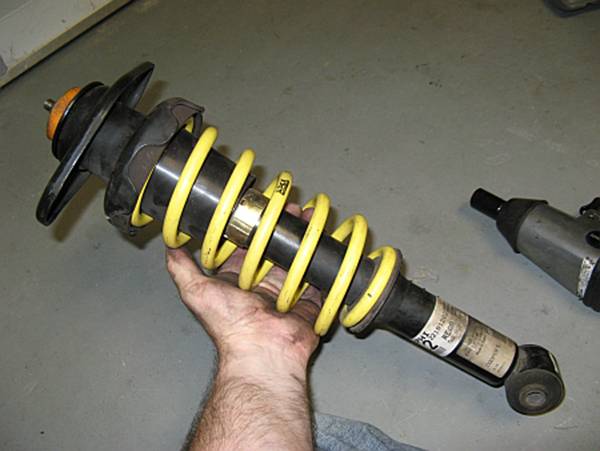
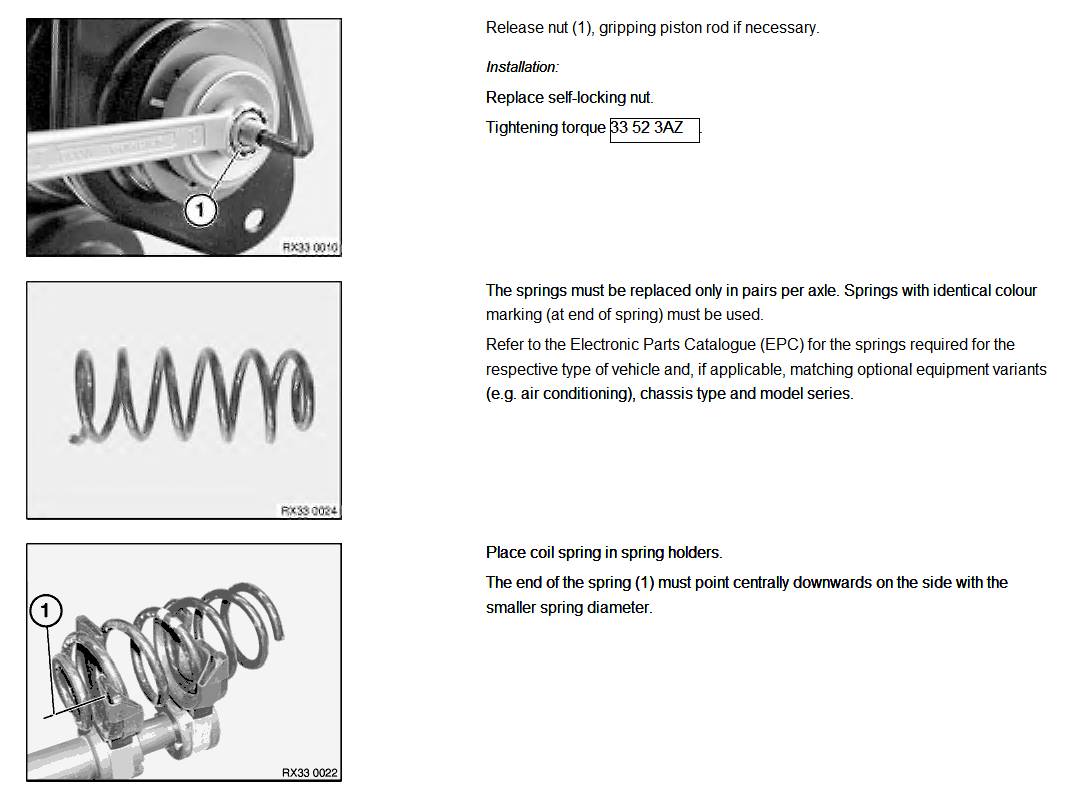
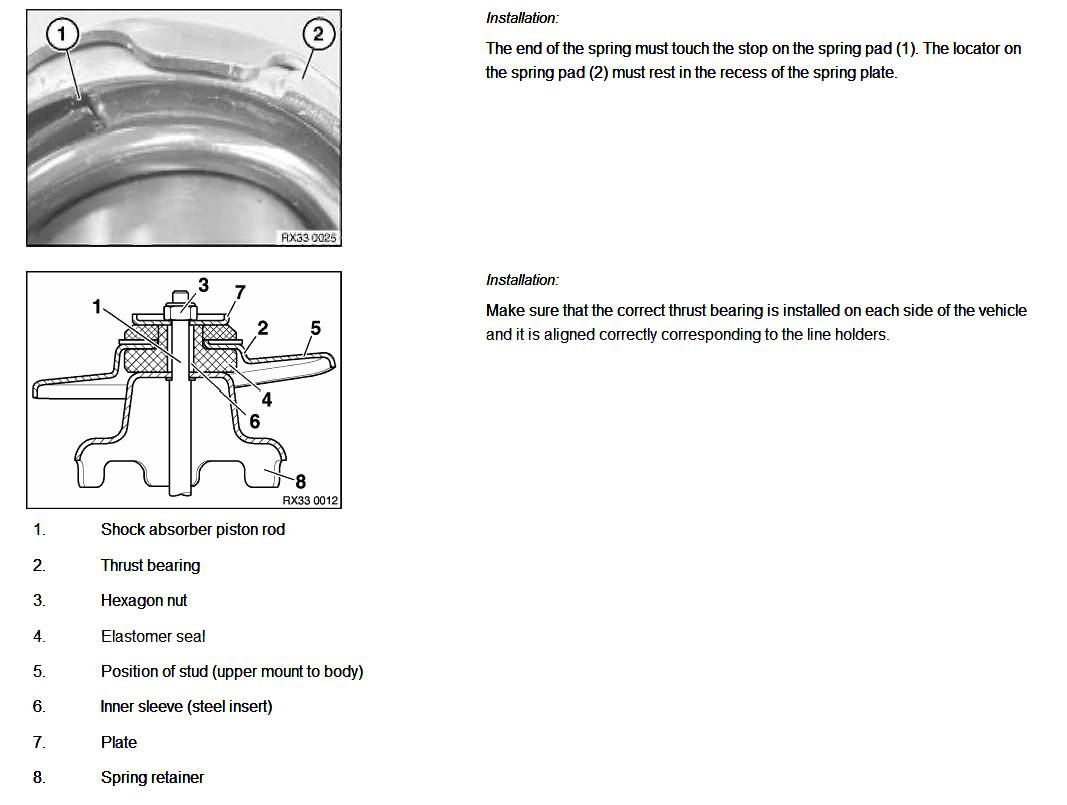
Reassemble
the rear shock assembly making sure the spring ends meet the rubber pad stops
and reinstall. Installation is reverse of removal (don’t forget to replace the
brake lines/wiring in the shock holders):
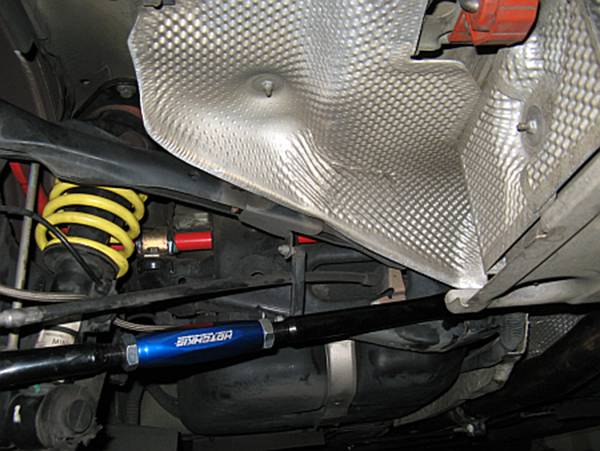
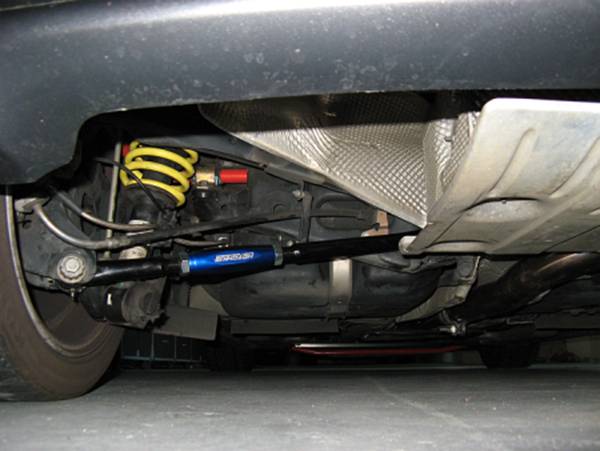
Hotchkis Rear Lower Control
Arm/Camber Link Installation:
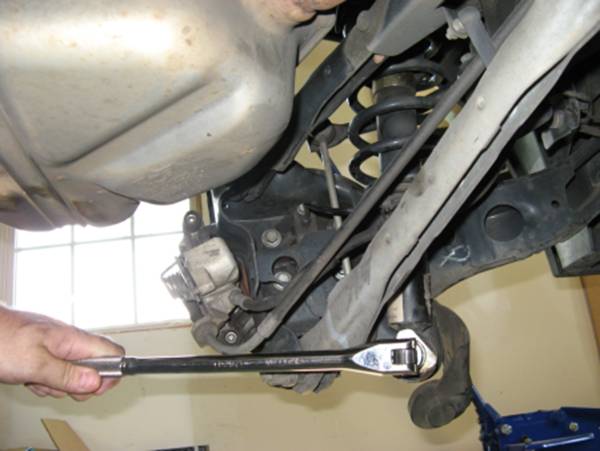
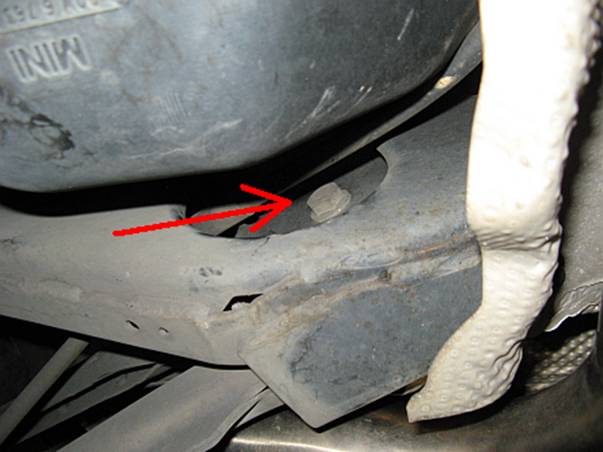
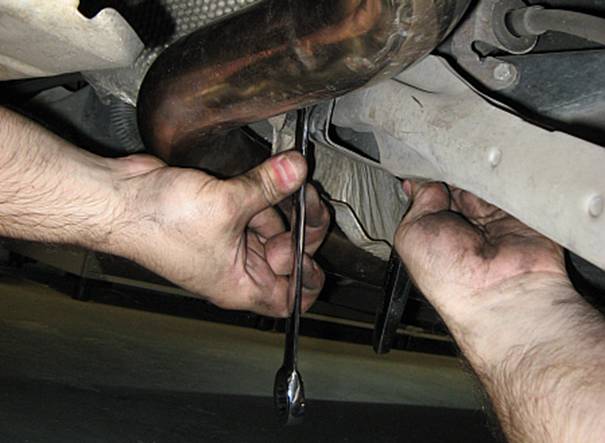
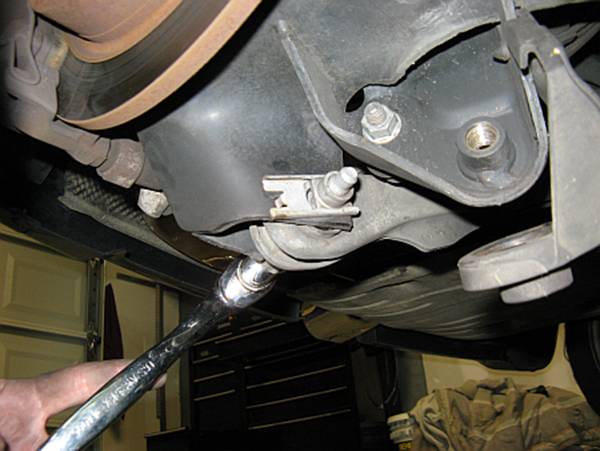
Start by
removing the inside bolt/nut for the lower control arm/camber link. The exhaust
shield may need to be “adjusted” to access the nut:
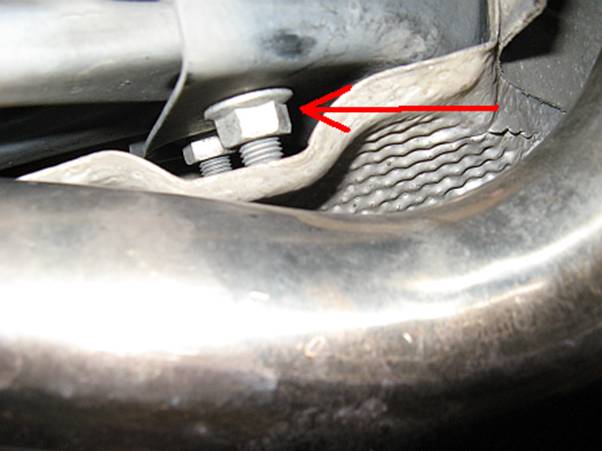

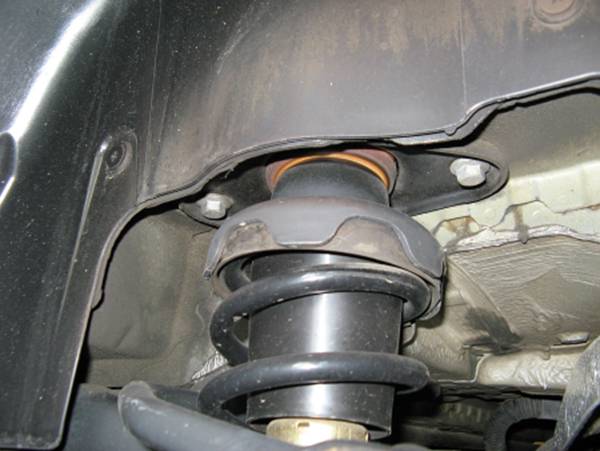
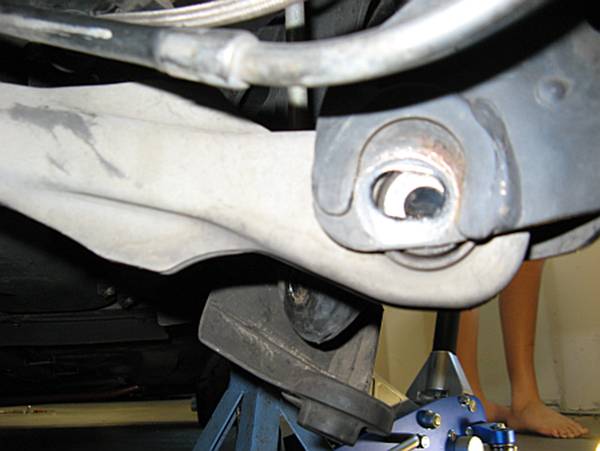
After
removing the inside bolt/nut, the outside bolt is removed. You can see that
there is some degree of camber adjustment in the factory setup:
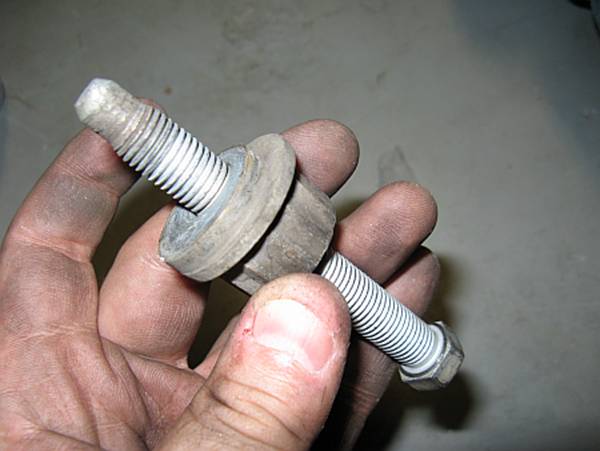
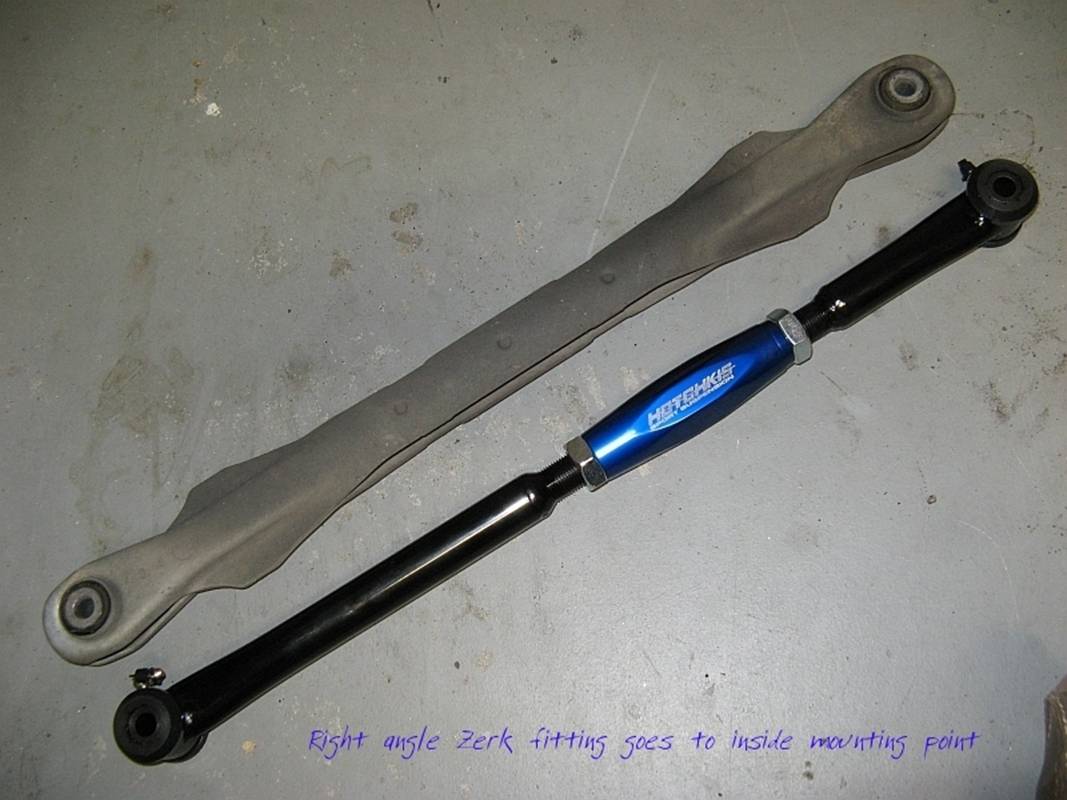
After
removing the OE camber link and comparing to the new Hotchkis piece, you can
see that not only will it be adjustable but stronger as well. I adjusted the
new Hotchkis link to be the same length as the OE piece removed, bolt center to
bolt center, to get it close enough to drive to the alignment shop with no
issues. Installation is reverse of removal, I found it easiest to grease the
camber links before installation- Make sure the zerk grease fittings are
pointing down when installed and that the right angle zerk is mounted to the
inside mounting point:

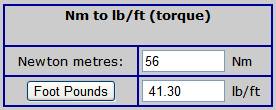
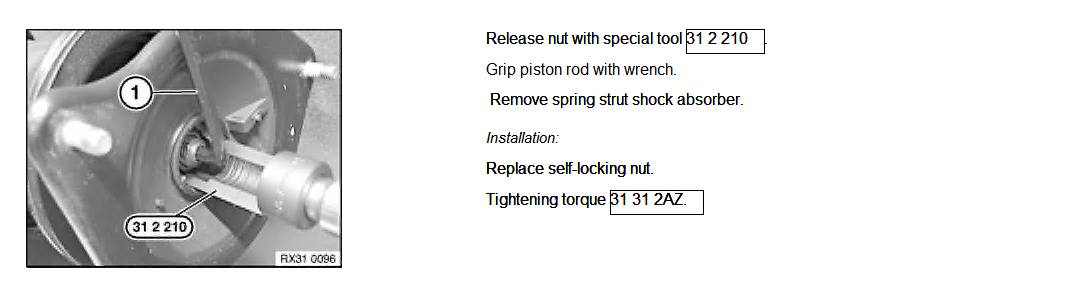
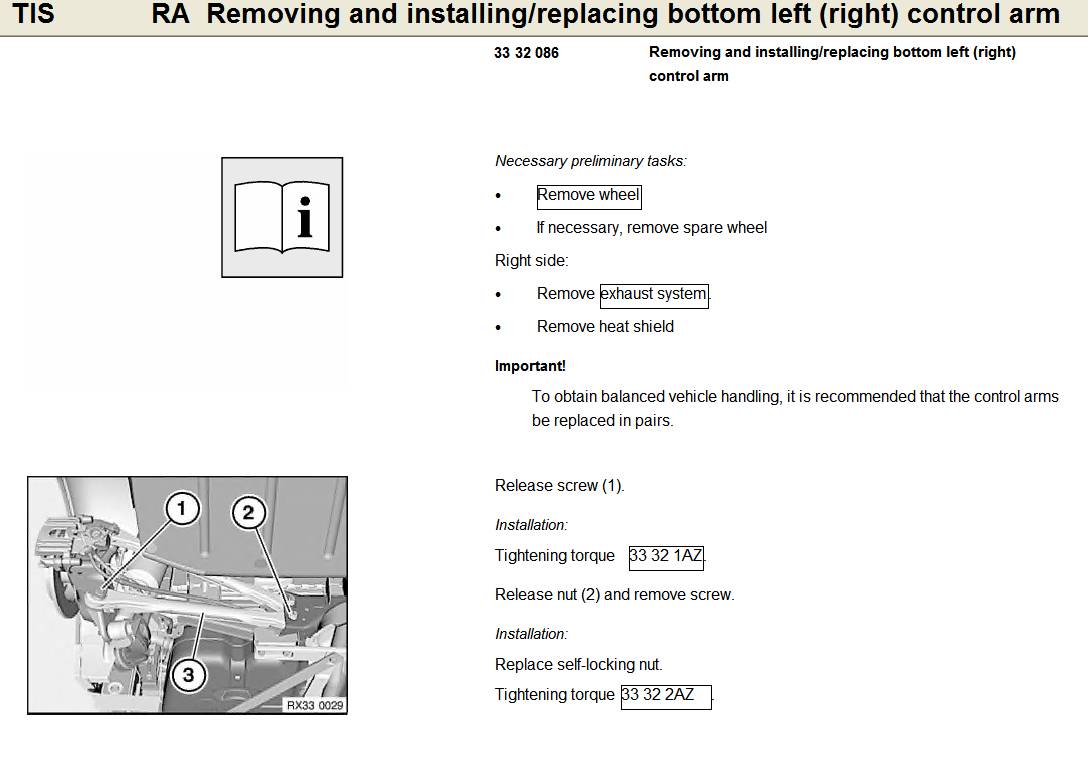
TIS Instructions and Torque Specs:
![]()


![]()
![]()
AFTER COMPRESSING SPRING
WITH SPRING COMPRESSOR
![]()

![]()
![]()
![]()
![]()
![]()
AFTER COMPRESSING SPRING
WITH SPRING COMPRESSOR
![]()
![]()

![]()