![]()
![]()
Installing Porsche
Boxster 987.2 Short Shifter
Standard
Disclaimer: ANY USE OF THIS INFORMATION
BY YOU IS AT YOUR OWN RISK. I ASSUME NO LIABILITY FOR YOUR USE OF THE BELOW
INFORMATION.
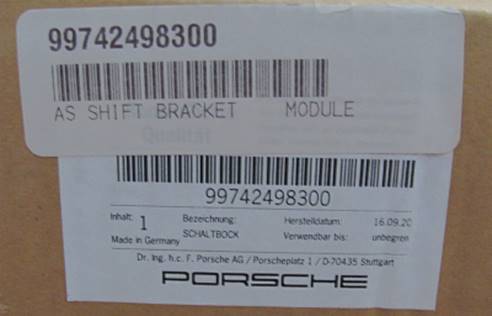
The
Porsche Short Shift Kit (P/N 99742498300) was purchased from Suncoast
We
had just purchased a CPO 2010 Boxster S and my spoiled wife complained about
the shifter, she didn't want to "row a boat" - I guess that's what I
get for replacing all of the other shifters in past cars.
Some
tools I used to accomplish the shifter R&R:
·
T9
Torx driver
·
T20
Torx driver
·
Small
straight pick
·
Metric
socket wrench and extension
The
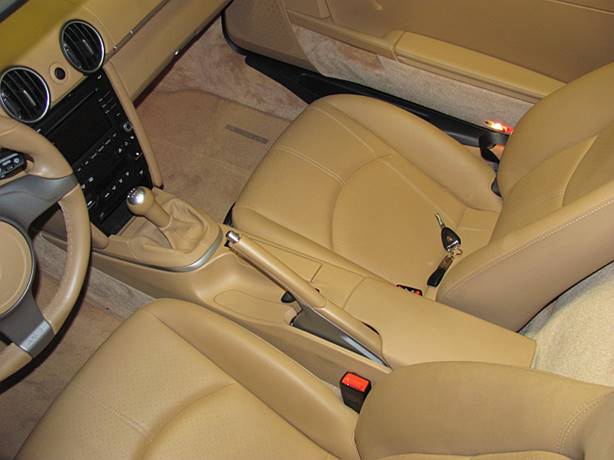
console will have to come out to access the shifter assembly:
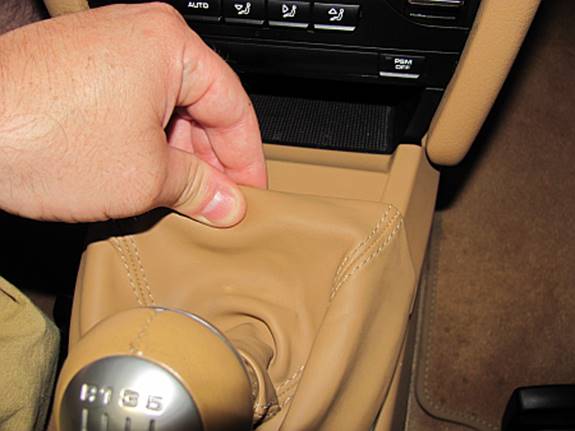
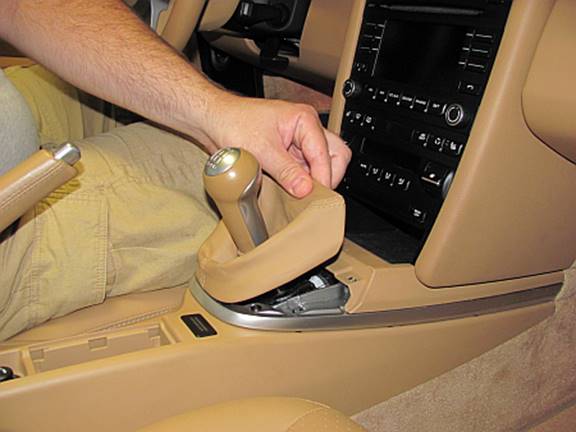
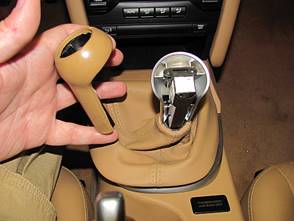
I
started by removing the boot from the console. Lift up in the front to release
the two front and two side clips and then pull forward and up, the clips at the
back of the boot hook under the console edge and this will release it.
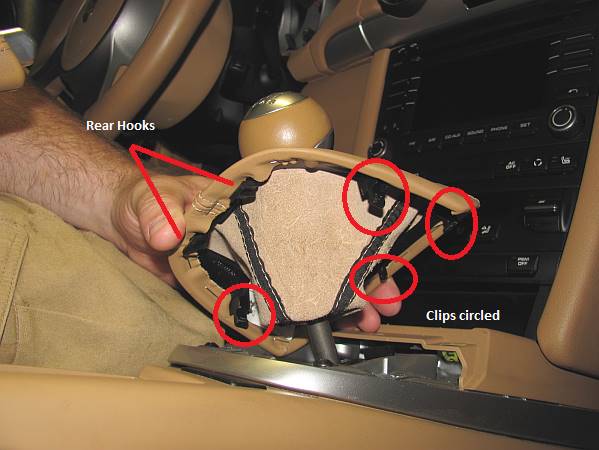
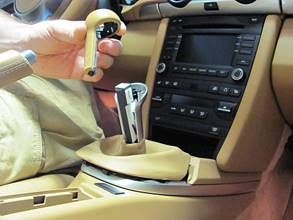
NOTE: Several forum
members were nice enough to point out that the shift knob can be removed in one
piece, I was following someone else’s guide to remove
the knob and didn’t think twice about it. Several good comments and pictures on
this
forum thread to replace below step highlighted in RED
in order to remove shift knob/boot in one piece. In summary, you can skip the
below step and just pull straight up on the knob AFTER rotating the boot as
illustrated in the next step.
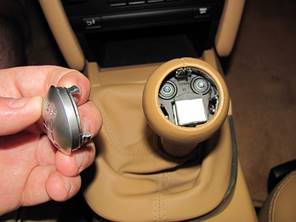
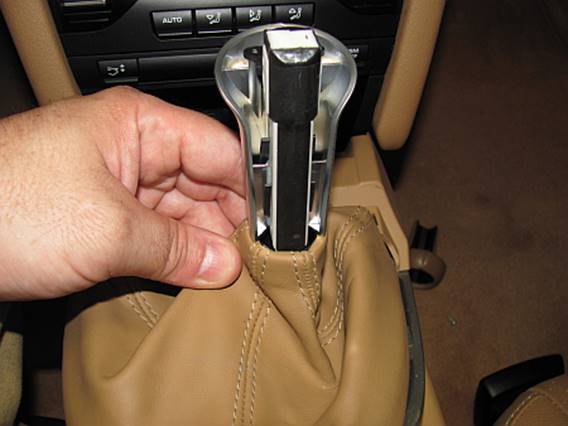
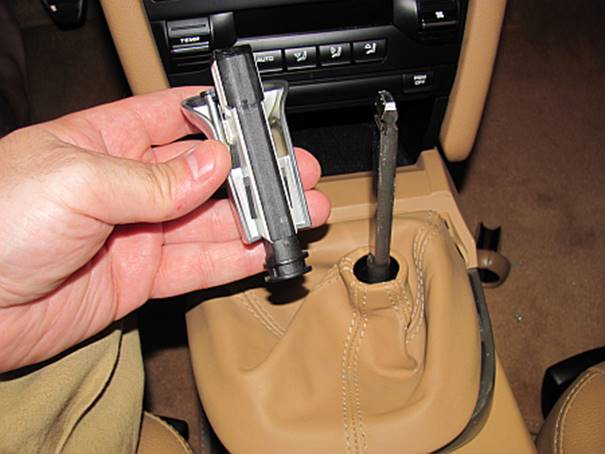
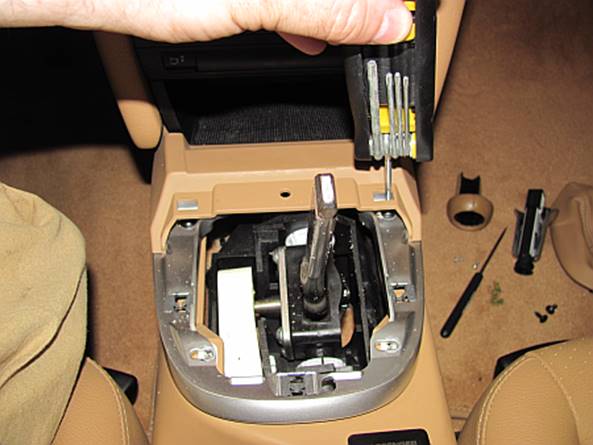
Next, I used a small pick to remove the shifter cap by carefully
prying up to release clips. Two small screws are removed
using a T9 Torx driver (I actually did not have a
driver that small so I had to make do with a multi-tool). After the two small
screws are removed the rear shifter piece can be removed by pulling back, up,
and out:
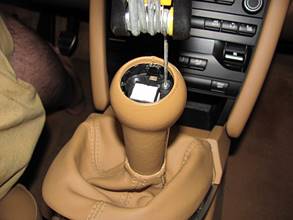
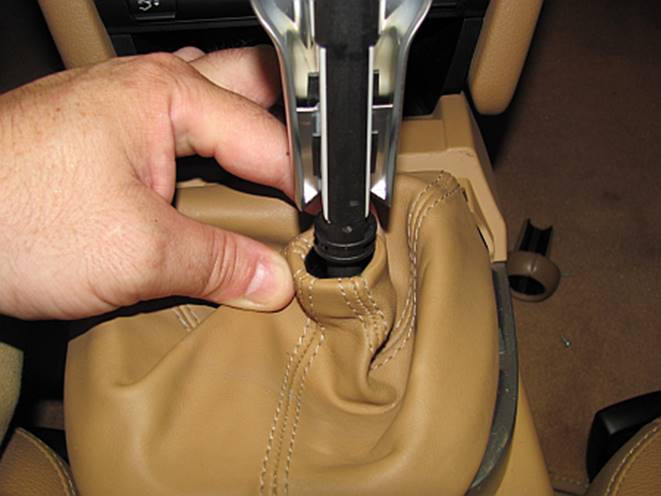
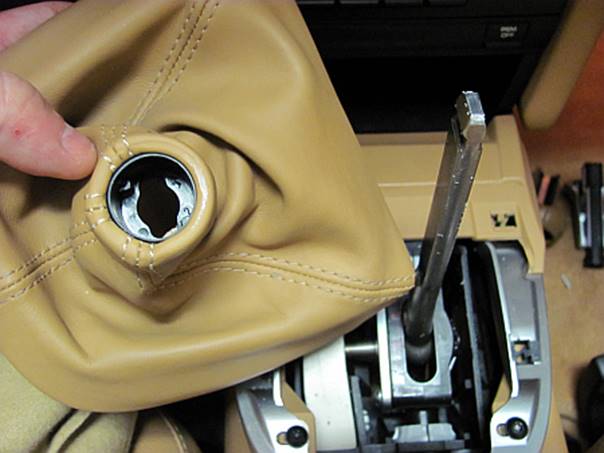
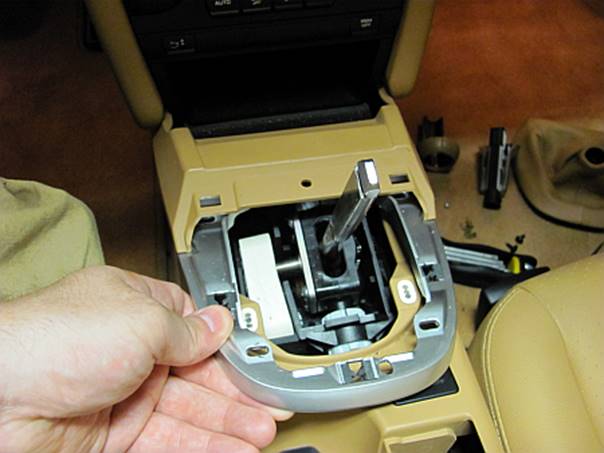
The
boot is released from the remaining shifter piece by rotating the keyed collar
clockwise, the shift boot seam at the 6:00 position is moved to ~8:00 and
pulled down:

The
remaining shifter piece is then removed by pulling up. The boot can be removed
by rotating and lifting up so that the boot can clear the shift rod:
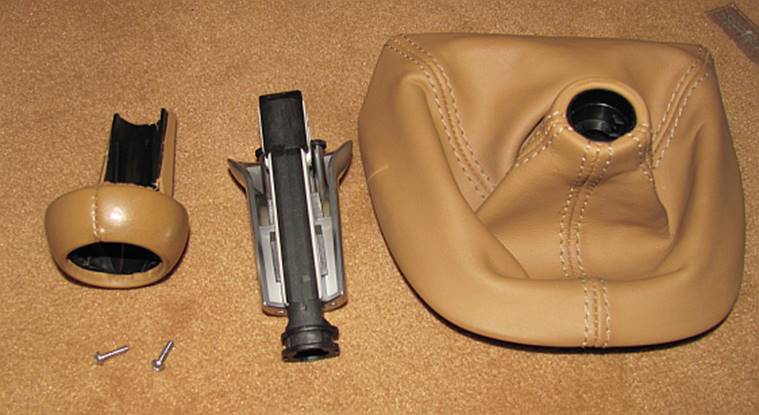
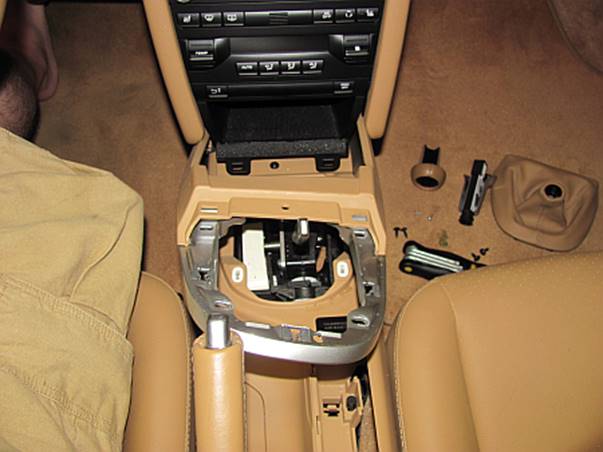
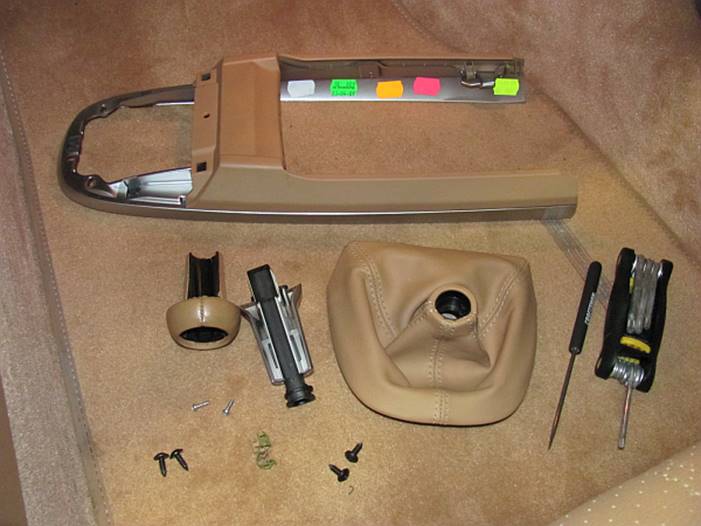
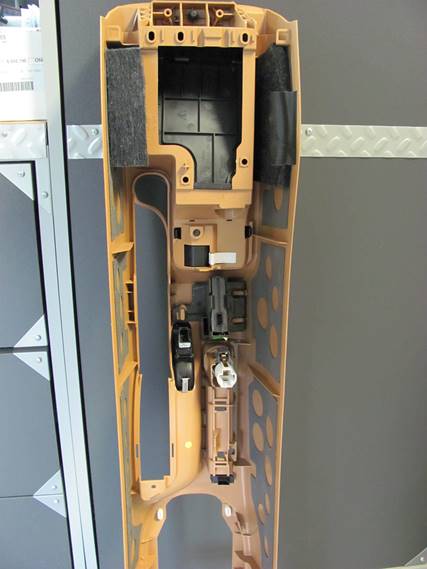
Parts
removed so far:
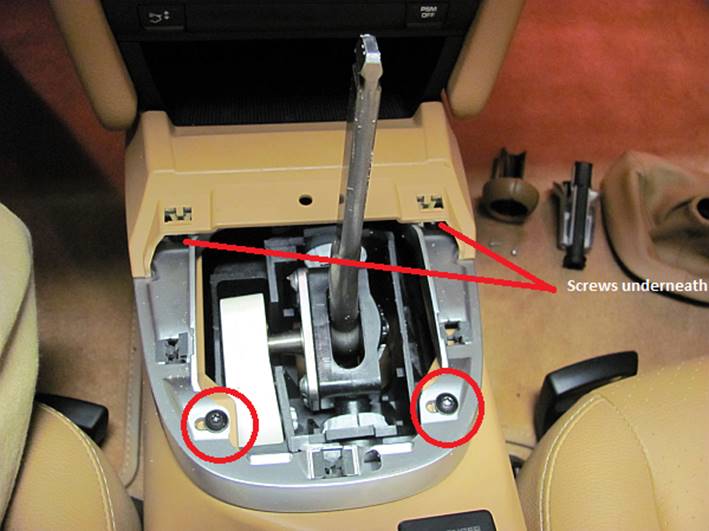
The
trim panel around the shift boot is the next thing to be removed, held in place
by 4 screws that are removed with a T20 Torx driver:
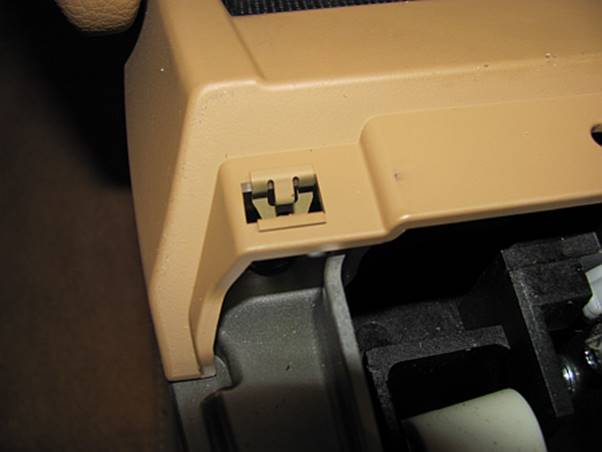
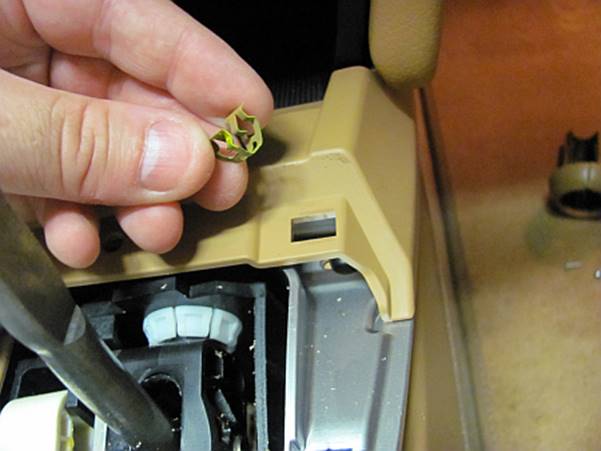
The
rear two screws are easily removed but the front screws are under a plastic
piece. The way to access these is to remove the metal clips using a pick to
release, then the screws are accessible:
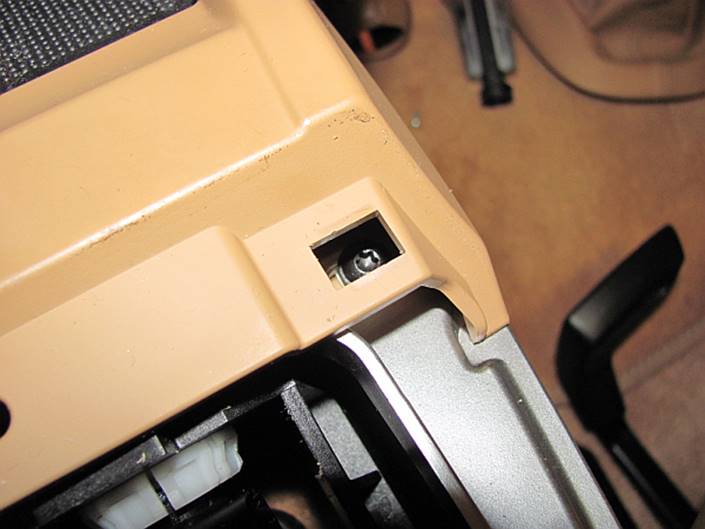
With
the clips out of the way all four screws are removed with a T20 Torx driver (I used the multi-tool because it was handy but
a driver works best):
The
trim piece is pulled towards the back to release (it slides into clips in
front) and carefully maneuvered around the shifter to remove:
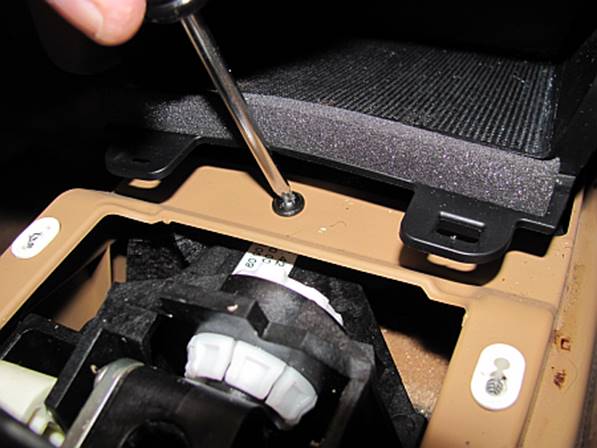
The
single screw up front is removed. It is tight to access but the plastic in
front/above it can be flexed out of the way enough to loosen using a T20 Torx driver:

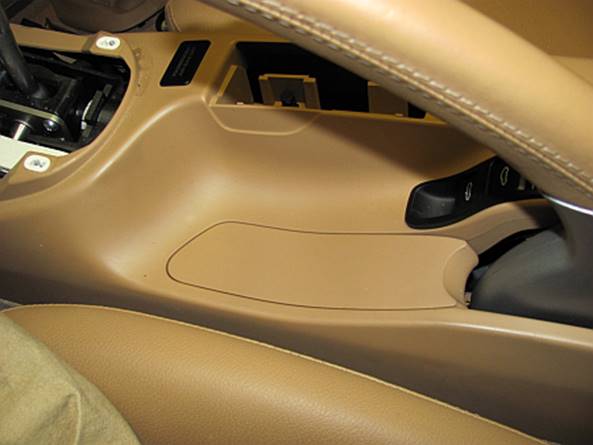
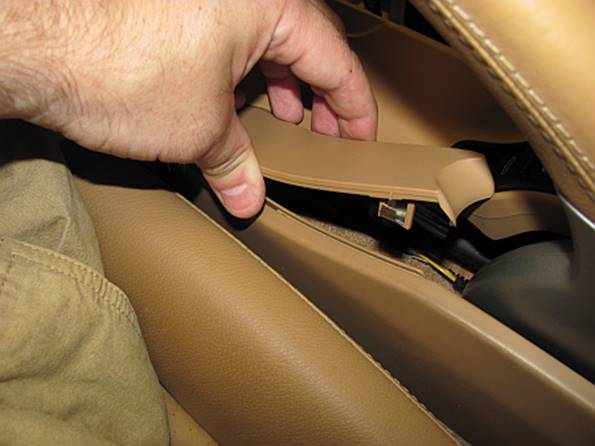
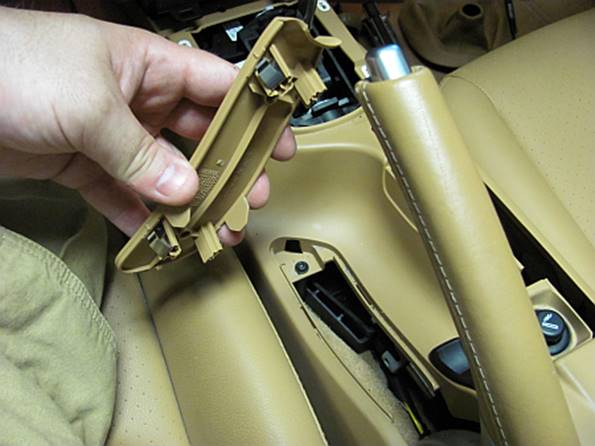
The
parking brake panel is removed by lifting at the rear and tilting up and
pulling towards the rear to release- it hooks in the front. The single screw
underneath is removed with a T20 Torx driver:

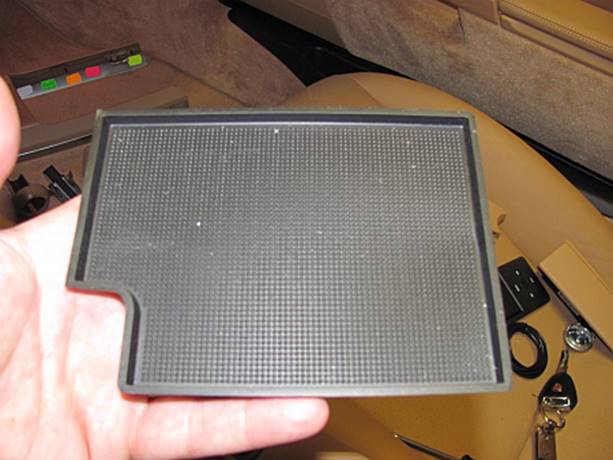
Moving
to the rear of the console the storage compartment lid is lifted so that the
rubber liner can be removed to access the T20 Torx
screws underneath. Once the three screws are removed the piece can be carefully
lifted up to free the two clips at the front:
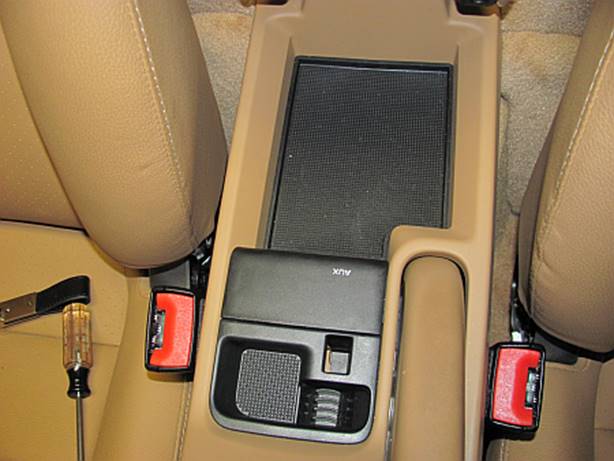

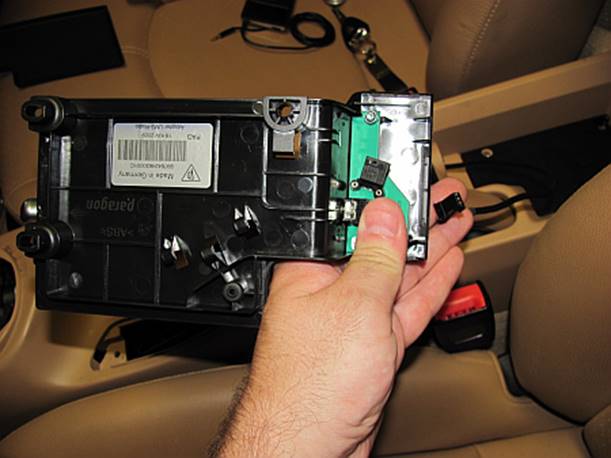
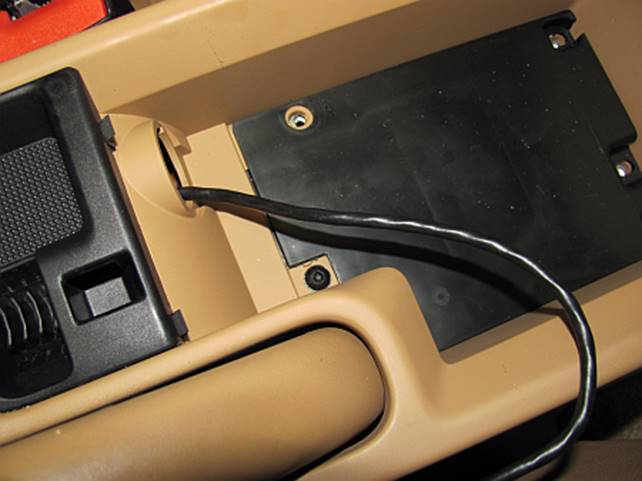
The
electrical connector for the aux-in can be unplugged:

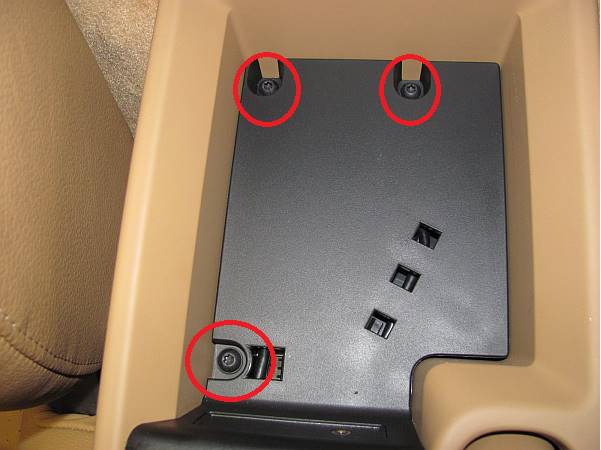
One
more screw remains to be removed using a T20 Torx
driver:
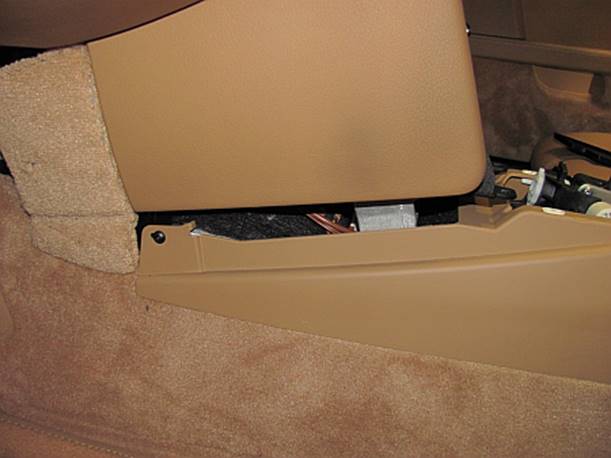
There
is a single small screw on either side in the front that is removed using a T20
Torx driver:

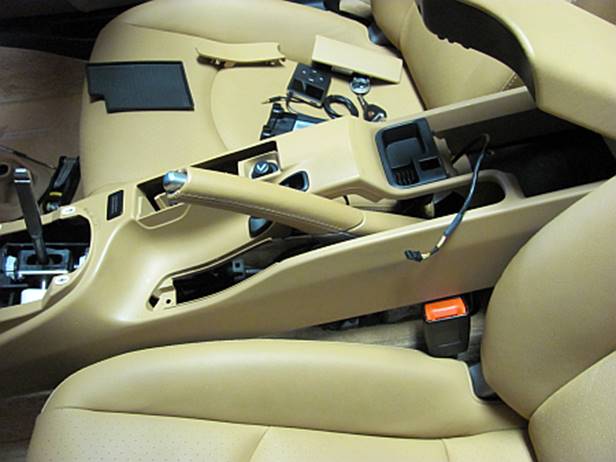
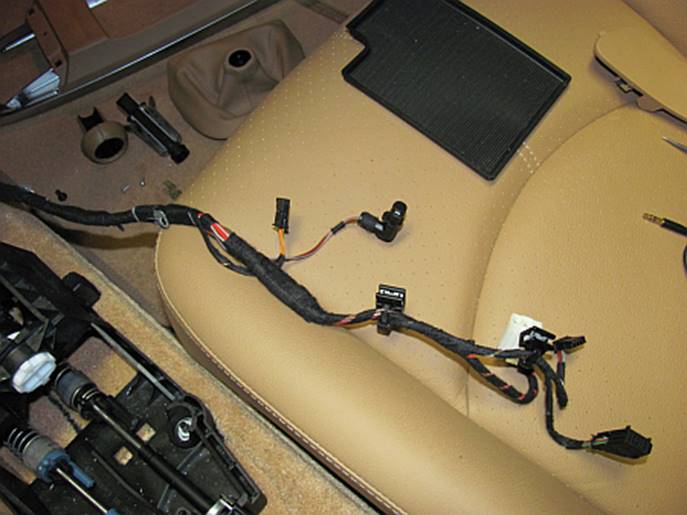
The
console is carefully lifted in the rear and pulled back far enough to unplug
the wiring harness and release the harness clips from the plastic console ears.
The L-shaped piece is twisted and pulled out to remove (lighter light?):
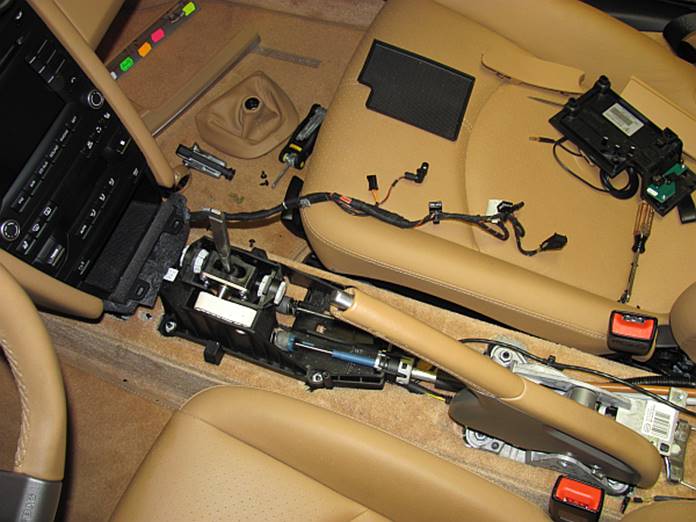
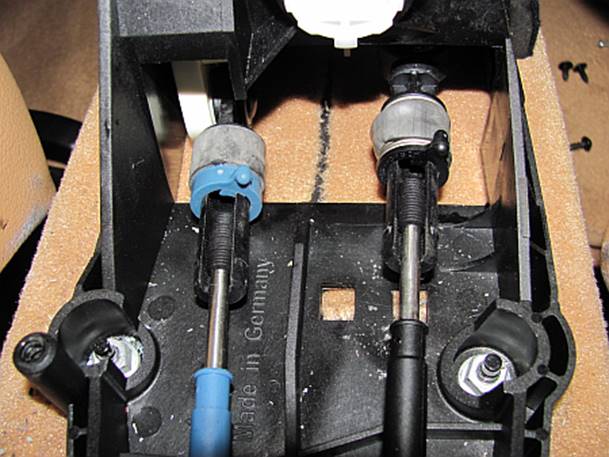
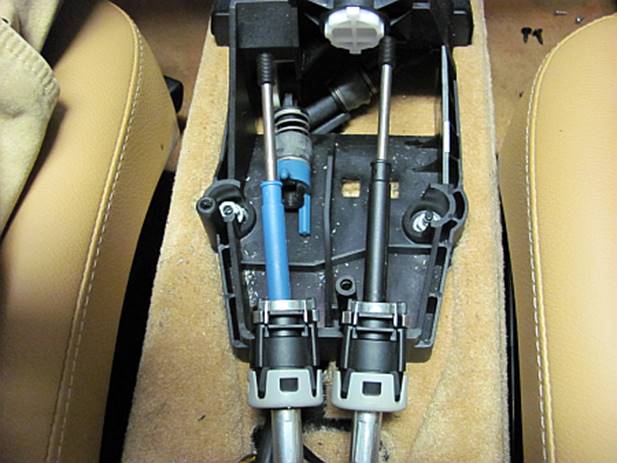
The
shifter cables are released after the console is removed. This is accomplished
by pushing the spring loaded clips up and turning the collar clockwise to lock
into the recess- cables are then lifted out. I recommend placing the
transmission in neutral BEFORE executing this step so that the new shifter that
is locked into the neutral position lines up:
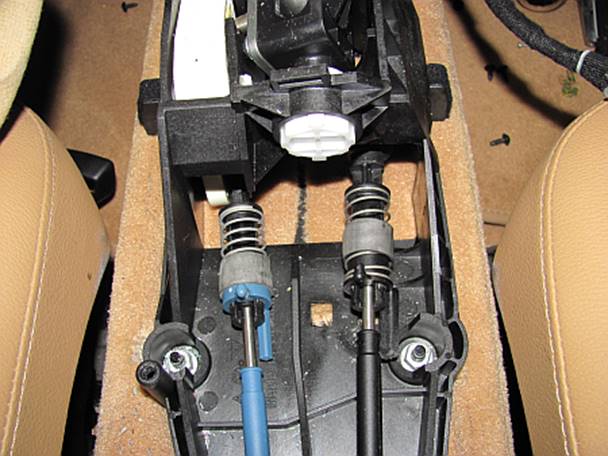
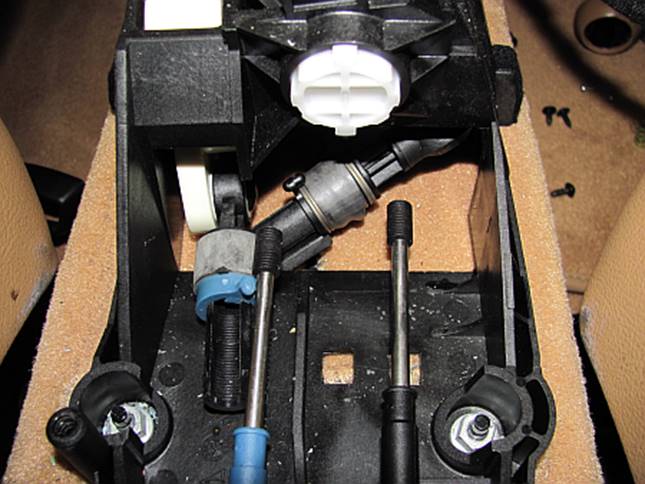
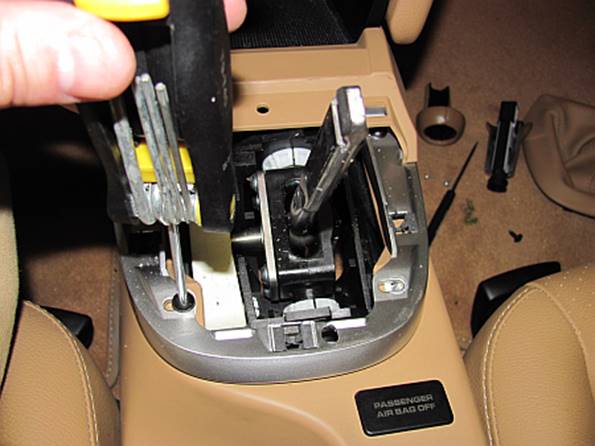
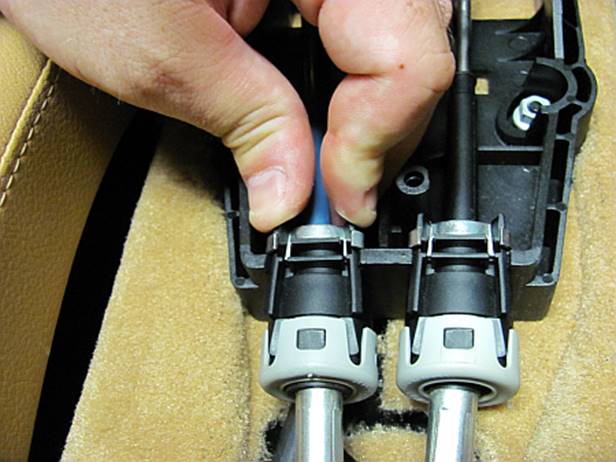
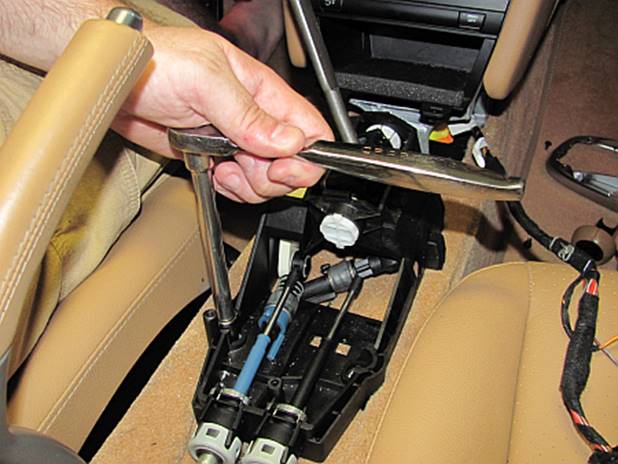
The
shifter cables are removed from the brackets on the shifter assembly by pressing
two ears together and lifting up:
With
the shifter cable removed, four bolts are removed using a socket wrench:
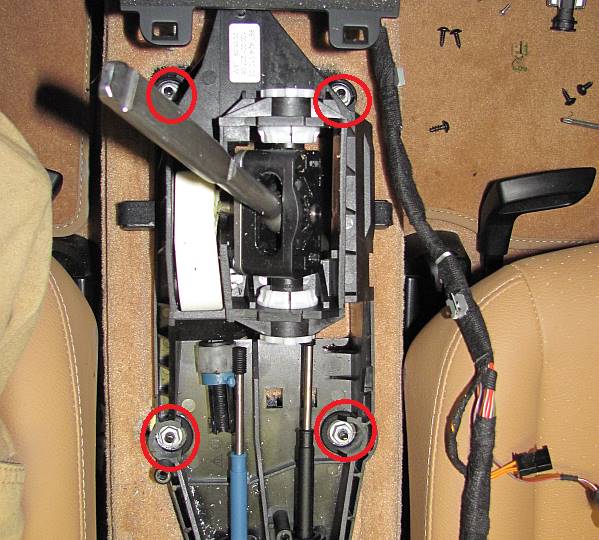
The
shifter is then removed:

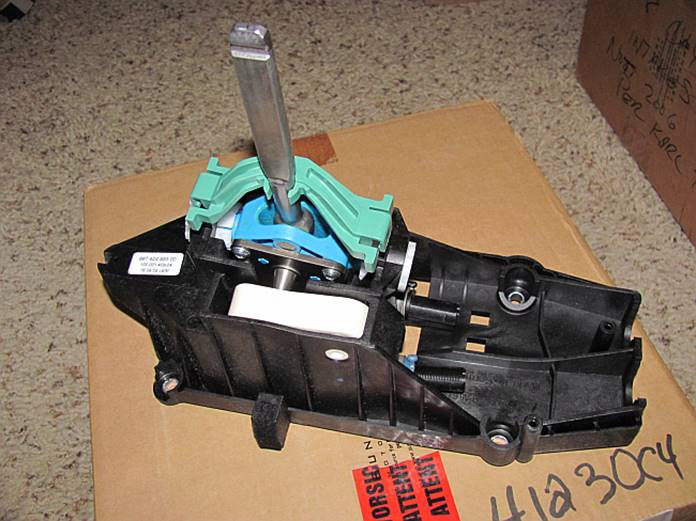
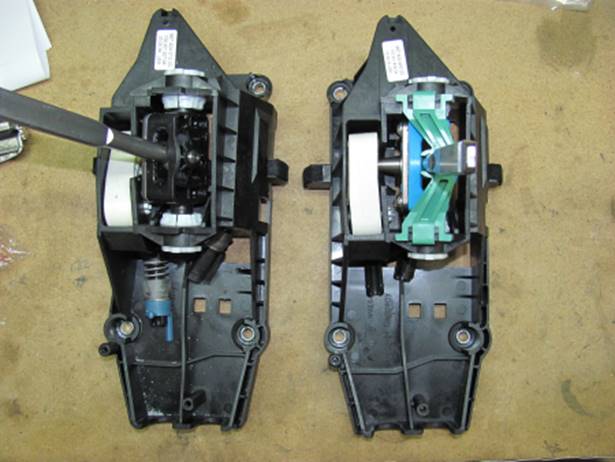
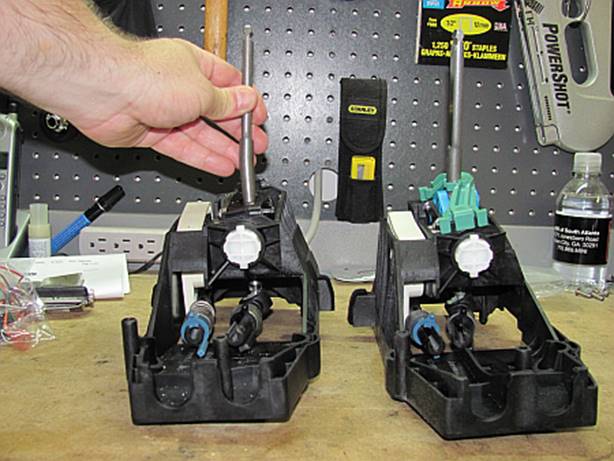
Comparing
the OE to the short shifter the modified geometry can be seen, the green clip
on the short shifter is the alignment tool to keep the shifter centered while
the cables are reconnected:

The
new shifter installation is reverse of removal instruction above- this is a
GREAT first mod for your new Porsche.