Install was pretty easy. Anyone with basic mechanical know-how can do it in about 15 minutes.
Tools Needed:
Torx screwdriver size 25
Flathead screwdriver
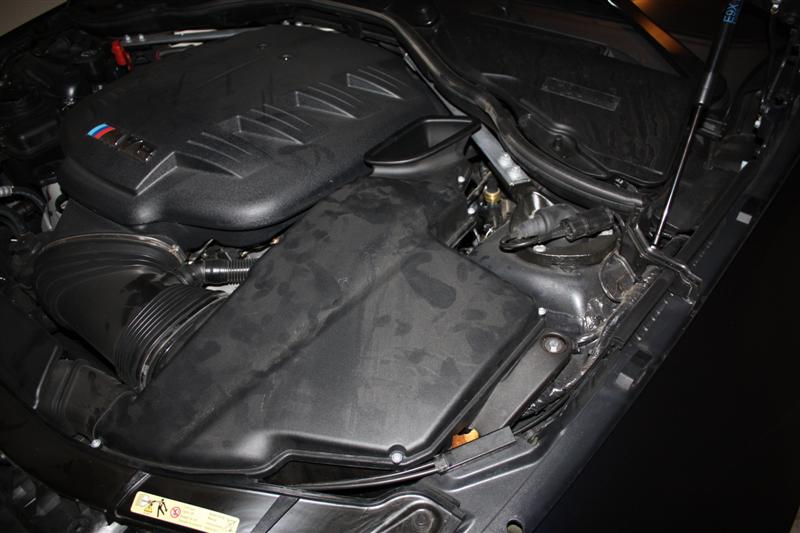
1. Locate the air box. You'll find 8 Torx 25 screws that hold it on.
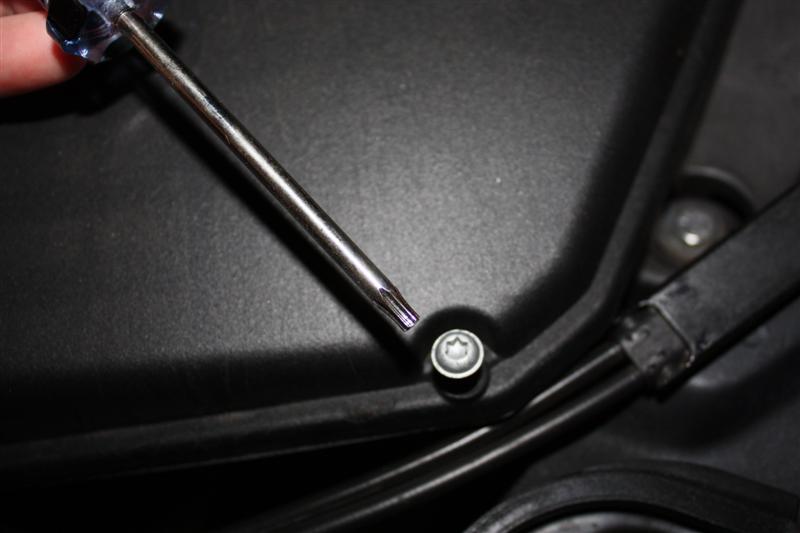
Use your Torx 25 screwdriver to loosen the screws. It is not necessary
to completely remove the screws, just unscrew them enough so it gets
loose (it'll help you keep track of your screws too!

) Be careful and try not to drop any screws deep down into the engine compartment because it's not fun to fish them out.
2. When all the screws have been loosened, pull off the air box cover. Easiest way is to pull up and to the right.

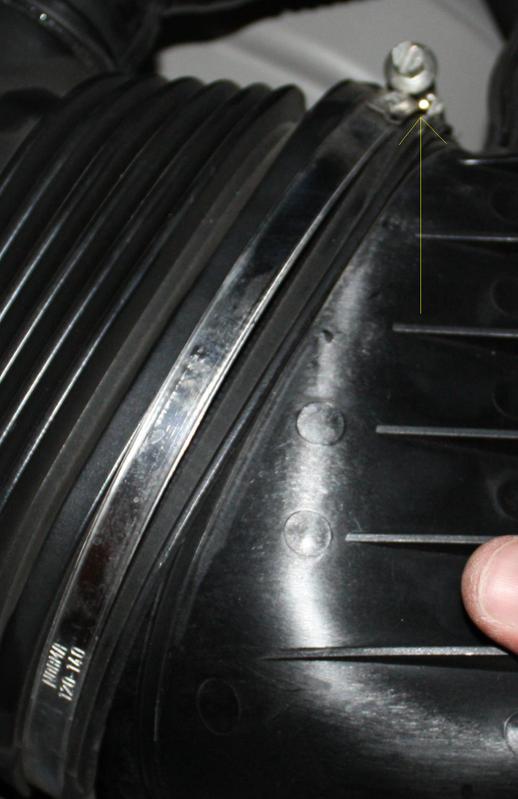
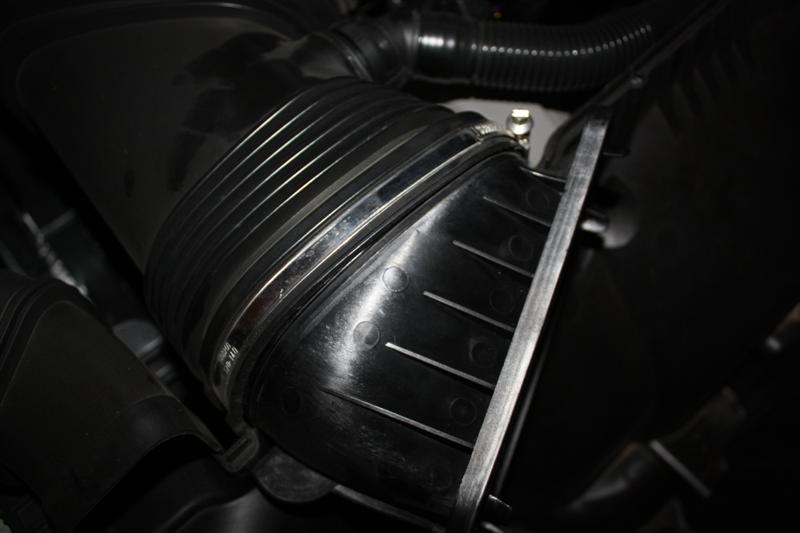
3. Loosen the clamp around the rubber intake.
4. Now you're ready to remove the filter. To the right of the filter is
a piece of plastic that sticks out with a rounded end. That's a
tensioner. Now all I did was pull up (you might have to give it a
little elbow grease) and it came right out. The piece of plastic that
connects the intake to the filter will probably come off with the
filter too.
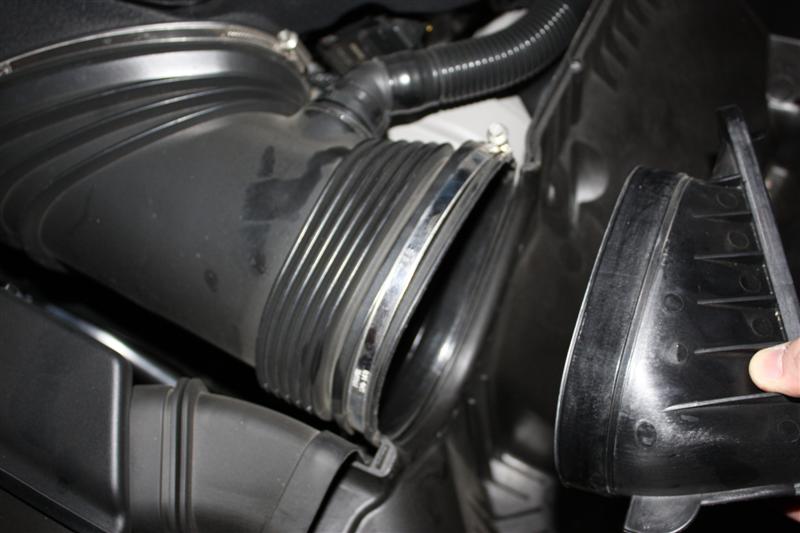
5. Reinstall the plastic piece to the intake. Ensure that you got it on properly. Tighten the clamp until its snug.
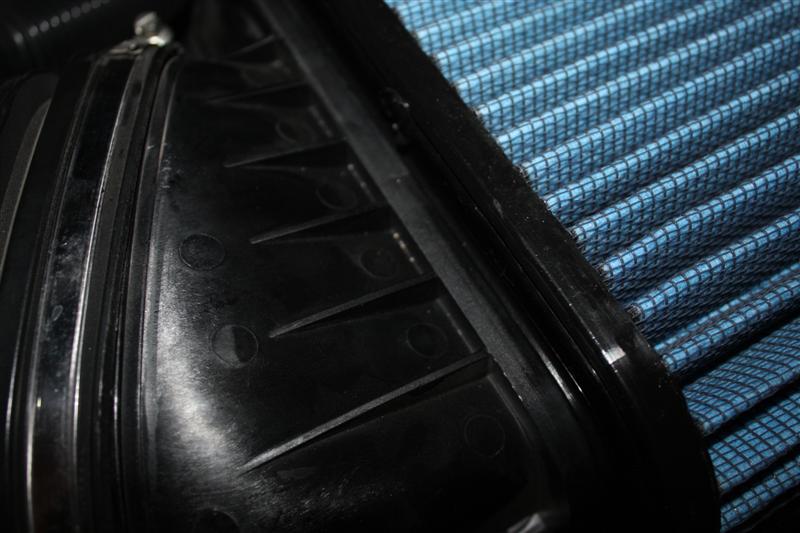
6. After everything looks good, begin to slide in the replacement
filter. Depress the tensioner and install the filter. Some tensioners
are looser than others, if yours doesn't give very much, just push the
filter in. After the filter is in, ensure that everything is lined up
properly and snugly.
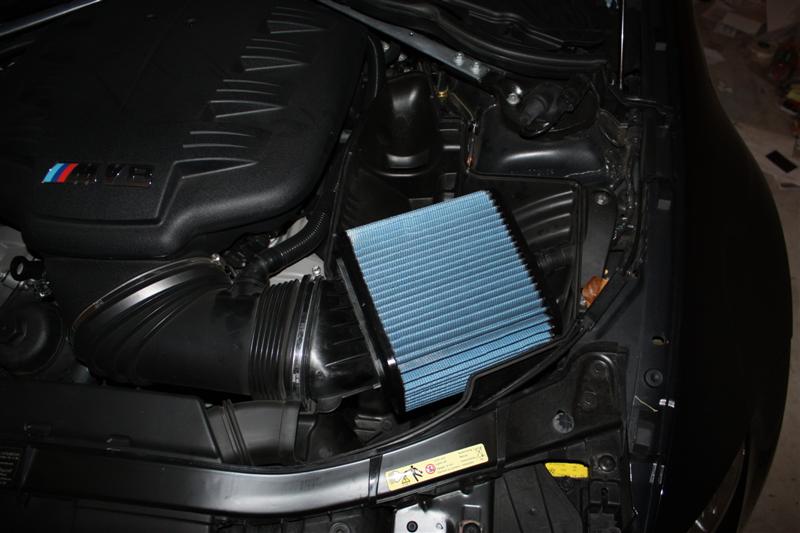
Finished Product
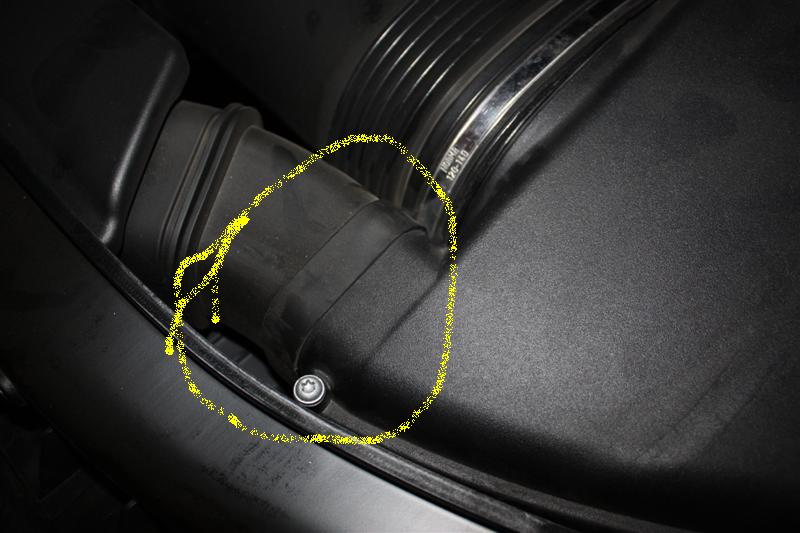
7. Now you're ready to put the cover back on. Make sure you fit the
cover back on the way it's supposed to be...specifically tucking the
cover under this plastic duct piece:
8. Screw all the screws in and viola! All done. Enjoy!
