Some details in the photos may not follow the sequence of instruction; this was a learning experience for me since there were no tutorials available. Special thanks go to Dan at Grassrootsgarage for providing much needed guidance.
http://www.grassrootsgarage.com/
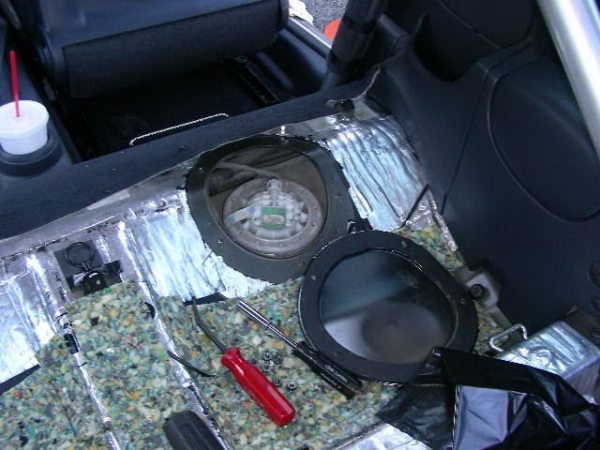
A few tool and materials are needed for replacing the filter, a 10mm socket for the tank cover, something to pry the cover off, large flat blade screwdriver & hammer, a right angle or hook pick, clean siphon, chemical resistant gloves, lots of disposable rags,chemical resistant protective covering for the sound deadening patch in the seat well, and Vaseline; the filter, gasket seal, and O-ring kit 16-14-6-757-196.
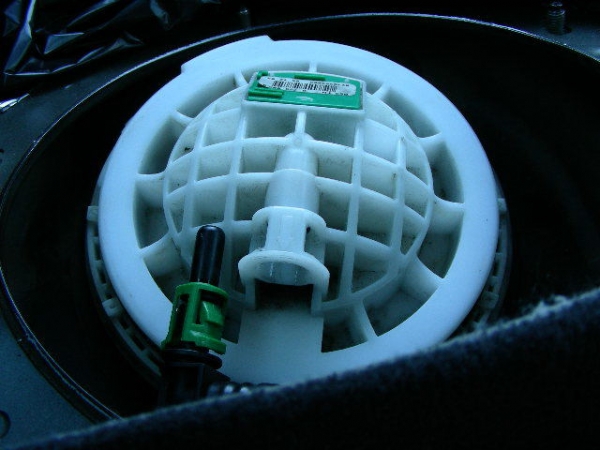
The fuel filter is located in the right hand side fuel sending unit which is under the rear seat. In my photo there are items not to be found on a stock MINI. Remove the nuts with a 10mm; pry the lid up exposing the sending unit cap, brush and vacuum the SU cap till clean.
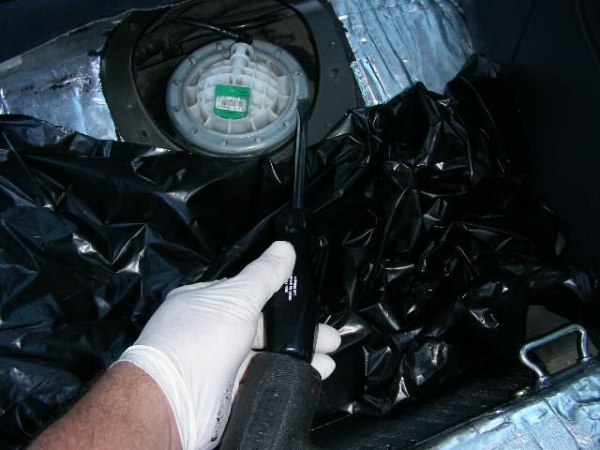
Wear chemical resistant gloves during the next steps and place a chemical resistant covering over the rear floor area and side trim. Cover the fuel line connector in rags, press the side tabs in and pull the line free. The fuel is under pressure in this step so take precautions to avoid overspray.
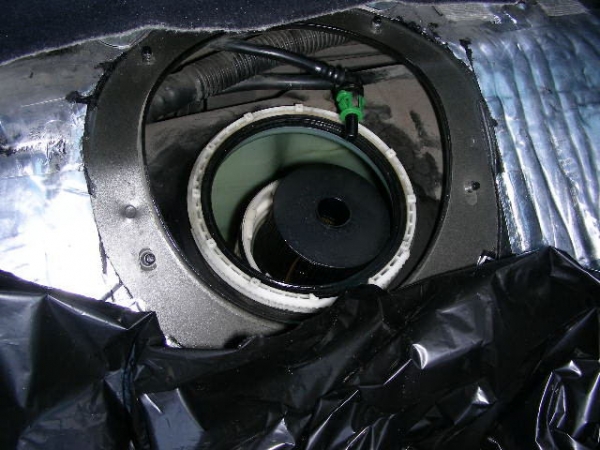
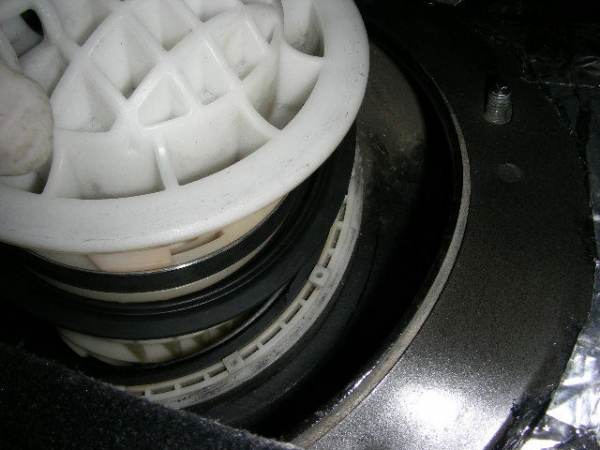
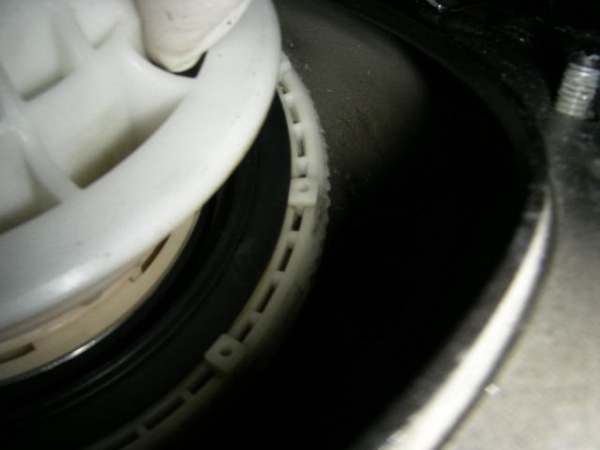
Loosen the locking ring with a large flat blade screw driver and tap with a hammer; unscrew the ring.
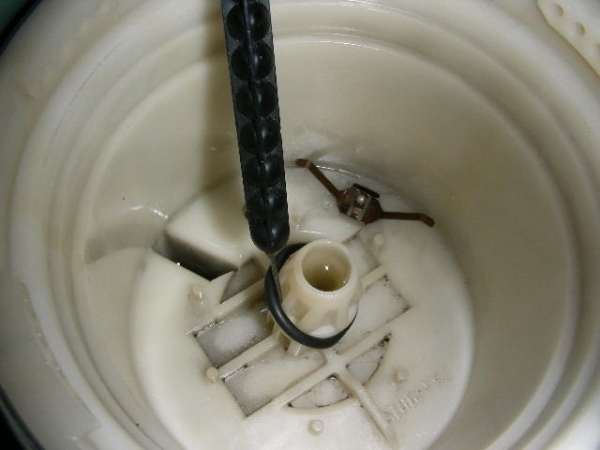
Lift the unit about 4 inches, grab the top and sides and twist to unlock, pull the cap off. This will require effort and perseverance to separate. The filter is now exposed; pull the filter from the sending unit. The filter will be blackened and soil everything it touches so change gloves after handling the filter. There will be brackish fuel in the sending unit to be siphoned off so the small O-ring can be removed and replaced.
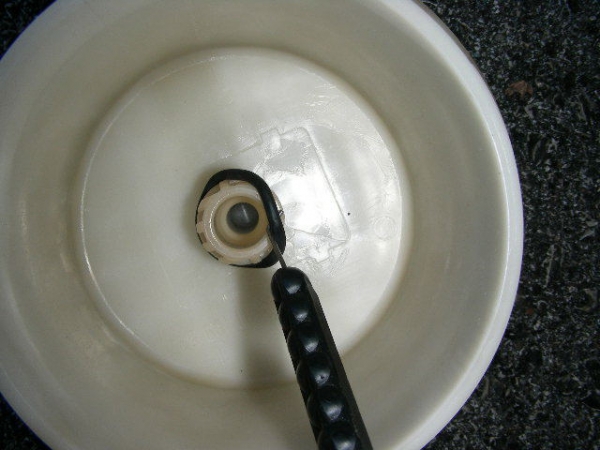
Remove and replace the small and large O-rings on the cap.
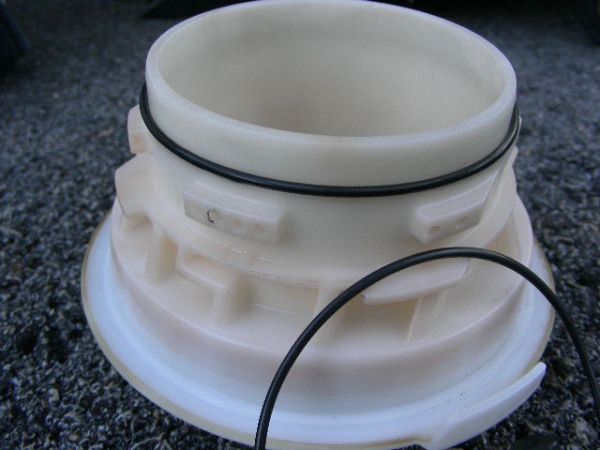
Smear a small amount of Vaseline on the O-rings and sending unit gasket seal, put the gasket seal on the cap with the words this side down showing. Pull the sending unit up, press the new filter over the lower O-ring & post and press the two sending unit halves together, twist to lock. Slide the gasket seal down and press it into place with the fingers, working from one side to the other until it is flush.
Position the sending unit in the tank with the lid tab indexing the tank collar slot, screw on the locking ring, and tap with screw driver and hammer to tighten, push in the fuel line until the green locking tabs snap in place, re-fasten tank access cover.
There is no fuel filter service interval established, the filter is designated a life time filter, but I changed mine as a precautionary measure having been stranding due to a clogged fuel filter in another vehicle; with 89,000 miles on the MINI I felt it was time. Most independent techs agree the fuel filter should not be left unchanged indefinitely. I performed a fuel pressure test before and after the change and gained six psi with the pump on, but without the motor running; there was no change in idle or running pressures. However, I cant say with certainty if the increase in pressure was due to the new filter.