![]()
BMW
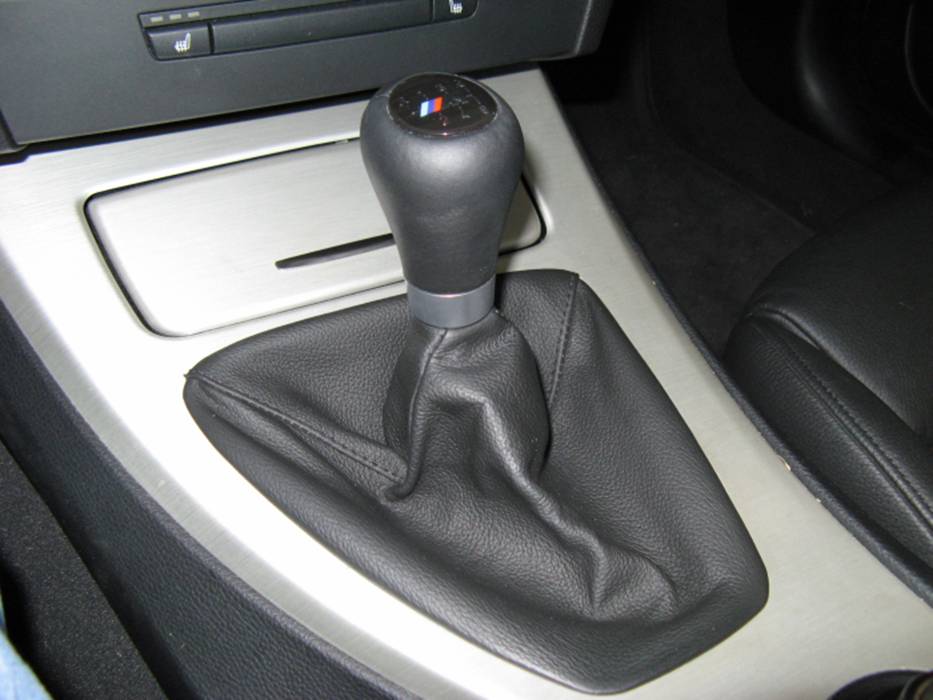
E90/91/92/93 335i : UUC EVO 3 Short Shifter
Installation
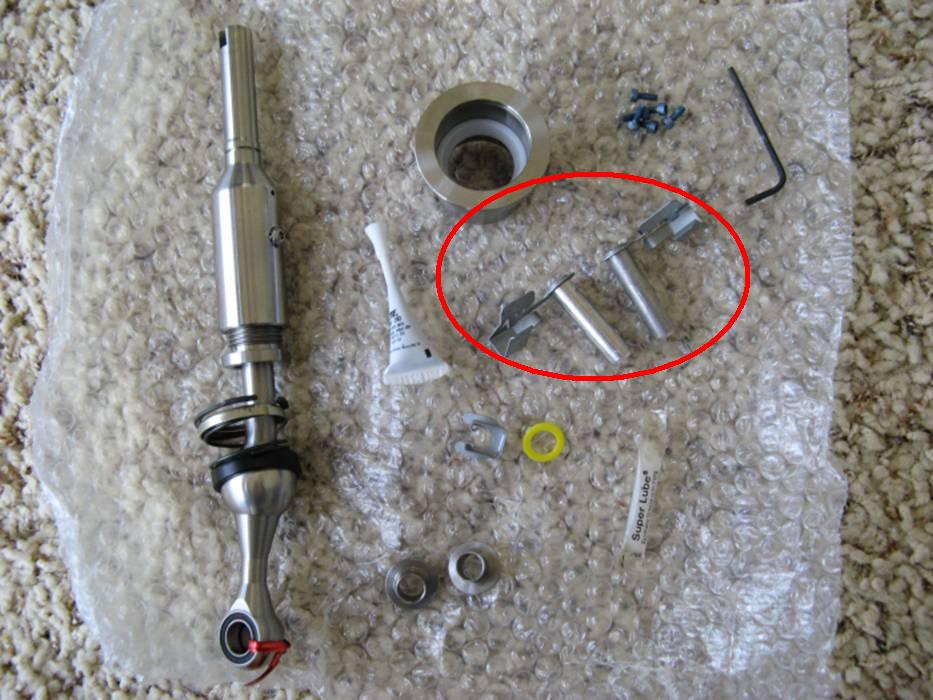
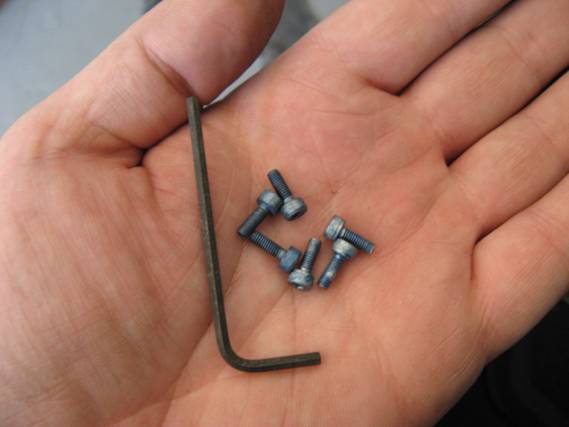
The UUC
shifter comes packaged with all the pieces needed to install their Evo 3 short shifter. Additional carrier lock pins (circled
below) are included if the installer desires to remove the carrier during
installation:
NOTE: The following is provided for information only and any use of
this information by you is at your own risk.
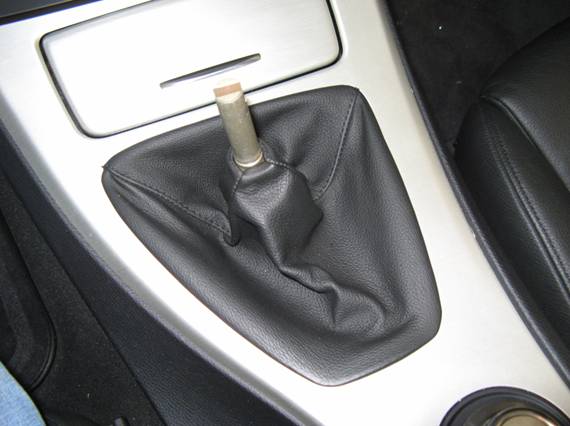
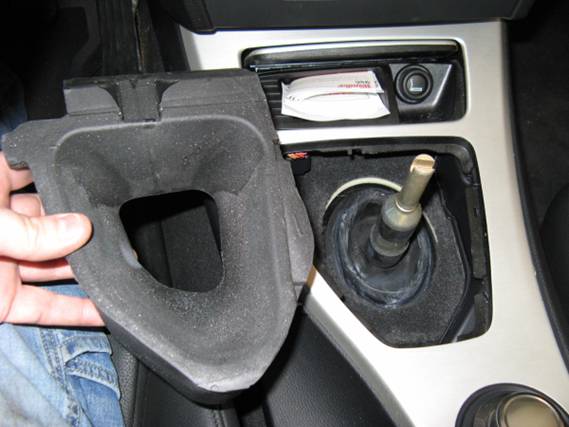
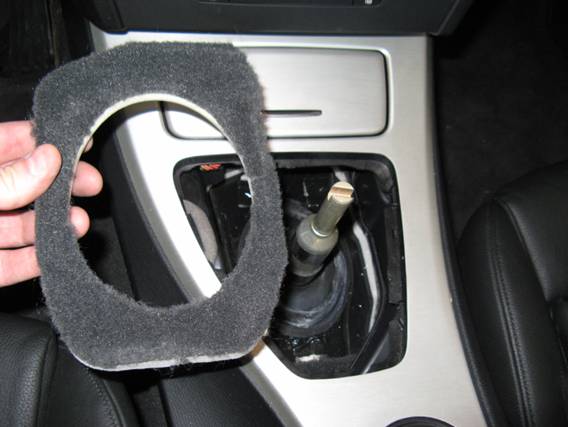
The first
thing I did was to remove the shift knob (pull up hard), the shift boot (four
clips, removed by tugging upward gently at clip areas), the foam insert around
the shifter, and the carpet around the shifter:
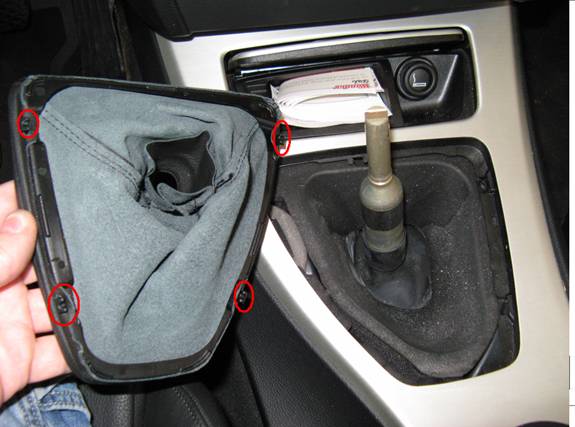
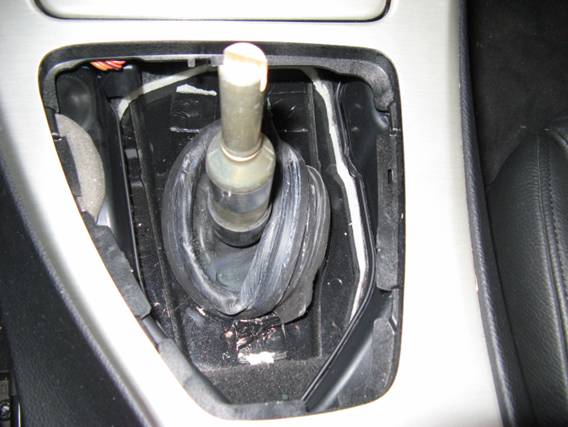
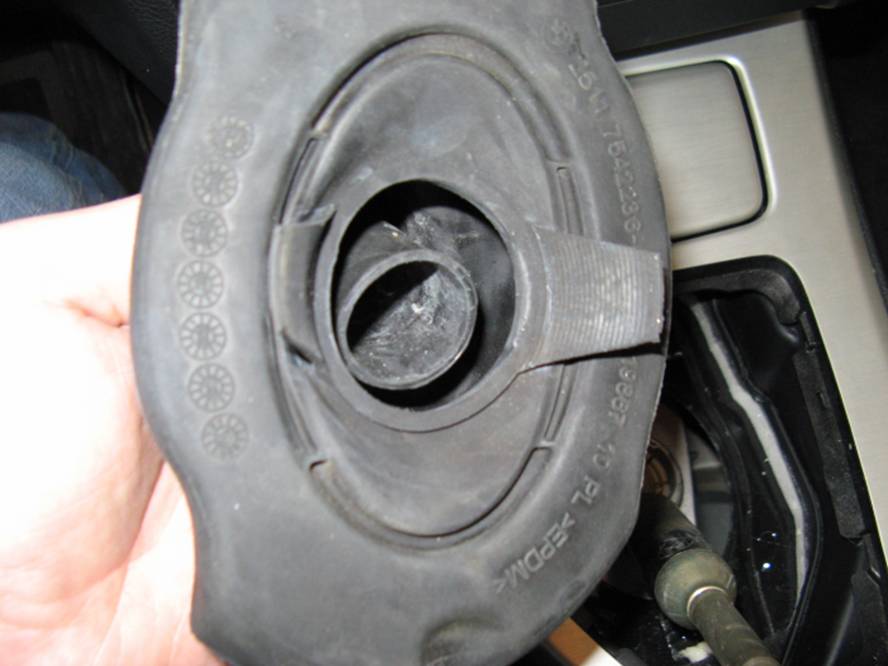
The rubber
boot can be carefully removed as well:
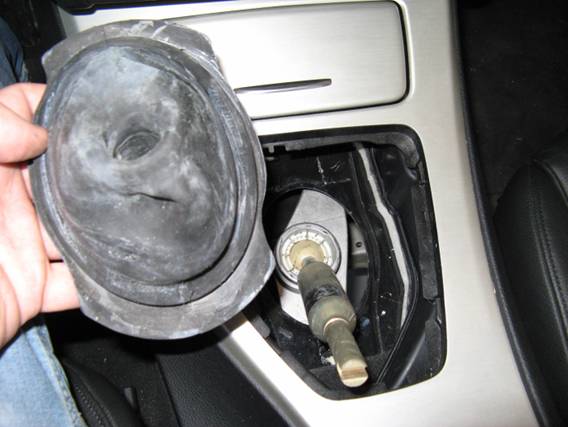
Note in
this picture of the bottom of the boot the area that goes around the shifter
carrier opening, this can be felt/positioned through the top part of the boot
during reinstallation:
All of the
pieces removed so far:

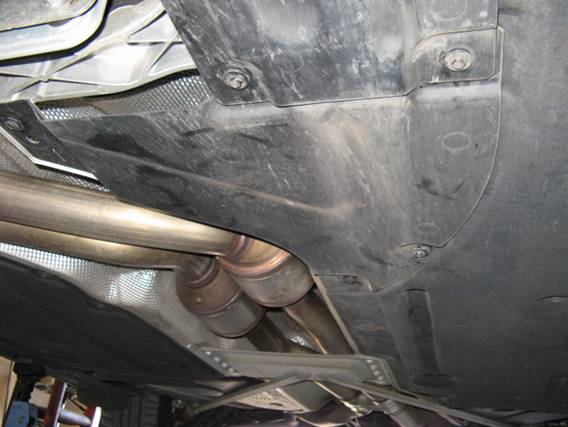
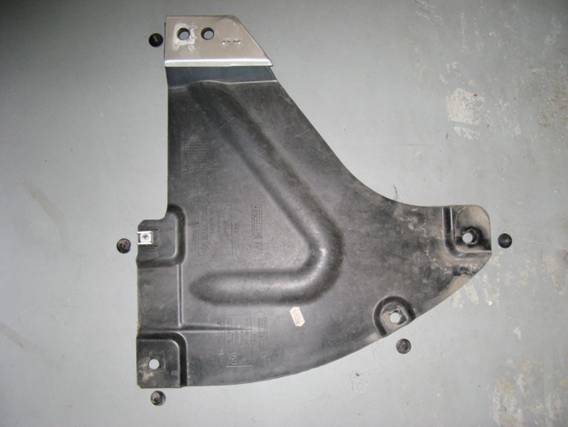
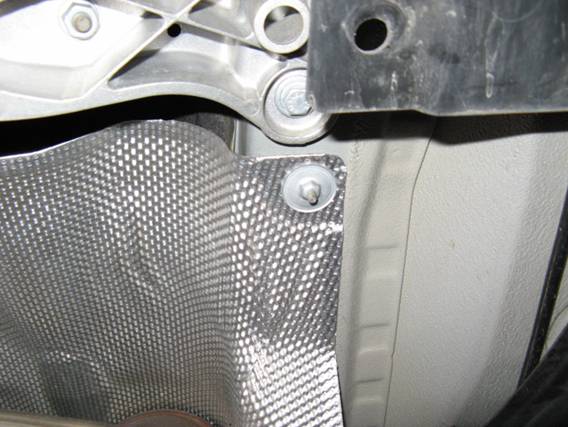
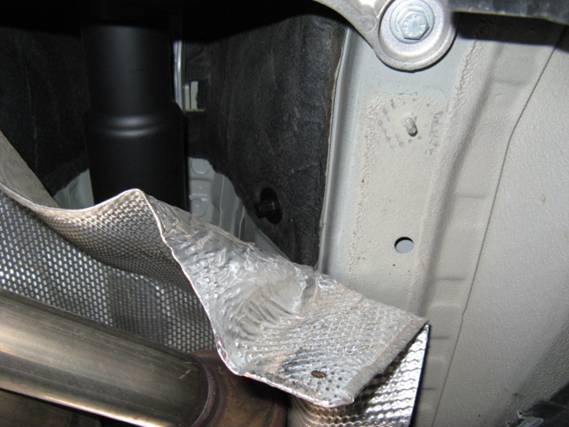
The
plastic piece under the car is removed with an 8mm socket driver for access to
the bottom of the shifter. The heat shield can be carefully bent back to allow
access after using a 10mm socket driver to remove the driver’s side nut:
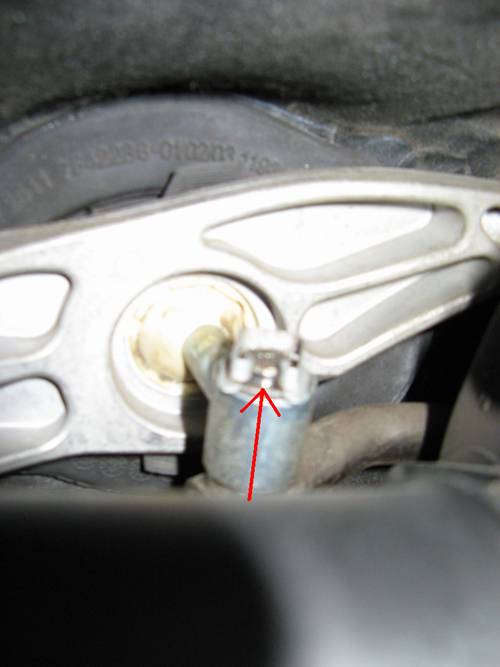
The
shifter is held to the shift rod with a C-Clip, it can be removed with the help
of a screwdriver:
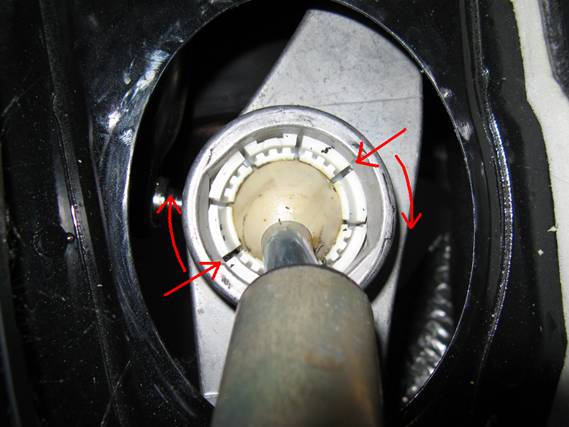
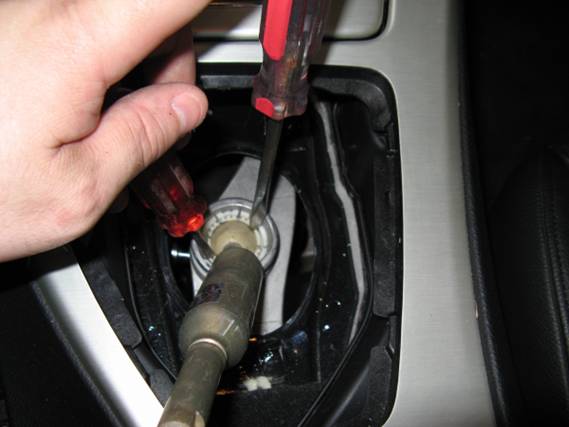
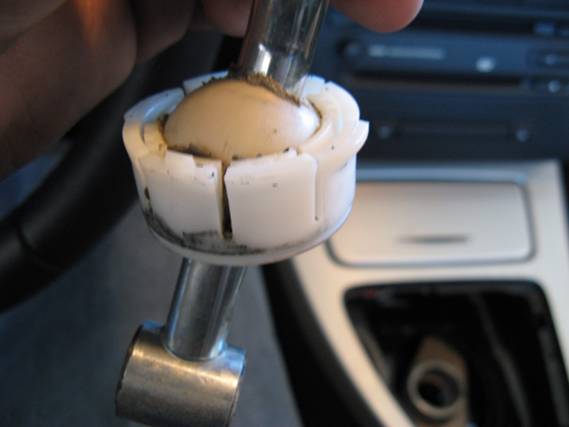
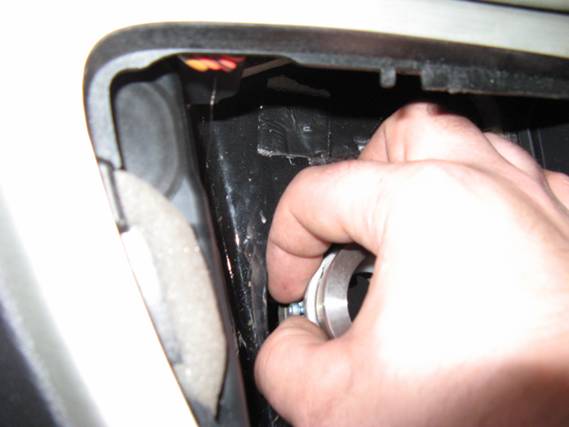
The
shifter is also held to the carrier with a plastic collar, it needs to be
rotated clockwise to release from the carrier slots it locks into. This plastic
collar can be turned by inserting needle nose pliers or a small standard
screwdriver into the slots located around the perimeter of the collar. I was
able to get the collar turned easily with two small screwdrivers- once the tabs
highlighted are rotated clockwise about 90 degrees they are free of the slots
that retain the bushing and the shifter can be lifted out of the carrier:
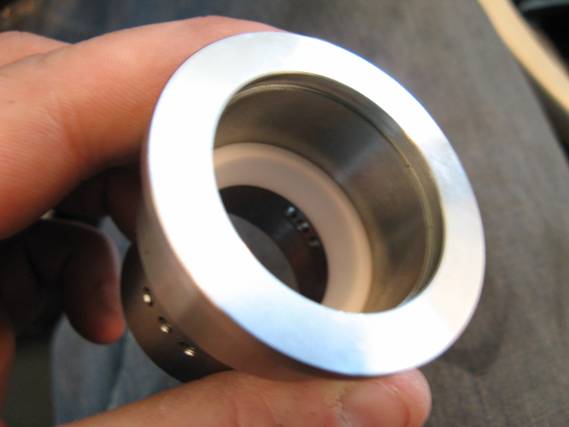
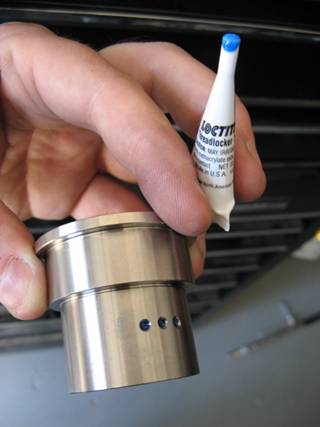
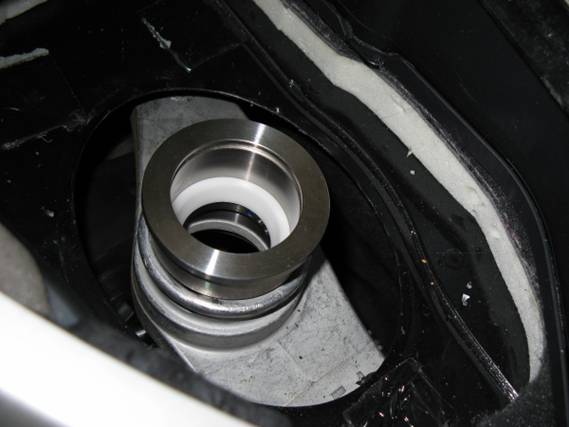
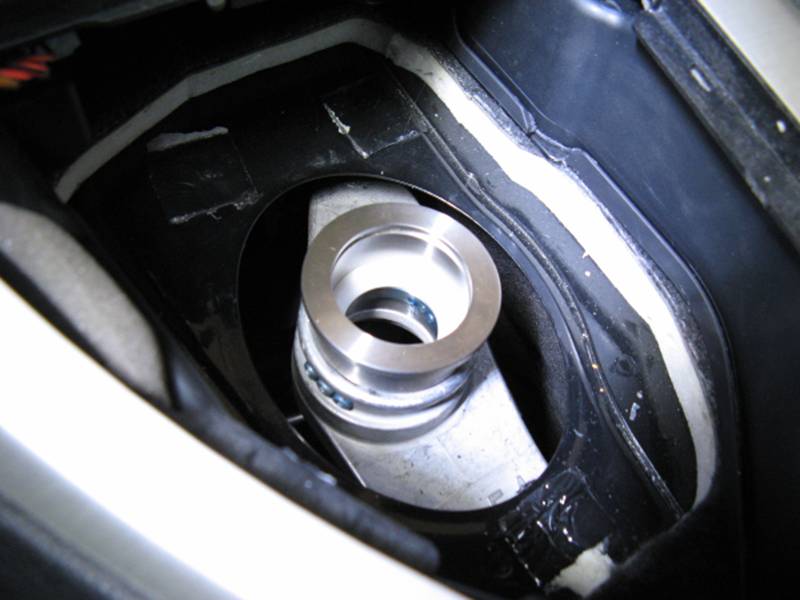
To install
the UUC carrier pivot height adapter, the white ring bushing is placed in the
adapter with the cup towards the top and Loctite is
applied to screw holes on either side:
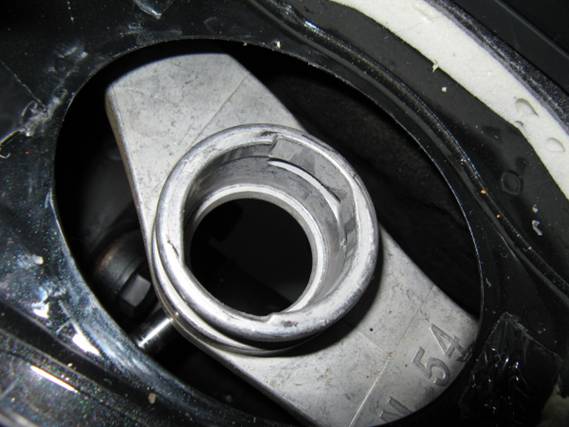
The pivot height adapter is installed next, it should sit
flush with carrier base and the screw holes should line up with the slots in
the carrier. Screws are installed loosely by hand and then tightened with
supplied hex wrench alternating sides. After getting one screw on each side
started it was much easier to start the other four using the one installed as a
reference point. Be careful to get the screws just hand tight, no need to crank
on the hex wrench ![]() (HINT: I found that using my grinder to cut down the hex wrench
allowed for easier use):
(HINT: I found that using my grinder to cut down the hex wrench
allowed for easier use):
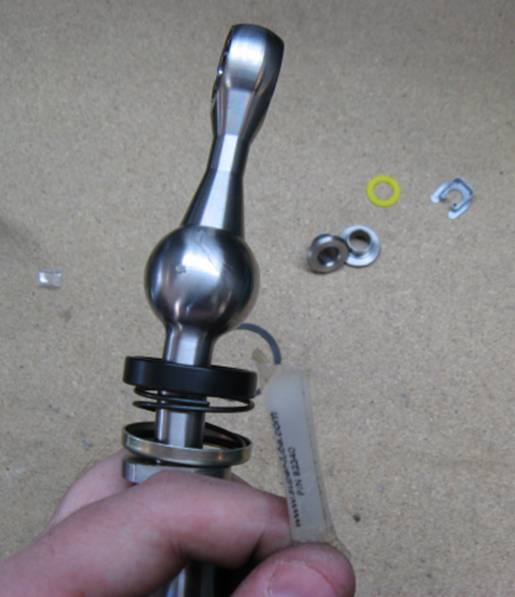
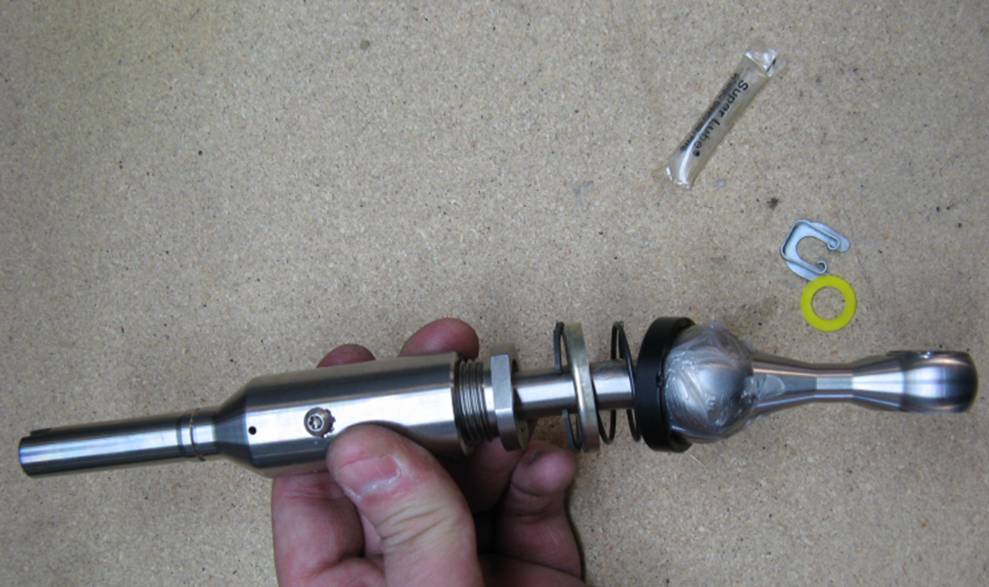
Supplied grease is then applied to shift ball, order of
components for installation into carrier from shiftball
up should be nylon cup, spring, spring retainer, and snap ring. Also note the
slight bend above the pivot ball to the left, the shifter should be installed
with this bend towards the driver:
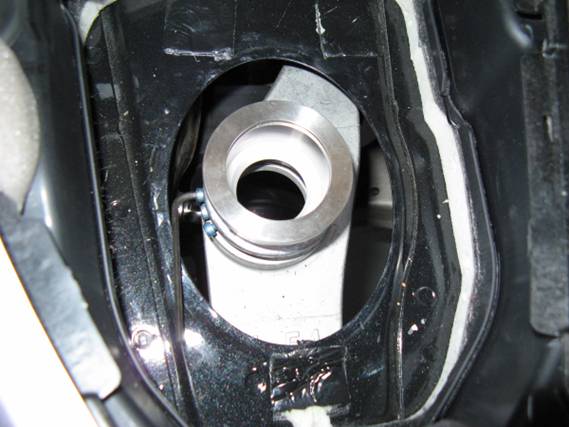
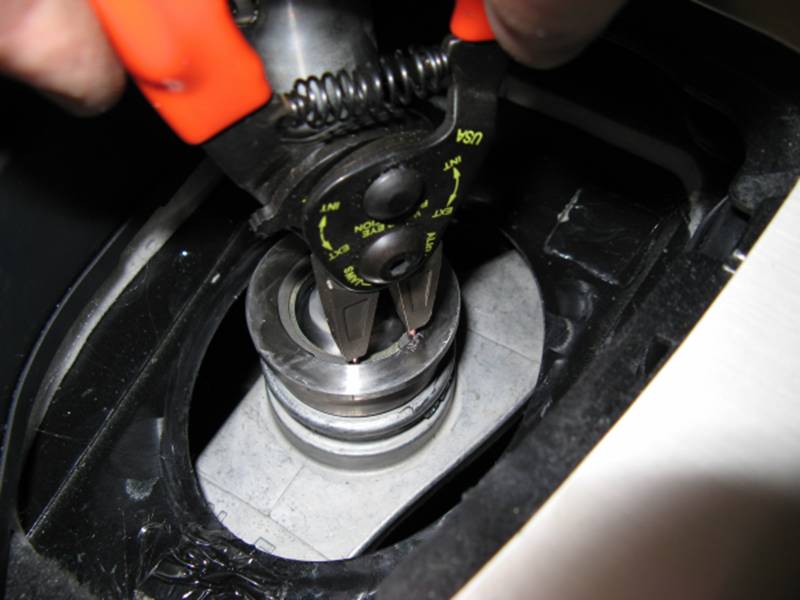
To install shifter in carrier, snap ring pliers are used to
insert snap ring into adapter after shifter is placed in carrier:
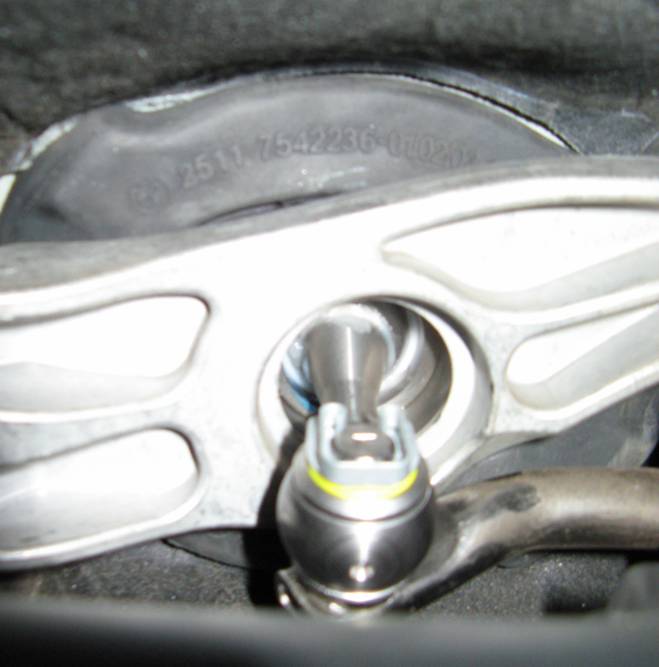
Shifter is then connected to
shift rod by placing bearing liners into bearing on either side, sliding shift
rod pin through bearing, installing yellow plastic washer, and finally
installing the C-Clip:
Heat shield is bent back
to normal and bolted back up, plastic panel is reinstalled, shifter
rubber boot (arrow on boot towards front of car), carpet, foam, shifter leather
boot, and knob are reinstalled. When reinstalling the rubber boot, the lower
seal for the smaller ring on the carrier around the shifter can be pressed
on/around the carrier opening by feel through the rubber boot as the larger lip
is press fit into the console body hole.