![]()
BMW 335i Helix Intercooler
Installation
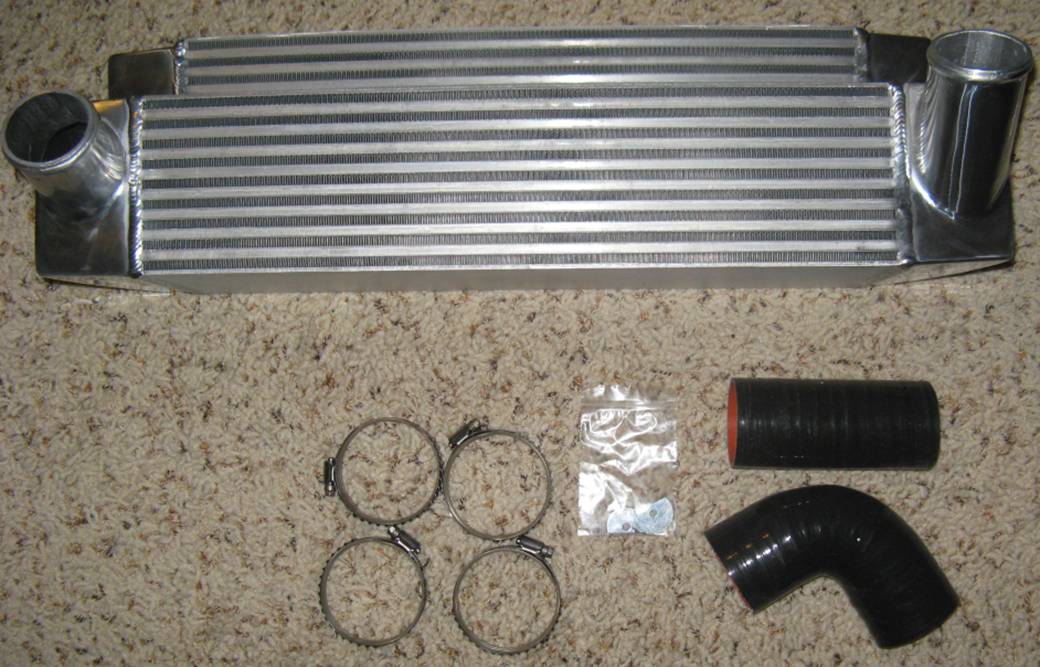
The Helix
Intercooler upgrade was purchased to address the tendency the OE intercooler
has to heatsoak. It was obvious upon arrival that it
was also constructed much better than the OE intercooler and should last for
some time. The kit comes with the intercooler, silicone hoses, hose clamps, and
washers for mounting:
NOTE: The following is provided for information only and any use of
this information by you is at your own risk. Please read the ENTIRE
process/results.
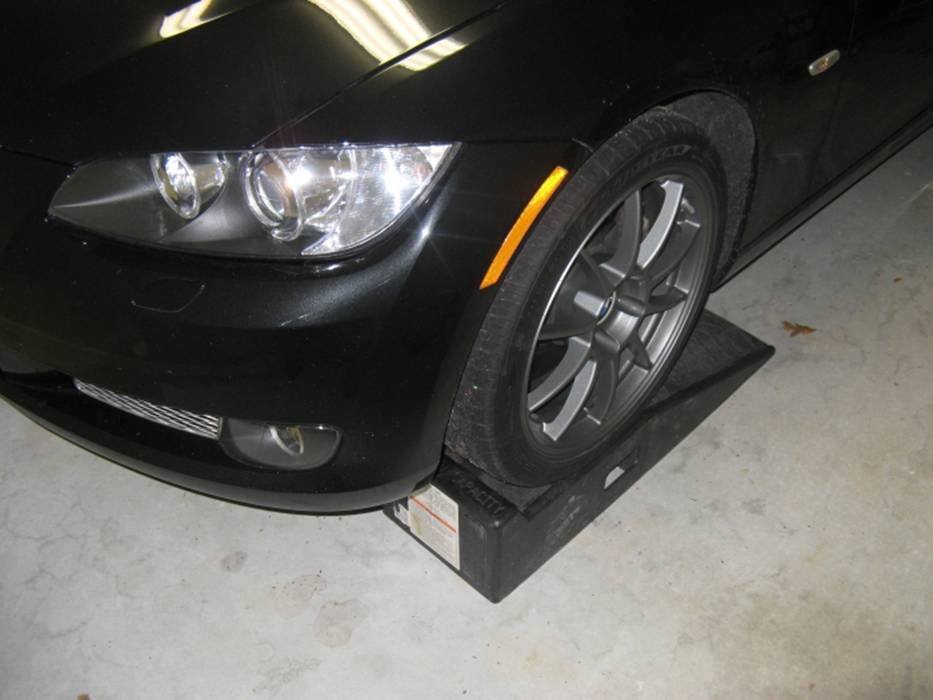
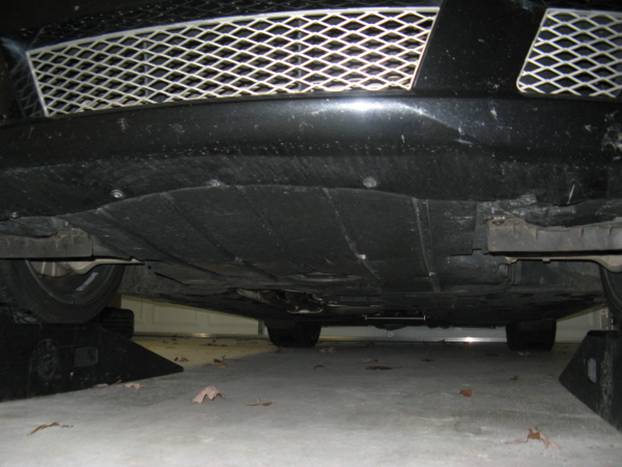
The first thing
I did was to drive the car up on ramps and chock the rear wheels:
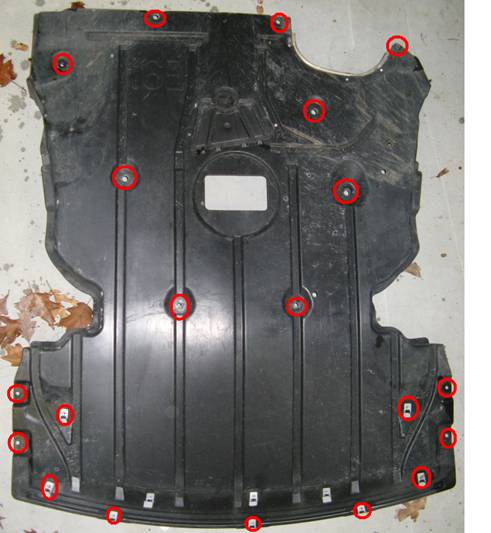
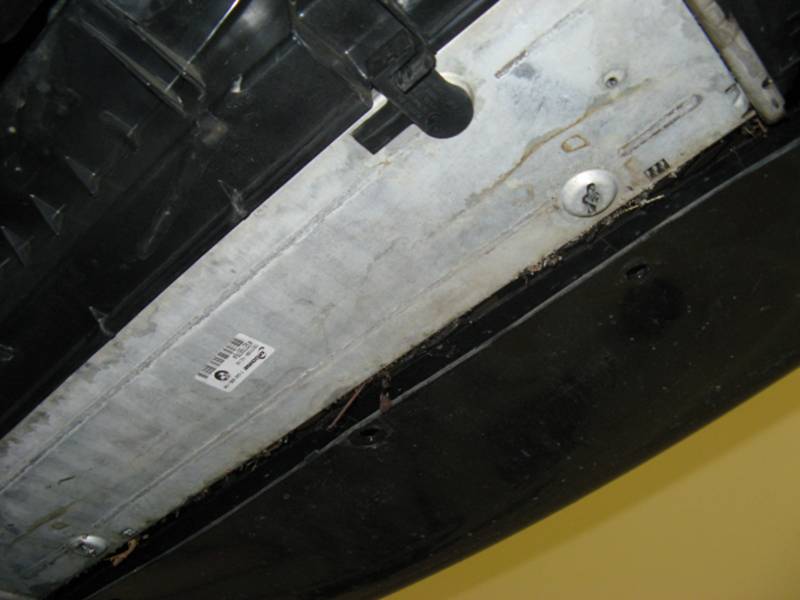
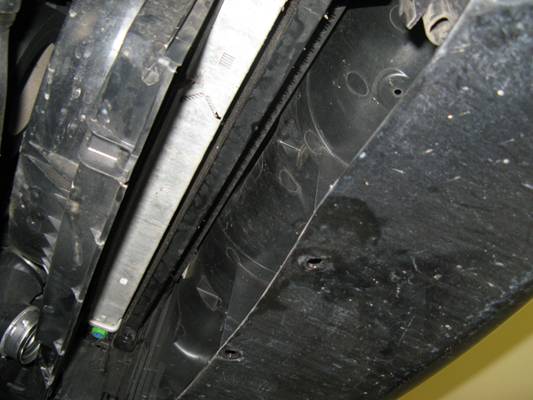
The
plastic shield under the front of the car has to be removed to access the
intercooler area for removal/installation, I found my electric impact wrench
with an 8mm socket accomplished the task quite well (it is just a few screws ![]() ):
):
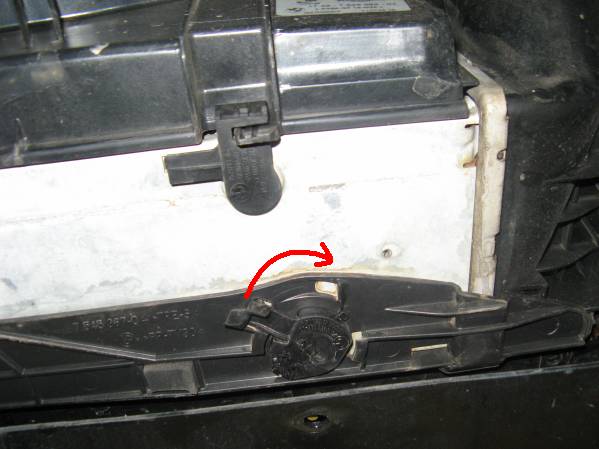
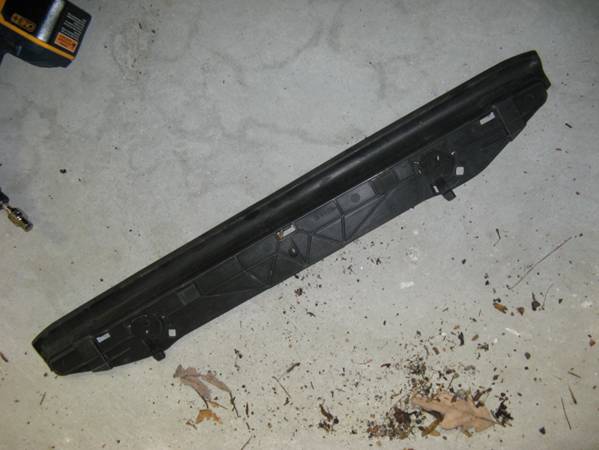
I removed
the air guide from the bottom of the OE intercooler so that it would be easier (maybe)
to remove. This is accomplished with two knobs, by lifting the end and turning
it clockwise it is disengaged from the intercooler- it can then be unhooked and
removed by tilting it down in the rear and pulling down:
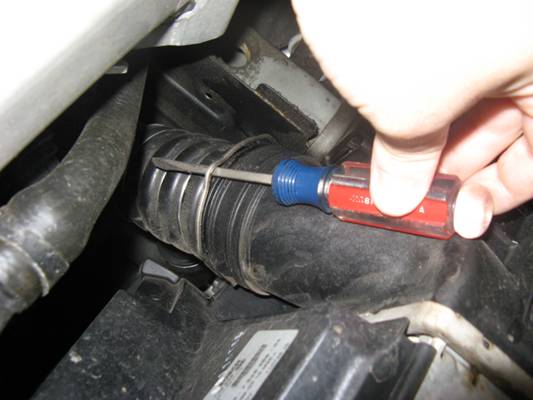
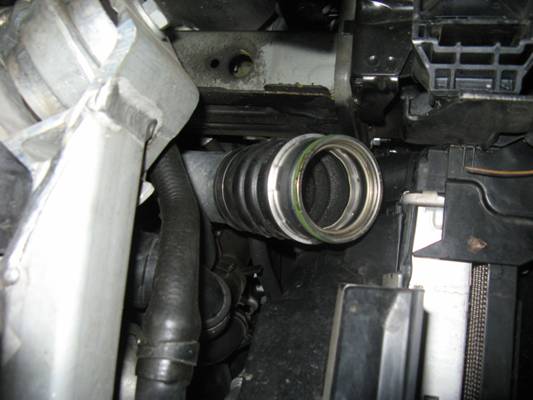
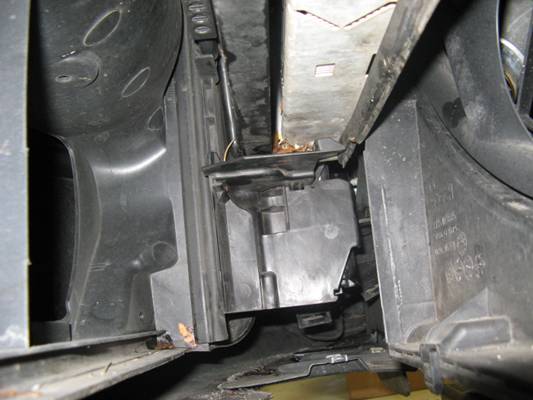
Next, the
intercooler hose connections were removed. The hose connection points at the
intercooler consists of a locking clip that can be removed using a screwdriver
inserted under the relief and pulling carefully out of the channel it rests in:
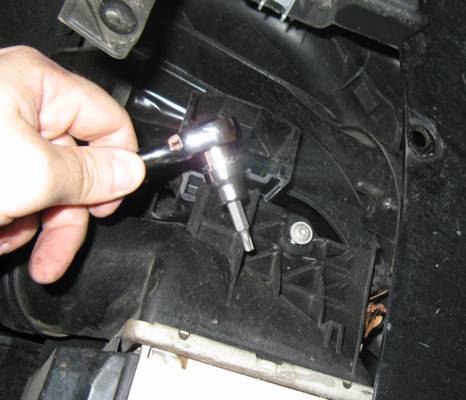
A T-25
TORX head socket or driver can then be used to remove the screws, one on each
side, that hold the intercooler in. Once they are
removed the intercooler can be carefully maneuvered out and down. Now is also a
good time to clean out the bugs, dirt, leaves, etc. that have found there way
into the areas around the intercooler:
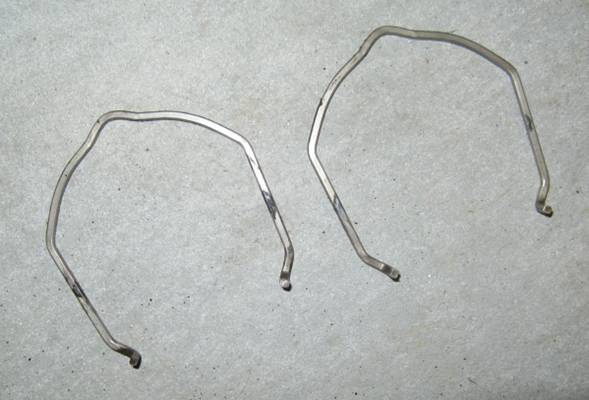
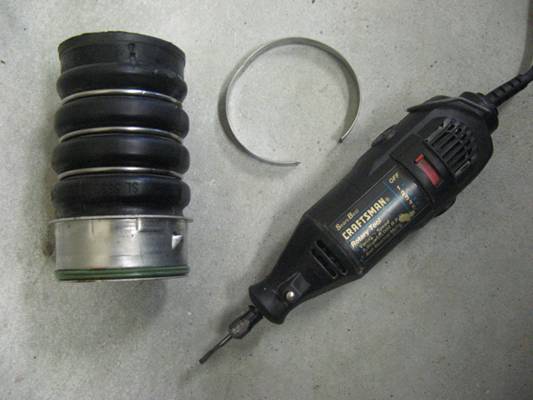
After the
intercooler is removed, the two hoses are still in place. They are held in by
pressure fit clamps that will need to be cut off to be removed. I used a Dremel
with a carbide cutting bit to carefully do this:

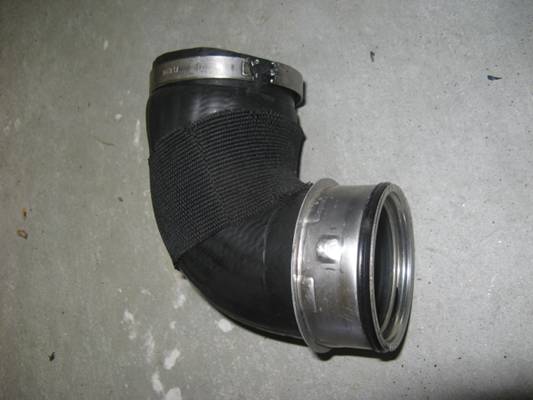
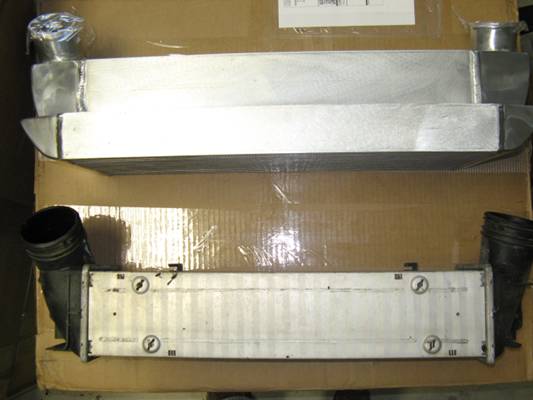
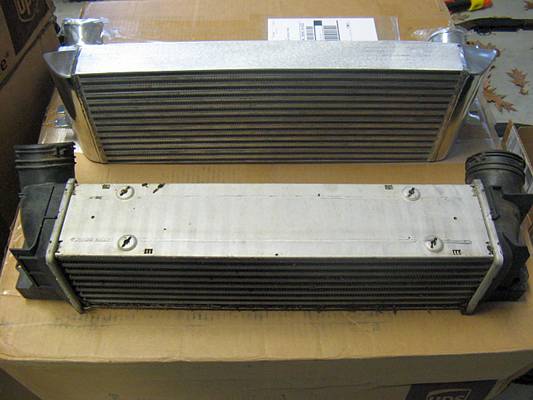
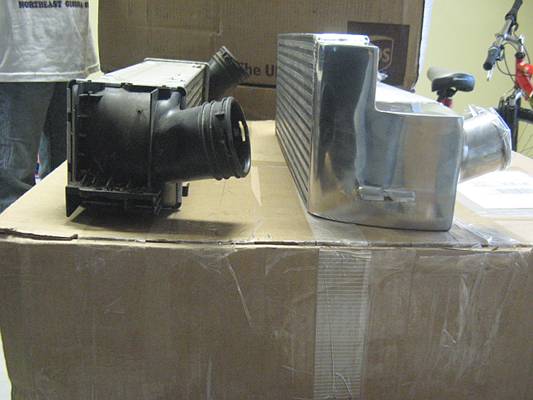
Comparison
pics of old OE versus new Helix intercooler/hardware:

After
reading scalbert’s installation notes on E90Post and
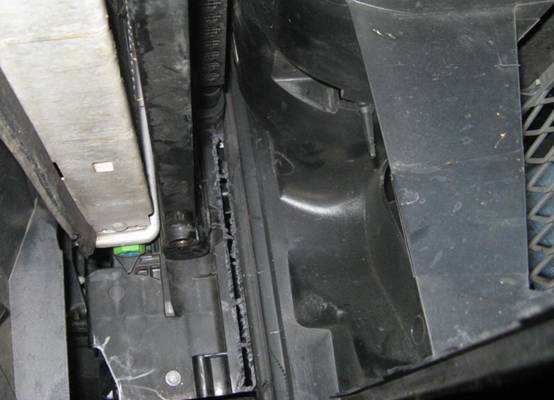
taking some measurements, I knew I would have to cut/remove some plastic on either
side- my car is an 11/06 build E92 Coupe so this may vary for other 335i
models/build dates. After removing one passenger side piece by unsnapping it,
the Dremel tool was out again, this time with a 1/8” drill bit, used like a RotoZip to cut plastic on either side to allow room for the
new intercooler:
Before-

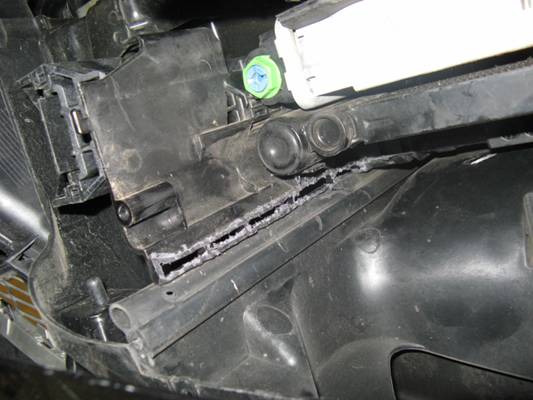
After
(plastic cut/removed so level with rubber seal and all the way to the top):
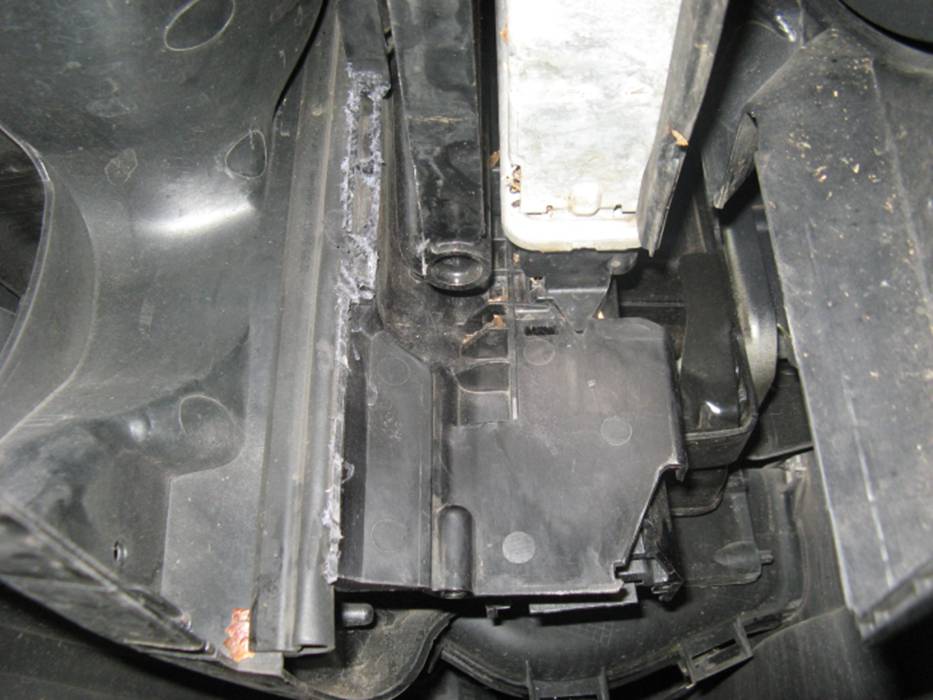
After
attempting to install, I found that the mounting holes did not line up due to
more plastic in the way. The air guide/lip at the bottom needed to be trimmed, I ended up removing about ½ an inch:
Before-
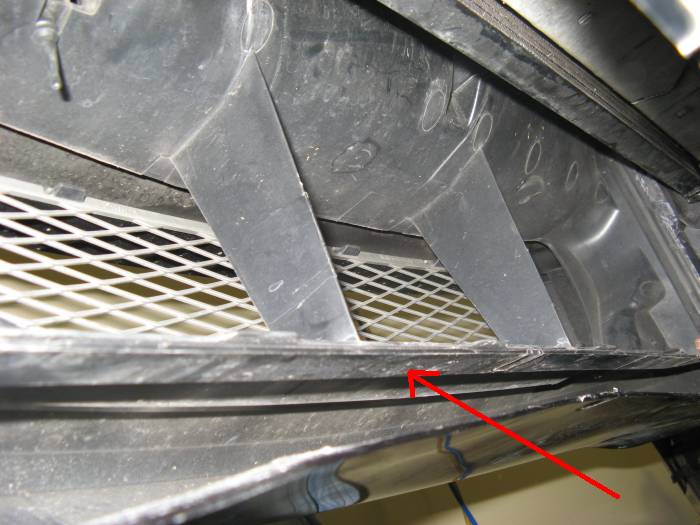
After (removed enough plastic to be flush with lip directly
above and base of supports for grill opening)-

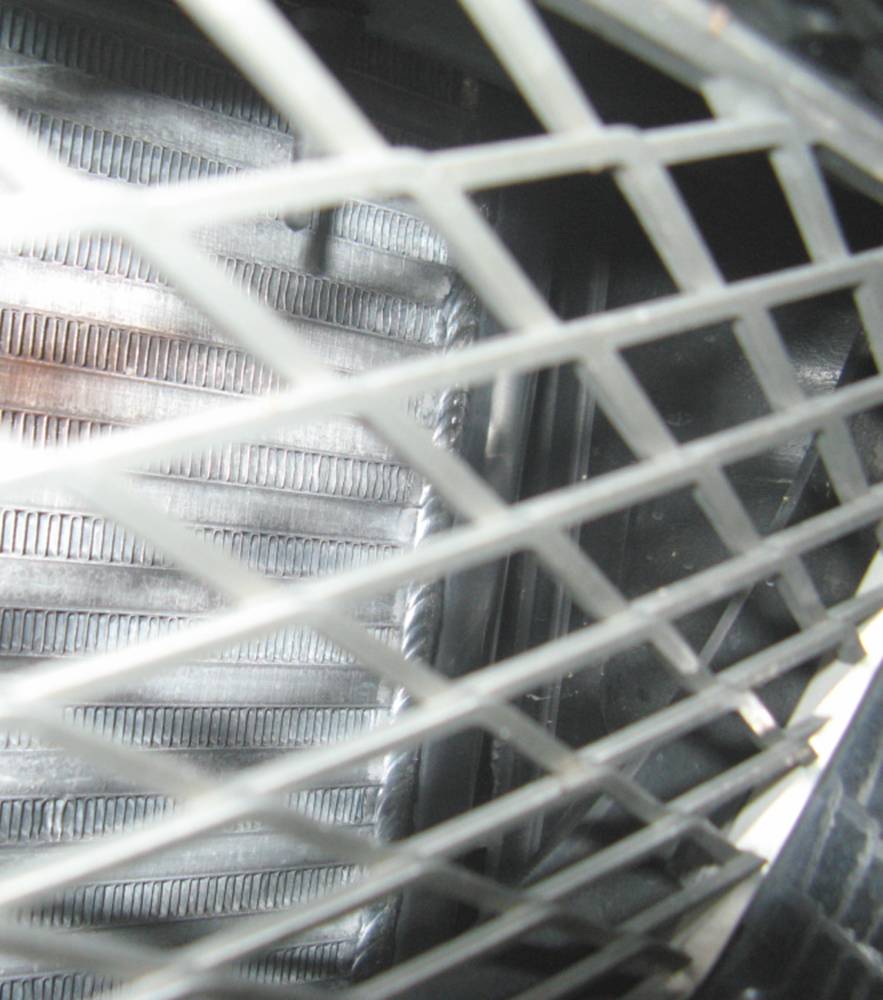
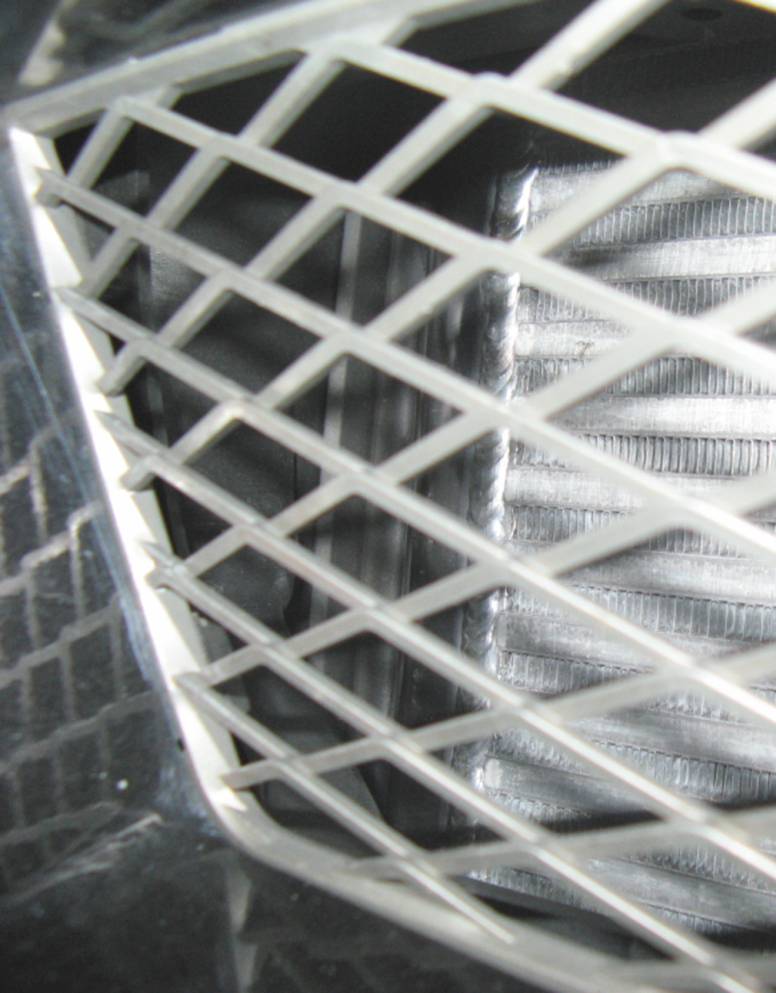
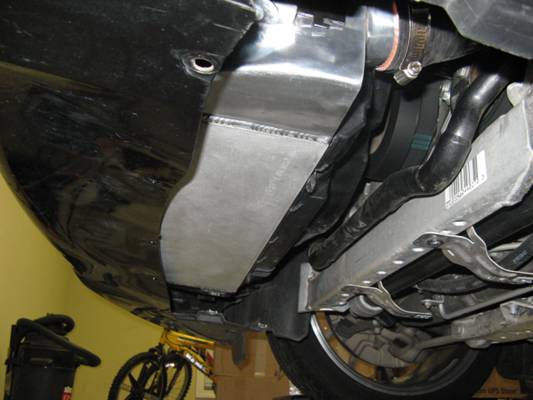
Finally, after hours of trimming plastic and enough test
fitting to be in an intercooler installation relay, IT FITS ![]()
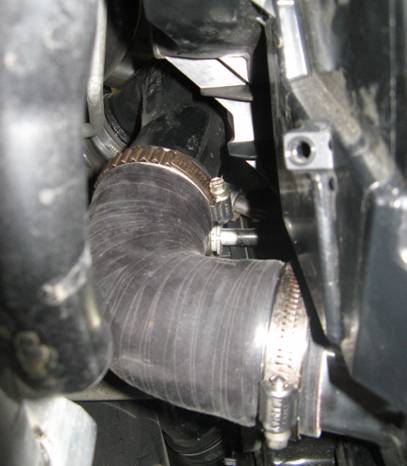
I found it easier to
install the intercooler loosely and the hoses over the engine side piping first
and then on the intercooler piping- don’t forget to slide the hose clamps over
the hose first. Space is tight but workable. The T-25 Torx screws are then
reinstalled to hold the intercooler in place and the hose clamps tightened:

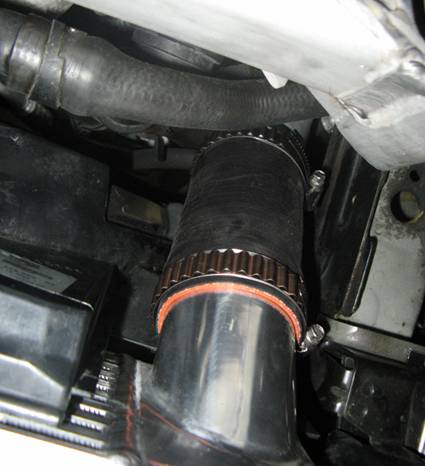
If I had not tired of test
fitting and laying on my back under the car, I probably could have trimmed the
plastic a little less and at tighter tolerances- there are some small gaps on
either side that I will probably find some way to seal so that I know the
intercooler is working optimally (although the difference might be negligible
if noticeable at all- I will post an update once I do this). Here are some
pics, hard to see gaps though. I hardly notice the gap on the passenger/right
side but can see it on the driver/left side when looking more closely with
better light than the camera could provide: